Sunday, 10 June 2018

Time For Tea Designs - Balloon Birthday

It's Time For Tea Designs time on my blog today :-)

I am sharing a gorgeous card using "Balloons" from the Blooming Lovely Collection, she is available individually or as a bundle.
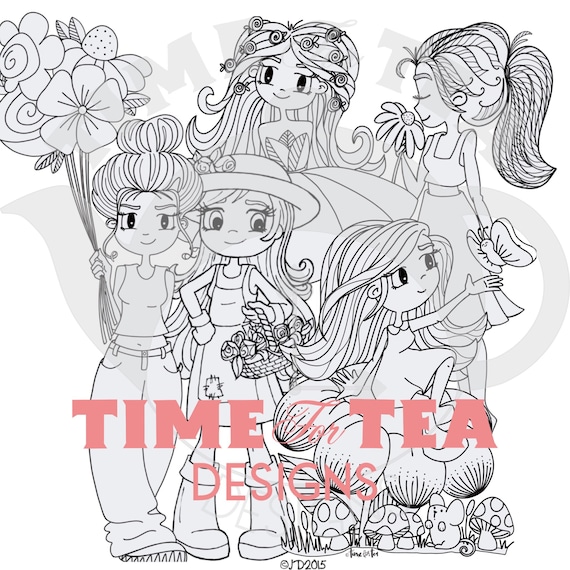
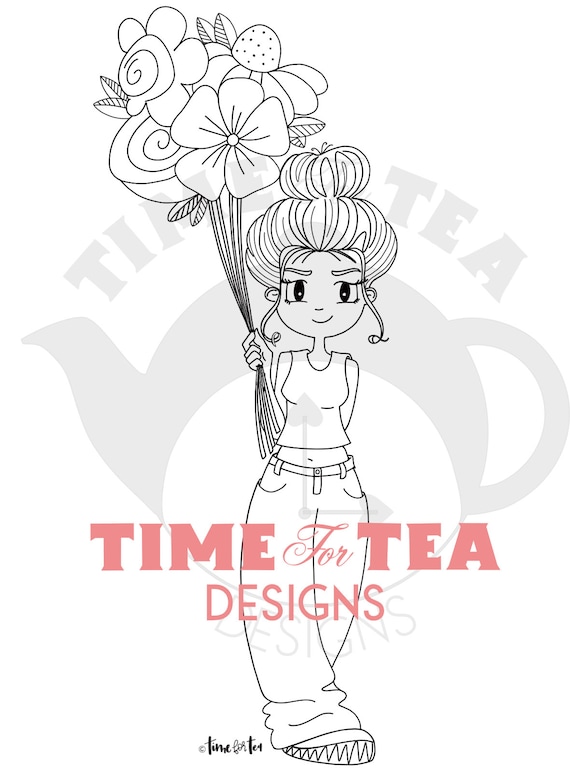
                                 

I had so much fun colouring up this young lady, so many colours went into her and she turned out exactly how I had envisioned. You can watch the colouring process here.


I printed her onto Mondi Color Copy 250 GSM, this is my go to for Copic Markers, X-Press it would be my favourite with availability here in Australia but unfortunately with the amount of colouring I do it just isn't affordable for me.

I coloured her up using Copic Markers, once that was done I went looking for papers and something to make her stand out. These days most of the time I colour once I have found papers to match but today I was having a colouring day and just coloured up a few images to get myself into the crafting mood.

I also had this leftover die cut word on my desk which fit my card perfectly. The die cut was from a My Favorite Things Die-Namics set called Sending Hugs, the sentiment was also from  My Favorite things, it was a stamp set called More Essential Sentiments. That was actually a set I had sitting on my desk from one of my last deliveries that I had not yet used.

I ran the die set through my Sizzix Big Shot (in a previous sitting) using Canson Cardstock. The sentiment I popped onto a Lawn Fawn Acrylic Block and inked up using Memento Tuxedo Black, I stamped it onto some leftover Mondi Color Copy 250GSM Cardstock that I had sitting on my desk.

I decided I wanted to cut the image out using a Spellbinders Die, I already had the Kraft piece on my desk so I grabbed the matching die - Spellbinders Labels Eighteen and using a pacer pencil carefully traced the inside of the die. I then used my EK Success Cutterbee Scissors to cut it out, then erased the pencil markings. That then left the Kraft piece showing a border. I carefully cut around the shoe and the top flower so they were outside of the die shape and I didn't trim them off.

I then layered out the "Sending" die cut and the sentiment and adhered them where I wanted on the image before I went any further.

I had a Hopscoch 6x6 Paper Pad sitting out from another project. I cut the flowered looking layer using a My Favorite Things die - Stitched Rounded Rectangles, which I ran through my Crafter's Companion Gemini. (Yes you will be happy to know he finally made it out of the box he has been sitting in for months.. oops my bad)

I found the orange strip sitting inside the Hopscotch Paper Pad that I used and it was the perfect leftover piece to fit my card.

All the layers were trimmed etc using Tonic Studios/Tim Holtz Guillotine and adhered using Scotch 3M ATG or Tombow Mono Multi Liquid Adhesive.

I layered everything onto a Twiddleybitz Cardbase. Final touches I added some Tonic Nuvo Crystal Drops in Antique Rose.

Products Used On This Card

My Favorite Things - More Essential Sentiments
Memento Tuxedo Black
Hopscotch 6x6 Paper Pad
Scotch ATG
My Favorite Things Stitched Rounded Rectangles
Mondi Color Copy 250GSM
EK Success Cutterbee Scissors
Tim Holtz Tonic Studios Guillotine
Lawn Fawn Acrylic Block
Spellbinders Nestabilities - Labels Eighteen
Tombow Mono Multi Liquid Adhesive
Crafter's Companion - Gemini
Tonic Studios - Nuvo Crystal Drops - Antique Rose
My Favorite Things - Sending Hugs Dienamics
Twiddleybitz Card Base

Copic Markers Used On This Card

E000, E00, E21, E11, E04, R20
Y13, Y15, Y18
YR14, YR15, YR18, YR27
YG05, YG09, YG67
RV13, RV17, RV19
V04, V05, V07, V09
E55, E57, E59
BG07, BG57
B93, B95, B97, B99
R35, R37, R39


I hope you have enjoyed my post today, if you have any questions feel free to send me a message or contact me via facebook (all links can be found below).


Thanks for stopping by, Deni

You can find my cards for sale here
https://www.facebook.com/angelhandmadepapercraft

My You Tube Here
https://www.youtube.com/user/Denielle1983/

My Blogs Here
Angel Handmade Papercraft http://angelhandmadepapercraft.blogspot.com.au/

Auzz Trinklets N Crafts http://auzztrinkletsnkrafts.blogspot.com.au/

Whimsy Stamps https://whimsystamps.blogspot.com.au/

Friday, 8 June 2018

Whimsy Stamps - Let's Play Ball

Having fun playing with Penguin Baseball Player from Whimsy Stamps this week, including the gorgeous matching Sentiment Set - Baseball Sentiments, you can purchase them both in the Whimsy Shop here

Penguin Baseball Player - Digital Stamp   Baseball Sentiments - Digital Sentiments

I created this super cute card after merging the image and one of the sentiments together.


I merged them using MS Word, I don't have any fancy programs to use so this is where I do my basic editing.  Once I merged them I printed them onto Mondi Color Copy 250GSM using my Brother Laser Printer.

Once I had the image printed I ran it through my Gemini using a My Favorite Things Rounded Rectangles. I then moved onto colouring using Copic Markers. Copic Markers are my go to medium most of the time because I am comfortable with them. I do try to use my pencils but I really need to give them more practice.

I used a Kaisercraft 6x6 Paper Pad for my patterned papers, there was a cute paper in there that these gorgeous triangles and I thought they would be cute to cut out and use as a banner on my card. I grabbed my EK Success Cutterbee scissors to carefully fussy cut two of them out. I then ran some Tombow Mono Multi Liquid Adhesive down a small amount of the twine then attached the triangles. This banner turned out exactly the way I had imagined.. now I needed to work on the rest of the layout for the card.

I still had a few dies sitting on my desk so decided to bring the circle die and another of the stitched rounded rectangles into my card, I ran more of the patterned paper though my Gemini with those dies. I then adhered everything onto a pre-made Twiddleybitz card base using a mixture of Tombow Mono Multi Liquid adhesive and Scotch 3M ATG.

I was so happy with the way this card turned out, it was everything my head had imagined and more :-)


I hope you have enjoyed my post today, if you have any questions feel free to send me a message or contact me via facebook (all links can be found below).


Thanks for stopping by, Deni

You can find my cards for sale here
https://www.facebook.com/angelhandmadepapercraft

My You Tube Here
https://www.youtube.com/user/Denielle1983/

My Blogs Here
Angel Handmade Papercraft http://angelhandmadepapercraft.blogspot.com.au/

Auzz Trinklets N Crafts http://auzztrinkletsnkrafts.blogspot.com.au/

Whimsy Stamps https://whimsystamps.blogspot.com.au/

Saturday, 2 June 2018

Whimsy Stamps - Make A Splash Ducky

Welcome to Day 2 of New Releases over at Whimsy Stamps, today I am playing with Make A Splash Duck.

This is such an adorable image and I was super excited to play with it, I even had somewhat of a design in my head already of what I was going to do with it.

                                                                  Make a Splash Duck - Digital Stamp
I started off by printing the image onto Mondi Color Copy 250GSM using Brother Laser Printer.


I used Copic Markers to colour up the image (silly me should have done all my ink blending first but of course I do everything backwards).

Once I coloured up the image I decided I would do some ink blending with a stencil to create the clouds.

I was on a tight frame with time which I seem to be doing a lot lately so I thought I would be smart and just use some Post It notes to create a mask (instead of doing it properly i just tore them carefully and moved them around to cover what I needed), this as I found out was not the best of ideas. I used my new MFT Mini Cloud Edges Stencil.

I grabbed one of my new Tim Holtz Ranger Distress Oxide Inks in the Broken China colour and a Ranger Mini Ink Blending Tool and started blending. Firstly I started leaving blending marks everywhere.. ahhh.. then I blended over the post it notes but ended up with edge lines ... it really just wasn't working for me hahah.. gotta love those days.

I ended up making it work but I wasn't overly happy with the blending still.. I did my best and you know what now that I look at it I don't mind so much :-)

I used Honey Bee Stamps - Love Bug Sentiments to create the sentiment around my image. I stamped them using Memento Tuxedo Black and lined them up on my grid mat then popped them onto a Lawn Fawn Acrylic Block.

I cut the image out on my Sizzix Big Shot using a Lawn Fawn Stitched Circle Die. I then grabbed some patterned papers from Amy Locurto Party - Pebbles 6x6 Collection. I created banners using some of the leftover pieces I had from the pad.

All the paper layers were cut using Cutterpillar Pro and adhered using both Scotch ATG for the larger sections and American Tombow Mono Multi Liquid Adhesive for the smaller sections.

Products Used On This Card

Copic Markers
Whimsy Stamps Make A Splash Duck
Scotch 3M ATG
Tim Holtz Ranger Distress Oxide - Broken China
Ranger Mini Ink Blending Tool
Lawn Fawn Stitched Circle Die
Honey Bee Stamps - Love Bug
Memento Tuxedo Black
MFT Mini Cloud Edges
Mondi Color Copy 250GSM
Party with Amy Locurto - Rainbow 6x6
Twiddleybitz Card Base
Cutterpillar Pro
EK Success Cutterbee Scissors

Copic Markers Used

B12, B14, B16
B0000, B000, B00
YG05, YG07, YG09
E23, E25, E27
Y11, Y13, Y15
Y17, Y19, Y38
R20


I hope you have enjoyed my post today, if you have any questions feel free to send me a message or contact me via facebook (all links can be found below).


Thanks for stopping by, Deni

You can find my cards for sale here
https://www.facebook.com/angelhandmadepapercraft

My You Tube Here
https://www.youtube.com/user/Denielle1983/

My Blogs Here
Angel Handmade Papercraft http://angelhandmadepapercraft.blogspot.com.au/

Auzz Trinklets N Crafts http://auzztrinkletsnkrafts.blogspot.com.au/

Whimsy Stamps https://whimsystamps.blogspot.com.au/

Whimsy Stamps - You're a Star

Hi Everyone,

Hope you are having a magical weekend. Today we are here to enjoy the New Releases over at Whimsy Stamps. I have created a gorgeous card using the New Release Kitty Ballerina.

We are also midway through our challenge over on the Whimsy Blog, which we would love for you to join in on, as always its an Anything Goes challenge, it couldn't be any more fun!


                                 Kitty Ballerina - Digital Stamp
I have coloured her up using Copic Markers.


I printed the image onto Mondi Color Copy 250GSM, using my Brother Laser Printer.

I carefully cut the right shoe and the end of the tail using my EK Success Cutterbee Scissors to make sure I could carefully pop them out of the die when I ran it through. I didn't want to lose all the extra details, and I thought it would look cute popping those bits out instead of just chopping them off when I ran the die through.
The die I used was from Lawn Fawn Polaroid Die and I used the Say Cheese, Too sentiments that go with the die. I ran the die through my Sizzix Big Shot and then ran it through again using Canson Cardstock to get the black layer.

I added Wink Of Stella Clear Glitter Brush to the image and to the stars. The stars were leftovers on my desk from another project, to be honest i'm not ever sure which dies they were from.

I decided to make my own patterned paper using repeated stamping and the Lawn Fawn Sentiment set I mentioned above. I then layered it up using Canson Card stock. Once this was completed I adhered all the layers using Scotch ATG and Tombow Mono Multi Liquid Adhesive for the smaller bits and pieces. I used memento Tuxedo Black to do the stamping and an Acrylic Block from Lawn Fawn.

I finally adhered all the layers onto a pre-made card base from Twiddleybitz. I decided the black and white repeated stamping was a little too much so i used one of my Copic markers to colour all the cameras in pink just to get them to stand out a little bit off the page.

I had so much fun with this card, I can't wait to show you what I create next.

Products Used On This Card

Whimsy Stamps Kitty Ballerina
Lawn Fawn Acrylic Block
Copic Markers
Memento Tuxedo Black
Mondi Color Copy 250GSM
Lawn Fawn - Say Cheese & Polaroid Die
Stars - Leftovers from previous projects
Canson Cardstock
Twiddleybitz Card Base
Wink Of Stella Clear Glitter Brush
Sizzix Big Shot
Scotch ATG
American Tombow Mono Multi Liquid Adhesive

Copic Markers Used

T2, T4, T6
R21
Y11, Y13, Y15
RV21, RV23, RV25
E81, E84
C4, C6, C8
R20
R30


I hope you have enjoyed my post today, if you have any questions feel free to send me a message or contact me via facebook (all links can be found below).


Thanks for stopping by, Deni

You can find my cards for sale here
https://www.facebook.com/angelhandmadepapercraft

My You Tube Here
https://www.youtube.com/user/Denielle1983/

My Blogs Here
Angel Handmade Papercraft http://angelhandmadepapercraft.blogspot.com.au/

Auzz Trinklets N Crafts http://auzztrinkletsnkrafts.blogspot.com.au/

Whimsy Stamps https://whimsystamps.blogspot.com.au/

Friday, 1 June 2018

Time For Tea - First Dance

Hi Everyone,

hope everyone is well, the temperature is slowly starting to drop here (Sydney, Australia) at night, so I am sitting in bed scheduling all the cards I made this week, waiting on hubby to get home from Swimming with our 11 year old, he will drop her off to her Mum's on the way home.

Today I have a card to share with you as we begin a New Challenge over at Time For Tea Designs, our new challenge for this month is "Let's Celebrate". There are many different ways you can show this subject so all the Design Team girls can't wait to share you their views of the subject.

I am hoping to also have another card made for midway challenge.

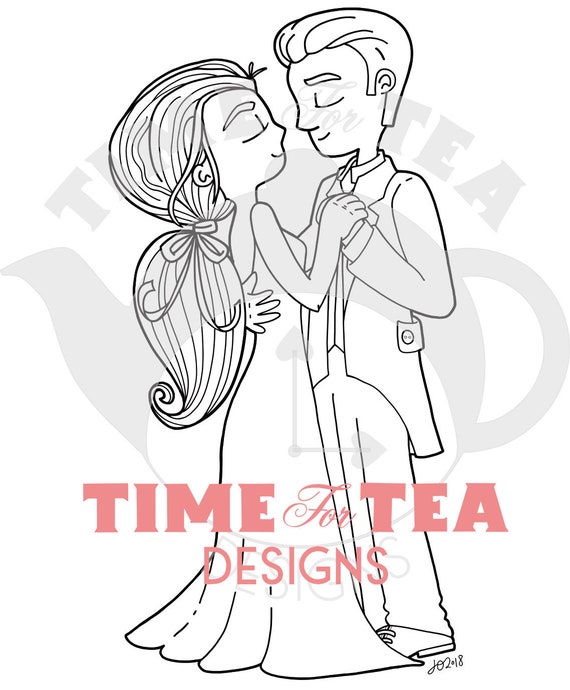
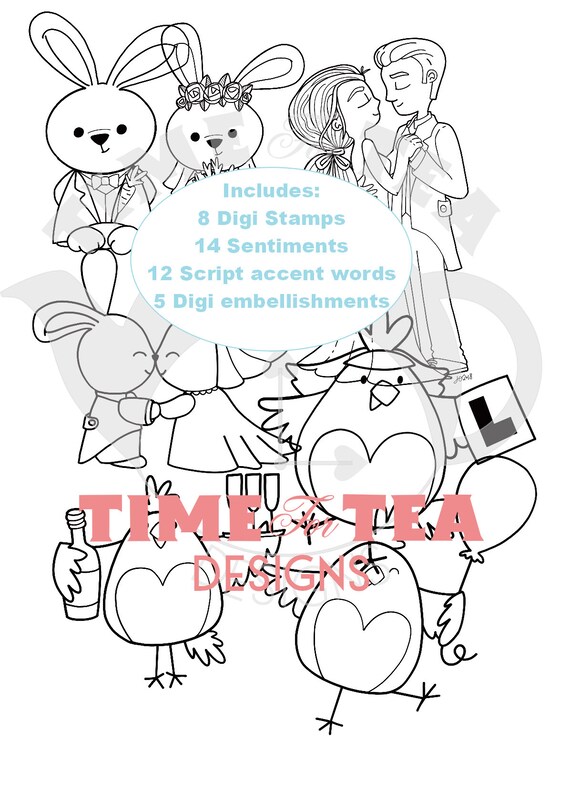
Today I have used an image from the June New Release called First Dance, it can also be purchased as part of the Full Wedding Collection.


For this card I printed the image onto Mondi Color Copy 250GSM using my Brother Laser Printer. I ran the image through my Crafter's Companion Gemini machine using a Lawn Fawn Stitched Circle Die. I also ran a larger of the dies with some Pink card stock through to create a larger layer under the image.

I cut a mat layer using the same as the above pink card stock on Cutterpillar Pro, the patterned paper was from a patterned paper 6x6 that I purchased from Kmart.

I grabbed a doily from my stash and used Tombow Mono Muli to adhere the image and pink layer.. only because when I used my Scotch ATG I always end up tearing my doily. I then added more Tombow Mono Multi to the bottom of the doily and adhered that to the patterned paper.

I used a heart punch that I purchased from Kmart this week to punch out three hearts, I punched them all using the pink card stock then I used a Gold Foiling Pen to add gold to one of them.

I stamped the Love sentiment from a My Favorite Things stamp set called All About You, I used Memento Tuxedo Black and a Lawn Fawn Acrylic Block. These were adhered using Tombow Mono Multi Liquid Adhesive.

Once everything was added together I used my Scotch ATG to adhere everything onto a Twiddleybitz Cardbase, I then decorated the inside of the card also using leftovers from the front of the card.

Products Used On This Card

Mondi Color Copy 250GSM
My Favorite Things All About You
My Favorite Things Celebrate Word Die
Kmart Cardstock
Doily - Stash
Lawn Fawn - Stitched Circles Dies
Memento - Tuxedo Black
Lawn Fawn Acrylic Block
Twiddleybitz Card Base
Scotch ATG
Tombow Mono Multi Liquid Adhesive
Crafter's Companion Gemini
Heart Punch
Cutterpillar Pro
18K Gold Leafing Pen

Copic Markers Used

E000, E00, E21, E11, E04, R20
E55, E57, E59
N0, N4, N6, N8, 0
RV13, RV14, RV17

I hope you have enjoyed my post today, if you have any questions feel free to send me a message or contact me via facebook (all links can be found below).


Thanks for stopping by, Deni

You can find my cards for sale here
https://www.facebook.com/angelhandmadepapercraft

My You Tube Here
https://www.youtube.com/user/Denielle1983/

My Blogs Here
Angel Handmade Papercraft http://angelhandmadepapercraft.blogspot.com.au/

Auzz Trinklets N Crafts http://auzztrinkletsnkrafts.blogspot.com.au/

Whimsy Stamps https://whimsystamps.blogspot.com.au/

Sunday, 27 May 2018

Time For Tea - All Loved Up

Hi Everyone!

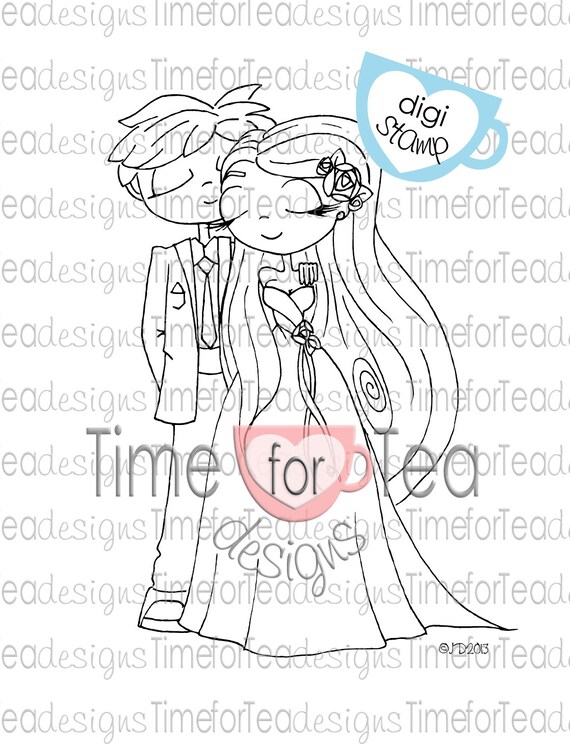
This is one of my all time favourite images from Time For Tea Designs, so i'm so excited to be sharing it on my card today. I have used "Wedding Couple" which is available in the Time For Tea Shop. You can stop by the Time For Tea Blog here and if you would like to join in on the current challenge you can click here May 2018.

 Time For Tea May 2018 Challenge


I printed the image on my Brother laser printer using Mondi Color Copy.


I coloured the image up using Copic Markers, I don't have a list for you today as this is one that I had coloured up a while ago.. sometimes I like to just sit and colour so I will colour up multiple images and pop them into a tray on my desk to use at another time when i'm not in the mood for colouring (this doesn't happen very often obviously as this has been sitting on my desk for a while haha).

The Sentiment is from a Whimsy Stamps set called Elegant Labels which you can purchase here.

I cut the image using a die from a My Favorite Things Stitched Squares die, I ran it through my Sizzix Big Shot.

I used my Cutterpillar Pro to cut all the layers from Crate Paper Love Notes 6x6 Paper Pad. I then adhered the image to the first layer, I then popped those onto foam tape and adhered the rest of the layers using Scotch ATG. I then cut a layer of dusty pink cardstock from Canson to mat everything onto.

I then used my Ek Success Cutterbee scissors to trim a few leftover pieces to create little banners for the top of my card. I decided the card still needed something else so I added a sentiment from Whimsy Stamps.

Once I had all these layers to my liking I added them to a Pre-made Twiddleybitz Cardbase using Scotch ATG. I also added some more foam tape just to the right side of the sentiment where it was sitting up off the card.

As always I also decorated the inside of the card. I don't bother showing and taking photos of the inside as i'm sure you guys are not interested in that.

I hope you have enjoyed my post today, if you have any questions feel free to send me a message or contact me via facebook (all links can be found below).

Products Used On This Card

Twiddleybitz Cardbase
EK Success Cutterbee Scissors
Cutterpillar Pro
My Favorite Things Stitched Squares
Whimsy Stamps - Elegant Labels
Canson Cardstock
Scotch 3M ATG
Crate Paper love Notes 6x6 Paper Pad
X-Press It Foam Tape
Copic Markers
Sizzix Big Shot 


Thanks for stopping by, Deni

You can find my cards for sale here
https://www.facebook.com/angelhandmadepapercraft

My You Tube Here
https://www.youtube.com/user/Denielle1983/

My Blogs Here
Angel Handmade Papercraft http://angelhandmadepapercraft.blogspot.com.au/

Auzz Trinklets N Crafts http://auzztrinkletsnkrafts.blogspot.com.au/

Whimsy Stamps https://whimsystamps.blogspot.com.au/


Saturday, 26 May 2018

Whimsy Stamps - Welcome Little Chicks

Hello my wonderfuls!

Today I am sharing some cards for Whimsy Stamps, I recently purchased this stamp so thought it would be cute to make some new baby cards with.

The stamp set is a red rubber and is called "Little One", it's has really nice details that stamp perfectly. I used my Fishers Stamp Press to stamp the image out onto Mondi Color Copy 250GSM (I normally would use my Misti but it was in our bedroom from trying to get some work done the other night whilst we were watching a movie in bed and I was too lazy to go and get it lol).

                                                       Little One
I used Memento Tuxedo Black to stamp the image out and I just used a wet baby wipe to clean the stamp off when I was done. You will find generally red rubber stamps do not stain but I am annoyingly OCD when it comes to cleaning my stamps.


I wanted to use one of my MFT Blueprints die sets to make these cards today as I wanted to make two cards exactly the same but one in pink and one in blue (so I was also able to use the same paper pad).

I coloured the images up using Copic Markers  then carefully used my EK Success Cutterbee Scissors to fussy cut the images out. Thinking now after the fact that I should have cut the grass off but originally I wanted to use the stamp in one piece.

All the papers are from a Patterned paper pad that I purchased on sale at Kmart a few days ago, it was on clearance for $1 each, so like every other crafter I grabbed all the ones that were left on the shelf hahah. The Kraft coloured cardstock was also part of the patterned pad. I ran the patterned paper sheets I decided to use with the MFT Blueprints 14 dies in my Crafter's Companion Gemini machine. I then ran them through a second time in the opposite colour.

I cut the sentiment on my Tim Holtz Tonic Studios Guillotine, then used my EK Success Cutterbee scissors to banner the end and cut the excess off once I adhered it.

I adhered all the layers using Scotch ATG, this is my go to tape runner when it comes to my cards, I go through so much tape it's not funny. I actually have a monthly subscription with Create By Me Studio, so every month I have an automated debit and they auto send me a package every month, it's fantastic.

Once all my layers were attached together I added them onto a Twiddleybitz pre-made card base.

I added some Wink Of Stella - Clear Glitter Brush to the bonnets of the little chick's and their ribbons.

I hope you have enjoyed my post today, if you have any questions feel free to send me a message or contact me via facebook (all links can be found below).


Thanks for stopping by, Deni

You can find my cards for sale here
https://www.facebook.com/angelhandmadepapercraft

My You Tube Here
https://www.youtube.com/user/Denielle1983/

My Blogs Here
Angel Handmade Papercraft http://angelhandmadepapercraft.blogspot.com.au/

Auzz Trinklets N Crafts http://auzztrinkletsnkrafts.blogspot.com.au/

Whimsy Stamps https://whimsystamps.blogspot.com.au/