Showing posts with label Marvy. Show all posts

Thursday, 21 May 2020

Whimsy Stamps Welcome Neighbour

Hi Everyone,

Last weekend I shared with you a card I made using Whimsy Stamps In The Doghouse, today I am using the same stamp, I don't have the colouring on today's video so refer back to that one if you are interested.


I printed the image onto X-Press It Blending Cardstock using my Brother Laser Printer.


I ran the image through my Sizzix Big Shot using a Lawn Fawn Stitched Circle die.


I cut some layers down from this doggy paper that I've had in my stash since forever ago, I matted them using American Crafts Chocolate Brown Cardstock and some Francheville Kraft Cardstock.


I used an old die set from MFT Stamps called Paw Prints, ran it through my Big Shot twice, using Kraft and Red Cardstocks then layered them up on my card.


Using Taylored Expressions Simple Strips I inked up the stamp set using Ink On 3 Embossing Ink, Ranger Ink Super Fine White Embossing Powder, I melted it using my Heat Tool, then ran it through my Big Shot using the matching dies.


I added some grass from MFT Stamps Grassy Fields die.


I used matching papers to decorate the inside of the card.


I hope you have enjoyed my post today, if you have any questions feel free to send me a message or contact me via facebook (all links can be found below).

Watch the You Tube Video Here


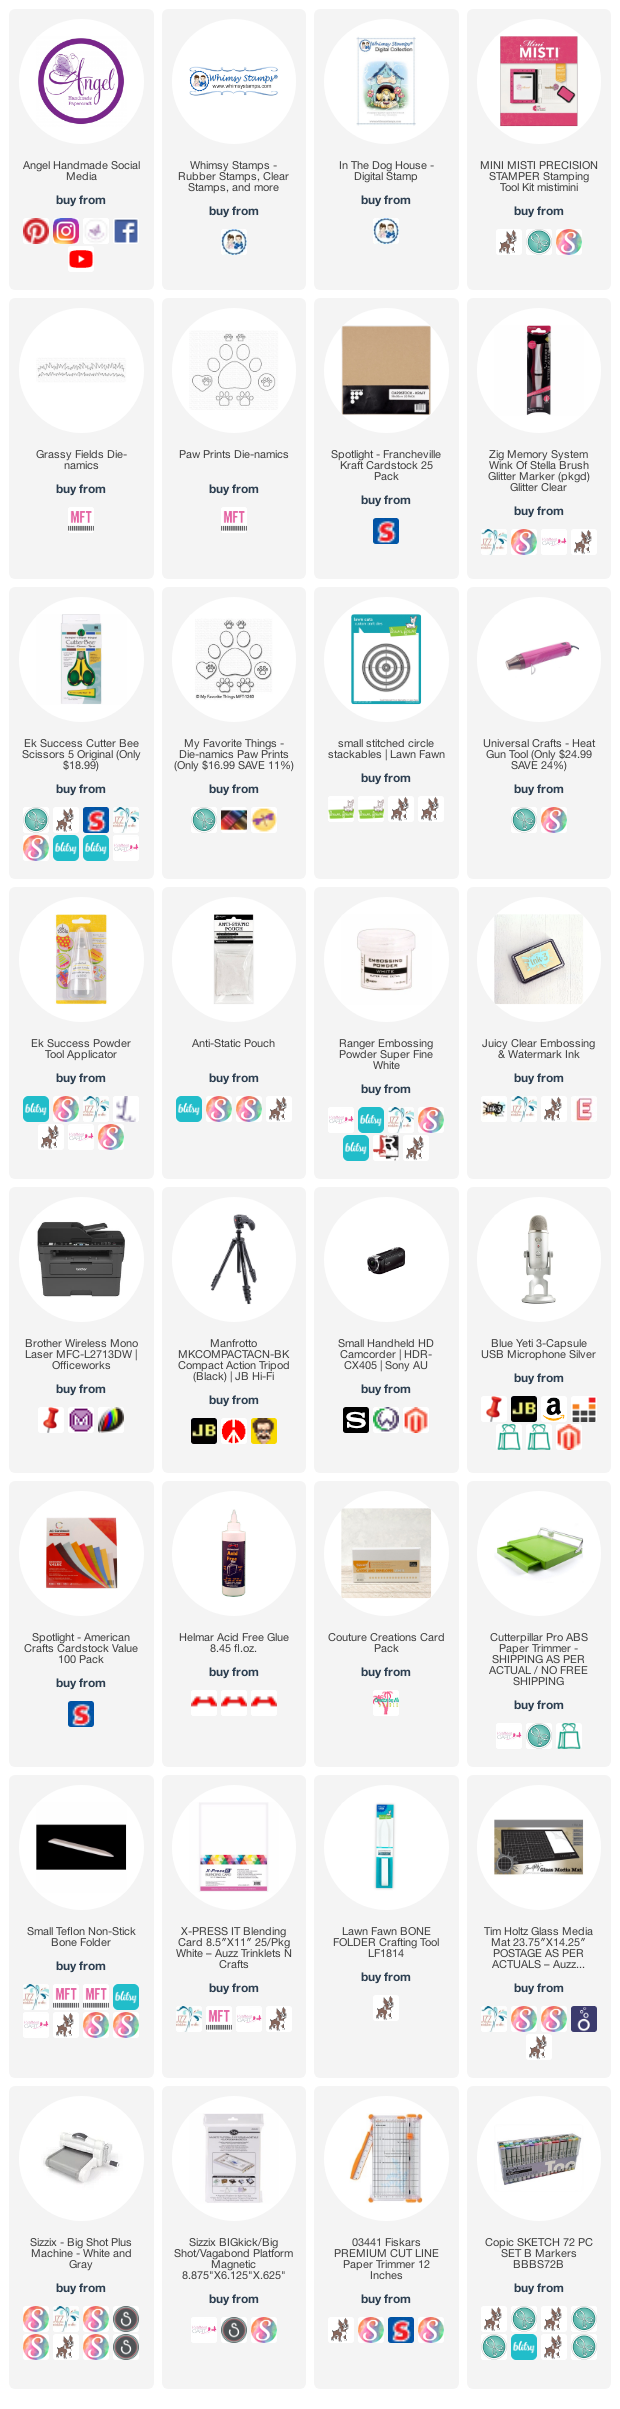
Products Used On My Card (Affiliate Links Used Where Possible)


Copic Markers Used

E11, E13, E17, E18
E31, E33, E35
YG13, YG17
YR02, YR04, YR16
E81, W4, 0 Colorless Blender
C4
BG15, BG05, BG75
RV14, RV17, RV19
E49
Thanks for stopping by, Deni

CAMERA SET UP - FOR YOU TUBE VIDEOS ONLY
Blue Yeti Microphone
Sony Handycam HDR CX4-05
Tripod – Manfrotto MKCompactaCN-BK

S O C I A L MEDIA 
B L O G : https://ldli.co/e/3xky6x
I N S T A G R A M : https://ldli.co/e/5dn20x
YOU TUBE: https://ldli.co/e/ej5l90 
F A C E B O O K: https://ldli.co/e/mjxn2r
PINTEREST: https://ldli.co/e/2l9zom


I was a 2018 Ambassador for Copic Marker Australia and NZ


Saturday, 17 February 2018

Whimsy Stamps DT - There's A New Baby In Town


Hi Everyone,

Today I have a Baby Card for Whimsy Stamps, using one of their gorgeous Digital Stamps from Crissy Armstrong - Baby Ellie.
Baby Ellie - Digital Stamp


This is such an adorable image and I was so excited to use it when it was given to us, and of course I knew I wanted to make a Baby Card.


I printed the image on my Brother Laser Printer using Mondi Color Copy 250 GSM Cardstock. I coloured the image using Copic Markers.

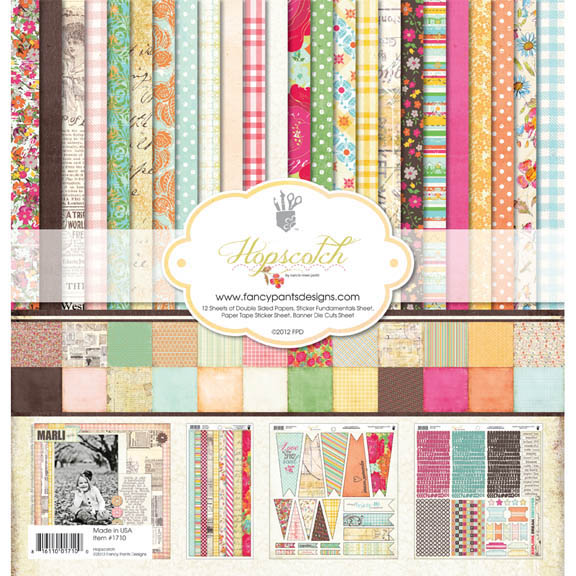
I cut the matting layers from American Crafts Cardstock and the patterned papers are from Fancy Pants Designs - Hopscotch 6x6 Paper Pad. I used my Cutterpillar Pro to cut everything as I love the light that shines underneath so I can see exactly where I am cutting.

I cut the bottom of the banner piece using my EK Success Cutterbee Scissors, I just used a leftover piece of the patterned paper for this.

I cut the image using Wonky Stitched Circle Dies from My Favorite Things, the hearts were leftovers from a SSS die that I used on another card a few days ago, I added Nuvo Drops In Mountain Dew to the hearts, the clouds are from My Favorite Things Cloud dies.
All the small bits and pieces were adhered using Tombow Mono Multi Liquid Adhesive and the larger pieces I used my Scotch ATG.

Once all the layers were adhered I added them to a pre-made card base from Twiddleybitz (no longer available to purchase).


Products Used On This Card - all images are clickable links.

Baby Ellie - Digital Stamp  Colour Copy A4 Digital Paper 250gsm 125 Sheet ReamBrother Wireless Mono Laser MFC-L2713DWUni-Ball Signo Fine Gel Pen Angelic White  Image result for mft oh babyImage result for mft oh babyCopic Sketch MarkersImage result for marvy jewel picker Image result for mft wonky stitched circleImage result for mft wonky stitched circle Image result for american crafts cardstockImage result for fancy pants design hopscotch Nuvo - Crystal Drops - Morning Dew - 677N  

Copic Markers Used On This Card

W00, W2, W4
C4, C6, C8, C10
RV14, RV17, RV19
R20
BG10
N3, N5, N7

I hope you have enjoyed my post today, if you have any questions feel free to send me a message or contact me via facebook (all links can be found below).


Thanks for stopping by, Deni

You can find my cards for sale here
https://www.facebook.com/angelhandmadepapercraft

My You Tube Here
https://www.youtube.com/user/Denielle1983/

My Blogs Here
Angel Handmade Papercraft http://angelhandmadepapercraft.blogspot.com.au/

Auzz Trinklets N Crafts http://auzztrinkletsnkrafts.blogspot.com.au/

Whimsy Stamps https://whimsystamps.blogspot.com.au/

Tuesday, 9 January 2018

Time For Tea Designs DT - Christmas Stocking

I am still creating Christmas Cards at the moment, getting ready for next year since I was quite terrible posting them this year (too much going on with my Full Time job and my personal life.

We are sharing New Releases at the moment for Time For Tea Designs, today I am sharing "Christmas Stocking" with you.


I haven't created many Christmas Cards this year, but this one is definitely in my top favourites.

I printed her on Mondi Color Copy 250 GSM using my Brother Laser Printer. I coloured her up using Copic Markers. (listed below).


I have used Patterned papers from my stash, I layered them using American Crafts Cardstock and adhered with Scotch ATG.
I have added a doily from stash drawer, unknown brand as they are all out of packets.

I fussy cut the image out using EK Cutterbee Scissors, and ran a Black Tombow Dual Ended marker around the edges to finish her off.


I cut a Red Circle and a white circle using My Favorite Things Wonky Stitched Circle Stax and layered them using Tombow Mono Multi Liquid Adhesive. I then adhered the image to the left of the two circles so I could fit a sentiment to the inner.

The sentiment is cut using My Favorite Things Merry Christmas Word Die and American Crafts Cardstock, once it was die cut I ran it through my Xyron Sticker Maker, then it was adhered the the circle. It was still missing something so I used my Martha Stewart Holly Punch and punched some scraps of Cardstock (I think they are Kaisercraft Colours), I adhered them using Tombow Mono Multi Liquid Adhesive and Marvy Jewel Picker to place the holly balls.

I then cut some patterned papers from American Crafts Hollyday 6x6inch Paper Pad using Caterpillar Pro and Mat layers of American Crafts Cardstock, I adhered them all down to a Pre-made Cardbase from Twiddleybitz.
I hope you have enjoyed my post today, if you have any questions feel free to send me a message or contact me via facebook (all links can be found below).

Copic Markers Used

E0000, E000, E00, E21, E11, E04, R20
E23, E25, E27, E29
E19
R81. R83, R85
R56, R59
R24, R46, R59
YR24, YR27
G03, G07, G28

Products Used On This Card

Time For Tea - Christmas Stocking
EK Success - Cutterbee Scissors

Tombow Marker
Marvy Jewel Picker
Kaiercraft Cardstock
American Crafts Cardstock
Martha Stewart - Holly Punch
My Favorite Things - Stitched Circle Stax
My Favorite Things - Merry Christmas Word Die

Nuvo Crystal Drops - Ruby Slippers
Nuvo Crystal Drops – Morning Dew   
American Crafts - Hollyday 6x6Inch Pad
Cutterpillar Pro


Thanks for stopping by, Deni

You can find my cards for sale here
https://www.facebook.com/angelhandmadepapercraft

My You Tube Here
https://www.youtube.com/user/Denielle1983/

My Blogs Here
Angel Handmade Papercraft http://angelhandmadepapercraft.blogspot.com.au/

Auzz Trinklets N Crafts http://auzztrinkletsnkrafts.blogspot.com.au/

Whimsy Stamps https://whimsystamps.blogspot.com.au/