Showing posts with label Cutterpillar Pro. Show all posts

Saturday, 17 July 2021

Whimsy Stamps - Dolphin Time

Hi Everyone,

Today I am sharing with you a card I have created using a Digital Stamp from Whimsy Stamps, part of Crissy Armstrong's Designs, this is the Dolphin from Whale Of A Time - this stamp set is available as both a rubber and a Digital Stamp so I will have both of them linked up in the picture links below. 


I printed the image onto X-Press It Blending Cardstock, I added some details using a white gel pen then ran it through my Sizzix Big Shot using a Lawn Fawn Stitched Circle die. I have linked up a few different brands incase you can't track this one down. 


I printed papers from Ahoy There Digital Paper set, also from Whimsy Stamps. I just printed them onto Copy paper, I knew I would be adding a few layers so it didn't matter too much that it was such thin paper. I had some bits and pieces from other projects also left over so I have also used some of those.


I cut down a layer of Canson blue cardstock to use as my mat layer, then adhered that to a Couture Creations Card Base using Helmar Acid Free liquid adhesive, then adding the star fish patterned paper piece.


Using an old punch from Martha Stewart - this is the Cherish Edge Punch, I just grabbed some leftover white card from another project a punched a strip, I then used my trimmer to cut down the top part because I had already adhered the patterned paper and it needed something else to finish it off. 


I used a sentiment from Whimsy Stamps Everyday Banner Sentiment Digital Collection which I had previously printed for other projects. 


I'm super happy with the way the card turned out, simple but effective. 


I used more of the patterned papers to decorate the inside of the card. 


I hope you have enjoyed my post today, if you have any questions feel free to send me a message or contact me via facebook (all links can be found below).


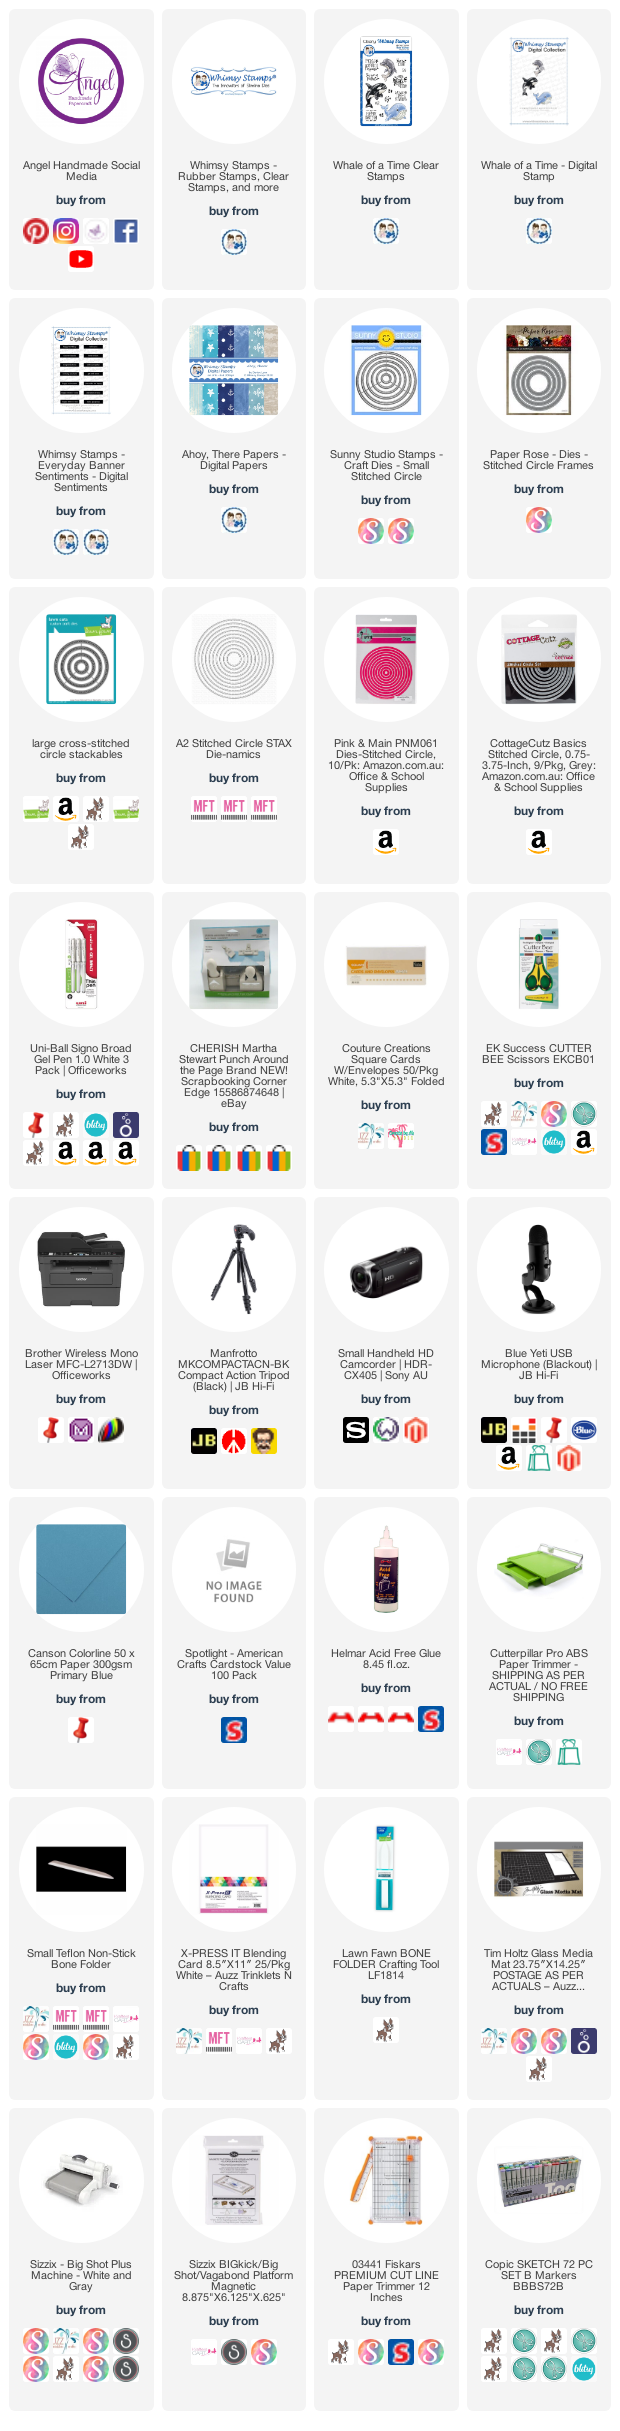
Products Used On My Card (Affiliate Links Used Where Possible)


Copic Markers Used

T1, T3, T4, T6

Thanks for stopping by, Deni

CAMERA SET UP - FOR YOU TUBE VIDEOS ONLY
Blue Yeti Microphone
Sony Handycam HDR CX4-05
Tripod – Manfrotto MKCompactaCN-BK

S O C I A L MEDIA 
B L O G : https://ldli.co/e/3xky6x 
I N S T A G R A M : https://ldli.co/e/5dn20x
YOU TUBE: https://ldli.co/e/ej5l90 
F A C E B O O K: https://ldli.co/e/mjxn2r
PINTEREST: https://ldli.co/e/2l9zom


I was a 2018 Ambassador for Copic Marker Australia and NZ


Saturday, 8 May 2021

Whimsy Stamps Lets Go a Hunting

Hi Everyone, I cannot believe the first week of May is already almost done.. the year is flying through.

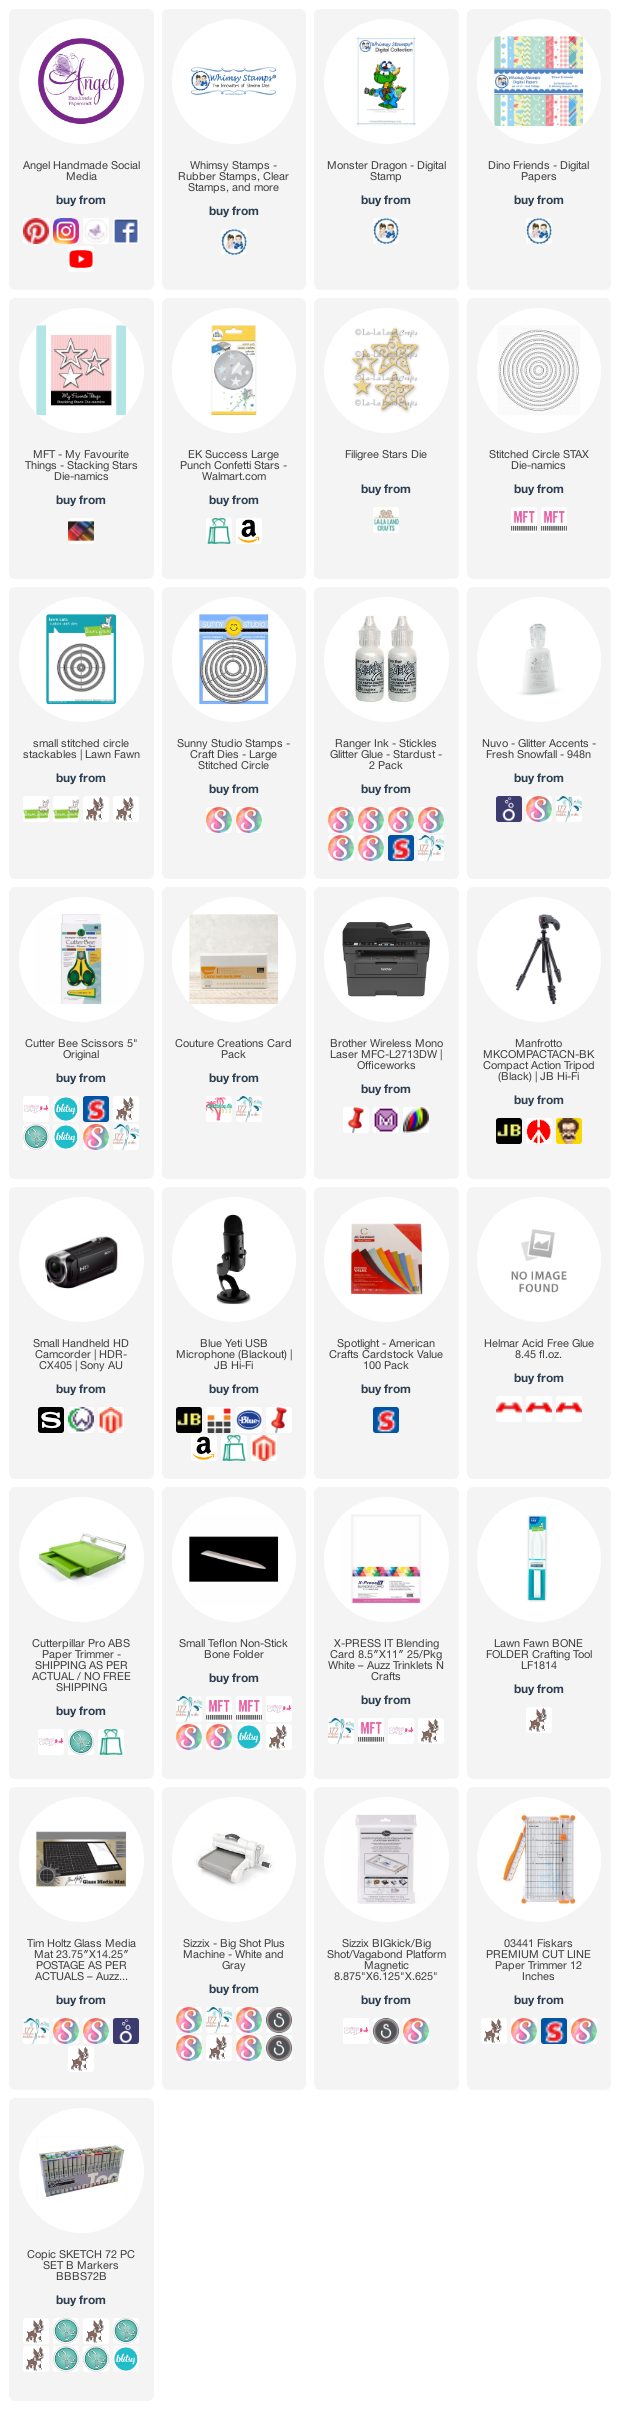
Today I created a card using Monster Dragon from Whimsy Stamps Dustin Pike Collection, such a gorgeous little image.. I may be a little bias though because I absolutely love all of Dustin's images :-)


I printed the image onto X-Press It Blending Cardstock using my Brother Laser Printer, then coloured him up using Copic Markers. 


I think he is super adorable! I did use quite a few markers colouring him up but it was well worth it :-)


I ran him through my Sizzix Big Shot using a Lawn Fawn Stitched Circle die, I will link up a few different companies versions for you. 

Once I had him cut out I realised he needed some shadow grounding so pulled out some of my W Markers and added that underneath him.


I printed out some patterned papers from Whimsy Stamps Digital Collection - this is the Dino Collection


I trimmed some down, banners created using EK Success Cutterbee Scissors. I also used some leftovers of X-Press it and created some white banners for the top corner. 


I went through my little tub of extra die cuts and pulled out a few stars to attach to the front of my card.


I added some Derivan Kindy Glitz to the stars - you can use other products like Stickles etc to get the same effect. I also used the same to "light up" the torch.


The sentiment is part of the digital stamp set, I trimmed it down to a rectangle and adhered it using Helmar Acid Free. 


I trimmed down some green American Crafts Cardstock to use as a matte layer then adhered all the layers to a Couture Creations Card Base. 


I used leftovers of the Digital Papers to decorate the inside of my card to match.


I hope you have enjoyed my post today, if you have any questions feel free to send me a message or contact me via facebook (all links can be found below).


Watch the You Tube Video Here


Products Used On My Card (Affiliate Links Used Where Possible)


Copic Markers Used


BG13, BG07, BG78
E31, E34, E37, E49
YG05, YG09, G28
Y02, Y35, Y38
T3, T5, 0 Colorless Blender
W1, W4

Thanks for stopping by, Deni

CAMERA SET UP - FOR YOU TUBE VIDEOS ONLY
Blue Yeti Microphone
Sony Handycam HDR CX4-05
Tripod – Manfrotto MKCompactaCN-BK

S O C I A L MEDIA 
B L O G : https://ldli.co/e/3xky6x 
I N S T A G R A M : https://ldli.co/e/5dn20x
YOU TUBE: https://ldli.co/e/ej5l90 
F A C E B O O K: https://ldli.co/e/mjxn2r
PINTEREST: https://ldli.co/e/2l9zom


I was a 2018 Ambassador for Copic Marker Australia and NZ


Wednesday, 28 April 2021

Whimsy Stamps - Get Well Bunny

Good Morning Everyone,


I began by printing the image onto X-Press It Blending Cardstock then colouring it up using Copic Markers (I will have a full list of markers used at the end of this post). 


Once I had the image coloured up I fussy cut him using my EK Success Cutterbee Scissors, These are my go to when it comes to fussy cutting, they have a nice sharp point making it easier to get that smooth cut. 


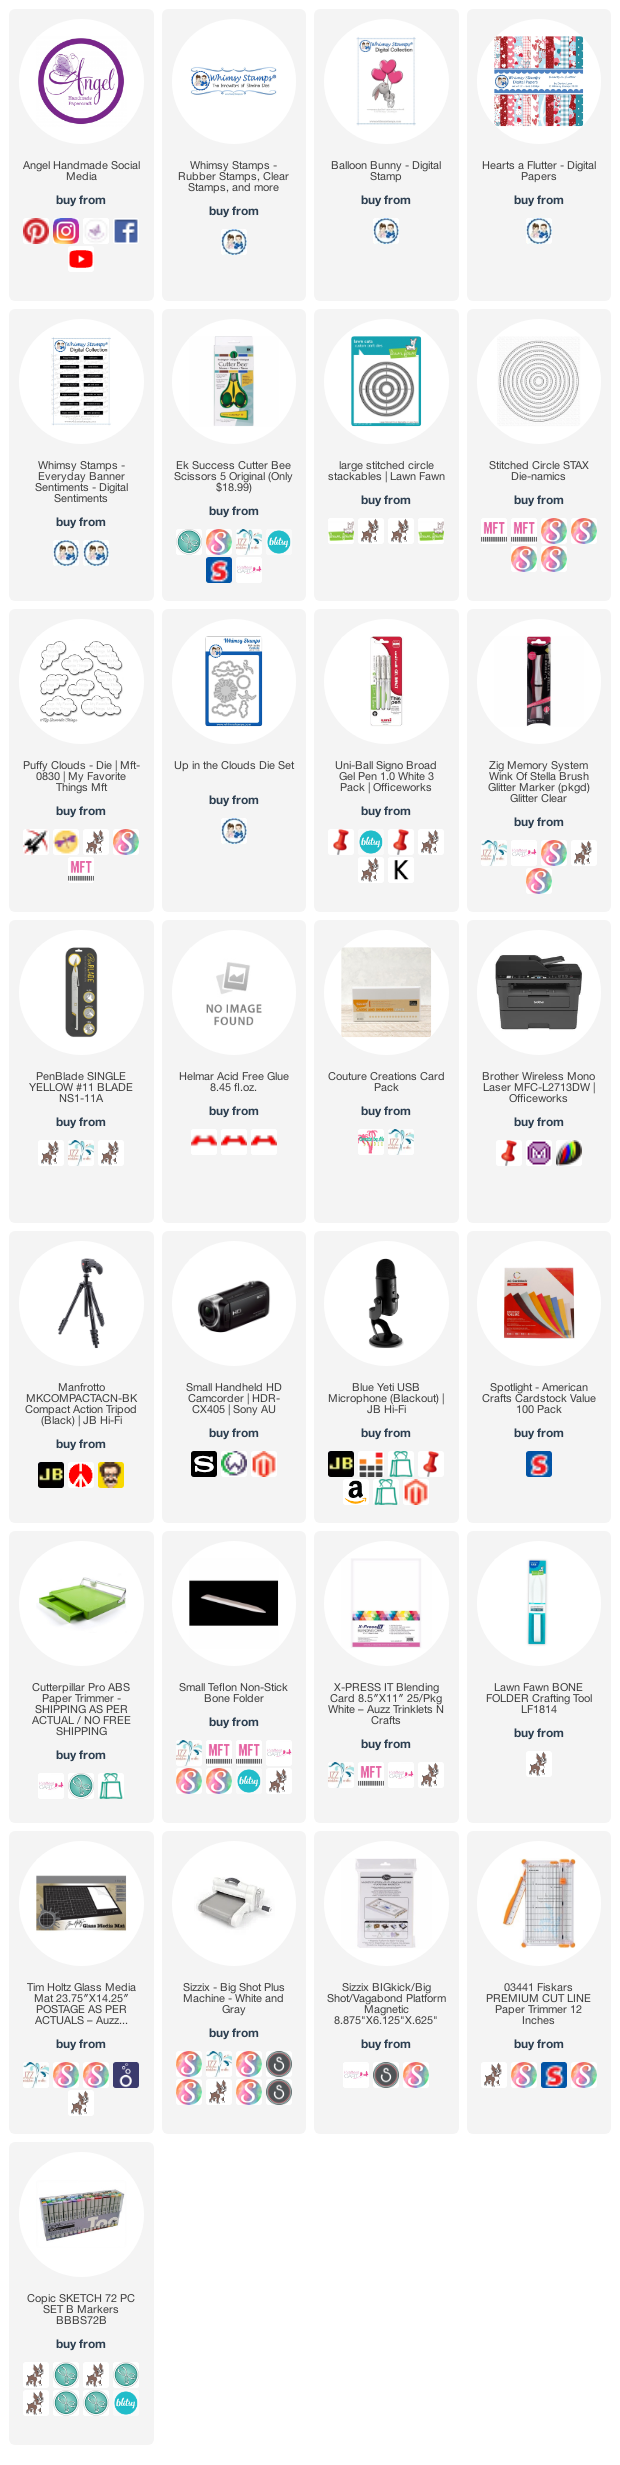
I printed Digital Papers from the Hearts A Flutter Digital Paper Set onto Copy Paper, nothing fancy just cheap paper.


I trimmed the papers down then ran the flying hearts through my Sizzix Big Shot using a Lawn Fawn Stitched Circle Die, I have linked up a few other options for you in the picture links below. 


I have a little bowl in my drawer next to my desk that I keep all my extra die cuts in and found these puffy clouds from MFT Stamps (I have also listed other brands of those to help you out). 


I coated the balloons in Wink Of Stella Clear, I love this as it dries quickly so there is no chance of smudging, just be careful using it over gel pen, I went around it and not over it to prevent and smudging. 


I cut down some matte layers from Kaisercraft and American Crafts and used a Card Base from Couture Creations. 


Using my Helmar Acid Free Liquid Adhesive I adhered all the layers to my card base. I did take a photo of my layout before I moved anything to begin the adhering just incase I messed up where everything had come from. 


I used leftovers of the patterned paper to decorate the inside of the card also. 


I love the way the card turned out, don't forget to head over and check out the Whimsy Stamps Shop for lots more great goodies


I hope you have enjoyed my post today, if you have any questions feel free to send me a message or contact me via facebook (all links can be found below).

Watch the You Tube Video Here


Products Used On My Card (Affiliate Links Used Where Possible)


Copic Markers Used

T1, T3, T5
0 Colorless Blender
R81, R83, R85

Thanks for stopping by, Deni

CAMERA SET UP - FOR YOU TUBE VIDEOS ONLY
Blue Yeti Microphone
Sony Handycam HDR CX4-05
Tripod – Manfrotto MKCompactaCN-BK

S O C I A L MEDIA 
B L O G : https://ldli.co/e/3xky6x 
I N S T A G R A M : https://ldli.co/e/5dn20x
YOU TUBE: https://ldli.co/e/ej5l90 
F A C E B O O K: https://ldli.co/e/mjxn2r
PINTEREST: https://ldli.co/e/2l9zom


I was a 2018 Ambassador for Copic Marker Australia and NZ


Thursday, 18 March 2021

La La Land Crafts - Awareness Marci

Hi Everyone,

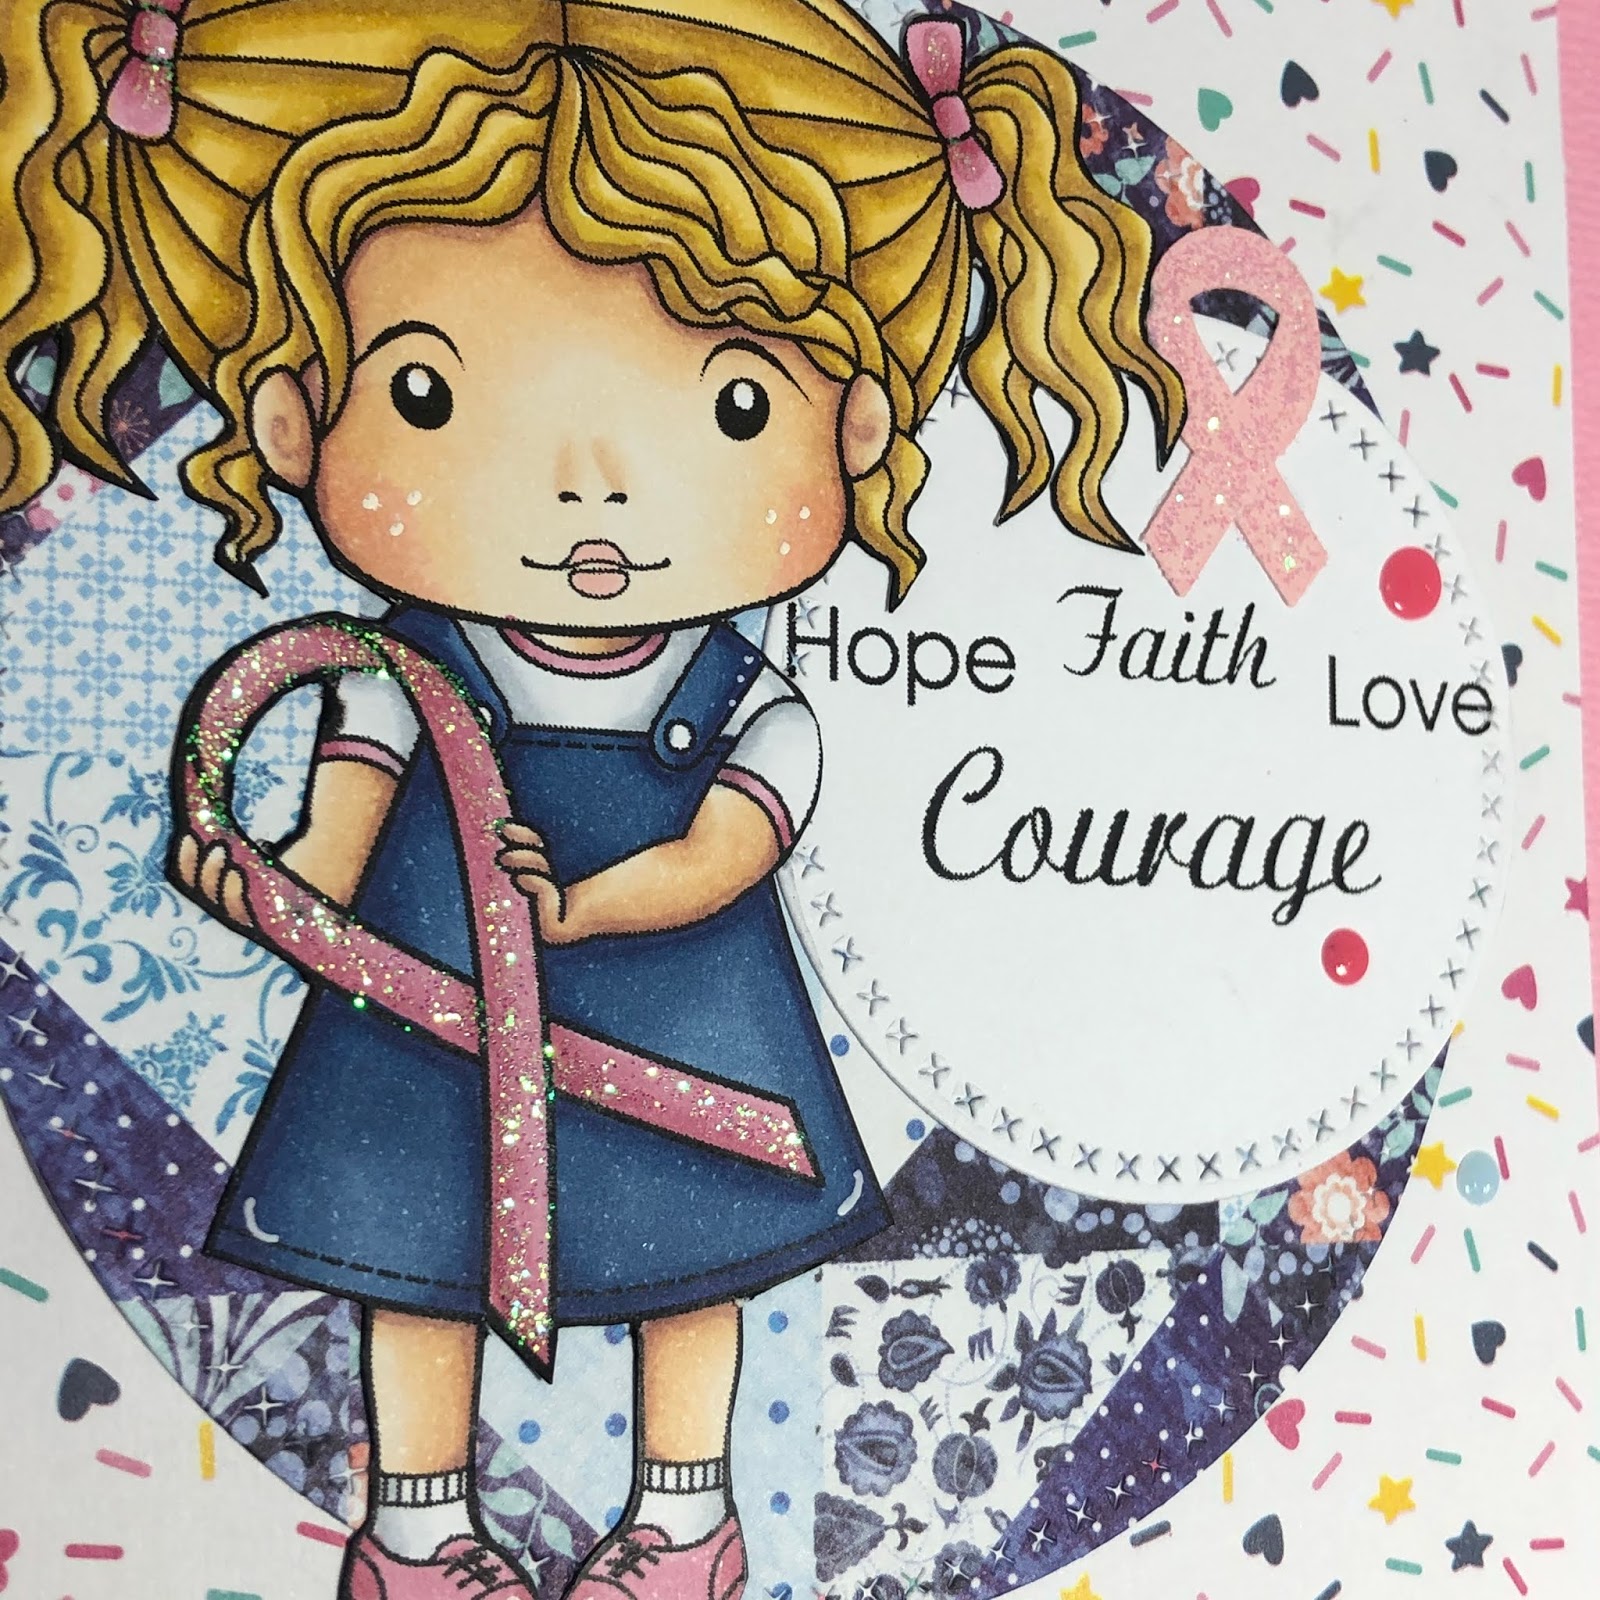
Today I am working on a card using a Digital stamp from La La Land Crafts, this is Awareness Marci.


I printed the image onto X-Press It Blending Cardstock using my Brother Laser Printer, then coloured her using Copic Markers. I coloured this one a while ago so I do not have the list of markers used. 

I fussy cut the image using my EK Success Cutterbee Scissors, I didn't want any white outline so I cut all the way up to the line then used a Tombow marker to go around the outside and make sure it is all covered. 


I used pink cardstock from Kaisercraft for the base layer.


I ran some patterned papers from The Craft Stall though my Sizzix Big Shot - I used a MFT Stamps crossed stitched circle stax for the denim looking paper and the sentiment (part of the stamp set)


I added Wink of Stella to the pink ribbons and to her bows.


The little pink ribbon I added to the sentiment is a hole punch, I couldn't find anything similar to link up - I do apologise I have had this for almost 10 years. 


I used Tonic Studios Nuvo Crystal Drops in Blue Babe and Carnation Pink to add some enamel dots.


I used leftovers of the patterned papers to decorate the inside of the card. 


I went in add added some details to the image whilst it was drying - using a Uni-Ball Signo white gel pen.


I hope you have enjoyed my post today, if you have any questions feel free to send me a message or contact me via facebook (all links can be found below).


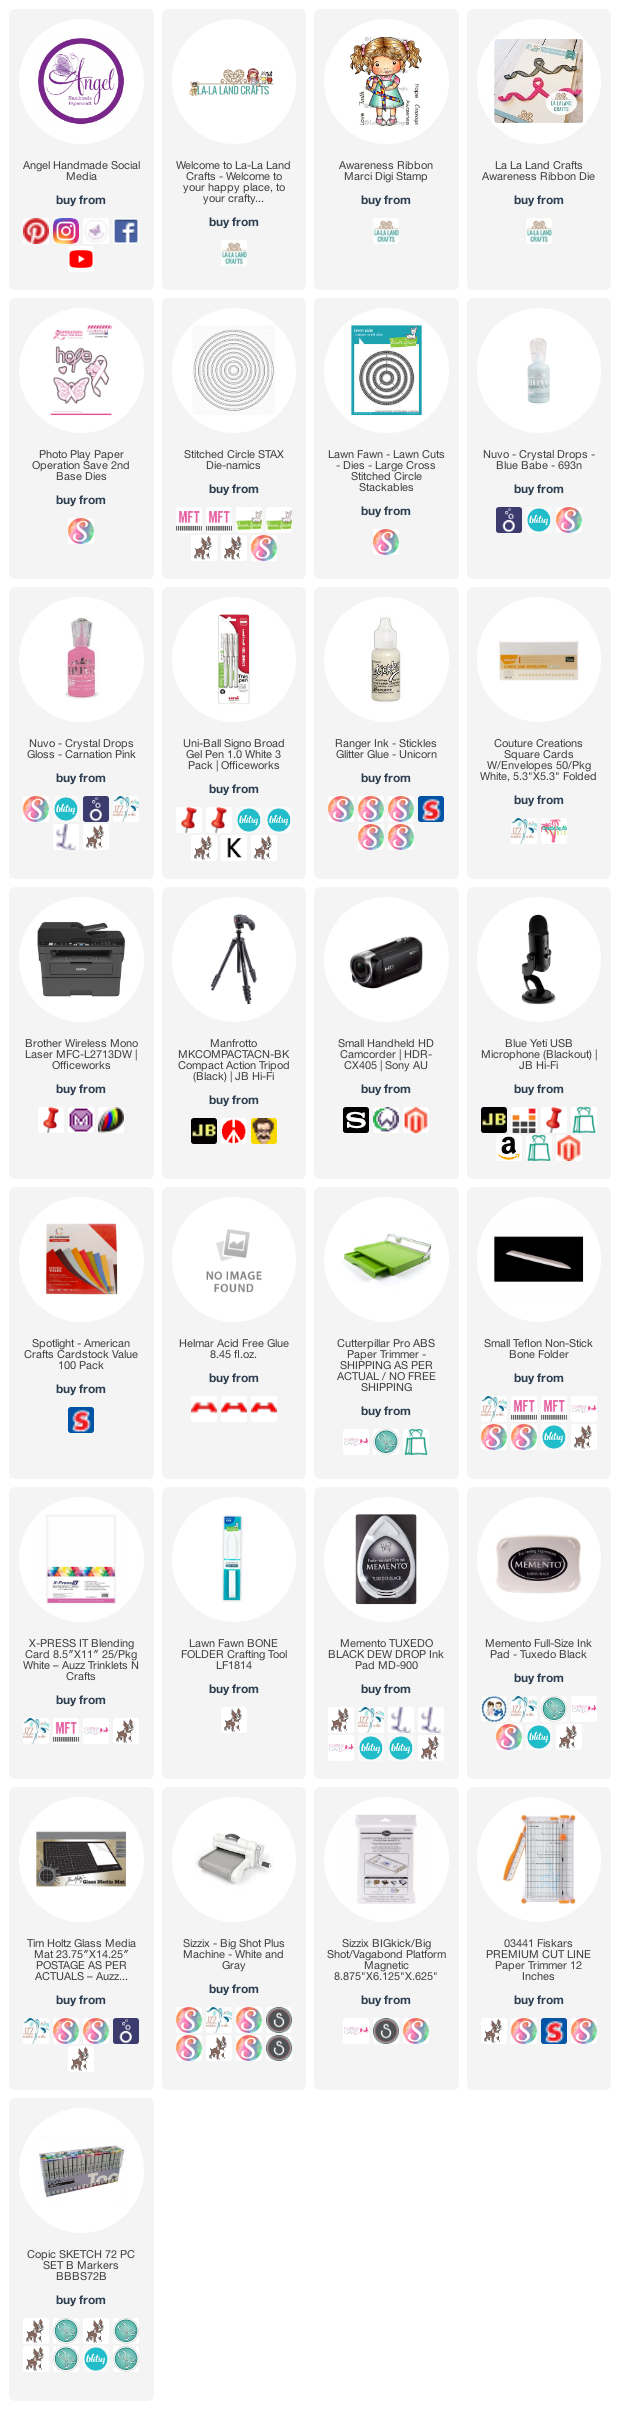
Products Used On My Card (Affiliate Links Used Where Possible)


Copic Markers Used

sorry no list today

Thanks for stopping by, Deni

CAMERA SET UP - FOR YOU TUBE VIDEOS ONLY
Blue Yeti Microphone
Sony Handycam HDR CX4-05
Tripod – Manfrotto MKCompactaCN-BK

S O C I A L MEDIA 
B L O G : https://ldli.co/e/3xky6x 
I N S T A G R A M : https://ldli.co/e/5dn20x
YOU TUBE: https://ldli.co/e/ej5l90 
F A C E B O O K: https://ldli.co/e/mjxn2r
PINTEREST: https://ldli.co/e/2l9zom


I was a 2018 Ambassador for Copic Marker Australia and NZ