As we move our way through the end of the year, which I cannot believe that we are this close to the end by the way, I have been trying to get lots of cards made making sure I am all stocked up before the holidays hit us. I'm excited to work on Christmas Cards for the next couple of months.
This week I have been playing with some Whimsy Stamps rubber stamps (something a little different from my Digi Design Team position) I have loved Whimsy Stamps since I first started stamping so I love my position with them so much.

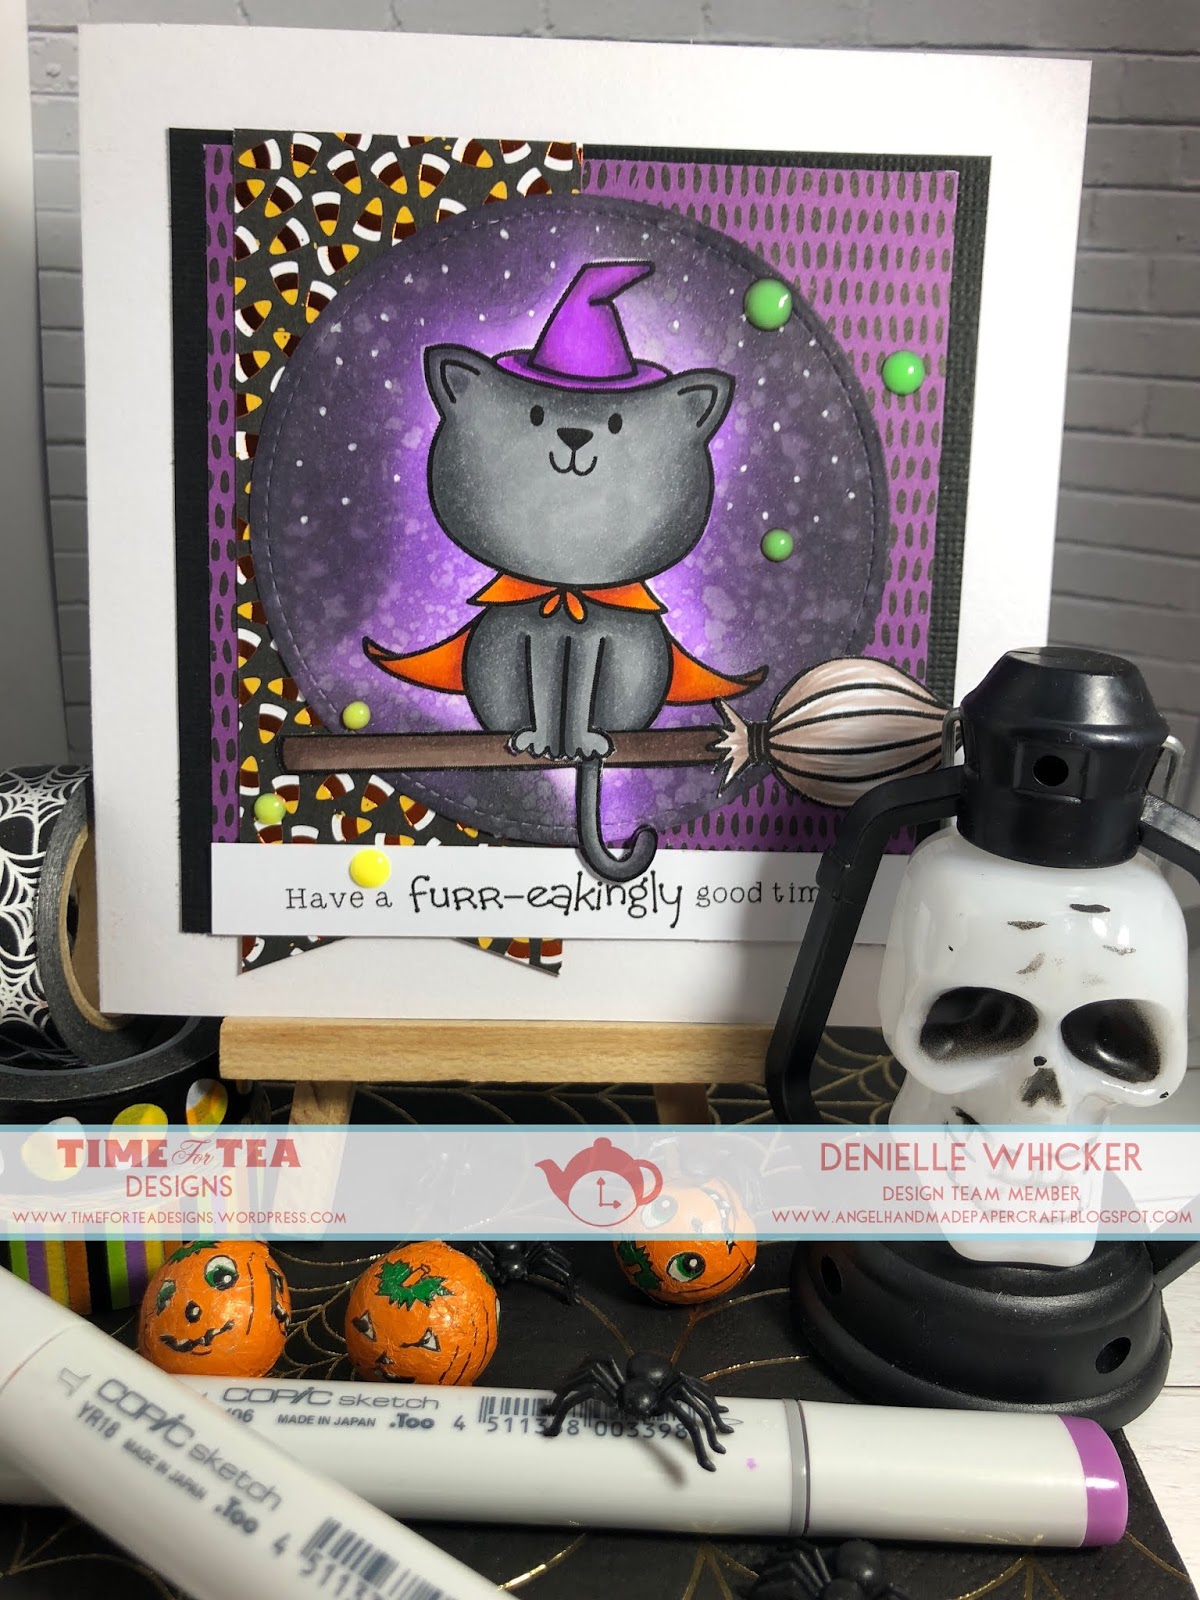
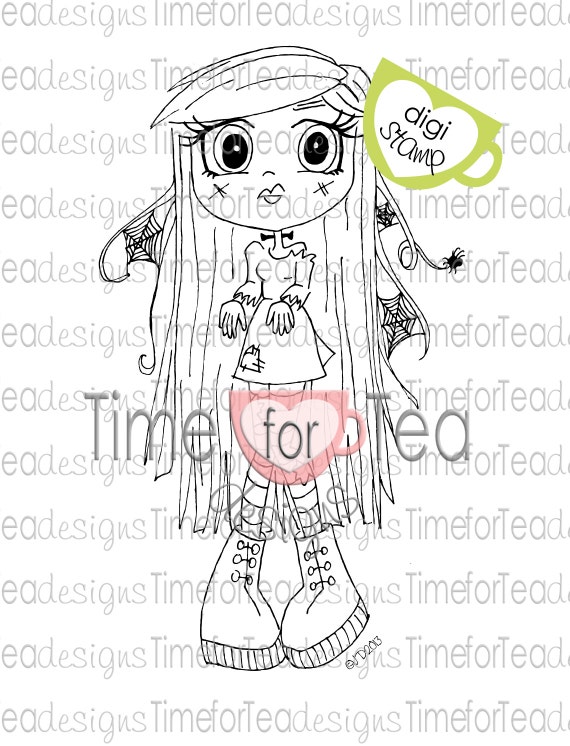
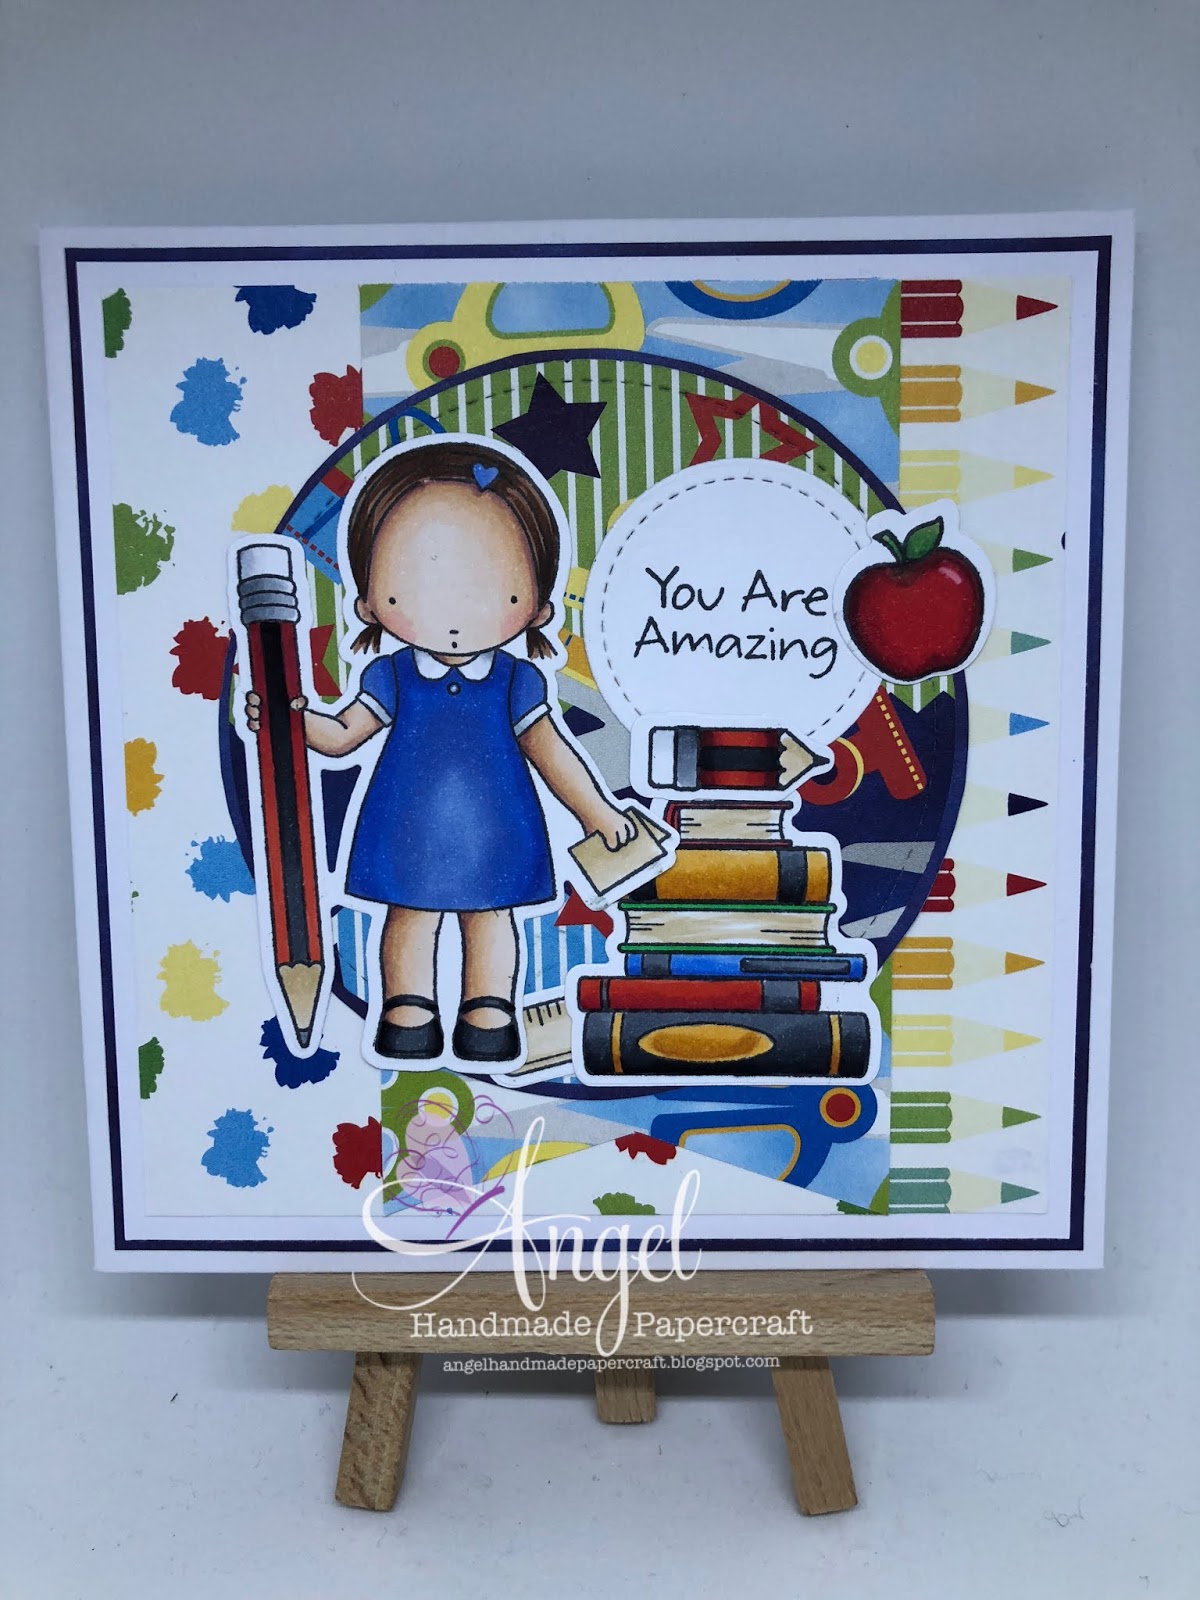
Today I have used a Rubber Stamp called Flower Garden Friends, I stamped it onto X-Press It Blending Cardstock using Memento Tuxedo Black then coloured it up using Copic Markers. Seriously though how cute is this stamp :-)
I will have clickable links to purchase the image below my blog post :-)
Some more info on this stamp "Flower Garden Friends" illustrated by Marina Fedotova for Whimsy Stamps.
Deeply etched rubber mounted on cling cushion foam, untrimmed. Approximate size in inches: 3.3 x 3.7

Once my image was all coloured up I cut it down to size using my Fiskars Surecut Trimmer. I then grabbed a patterned paper pad from American Crafts called "Autumn Crisp", it is a 6x6 paper pad, I ran a small piece of leftover through my Sizzix Big Shot using Lawn Fawn Stitched Circle dies and cut some other pieces down to size. I cut a plain piece of Kaisercraft Cardstock and adhered all the layers down to a Twiddleybitz Card Base (no longer available to purchase sorry).
Once my image was all coloured up I cut it down to size using my Fiskars Surecut Trimmer. I then grabbed a patterned paper pad from American Crafts called "Autumn Crisp", it is a 6x6 paper pad, I ran a small piece of leftover through my Sizzix Big Shot using Lawn Fawn Stitched Circle dies and cut some other pieces down to size. I cut a plain piece of Kaisercraft Cardstock and adhered all the layers down to a Twiddleybitz Card Base (no longer available to purchase sorry).
The circle and the small strip I adhered using some American Tombow Mono Multi Liquid Adhesive just so I was able to slightly move them if needed.
I then adhered the last layers and the image. I cut the excess pieces hanging off the sides using EK Success Cutterbee scissors. Finally I used some excess pieces to decorate the inside of my card.
I hope you have enjoyed my post today, if you have any questions feel free to send me a message or contact me via facebook (all links can be found below).
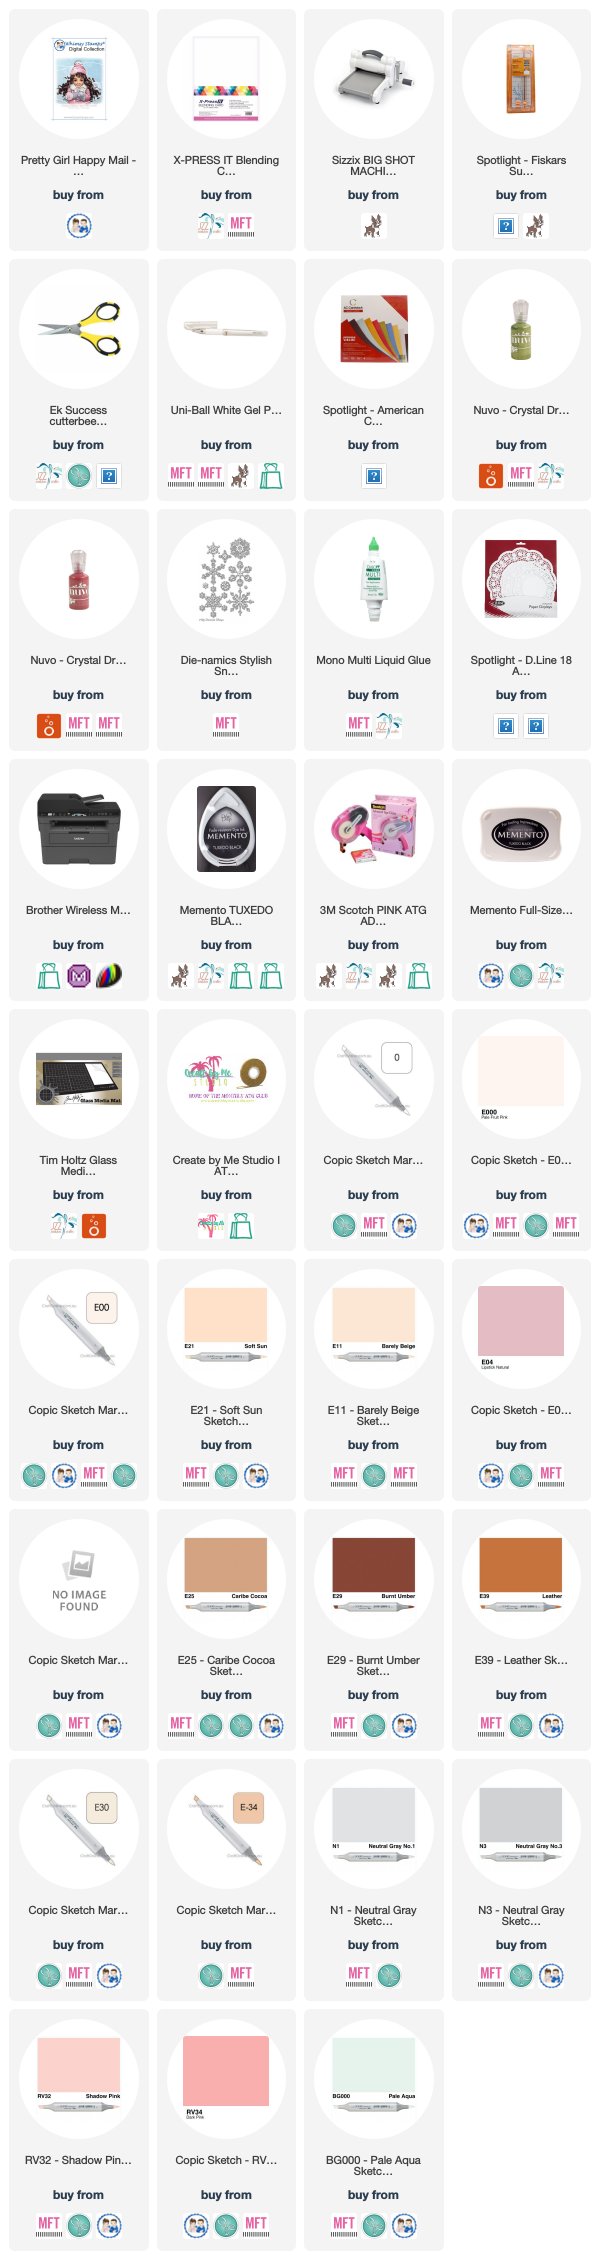
Products Used On My Card (Affiliate Links Used Where Possible)

E000, E00, E21, E11, E04, R20
W6, W3, 0
W2, W4, W6
C6, C8, C10, 100
V04, V06, V09
W3, W00, W0, R20
Y15, Y19, Y38
RV17
R81, R85
E31, E35
G82, G28
E74, E77, E79
Thanks for stopping by, Deni
CAMERA SET UP - FOR YOU TUBE VIDEOS ONLY
Blue Yeti Microphone
Sony Handycam HDR CX4-05
Tripod – Manfrotto MKCompactaCN-BK
S O C I A L MEDIA
B L O G : http://angelhandmadepapercraft.blogspot.com.au/
I N S T A G R A M : http://instagram.com/angelhandmadepapercraft
F A C E B O O K: http://www.facebook.com/angelhandmadepapercraft
PINTEREST: https://www.pinterest.com.au/angelhandmadepapercraft
PERSONAL BLOG
ANGEL HANDMADE PAPERCRAFT: http://angelhandmadepapercraft.blogspot.com.au/
I am an Ambassador for Copic Marker Australia and NZ
Current sale over at Cricut.com - Halloween flash sale! 50% off materials, accessories, and more! Valid 10/24-10/30.