Showing posts with label Francheville. Show all posts

Wednesday, 17 November 2021

Whimsy Stamps - Get My Monkeys

Good Morning Everyone, 

Sorry I'm late in posting this week. 

Today I am sharing with you Get My Monkeys from Whimsy Stamps. For something different I have coloured him up using Graphic Markers from Kmart Anko Collection. I printed the image onto X-Press It Blending Card so I had the same effect as Copic Markers.


They are very similar to Copic Markers in that you still blend them much the same however they have more of a bullet type end a bit wider then the Copic Markers, 


I have a list of all the Graphic Markers at the end of this post if you are interested, including picture links the the sets available, there is a couple of different sets, I would recommend getting all of them as they make up the blends better than what you get in each of the sets. 


I did have to do 2 takes on the colouring of this image because I list some of my video when my camera battery went flat and it had an issue with the Memory Card.


Using the same markers I coloured the background, I wanted it a little more spooky looking, it did take quite a few layers of the markers to get a nice smooth black background. I added some detail to the card using a White Gelly Roll Pen.

I cut some stars from EK Success Star Confetti and also graved some white ones from my little leftovers bowl.

I grabbed some patterned papers from my Whimsy Stamps Digital Papers pile, I always pop all the leftovers into one tub so I know where they are from and trying not to mixx and match. I couldn't find the set that these ones came from but they are Whimsy papers. 


I adhered all the layers to a Kraft Cardstock layer then adhered all of the layers to a Couture Creations card base. I used leftovers of the same patterned papers to decorate the inside of the card. 

I hope you have enjoyed my post today, if you have any questions feel free to send me a message or contact me via facebook (all links can be found below).

Watch the You Tube Video Here


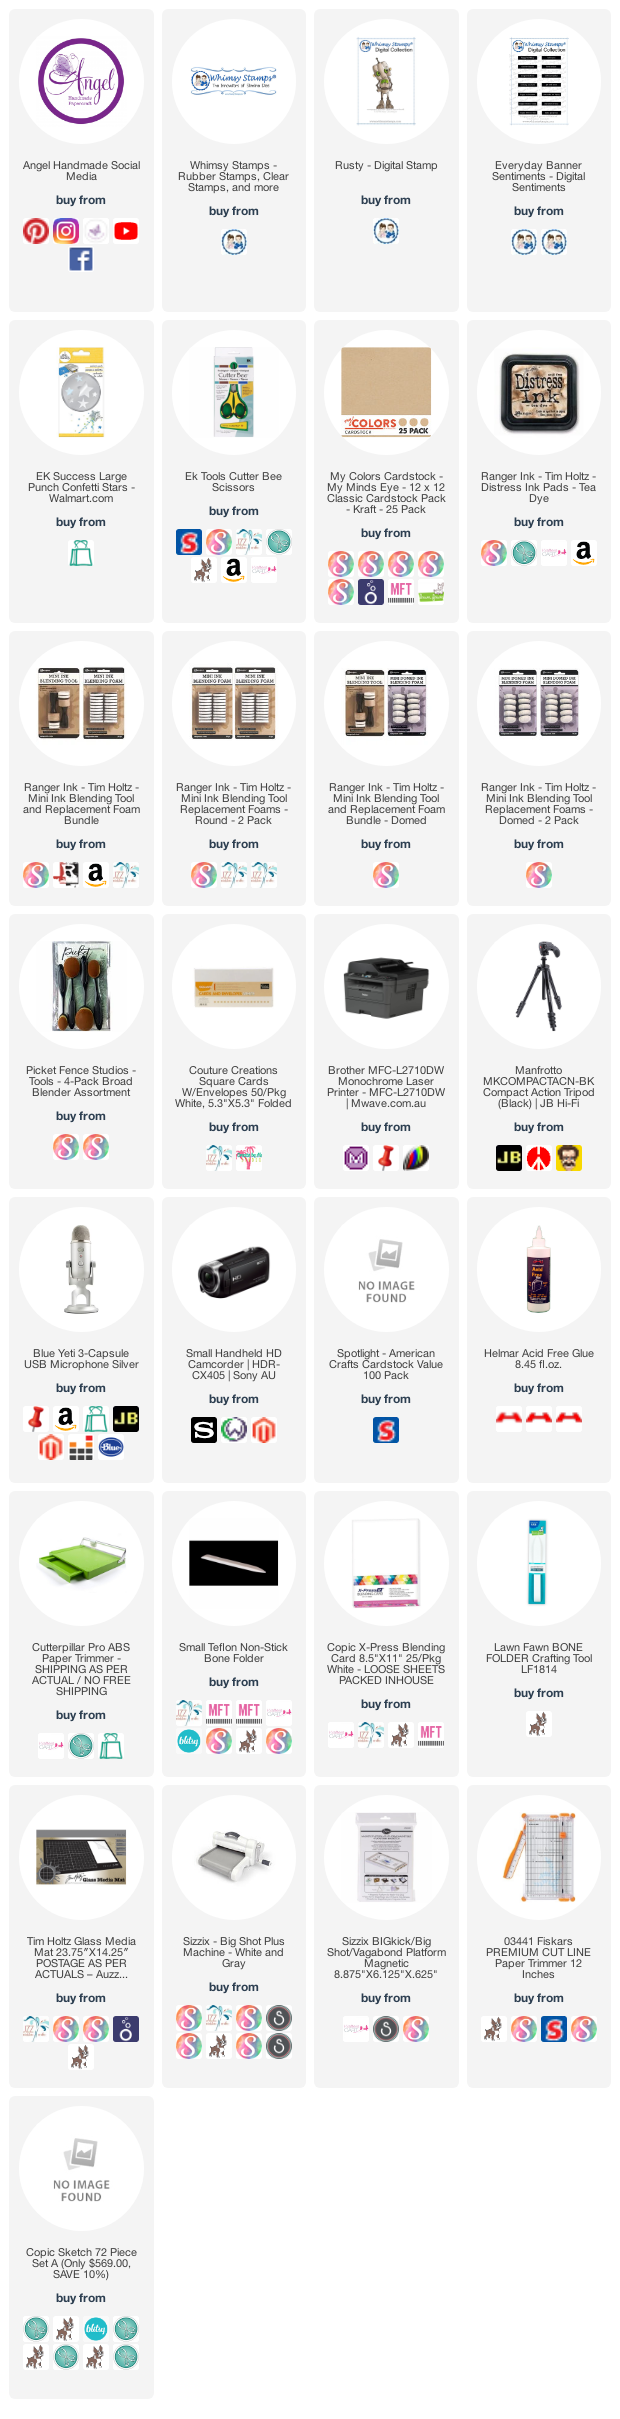
Products Used On My Card (Affiliate Links Used Where Possible)


Graphic Markers Used

183, 74
E33, E37, E29
C3, C5, C7, C9
W1, W5
0 Colorless Blender

Thanks for stopping by, Deni

CAMERA SET UP - FOR YOU TUBE VIDEOS ONLY
Blue Yeti Microphone
Sony Handycam HDR CX4-05
Tripod – Manfrotto MKCompactaCN-BK

S O C I A L MEDIA 
B L O G : https://ldli.co/e/3xky6x 
I N S T A G R A M : https://ldli.co/e/5dn20x
YOU TUBE: https://ldli.co/e/ej5l90 
F A C E B O O K: https://ldli.co/e/mjxn2r
PINTEREST: https://ldli.co/e/2l9zom


I was a 2018 Ambassador for Copic Marker Australia and NZ


Friday, 3 September 2021

Whimsy Stamps - Father's Day Rusty

Hi Everyone, 


This Sunday in Australia is Father's Day and I couldn't help but pull out and colour up PC Rusty from Whimsy Stamps. 


I had fun colouring this image up using Copic Markers and making a clean and simple background. 


I began by printing up the image onto X-Press It Blending Cardstock, this is completely Copic safe and will not ruin your markers. I then coloured him up, I will have a full list of Copic Markers used at the bottom of my blog post. I fussy cut the image using EK Success Cutterbee Scissors, theses are my go to scissors for fussy cutting.


I even pulled out one of my Florescent Copic Markers to colour the lit up areas in my image and I love the way it turned out, and the rusty look was perfect. 


I pulled out some American Crafts Black cardstock and some Franchevill Kraft Cardstock to create some matte layers, I couldn't find any papers that caught my eye so decided to make my own. I had already cut and ended up cutting some more stars out of the extra black cardstock and had this great idea to use the negative as a stencil.


I pulled out some Tim Holtz Distress Ink in Tea Dye, a mini ink blending tool and began inking up the background. 


I had some leftover sentiments from another project - this is from the Everyday Banner Sentiment Set, trimmed it down using my EK Success Cutterbee Scissors. I adhered the sentiment to the underside of ny image so I could make sure to have it perfect before I adhered anything to my patterned paper. 


I then adhered the image and sentiment down to my patterned paper using Helmar Acid Free Liquid Adhesive. Using all the stars that I had already punched out using a EK Success Star Confetti Punch I adhered them all around my image to finish it off. 


I used leftovers of the same papers and cardstocks to decorate the inside of the card.


I hope you have enjoyed my post today, if you have any questions feel free to send me a message or contact me via facebook (all links can be found below).

Watch the You Tube Video Here


Products Used On My Card (Affiliate Links Used Where Possible)


Copic Markers Used

W0, W2, W4
C1, C3, C6
T7, T10
FYG1
0 Colorless Blender

Thanks for stopping by, Deni

CAMERA SET UP - FOR YOU TUBE VIDEOS ONLY
Blue Yeti Microphone
Sony Handycam HDR CX4-05
Tripod – Manfrotto MKCompactaCN-BK

S O C I A L MEDIA 
B L O G : https://ldli.co/e/3xky6x 
I N S T A G R A M : https://ldli.co/e/5dn20x
YOU TUBE: https://ldli.co/e/ej5l90 
F A C E B O O K: https://ldli.co/e/mjxn2r
PINTEREST: https://ldli.co/e/2l9zom


I was a 2018 Ambassador for Copic Marker Australia and NZ


Wednesday, 1 September 2021

Whimsy Stamps September New Release

Hi Everyone!

Today I am sharing with you a card I created for the Whimsy Stamps September New Release.


I have used the Digital Version of Aussie Friends Set which you can purchase here, this stamp set is also available as a Rubber Stamp Set, which you can purchase here. 


You may remember his stamp set was originally released as a Fundraiser for the Australian Bush Fires about 2 years ago maybe, I am an Australian myself so was super proud to be part of the fundraiser. If you are in a position to help with Australian Fundraising Efforts for our Koala's you can do so using this link. 

I printed the Wombat Image onto X-Press It Blending Cardstock using my Brother Laser Printer. I also created a sentiment using the Pages App on my MacBook Air. 


Once I had the image printed I used my Copic Markers to colour the image up - I will have a full list of markers used underneath my Blog Post.


I printed Digital Papers from Rustic Wood & Brick Digital Papers - also from Whimsy Stamps Digital Collection onto Copy Paper, no fancy paper quality  as I knew I was going to be layering them up. 


I ran my image through my Sizzix Big Shot using a Stitched Circle die, I will link up a few different options. 


Once I cut the image out and trimmed down my sentiments I decided I really wanted to put the sentiment underneath the image but without covering too much of the image it wasn't going to work so I used my Penblade to fussy cut the bottom of the image and slide the sentiment underneath. I did apply a little Helmar Acid Free liquid adhesive so nothing would peel up. 


I trimmed down layers of American Crafts Cardstock in a Dark Brown, and some Francheville Kraft Cardstock. I added some gold ribbon underneath the sentiment and finishing adhering all the layers. I mainly used the Helmar Adhesive however needed ATG tape adhesive to adhere the ribbon to the sentiment. 


I used a Uni-Ball White Gel Pen to add some extra details to the image and finish him off. 


I used leftovers of the same Digital Papers to decorate the inside of the card. 


I love the way that the card turned out.


I also wanted to share some pics of the cards I had made previously with this set.


I hope you have enjoyed my post today, if you have any questions feel free to send me a message or contact me via facebook (all links can be found below).

Watch the You Tube Video Here


You can watch the videos of my previous cards in the following 2 videos :-)


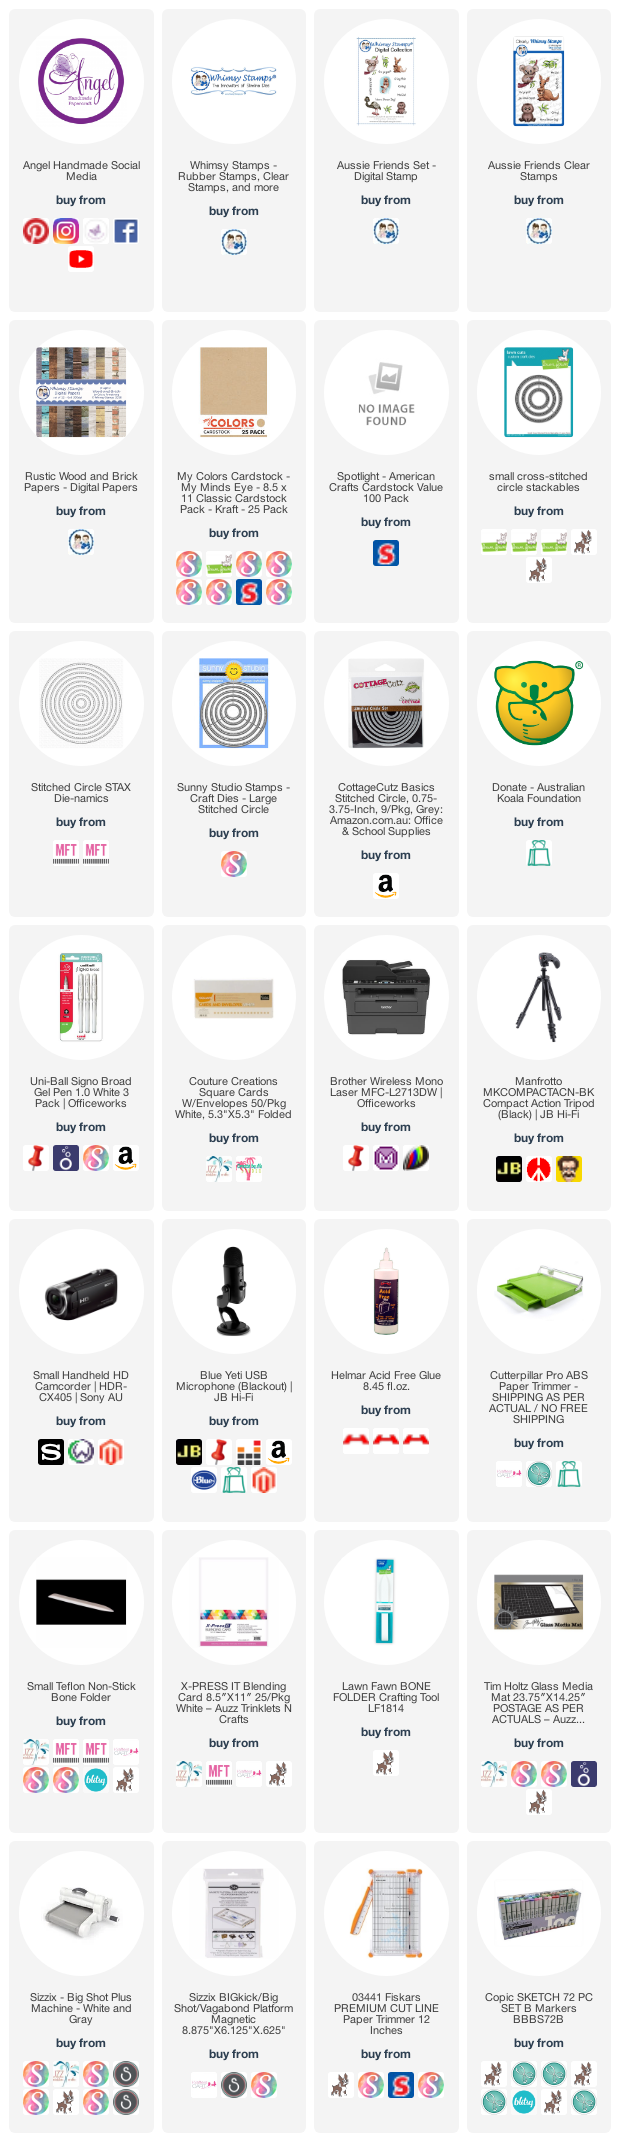
Products Used On My Card (Affiliate Links Used Where Possible)


Copic Markers Used

E71, E74, E77, E79
R30
B34
0 Colorless Blender

Thanks for stopping by, Deni

CAMERA SET UP - FOR YOU TUBE VIDEOS ONLY
Blue Yeti Microphone
Sony Handycam HDR CX4-05
Tripod – Manfrotto MKCompactaCN-BK

S O C I A L MEDIA 
B L O G : https://ldli.co/e/3xky6x 
I N S T A G R A M : https://ldli.co/e/5dn20x
YOU TUBE: https://ldli.co/e/ej5l90 
F A C E B O O K: https://ldli.co/e/mjxn2r
PINTEREST: https://ldli.co/e/2l9zom


I was a 2018 Ambassador for Copic Marker Australia and NZ


Saturday, 6 February 2021

Whimsy Stamps - Dragon's BBQ

Hi Everyone,

Today I have created a male card using Dragon's BBQ from Whimsy Stamps, this is a Digital Stamp.


I printed the image onto X-Press It Blending Cardstock and coloured it using Copic Markers. 


Using patterned papers from Kaisercraft Garage Days Collection I trimmed down some layers, one I used my EK Success cutter bee scissors to banner up. 


I used a Lawn Fawn Stitched Circle die and ran through some American Crafts cardstock, I only needed the top half so wasn't too worried about it being cut perfectly. 


I cut down a matte layer for underneath the patterned paper using Francheville Kraft Cardstock


I used the same Kraft Cardstock to cut down a scallop layer for underneath the image.


The sentiment is from the same patterned paper pad.


I used the same patterned papers to decorate the inside of the card.


I added some Nuvo Crystal Drops to the front of the card and it was all complete.


I hope you have enjoyed my post today, if you have any questions feel free to send me a message or contact me via facebook (all links can be found below).

Watch the You Tube Video Here


Products Used On My Card (Affiliate Links Used Where Possible)


Copic Markers Used

N0, N1, N4
R14, R17
Y02, Y19, R17
N5, N8, N0
B12, B14, B16

Thanks for stopping by, Deni

CAMERA SET UP - FOR YOU TUBE VIDEOS ONLY
Blue Yeti Microphone
Sony Handycam HDR CX4-05
Tripod – Manfrotto MKCompactaCN-BK

S O C I A L MEDIA 
B L O G : https://ldli.co/e/3xky6x 
I N S T A G R A M : https://ldli.co/e/5dn20x
YOU TUBE: https://ldli.co/e/ej5l90 
F A C E B O O K: https://ldli.co/e/mjxn2r
PINTEREST: https://ldli.co/e/2l9zom


I was a 2018 Ambassador for Copic Marker Australia and NZ


Friday, 5 February 2021

The Greeting Farm - Perfect Day

Here is a gorgeous little Mermaid from The Greeting Farm, this one in particular is not available to purchase any more but I do have links for another one which is very similar - Coralina Merbean, she is also a Digital Stamp. 


I coloured her up a while ago so do not have any video of the colouring but you can watch the rest of the card process on my You Tube Channel, you can watch it via this link or the direct video is down below to watch within this blog post.

I fussy cut the image using EK Success Cutterbee Scissors, my tip for this is to move the image rather than the scissors this will give you a nice smooth cut.

Using Kaisercraft Coastal Escape patterned papers - I used the 6.5" Paper Pad as they are more suited to my card sizes. I cut the papers down and matted them using Kraft Cardstock from Francheville, I will have some other brands linked up also.

I added a doily from my stash in between the layers. 


I used a Couture Creations Card Base to start my card off, I used Scotch ATG to adhere all the larger sizes and I then adhered the image to a Lawn Fawn Stitched Circle which I had cut using leftovers of X-Press It Blending Cardstock. 


All the Under The Sea die cuts are from Magnolia Doohickeys Box 26, I have linked this below but from what I can see they are all sold out. 


From the same Kaisercraft Patterned Paper Pad I trimmed down the Wishing You A Perfect Day Sentiment using my EK Success Cutterbee Scissors.


I added some Derivan Kindyglitz to the star fish in her hair and to her gorgeous little outfit.


Finally I used more of the same patterned papers to decorate the inside of the card. 


I hope you have enjoyed my post today, if you have any questions feel free to send me a message or contact me via facebook (all links can be found below).

Watch the You Tube Video Here


Products Used On My Card (Affiliate Links Used Where Possible)


Copic Markers Used

E000, E00, E21, E11, E04, R20
Y13, Y26, E35
E71, E74, E77, E79

Thanks for stopping by, Deni

CAMERA SET UP - FOR YOU TUBE VIDEOS ONLY
Blue Yeti Microphone
Sony Handycam HDR CX4-05
Tripod – Manfrotto MKCompactaCN-BK

S O C I A L MEDIA 
B L O G : https://ldli.co/e/3xky6x 
I N S T A G R A M : https://ldli.co/e/5dn20x
YOU TUBE: https://ldli.co/e/ej5l90 
F A C E B O O K: https://ldli.co/e/mjxn2r
PINTEREST: https://ldli.co/e/2l9zom


I was a 2018 Ambassador for Copic Marker Australia and NZ