Showing posts with label Urban Kitchen. Show all posts

Thursday, 30 September 2021

BCF Breast Cancer Awareness Bear

Hope Everyone is well :-)

Today I have a card to share with you that I created a while back but haven't had a chance to share on here with you guys. 


I printed the image onto X-Press It Blending Cardstock using my Brother Laser Printer.

I coloured the image using Copic Markers, added extra details using a white gel pen and Derivan Kindy Glitz. I love the final details you can add to an image and how it can finalise a card.


I fussy cut the image using EK Success Cutterbee Scissors, leaving just a small border around the outside. 


The patterned papers I am using are from Pebbles Ever After Collection, I trimmed them down using my Cutterpillar Pro and matted them onto some pink cardstock from my stash (they may possibly be from American Crafts). 


Using Tonic Studios Nuvo Crystal Drops in Dark Walnut.

The sentiment is from Whimsy Stamps Everyday Banner Digital Sentiments, I also printed them onto X-Press It Blending Card and trimmed down using my Cutterbee Scissors.


I adhered all the layers to a Couture Creations Card Base and decorated the inside of the card using leftovers of the patterned papers.


I hope you have enjoyed my post today, if you have any questions feel free to send me a message or contact me via facebook (all links can be found below).

Watch the You Tube Video Here


Products Used On My Card (Affiliate Links Used Where Possible)
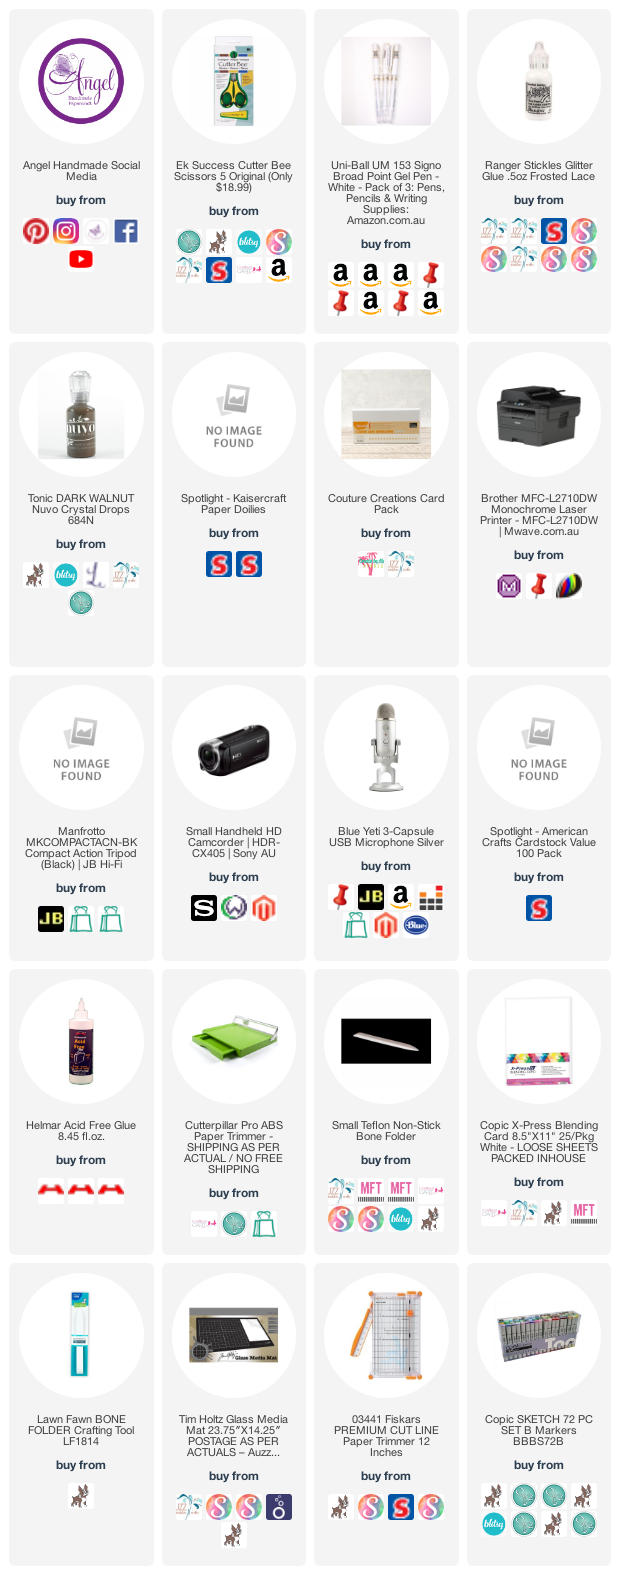


Copic Markers Used
 
NO LIST FOR THIS PROJECT SORRY

Thanks for stopping by, Deni

CAMERA SET UP - FOR YOU TUBE VIDEOS ONLY
Blue Yeti Microphone
Sony Handycam HDR CX4-05
Tripod – Manfrotto MKCompactaCN-BK

S O C I A L MEDIA 
B L O G : https://ldli.co/e/3xky6x 
I N S T A G R A M : https://ldli.co/e/5dn20x
YOU TUBE: https://ldli.co/e/ej5l90 
F A C E B O O K: https://ldli.co/e/mjxn2r
PINTEREST: https://ldli.co/e/2l9zom


I was a 2018 Ambassador for Copic Marker Australia and NZ


Monday, 1 February 2021

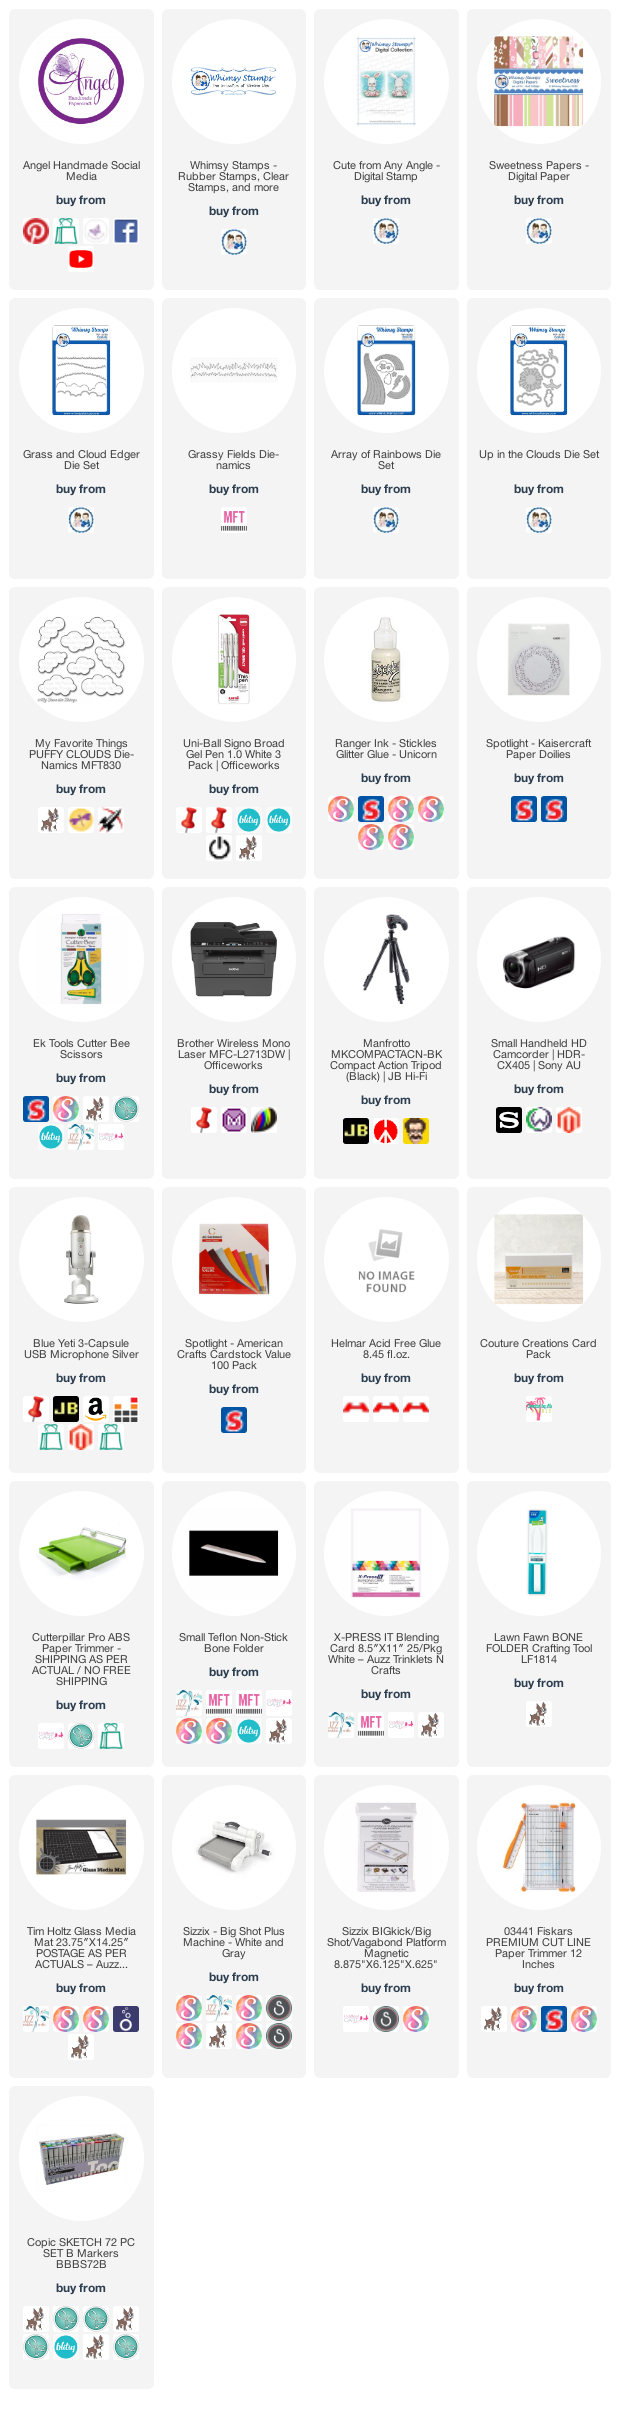
Whimsy Stamps - Cute From Any Angle

It's New Release time over at Whimsy Stamps and as always they never let us down with gorgeousness!


Today I am using "Cute From Any Angle" Designed by Crissy Armstrong, I chose to use this image because it's totally adorable. I printed them out onto X-Press It Blending Cardstock using my Brother Laser Printer.


My original plan was to use both front and reverse of the image (both are included in your Digital Purchase), I coloured up the front of the image using Copic Markers, I wasn't sure at this stage what Was going to do, the back of the image was not jumping at me so I just put it to the side whilst I was working on the front. 


I used a white gel pen to add some extra details to the image, on the feet, the ears and the top of his boxer shorts. Once I was done I added some Derivan Kindyglitz to a few sections of the image. You will be able to see this in the end photos. 


I printed up the flower paper from Sweetness Digital Paper Pack also from Whimsy Stamps, this paper is actually brown, my colour printer is broken (so I assume as I've changed the cartridges and its still not printing the correct colours, I've done all the cleans etc.) Anyways so when I printed the paper it printed out in blue haha. I love it and it actually worked well with my card. 


I added a doily from my stash, some Easter ribbon from Daisy Chain (sorry can't find links for this it is years old). 

I cut some clouds from MFT Stamps Puffy Clouds dies - I have added some Whimsy links for their version also, I just used some leftover X-Press It Blending Cardstock for these as I like all my whites to be the same on a card. 


I used an old retired Digital Sentiment pack from Whimsy Stamps and cut one out using a Lawn Fawn Stitched Circle Die. 


Lastly using some leftover green cardstock I cut some grass using MFT Stamps Grassy Fields - I will again link up some Whimsy Stamps products for you to check out. 


At this point I was finished with the front of the card and left it overnight to dry, Whilst I should have been sleeping I had a ding ding moment and woke up and coloured the reverse bunny and added him to the inside of the card, so when you opened the card you could see the back of the bunny. 

I used leftover papers to decorate the inside of the card


I hope you have enjoyed my post today, if you have any questions feel free to send me a message or contact me via facebook (all links can be found below).

Watch the You Tube Video Here


Products Used On My Card (Affiliate Links Used Where Possible)


Copic Markers Used

Y02, Y06
V06, V09
B14, B16
T2/N2, T4, T6
0 Colorless Blender
G14

Thanks for stopping by, Deni

CAMERA SET UP - FOR YOU TUBE VIDEOS ONLY
Blue Yeti Microphone
Sony Handycam HDR CX4-05
Tripod – Manfrotto MKCompactaCN-BK

S O C I A L MEDIA 
B L O G : https://ldli.co/e/3xky6x 
I N S T A G R A M : https://ldli.co/e/5dn20x
YOU TUBE: https://ldli.co/e/ej5l90 
F A C E B O O K: https://ldli.co/e/mjxn2r
PINTEREST: https://ldli.co/e/2l9zom


I was a 2018 Ambassador for Copic Marker Australia and NZ


Saturday, 16 January 2021

Whimsy Stamps - Bunny Butt

Hi All :-)

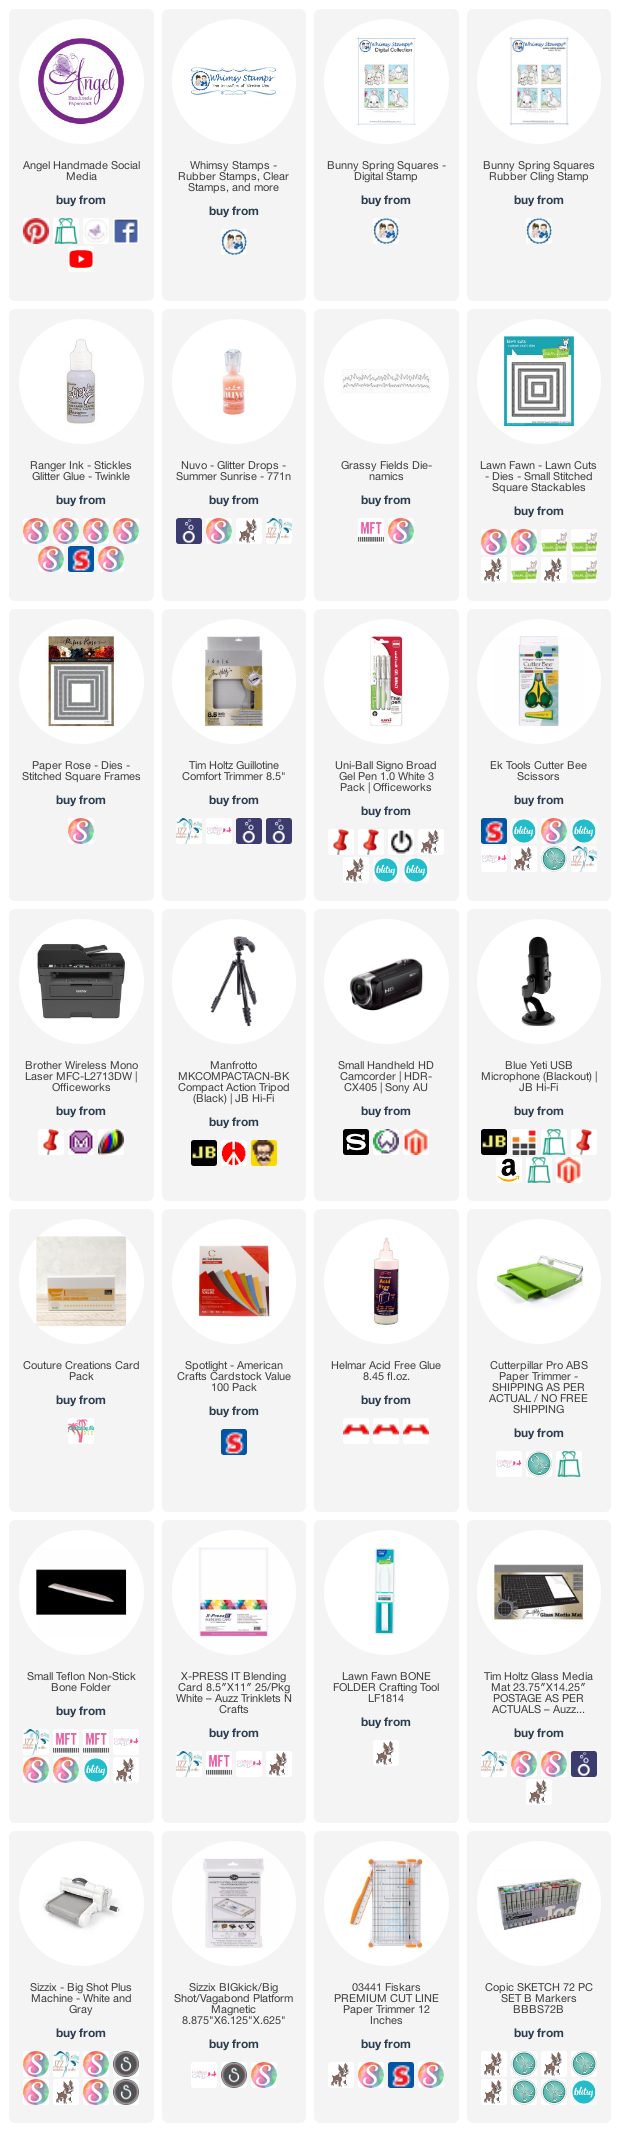
Today I am sharing with you a card I created using Bunny Butt from Whimsy Stamps (Part of the Bunny Spring Squares Collection) this image is part of the January 2021 Release, but is also available as a Rubber Stamp.


I had so much fun with these images, as you have seen from the past few weeks posts I have coloured all but one of the images (It is on my desk ready to go).. Such adorable images from Crissy Armstrong. 


I printed the images onto X-Press It Blending Card and coloured them up using Copic Markers. 


I ran the image through my Sizzix Big Shot using MFT Stamps Stitched Mini Scallop Square Stax dies, unfortunately these are no longer available to purchase but i'm sure any square die will work. 


I used MFT Stamps Birch Trees dies and some leftover Kraft Cardstock to create the trees in the background.


I ran some of the Pebbles Ever After Paper with the green stripes through my Big Shot using MFT Stamps Grassy Fields die, I adhered this over the top of the flower border strip.


I added a doily from Urban Kitchen (just from our local cheap shop in the Kitchen Section).


The matte layers are from American Crafts and Kaisercraft, I adhered them to a Couture Creations card base using Scotch ATG, for the smaller bits and pieces I adhered them using Helmar Acid Free adhesive. 


I used Tonic Studios Nuvo Crystal Drops to add some extra decoration to the front of the card


I used leftovers of the patterned paper to decorate the inside of the card


I hope you have enjoyed my post today, if you have any questions feel free to send me a message or contact me via facebook (all links can be found below).

Watch the You Tube Video Here


Products Used On My Card (Affiliate Links Used Where Possible)


Copic Markers Used

RV11, RV66
G14, G07
V22, V25
C0, C2, C4, C6
0 Colorless Blender

Thanks for stopping by, Deni

CAMERA SET UP - FOR YOU TUBE VIDEOS ONLY
Blue Yeti Microphone
Sony Handycam HDR CX4-05
Tripod – Manfrotto MKCompactaCN-BK

S O C I A L MEDIA 
B L O G : https://ldli.co/e/3xky6x 
I N S T A G R A M : https://ldli.co/e/5dn20x
YOU TUBE: https://ldli.co/e/ej5l90 
F A C E B O O K: https://ldli.co/e/mjxn2r
PINTEREST: https://ldli.co/e/2l9zom


I was a 2018 Ambassador for Copic Marker Australia and NZ