Showing posts with label CC Designs. Show all posts

Tuesday, 10 August 2021

Whimsy Stamps Birthday Fun

Hi Everyone, 


Today I am sharing with you a card I created for Whimsy Stamps using Grant from the CC Designs Collection. Such an adorable image to colour up. 


I began by printing the image onto X-Press It Blending Cardstock and colouring it up using Copic Markers, I added extra details using a white Uni-Ball Gel pen. 


I ran the image through my Sizzix Big Shot using a Lawn Fawn Stitched Circle Die. (Before I die cut the image I layed the die over the image so I knew where it would be cutting and used a Mechanical Pencil to trace where it would cut and fussy cut the balloons carefully so that when I ran the die through they would not get cut off). After I cut the image I erased all pencil lines. 


Using a Couture Creations Card Base to begin my card, I then cut some layers of cardstock to match my image. I used Digital Papers from the Whimsy Stamps Dino Friends Collection, I just printed these onto Copy Paper. 


I printed Digital Sentiments from Whimsy Stamps Everyday Banner Sentiments and trimmed it down using my Ek Success Cutterbee Scissors. 


I used matching scrap bits of cardstock and an EK Success Star Confetti Punch to punch out some little stars.


I added Derivan Kindy Glitz to the balloons to finish the image off. 


All my layers were adhered using Helmar Acid Free liquid adhesive. 

I used leftovers of the cardstocks to decorate the inside of my card. 


I hope you have enjoyed my post today, if you have any questions feel free to send me a message or contact me via facebook (all links can be found below).

Watch the You Tube Video Here


Products Used On My Card (Affiliate Links Used Where Possible)
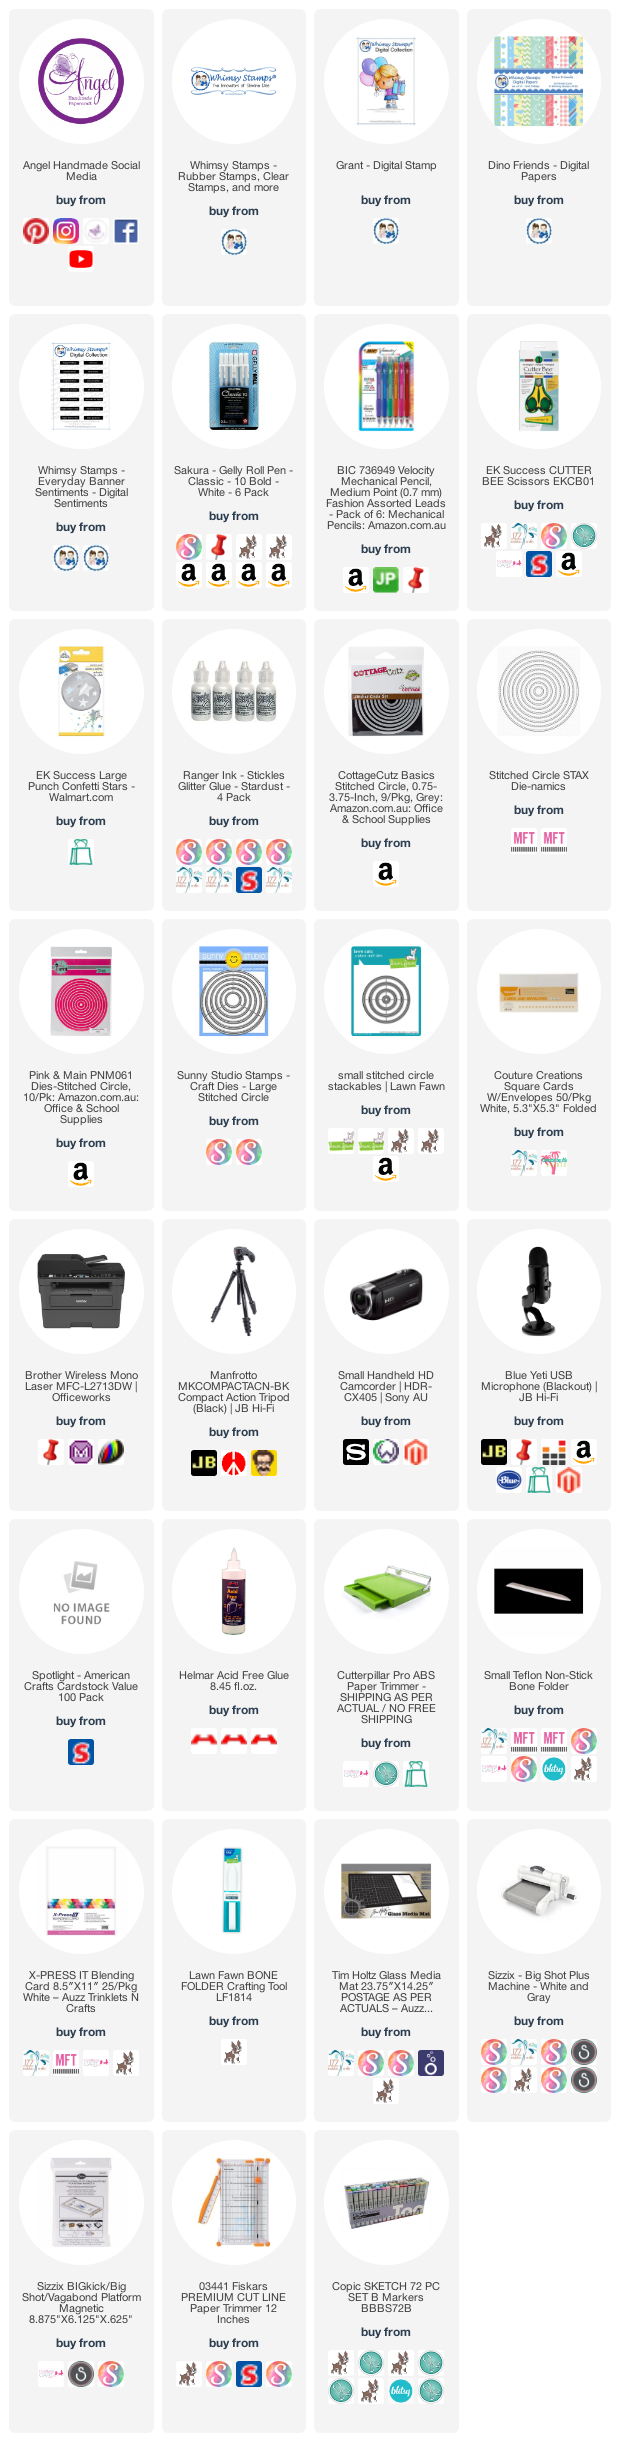


Copic Markers Used

Y08, Y35, Y38
YG95, YG97, YG99
W1, W4, W6
BV11, BV13, BV17
BG53, BG49, BG09
T5, T7, T10
E59, E79, E49
E53, E55, E59, R20
T1, T3, T4

Thanks for stopping by, Deni

CAMERA SET UP - FOR YOU TUBE VIDEOS ONLY
Blue Yeti Microphone
Sony Handycam HDR CX4-05
Tripod – Manfrotto MKCompactaCN-BK

S O C I A L MEDIA 
B L O G : https://ldli.co/e/3xky6x 
I N S T A G R A M : https://ldli.co/e/5dn20x
YOU TUBE: https://ldli.co/e/ej5l90 
F A C E B O O K: https://ldli.co/e/mjxn2r
PINTEREST: https://ldli.co/e/2l9zom


I was a 2018 Ambassador for Copic Marker Australia and NZ


Tuesday, 16 February 2021

CC Designs - Biker Dude

HI Everyone,

I have had a busy few days pumping out lots of new cards to share with you - working my way through my tray of coloured images. I haven't done it for a while but I used to sit and colour for hours preparing images for cards, now I generally colour as I'm going. 

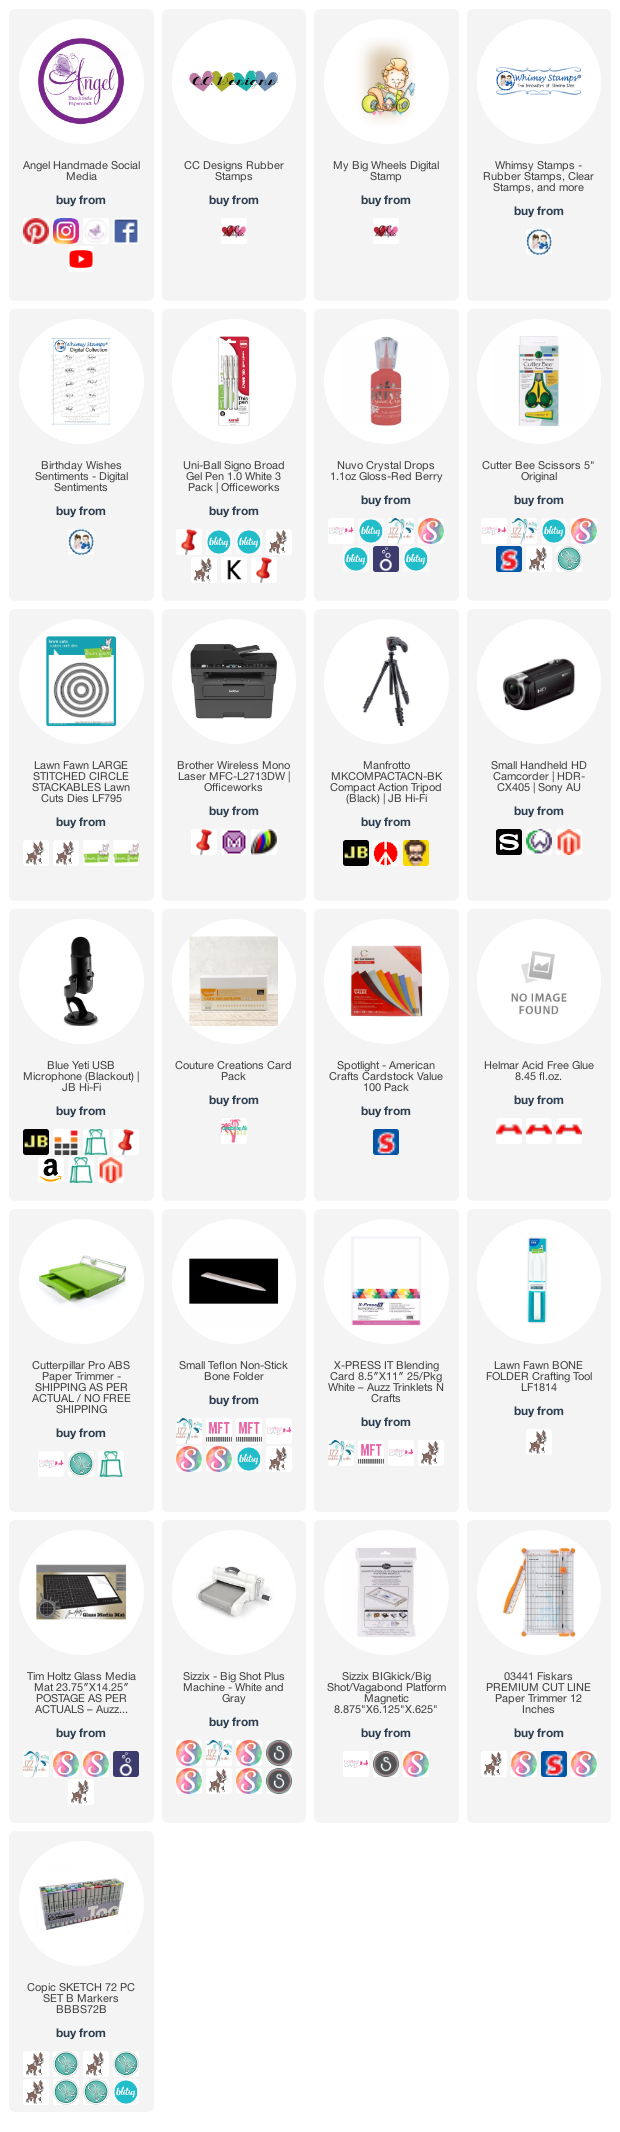
For my card today I am using CC Designs "My Big Wheels" this is such an adorable image :-)


As I said this is an image I coloured up quite a while ago before I started keeping lists of all my colourings, so I don't have a Copic Marker List for you today.

I ran the image through my Sizzix Big Shot using a Lawn Fawn Stitched Circle die, I then used some grey Copic Markers to ground the image onto the circle. 


I used a Digital Sentiment from Whimsy Stamps (which I had pre-printed from another time) I then ran it through my Sizzix Big Shot using a smaller Lawn Fawn Circle die. 


I trimmed down a piece of American Crafts Black Cardstock, then cut down some patterned paper from American Crafts Dear Lizzy Day Dreamer patterned paper pad. I trimmed and bannered up some smaller pieces of the paper using my EK Success Cutterbee Scissors. 


I adhered both of the papers to a Couture Creations Card Base.

Finally I added some Wink Of Stella, some Uni-ball white gel pen and last but not least some Nuvo Crystal Drops in Red Berry.


I used the same patterned papers to decorate the inside of my card.


I hope you have enjoyed my post today, if you have any questions feel free to send me a message or contact me via facebook (all links can be found below).

Watch the You Tube Video Here


Products Used On My Card (Affiliate Links Used Where Possible)


Copic Markers Used

No List today sorry

Thanks for stopping by, Deni

CAMERA SET UP - FOR YOU TUBE VIDEOS ONLY
Blue Yeti Microphone
Sony Handycam HDR CX4-05
Tripod – Manfrotto MKCompactaCN-BK

S O C I A L MEDIA 
B L O G : https://ldli.co/e/3xky6x 
I N S T A G R A M : https://ldli.co/e/5dn20x
YOU TUBE: https://ldli.co/e/ej5l90 
F A C E B O O K: https://ldli.co/e/mjxn2r
PINTEREST: https://ldli.co/e/2l9zom


I was a 2018 Ambassador for Copic Marker Australia and NZ


Friday, 3 July 2020

Helmar - Swiss Birgitta Bday

Hi Everyone, 

Today I am working with Helmar Worldwide creating a birthday card.


Here is the card I made using an old retired stamp from CC Designs Swiss Pixie Collection - the rubber stamp is called Princess Birgitta.


I have used the Acid Free adhesive to adhere all my card layers together, this is my go to for liquid adhesives.


I coloured the image up using Copic Markers (I did this off camera a while ago) then fussy cut her using EK Success Cutterbee Scissors.


All the patterned papers on my card are from my leftovers box, such a fun card to put together when you get to use a whole lot of papers that are from different companies all together in one card. 


I used some of the same patterned paper and EK Success Star Confetti Punch to punch out some stars.


I ran some patterned paper through my Sizzix Big Shot using a Lawn Fawn Stitched Circle die.


I adhered all the layers to a Couture Creations Card Base using Helmar Acid Free liquid adhesive. 


I used leftovers of the same patterned papers to decorate the inside of my card.


I hope you have enjoyed my post today, if you have any questions feel free to send me a message or contact me via facebook (all links can be found below).

Watch the You Tube Video Here

<iframe allowfullscreen="" frameborder="0" height="270" src="https://www.youtube.com/embed/0PDchrC4kPU" width="480"></iframe>

Products Used On My Card (Affiliate Links Used Where Possible)

<!-- LinkDeli Code Start --><!-- Helmar CC Designs Princess Birgitta --><a class="linkdeli-image" target=_blank href="https://linkdeli.com/view/46da27c7-9589-4aea-9f55-77151253ee95" rel="nofollow"><img src="https://linkdeli.s3.amazonaws.com/public/placeholders/46da27c7-9589-4aea-9f55-77151253ee95.jpg"></a>
<script class="linkdeli-widget" data-campaign="46da27c7-9589-4aea-9f55-77151253ee95" src="https://linkdeli.com/widget.js?id=f5e8378456858c916708" async="true"></script><!-- LinkDeli Code End -->

Copic Markers Used

sorry no list on this one

Thanks for stopping by, Deni

CAMERA SET UP - FOR YOU TUBE VIDEOS ONLY
Blue Yeti Microphone
Sony Handycam HDR CX4-05
Tripod – Manfrotto MKCompactaCN-BK

S O C I A L MEDIA 
B L O G : https://ldli.co/e/3xky6x 
I N S T A G R A M : https://ldli.co/e/5dn20x
YOU TUBE: https://ldli.co/e/ej5l90 
F A C E B O O K: https://ldli.co/e/mjxn2r
PINTEREST: https://ldli.co/e/2l9zom


I was a 2018 Ambassador for Copic Marker Australia and NZ


Sunday, 26 January 2020

CC Designs - Snow Much Joy

Welcome to my blog,

Today I am sharing with you a card I made using CC Designs Snow Joy rubber stamp set, I used this stamp about a week ago and coloured 2 images so you will be able to see the colouring all done on the video which I will have connected to this one if you click on the link below.

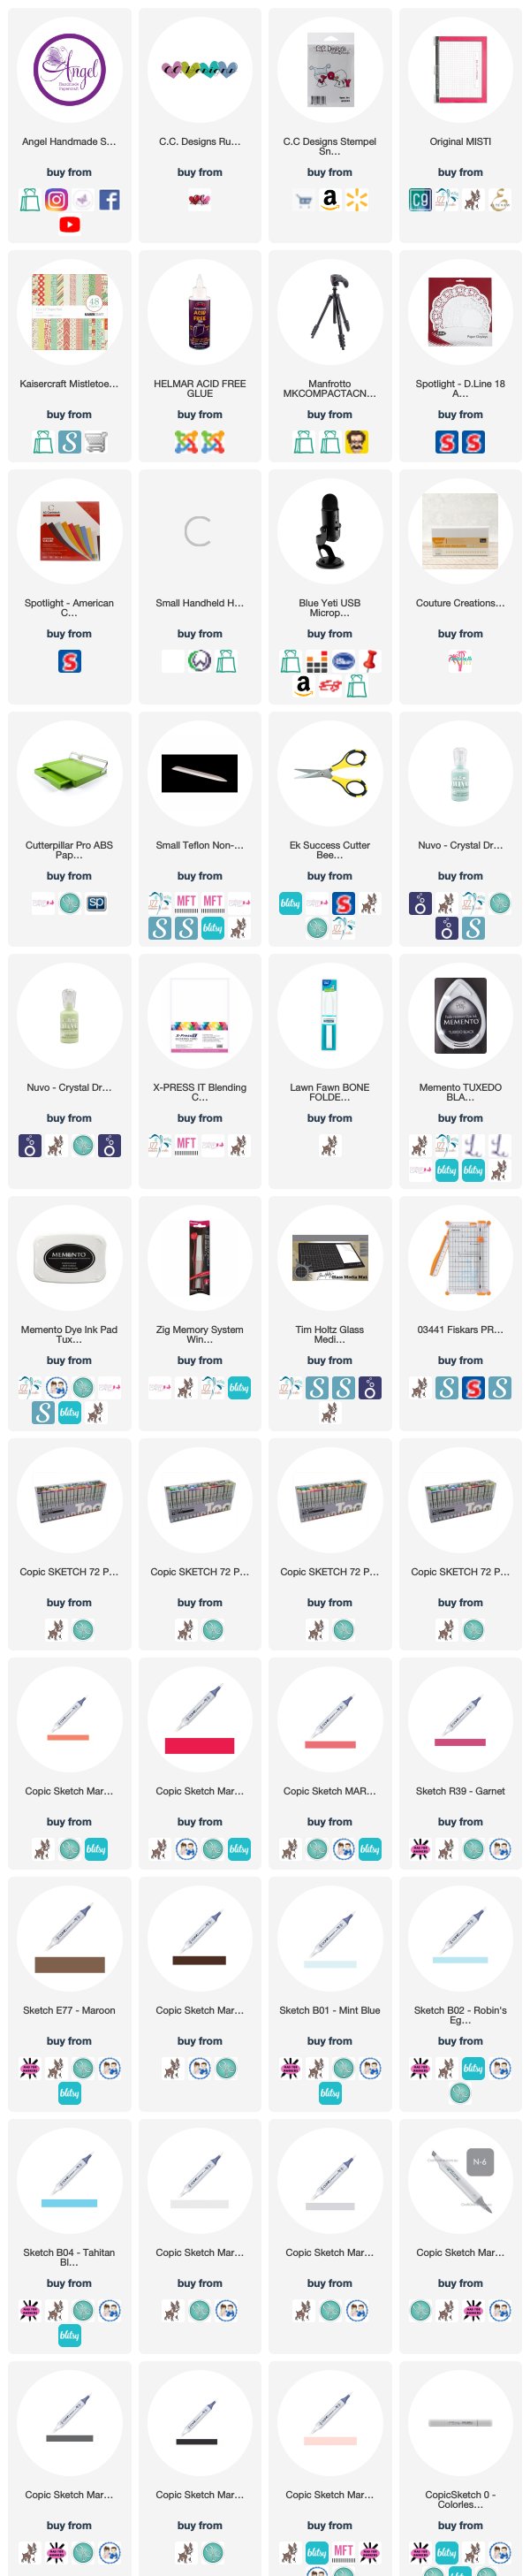
I stamped the image out using Memento Tuxedo Black onto X-Press It Blending Card and I cut the image down to size on my Cutterpillar Pro.


Patterned papers are from Kaisercraft Mistletoe 6.5" paper pad, I also used the pop out tag from the same paper pad.


I also added a doily from my stash underneath all the layers.


I used American Crafts card stock for the mat layers.

I finally added some Tonic Studios Nuvo Crystal Drops - Metallic Soft Mint and Calming Aqua. These colours are so soft and pretty I love them.


I used leftovers of the same patterned papers to decorate the inside of the card. 


I hope you have enjoyed my post today, if you have any questions feel free to send me a message or contact me via facebook (all links can be found below).

Watch the You Tube Video Here of the other card I made with this stamp set


Products Used On My Card (Affiliate Links Used Where Possible)


Copic Markers Used

N1, N3, R20, O Colorless Blender
R17, R29, R37, R39
E77, E79
N6, N8, N10
B01, B02, B04
YR23, YR16

Thanks for stopping by, Deni

CAMERA SET UP - FOR YOU TUBE VIDEOS ONLY
Blue Yeti Microphone
Sony Handycam HDR CX4-05
Tripod – Manfrotto MKCompactaCN-BK

S O C I A L MEDIA 
B L O G : https://ldli.co/e/3xky6x
I N S T A G R A M : https://ldli.co/e/5dn20x
YOU TUBE: https://ldli.co/e/ej5l90 
F A C E B O O K: https://ldli.co/e/mjxn2r
PINTEREST: https://ldli.co/e/2l9zom


I was a 2018 Ambassador for Copic Marker Australia and NZ


Thursday, 7 November 2019

CC Designs - Snow Joy Card 1

Hi Everyone,

Today I am sharing with you a card I created using a stamp from CC Designs called Snow Joy, this stamp has been around for a while so I will do my best to get links up for you.


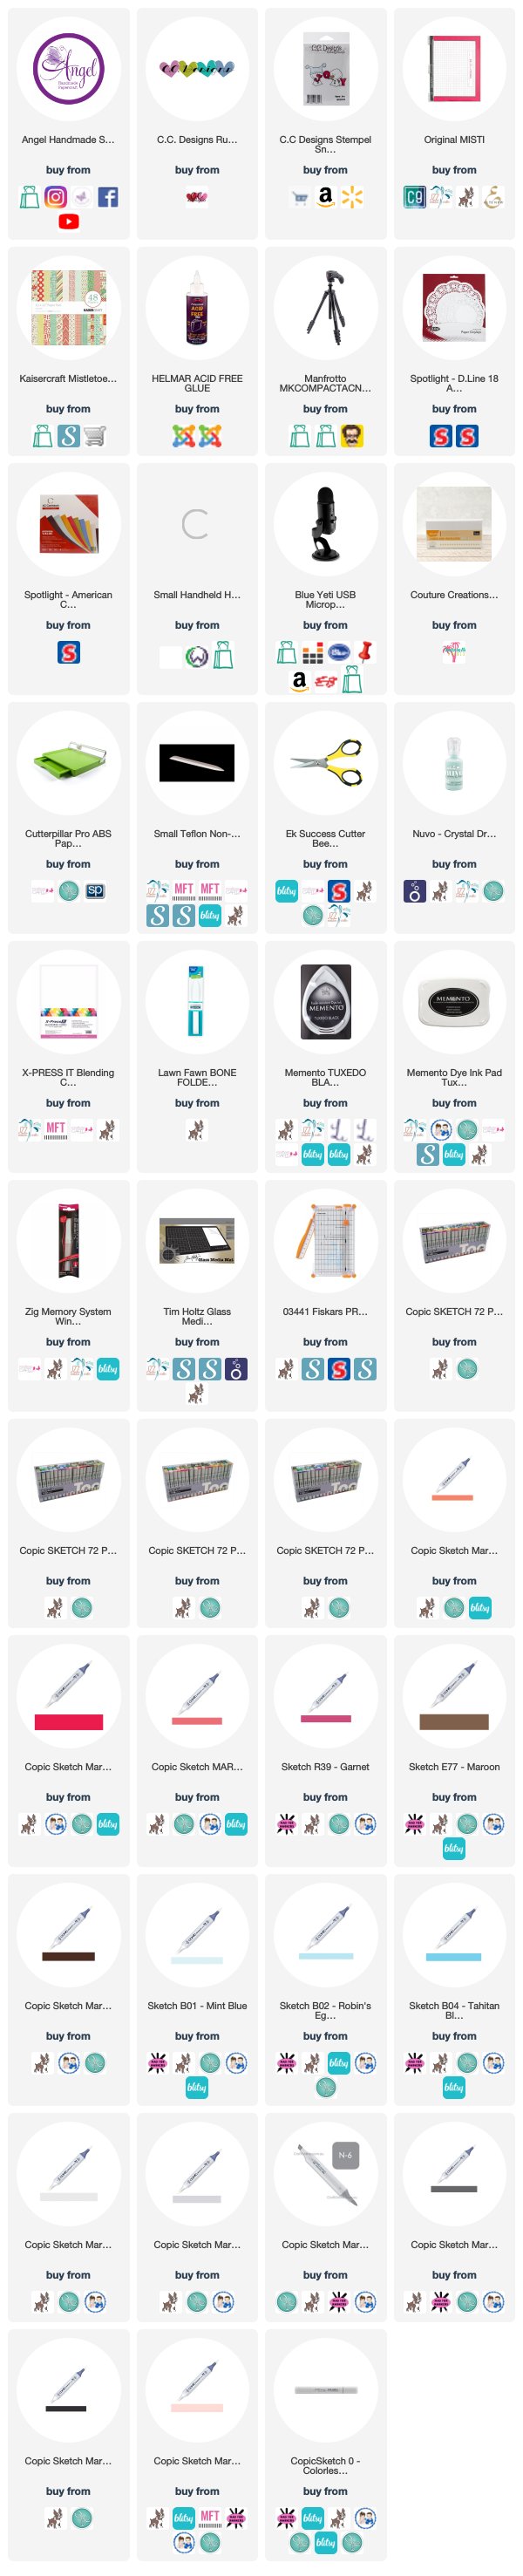
I stamped the image out onto X-Press It Blending Cardstock using my Misti Stamping Tool and Memento Tuxedo Black.

I then used my Copic Markers to colour the image up. I did end up making 2 cards with the 2 images I coloured up so I will hopefully have another card to share with you tomorrow.


Using Kaisercraft Mistletoe 6.5" Paper Pad I cut a few layers up using my Cutterpillar Pro, I bannered some pieces using my EK Success Cutterbee Scissors.

I pulled in some American Crafts card stock to use as layers and also added a doily from my stash.

I added a pop out sentiment from the paper pad and adhered all the layers to a Couture Creations card base using Helmar Acid Free adhesive.


Finally I used Tonic Studios Nuvo Crystal Drops in Metallic Soft Mint and added some to the front of the card, I also added some Wink Of Stella to the letters.


I used leftovers of the patterned paper to decorate the inside of the card.


I hope you have enjoyed my post today, if you have any questions feel free to send me a message or contact me via facebook (all links can be found below).

Watch the You Tube Video Here


Products Used On My Card (Affiliate Links Used Where Possible)


Copic Markers Used

N1, N3, R20, O Colorless Blender
R17, R29, R37, R39
E77, E79
N6, N8, N10
B01, B02, B04
YR23, YR16

Thanks for stopping by, Deni

CAMERA SET UP - FOR YOU TUBE VIDEOS ONLY
Blue Yeti Microphone
Sony Handycam HDR CX4-05
Tripod – Manfrotto MKCompactaCN-BK

S O C I A L MEDIA 
B L O G : https://ldli.co/e/3xky6x
I N S T A G R A M : https://ldli.co/e/5dn20x
YOU TUBE: https://ldli.co/e/ej5l90 
F A C E B O O K: https://ldli.co/e/mjxn2r
PINTEREST: https://ldli.co/e/2l9zom


I was a 2018 Ambassador for Copic Marker Australia and NZ


Saturday, 24 August 2019

Whimsy Stamps - It's A Spooky Night

Hey Everyone,

Today I am sharing with you a Halloween Card I made for Whimsy Stamps using Penguin Spooky Night.


This image is available as both a Digital Stamp and a Rubber Stamp, both of the links are below, I have used the Digital version on this card.

I printed the image onto X-Press It Blending Cardstock using my Brother Laser Printer and coloured him up using Copic Markers.


Patterned papers are from DCWV Spooky Halloween, and I used American Crafts Black Cardstock for my matting. I also used some paper from Sugar & Spice Happy Halloween 12x12 Paper Pad.

I used the Halloween Word die from La La Land Crafts and ran it through my Sizzix Big Shot using Black and orange American Crafts Cardstocks, I layered them using American Tombow Mono Multi Liquid Adhesive.  The Dangling spider, and the bats are both retired dies from Memory Box, and the fence is a retired die from CC Designs called Witches Fence.


I adhered all the layers to a Couture Creations card base and added final touches using Wink Of Stella Clear and Uni-ball white gel pen.


I hope you have enjoyed my post today, if you have any questions feel free to send me a message or contact me via facebook (all links can be found below).

Watch the You Tube Video Here

No Video on this one sorry

Products Used On My Card (Affiliate Links Used Where Possible)


Copic Markers Used

T1, T3, 0 Colorless Blender
R20, 0 Colorless Blender
YR15, E97, YR24
E44, E47, E49
YR24, YR27, E39
C8, C10, 100
E35, E37
T1, T3, T5, R20

Thanks for stopping by, Deni

CAMERA SET UP - FOR YOU TUBE VIDEOS ONLY
Blue Yeti Microphone
Sony Handycam HDR CX4-05
Tripod – Manfrotto MKCompactaCN-BK

S O C I A L MEDIA 
B L O G : http://angelhandmadepapercraft.blogspot.com.au/
I N S T A G R A M : http://instagram.com/angelhandmadepapercraft
YOU TUBE: http://www.youtube.com/c/AngelHandmadePapercraft
F A C E B O O K: http://www.facebook.com/angelhandmadepapercraft
PINTEREST: https://www.pinterest.com.au/angelhandmadepapercraft


I was a 2018 Ambassador for Copic Marker Australia and NZ


Saturday, 17 August 2019

Whimsy Stamps - Halloween Crew

Hi Everyone,

Today I am super excited to share with you a Halloween Project for Whimsy Stamps Digital Team.

We are lucky enough that not only are both of the images I have used available in Digital but they are both available as Rubber Stamps, so I will have both of them linked up in the picture links below.


I have used Penguin Spooky Night and Penguin Super Hero from Crissy Armstrong's designs on my project. Using Microsoft Word I combined the two images and then I printed them onto X-Press It Blending Cardstock using my Brother Laser Printer.


Here's a close up of the images coloured up :-)


I coloured the images up using Copic Markers which was super fun, I used so many colours it was so amazing to see at the end of a project how many you actually use.


I've been trying to remember to always take photos of my images with the Copic Markers I have used so that even though you can see a list of them you can actually get more of an idea of how many iv'e used.


When I was colouring up the SP on the Superhero Penguin one of my Copic Markers had a bleed, I was frazzled for a few seconds until I remembered that I printed an extra, so I carefully used my EK Success Cutterbee Scissors to fussy cut the SP logo out of the new image. I then coloured it up using the same colours and I added some Scotch Foam Tape and adhered it directly onto the original image.
It turned out really great and I am really happy with it.


Once I had the images all coloured up I used my Uni-Ball White Gel Pen to add some details to the image. Once I was happy I moved onto putting my card together.


I have a draw full of all my Halloween Stamp Sets and Dies, I have drawers for a few other themes too, this makes it a lot easier when it comes to needing something for a specific design like this one.

I pulled out a few things - a spider web die, a spider die, a Halloween Fence and the little bats, I will have them all linked up below. I cut all of them out using American Crafts Cardstock and my Sizzix Big Shot.

Once I had all the bits and pieces cut out I adhered them to my card using American Tombow Mono Multi, because they were such small pieces I added the glue to my Glass Media Mat and used my finger to carefully dab the glue onto the back of the die cuts.

I used a sentiment from the rubber stamp set on my card as I thought it was perfect.

I then realised I hadn't grounded the images so I grabbed some of my W Markers and added ground, I also used one of the fluro markers to give the images a glow. This was about the stage where I decided I wanted to ink the background. I grabbed my Distress Oxide Inks and A mini ink blending tool or two to add the ink.

Silly me got some ink on the left hand side so I couldn't do my moon, I ran a Lawn Fawn Stitched Circle Die through my Big Shot and some scraps of yellow card stock to create the moon.

I used a red glitter marker to add a red stripe on the spider and a white gel pen to add some eyes.

I am so happy with the way my card turned out :-)


I hope you have enjoyed my post today, if you have any questions feel free to send me a message or contact me via facebook (all links can be found below).

Watch the You Tube Video Here


Products Used On My Card (Affiliate Links Used Where Possible)


Copic Markers Used

FYG1
V04, V06, V09, V99
YR14, YR18, E08
Y06
YG23, YG25, YG17
W1, W5
R05, R35, R37, R39
0 Colorless Blender
B41, B23, B26
N1, N3 N5
N6, N8, N10
E44, E47, E49
E21, E23, E25
E95, E97, E99

Thanks for stopping by, Deni

CAMERA SET UP - FOR YOU TUBE VIDEOS ONLY
Blue Yeti Microphone
Sony Handycam HDR CX4-05
Tripod – Manfrotto MKCompactaCN-BK

S O C I A L MEDIA 
B L O G : http://angelhandmadepapercraft.blogspot.com.au/
I N S T A G R A M : http://instagram.com/angelhandmadepapercraft
YOU TUBE: http://www.youtube.com/c/AngelHandmadePapercraft
F A C E B O O K: http://www.facebook.com/angelhandmadepapercraft
PINTEREST: https://www.pinterest.com.au/angelhandmadepapercraft


I was a 2018 Ambassador for Copic Marker Australia and NZ