Showing posts with label The Happy Craft Challenge. Show all posts

Friday, 1 November 2019

Happy Craft Challenge - Nov Sketch/Mood Board

Hi Everyone,

It's time for a new Sketch Challenge over at Happy Craft Challenge, We have a Mood Board and a Sketch. The Sketch Totally spoke to me so that is my main focus for my card.


I began by using a MFT Stamps die Candy Jar - Unfortunately this die is retired as is the stamp set but I couldn't help using it on this card as it was too perfect :-). I ran the die through my Big Shot using some Doodlebug Sugar Shoppe patterned papers, I ran it through twice with the patterns then again with vellum.


I then used a Pen knife to cut the centre out of one of the patterned paper lolly jars as I wanted to create a shaker.

Using Lawn Fawn Stitched Oval die I ran some of the lined paper through my Big Shot and stamped out the "You Make Life Sweeter" sentiment using Ink On 3 Black Out Ink and a Lawn Fawn Acrylic Block.


Pulling out one of my old Martha Stewart punches - the Scallop Dot I punches a strip of patterned paper adhered it underneath a strip leftover from another project.


I grabbed the orange strip which was also leftover from another project and used my EK Success Cutterbee Scissors to banner the end.

I adhered all the layers using Helmar Acid Free liquid adhesive, then added all the layers to a Couture Creations Card Base.


Using Tonic Studios Nuvo Crystal Drops in Dandelion Yellow, Carnation Pink and Ripened Pumpkin I added some dots to the front of the card. I left them over night to dry.


I grabbed some thick pink ribbon out of my stash and made a ribbon to add to the top of my card. I used Helmar 450 Quick Dry Glue to adhered the bow to my card.


I then decorated the inside of my card to match the front.


I really love the way my card turned out and hope that you will join us for this months Happy Craft Challenge.

I hope you have enjoyed my post today, if you have any questions feel free to send me a message or contact me via facebook (all links can be found below).

Watch the You Tube Video Here


Products Used On My Card (Affiliate Links Used Where Possible)


Thanks for stopping by, Deni

CAMERA SET UP - FOR YOU TUBE VIDEOS ONLY
Blue Yeti Microphone
Sony Handycam HDR CX4-05
Tripod – Manfrotto MKCompactaCN-BK

S O C I A L MEDIA 
B L O G : https://ldli.co/e/3xky6x
I N S T A G R A M : https://ldli.co/e/5dn20x
YOU TUBE: https://ldli.co/e/ej5l90 
F A C E B O O K: https://ldli.co/e/mjxn2r
PINTEREST: https://ldli.co/e/2l9zom


I was a 2018 Ambassador for Copic Marker Australia and NZ


Tuesday, 1 October 2019

Happy Craft Challenge - October - Ike's Art

Hi Everyone,

It's time for a new Challenge over at Happy Craft Challenge, this month I am working with the mood board. There is also a Sketch and a Scrapbooking Layout which you can check out if those suit you better.


Our sponsor for this month is Ike's Art and I have used KT Trick or Treat, a super cute little witch image.


I did have some hiccups along the way with this card so i'll tell you about them as we go. 

I started by printing the image onto X-Press It Blending Card Stock using my Brother Laser Printer. 

I then coloured the image up using Copic Markers.


For the skin I used E51, E53, E55 and R20 for the cheeks. On the dress I used V04, V06, V09


For the crazy green hair I used YG01, YG03, YG17. For the black sections I used T6, T8, T10

On the pumpkin I used YR04, YR07, E08


I ran the image through my Big Shot using Spellbinders Nestabilities Labels Twenty Two.

I used patterned papers from DCWV Spooky Halloween 6x6 paper pad, this is my favourite halloween paper pad and I'm down to the last few drips and drabs haha. 

The Die cuts I have used are from MFT Stamps Spooky House set, I ran them through my Big Shot using American Crafts black Card Stock. 

I used a Lawn Fawn stamp set called Spooktacular, I stamped out the sentiments onto purple cardstock using Versamark watermark embossing ink and used Wow Glow In The Dark Embossing Powder which I then set using my heat tool. So here is my first hiccup.. the embossing powder wouldn't glow on the dark cardstock.. total disappointment.

At the same time before realising the embossing powder wasn't glowing I added Nuvo Glow In The Dark drops in the apple sour. 

I added some flowers to my tree just because.. well why not :-)

Here is some pics at this stage. 


As you can see here we have no embossing glow :-( 


I re-stamped the sentiments onto white cardstock (after advice from Wow Embossing themselves) and we glowed :-) 


I was super excited I was able to fix this, and I added the little ghost and bat which made a big difference to my card also. I did over melt the embossing powder somehow on the top of the bat as u can see in the above pic. What's another hiccup in a card with hiccups. 


I hope you have enjoyed my post today, if you have any questions feel free to send me a message or contact me via facebook (all links can be found below).

Watch the You Tube Video Here


Products Used On My Card (Affiliate Links Used Where Possible)


Copic Markers Used

V04, V06, V09
T6, T8, T10
YG01, YG03, YG17
E51, E53, E55, R20
YR04, YR07, E08

Thanks for stopping by, Deni

CAMERA SET UP - FOR YOU TUBE VIDEOS ONLY
Blue Yeti Microphone
Sony Handycam HDR CX4-05
Tripod – Manfrotto MKCompactaCN-BK

S O C I A L MEDIA 
B L O G : https://ldli.co/e/3xky6x
I N S T A G R A M : https://ldli.co/e/5dn20x
YOU TUBE: https://ldli.co/e/ej5l90 
F A C E B O O K: https://ldli.co/e/mjxn2r
PINTEREST: https://ldli.co/e/2l9zom


I was a 2018 Ambassador for Copic Marker Australia and NZ


Sunday, 1 September 2019

The Happy Craft Challenge - Thanks Dad

Hi Everyone,

Today I am sharing with you a card for Happy Craft Challenge, new month means new challenge and we have a great one for you.

We have a great sketch to use and I can't wait to see what you all create with it.

Here is the Sketch for September


My creation using the Sketch


To begin I printed the image - Happy Mouse from Fabric Fantasy onto X-Press It Blending Card using my Brother Laser Printer. I then moved onto colouring using Copic Markers. 

Once I had the image coloured up I ran it through my Sizzix Big Shot using a Lawn Fawn Stitched Circle Die. 


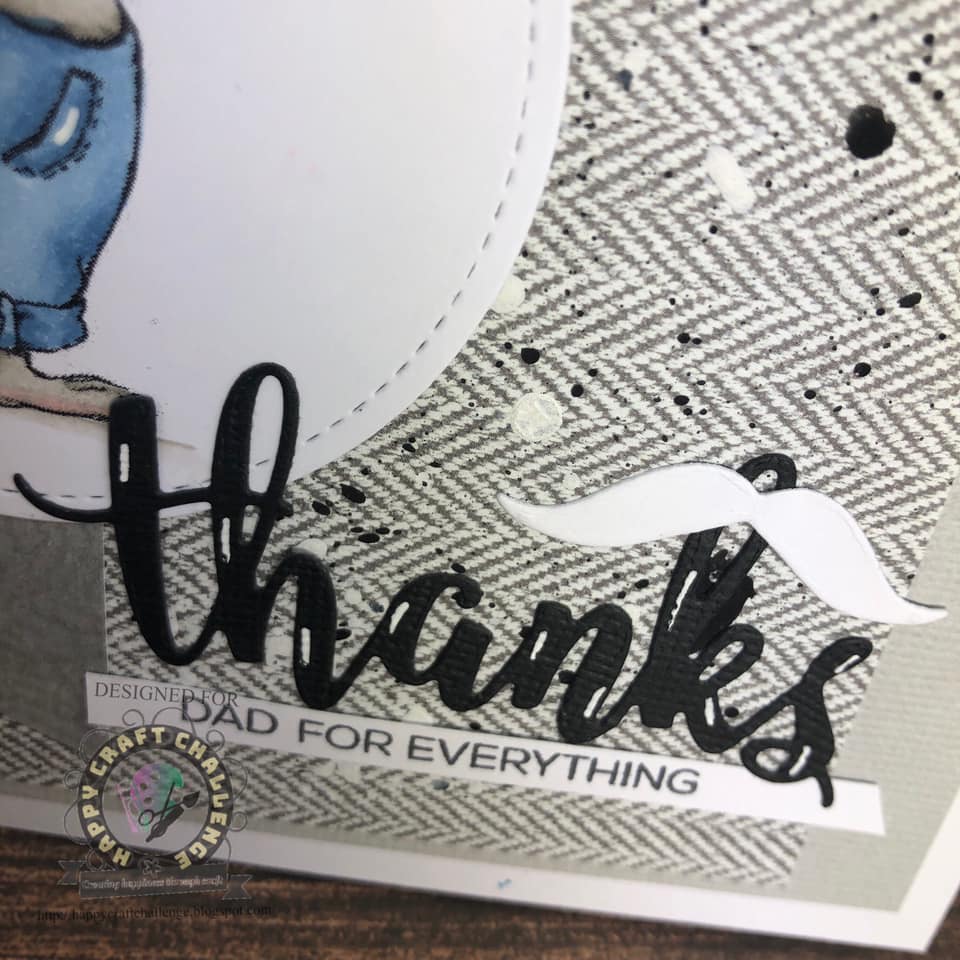
I used patterned papers from Kaisercraft Mountain Air 6x6 Paper Pad,  I then decided the background was not going to stand out enough so I used a painters palette and some paints from Kaisercraft, an old paint brush and my Lawn Fawn Acrylic Block and of course some clean water and watered down the pain just enough that I was able to flick it onto my paper using the side of the block and my paint brush. I trimmed the papers using Cutterpillar Pro.

I cut a banner into the strip I had cut down using my EK Success Cutterbee Scissors. The Thanks word is from MFT Stamps Thanks Die-namics which I cut out using some American Crafts Cardstock on my Big Shot. 

I used Memory Box Moustache Set of dies, I cut some reds some black and some white, I liked the white over the other colours so that's what I went with. 

The sentiment is from Altenew Best Dad, I just changed it around a little by masking off areas using my Post It Notes. I inked it up using Memento Tuxedo Black and a Lawn Fawn Acrylic Block. 

Once I had my card all created I added some Liquid Mercury Tonic Studios Nuvo Crystal Drops to the right hand side, I didn't like the way they turned out the first time so I scraped them off while they were still wet and did them again, unfortunately the patterned paper was ruined so I had to cut another piece and carefully remove the top layer of patterned paper.


Don't forget to come and play along with the Challenge here.

I hope you have enjoyed my post today, if you have any questions feel free to send me a message or contact me via facebook (all links can be found below).

Watch the You Tube Video Here


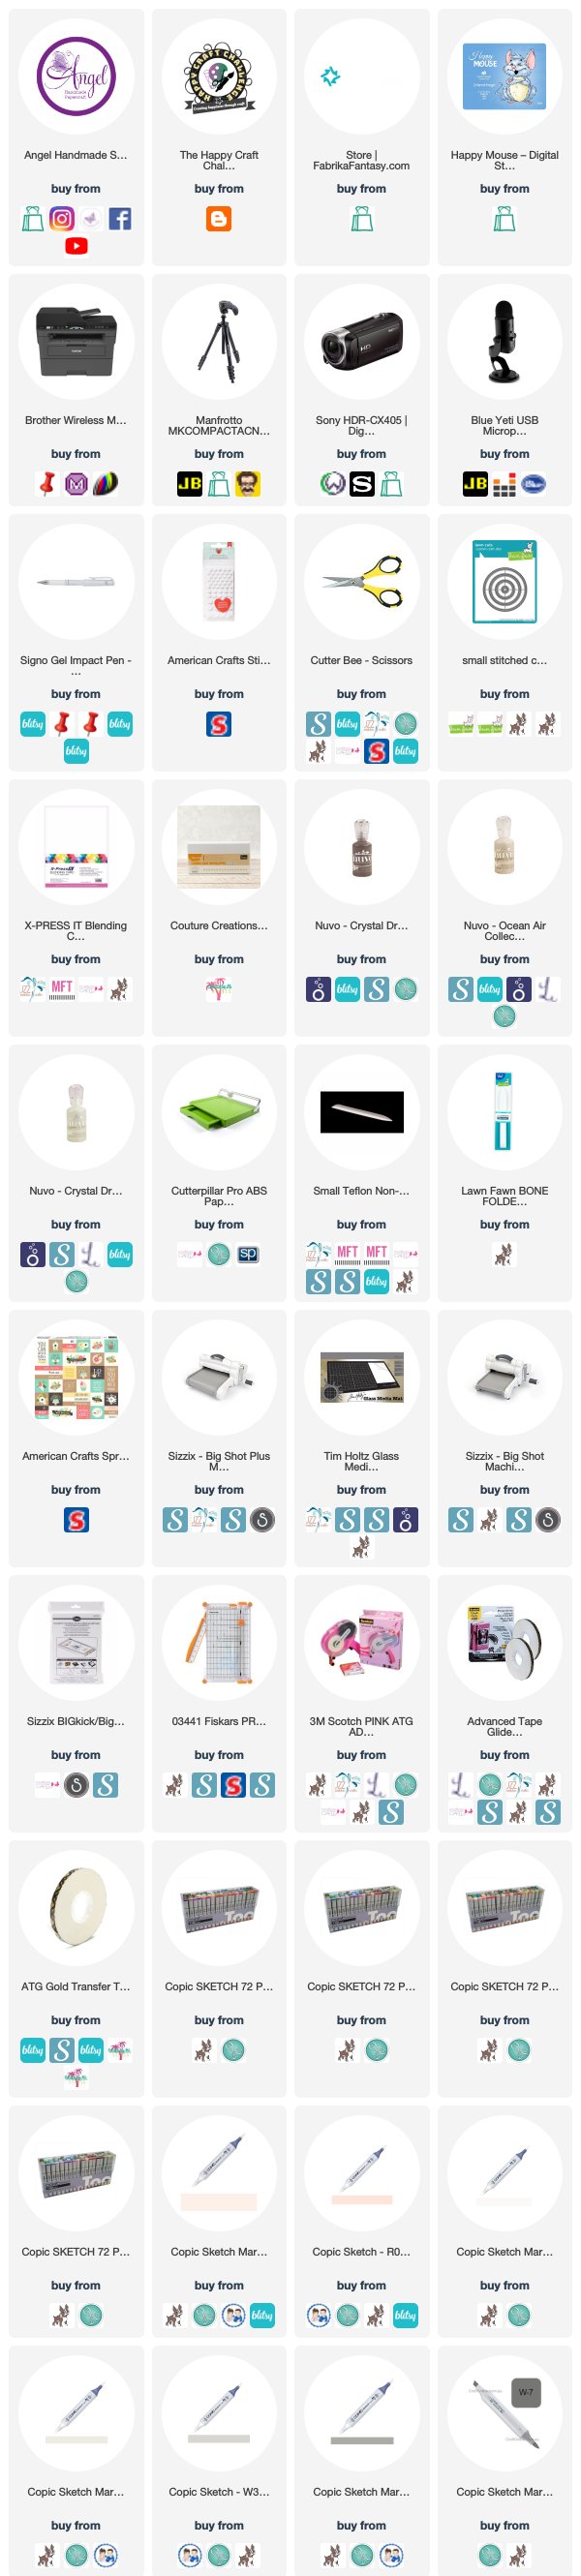
Products Used On My Card (Affiliate Links Used Where Possible)


Copic Markers Used

W4, W6, R20
W2, W4, 0 Colorless Blender
B93, B95,B97
R08, R27, R56
E39

Thanks for stopping by, Deni

CAMERA SET UP - FOR YOU TUBE VIDEOS ONLY
Blue Yeti Microphone
Sony Handycam HDR CX4-05
Tripod – Manfrotto MKCompactaCN-BK

S O C I A L MEDIA 
B L O G : http://angelhandmadepapercraft.blogspot.com.au/
I N S T A G R A M : http://instagram.com/angelhandmadepapercraft
YOU TUBE: http://www.youtube.com/c/AngelHandmadePapercraft
F A C E B O O K: http://www.facebook.com/angelhandmadepapercraft
PINTEREST: https://www.pinterest.com.au/angelhandmadepapercraft


I was a 2018 Ambassador for Copic Marker Australia and NZ


Wednesday, 31 July 2019

Happy Craft Challenge - Fabrika Fantasy - Happy Mouse

Good Morning Everyone,

I have joined a new team to begin August, something a little different for me but I am really excited about - The Happy Craft Challenge.


Each month they have a Sketch - for me I am on the Card Team so I am using the corresponding sketch for those projects. Not only do they have a sketch but they also have a mood board. I didn't go with the mood board for this project as I knew what I wanted to create once we were give the sponsor the image.

Check Out the Blog here to see all the other Fantastic Projects from the Design  Team.

Sponsor Image - Happy Mouse Fabric Fantasy                Card Sketch - August 2019

Check out the Fabrika Fantasy Shop here to see all the other awesome images they create.


Here is my completed card


Using my Brother Laser Printer I printed the image onto X-Press It Blending Cardstock as it is a Digital Image. I then coloured it up using Copic Markers and added some details using Uni-ball Signo White Gel Pen.


I ran the image through my Sizzix Big Shot using Lawn Fawn Stitched Circle die, I ended up having to cut it a second time with a smaller circle as it was still too big for my project.


I used patterned papers from Pebbles Inc Spring Fling, I used the polka dots and the hexagons. The Thank you sentiment is also from the same patterned paper pad.

I trimmed the polka dots paper down using my Tim Holtz Guillotine, I turned the paper sideways so I could cut the angle on the paper, the hexagon piece was a leftover piece so all I had to do was banner the end using my EK Success Cutterbee Scissors.

I used American Craft Foam Dots to adhered the image to the patterned papers, all the papers I adhered to a Couture Creations Card Base using Scotch ATG.

Once I had all my layers sorted I added some Tonic Studios Nuvo Crystal Drops in Dark Walnut, Oyster Gray and Metallic Caramel Cream.


I trimmed the Thankyou piece down and cut on the bannered lines using my scissors.


I hope you have enjoyed my post today, if you have any questions feel free to send me a message or contact me via facebook (all links can be found below).

Watch the You Tube Video Here


Products Used On My Card (Affiliate Links Used Where Possible)


Copic Markers Used

R00, R01
W00, W1, W3, W5, W7

Thanks for stopping by, Deni

CAMERA SET UP - FOR YOU TUBE VIDEOS ONLY
Blue Yeti Microphone
Sony Handycam HDR CX4-05
Tripod – Manfrotto MKCompactaCN-BK

S O C I A L MEDIA 
B L O G : http://angelhandmadepapercraft.blogspot.com.au/
I N S T A G R A M : http://instagram.com/angelhandmadepapercraft
YOU TUBE: http://www.youtube.com/c/AngelHandmadePapercraft
F A C E B O O K: http://www.facebook.com/angelhandmadepapercraft
PINTEREST: https://www.pinterest.com.au/angelhandmadepapercraft


I was a 2018 Ambassador for Copic Marker Australia and NZ