Showing posts with label Studio Katia. Show all posts

Wednesday, 20 November 2019

Helmar - Rainbows and Unicorns

Hi everyone,

Today I am sharing with you a shaker card I made using products from Helmar Adhesive.


I used a stamp set from Stamping Bella called Unicorn Sentiments, I stamped the image out using a Lawn Fawn acrylic block onto X-Press It Blending Card with Memento Tuxedo Black.

I then coloured the image using Copic Markers, I will have those listed below.


Once I had the image coloured I began putting the card together.

I used Helmar Quick Dry and also the Acid Free to adhere all my pieces.

I started by making my rainbow, I used a whole lot of scraps from my leftovers bucket to cut all the strips then used the Quick Dry adhesive to adhere them all together, I did this on my glass media mat so I didn't make a mess.


I then added some puffy clouds to the ends of the rainbow and glued my unicorn the left side on top of one of the clouds. I also cut a sun and added that behind the rainbow on the right.
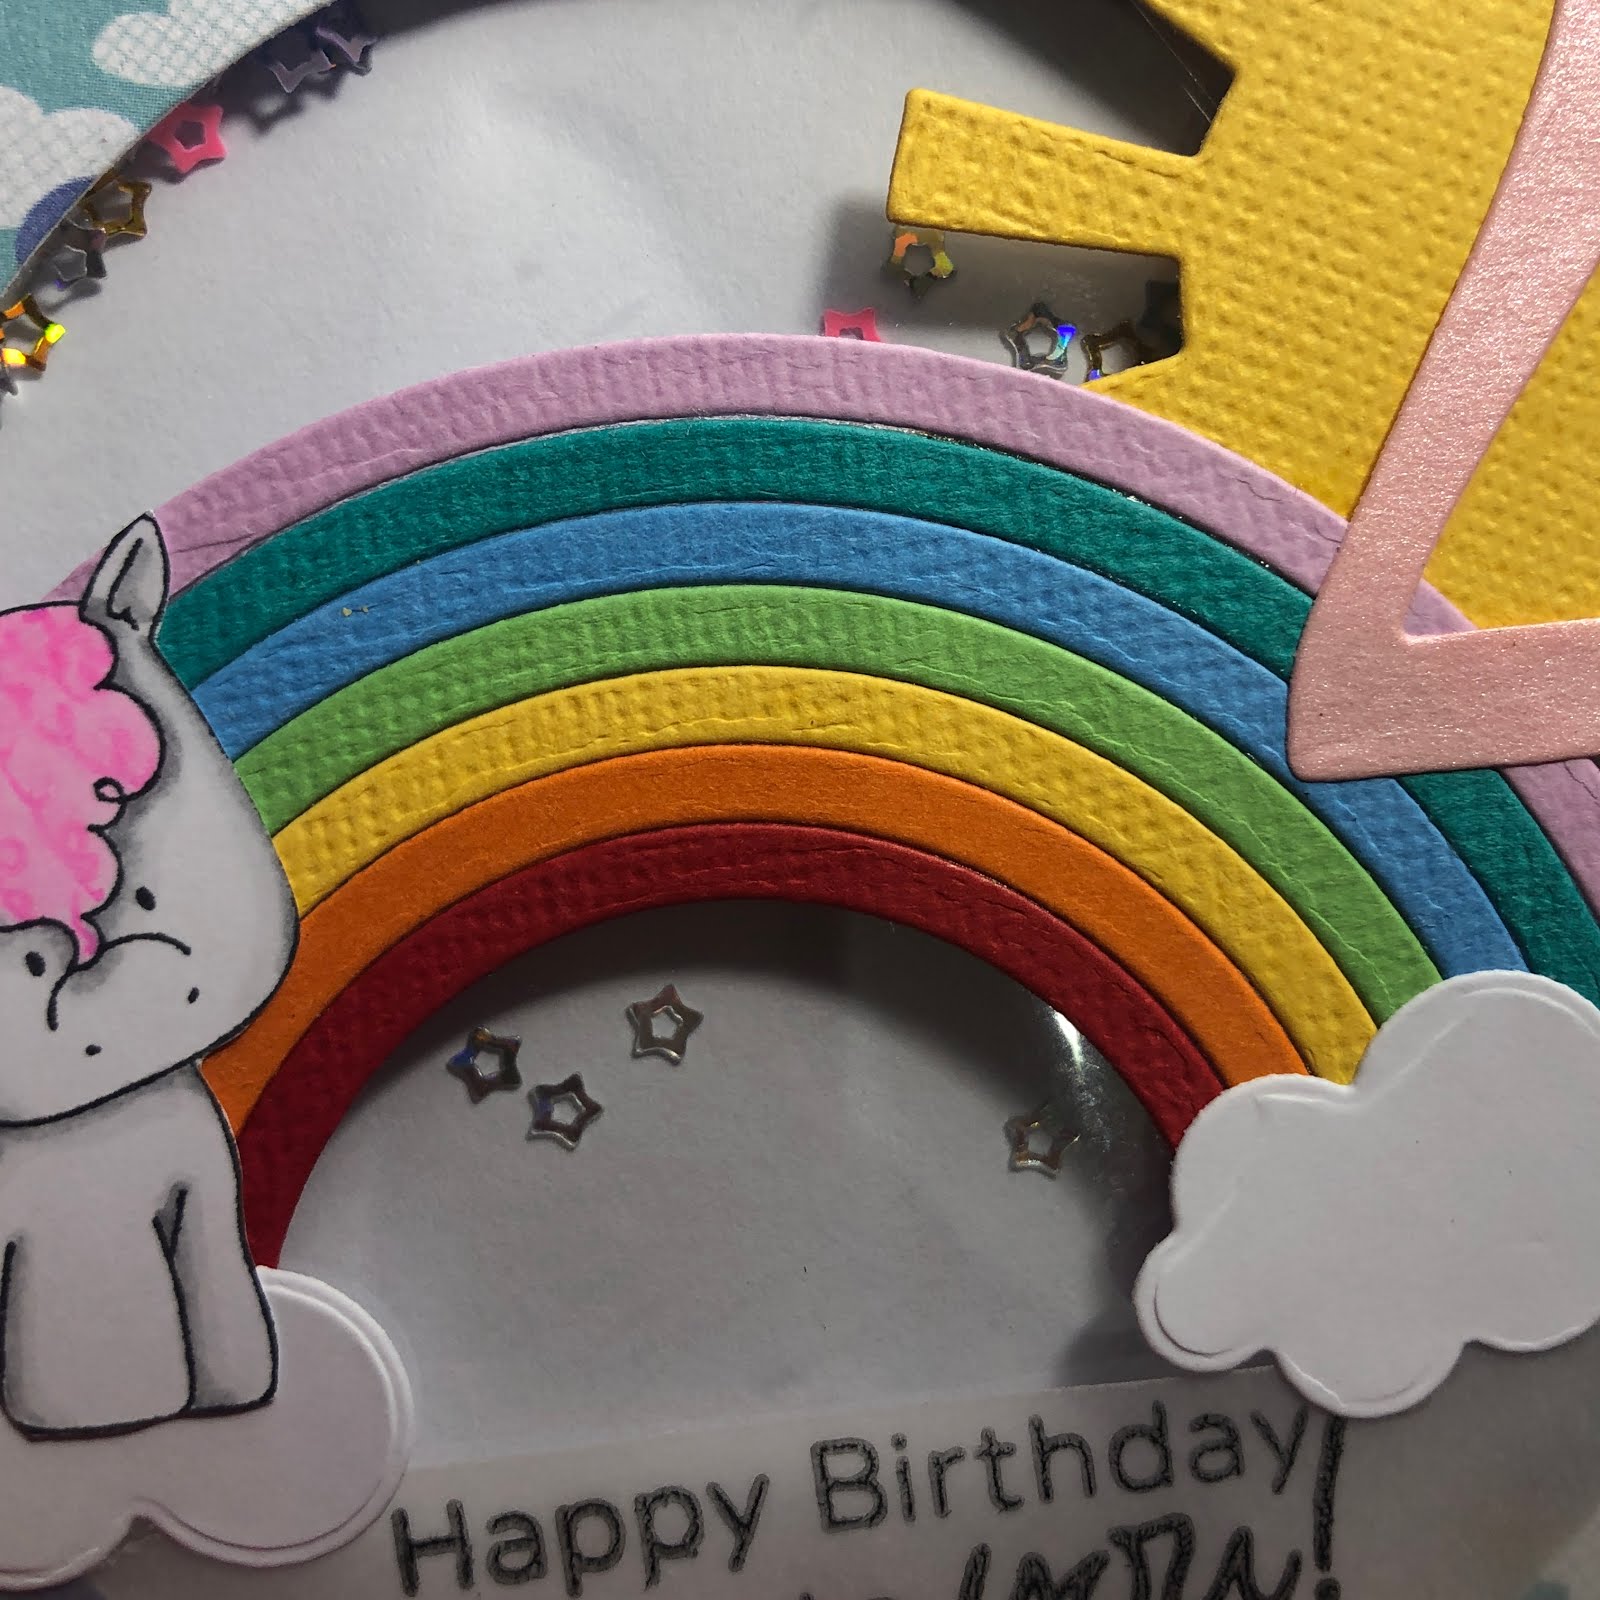

I used some clouds patterned paper from Pebbles to create my shaker laker, I ran a lawn fawn stitched circle die to cut out the centre and create my window. I didn't have any clear vellum left so i used some leftover acetate from packaging and ran that through with the same dies but the next size up and adhered that to the back of my clouds piece using the quick dry adhesive.

I added some foam tape to the back of the acetate and used star sequins from Beebee Craft for my shaker element.

I stamped out a sentiment from Studio Katia Birthday Greetings onto some vellum using Ink on 3 Blackout ink and carefully used my heat gun to make sure it was completely dry, I added some bling to the ends so I could hide some of the quick dry adhesive.


I cut a number 2 from Paper Rose Studio Jumbo Numbers using some pink card stock from my stash and added that to the sun in the top right corner..


Finally I adhered everything to a couture creations card base and my card was complete.


I hope you have enjoyed my post today, if you have any questions feel free to send me a message or contact me via facebook (all links can be found below).

Watch the You Tube Video Here


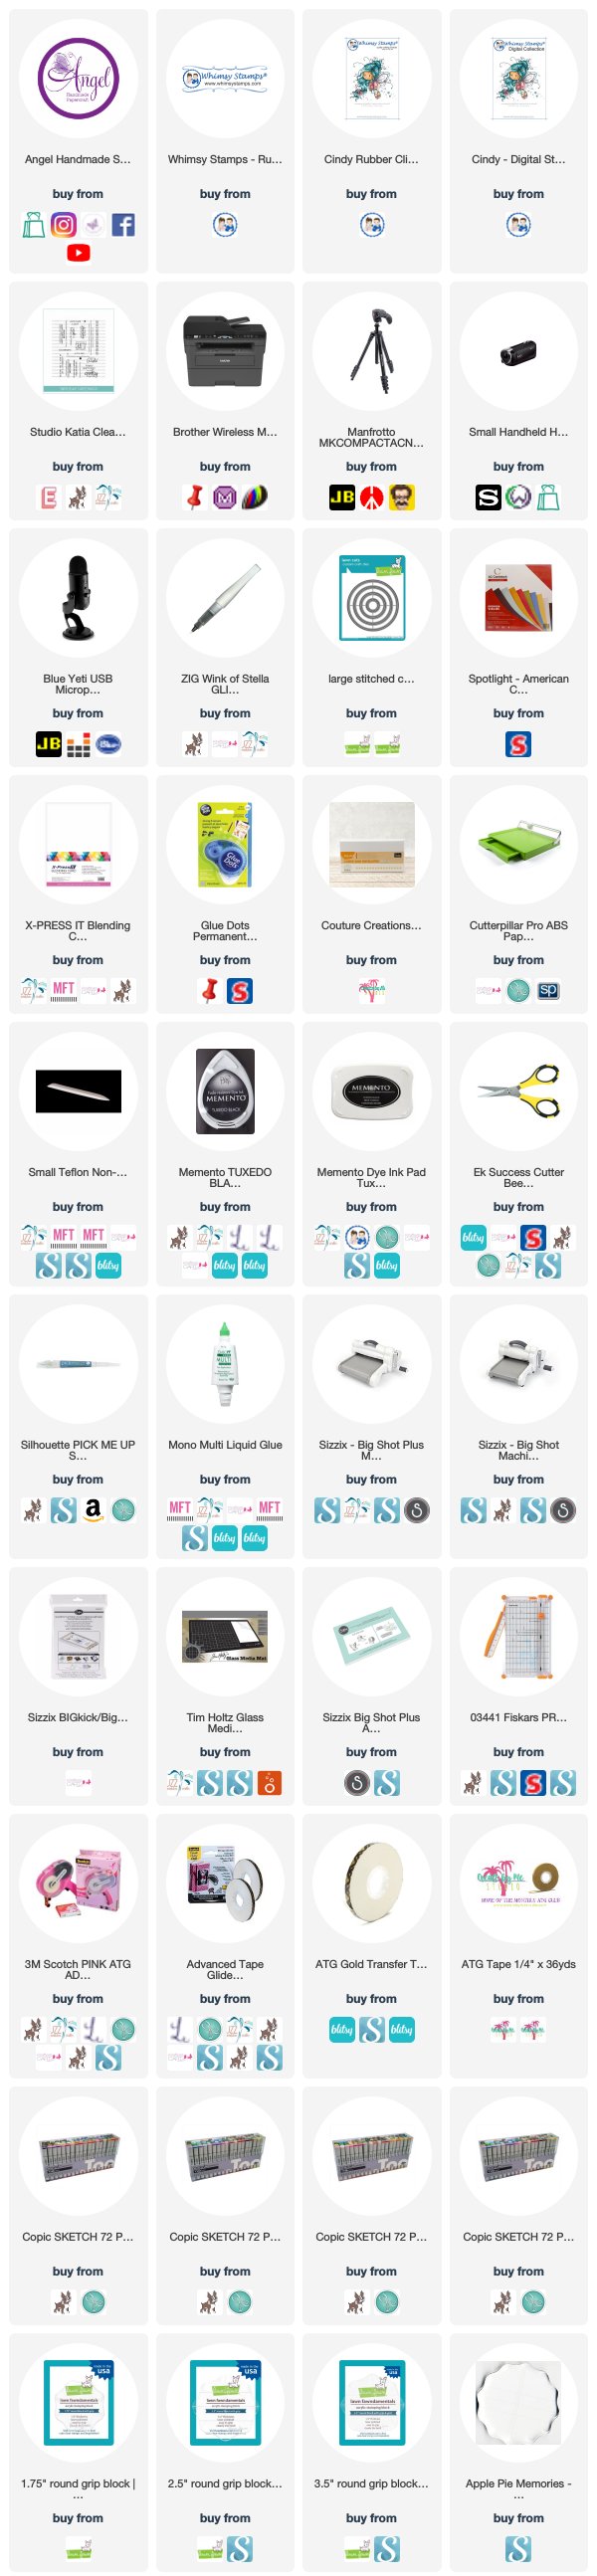
Products Used On My Card (Affiliate Links Used Where Possible)
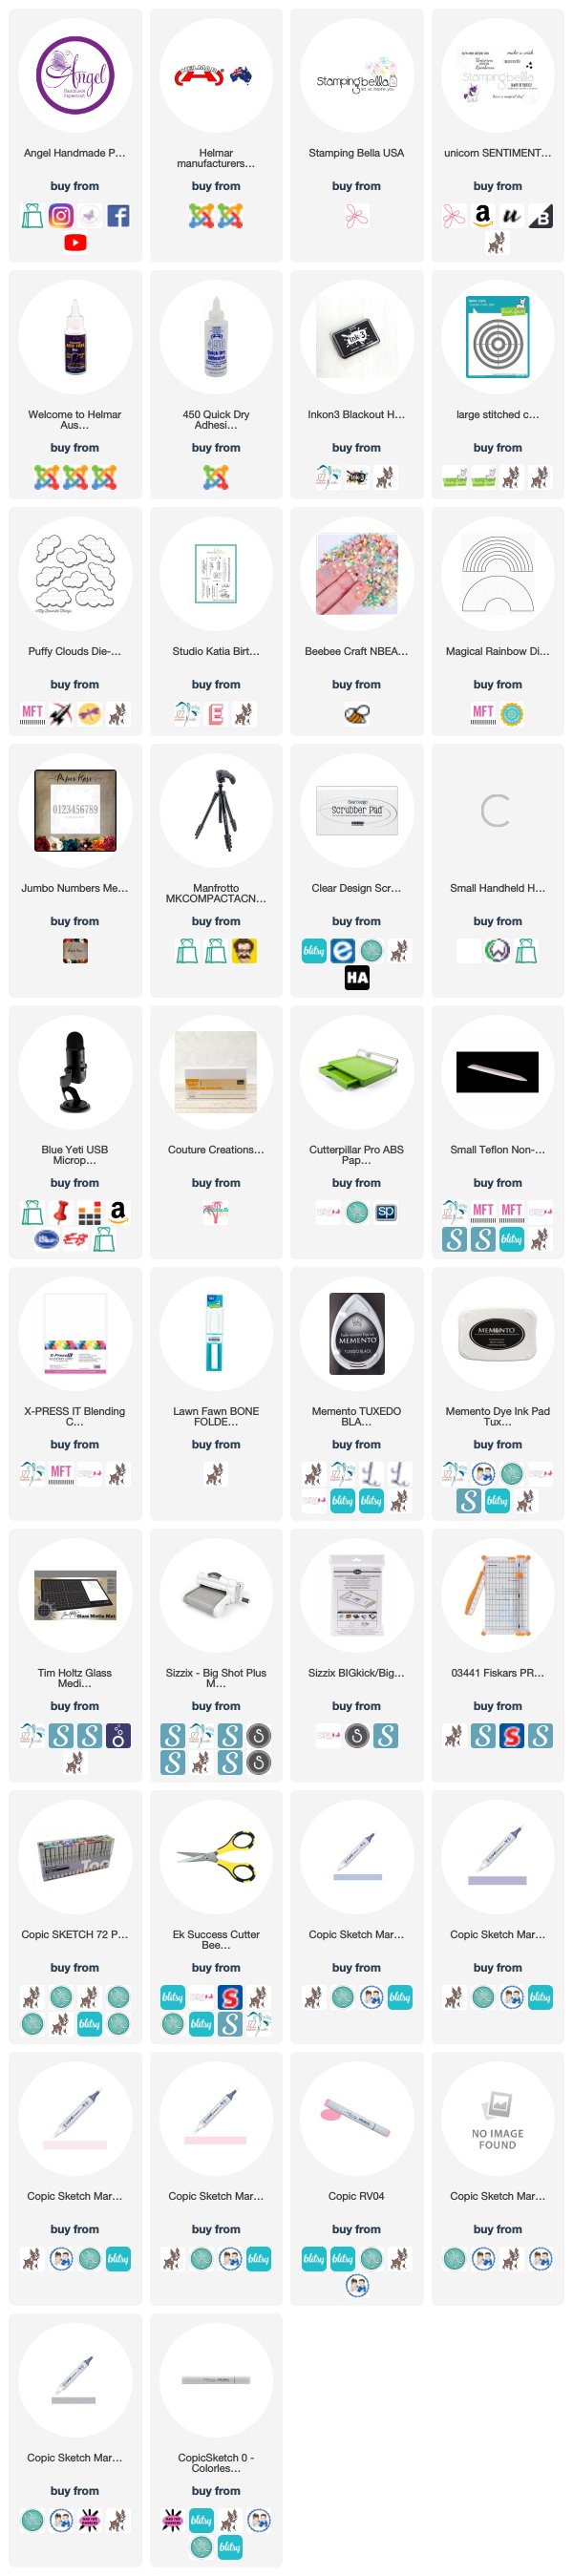


Copic Markers Used

V20, V22,
RV00, RV02, RV04
N0, N4, 0 Colorless Blender

Thanks for stopping by, Deni

CAMERA SET UP - FOR YOU TUBE VIDEOS ONLY
Blue Yeti Microphone
Sony Handycam HDR CX4-05
Tripod – Manfrotto MKCompactaCN-BK

S O C I A L MEDIA 
B L O G : https://ldli.co/e/3xky6x
I N S T A G R A M : https://ldli.co/e/5dn20x
YOU TUBE: https://ldli.co/e/ej5l90 
F A C E B O O K: https://ldli.co/e/mjxn2r
PINTEREST: https://ldli.co/e/2l9zom


I was a 2018 Ambassador for Copic Marker Australia and NZ

Saturday, 27 April 2019

Whimsy Stamps - Sylvia Zet - Cindy

Omg you guys,

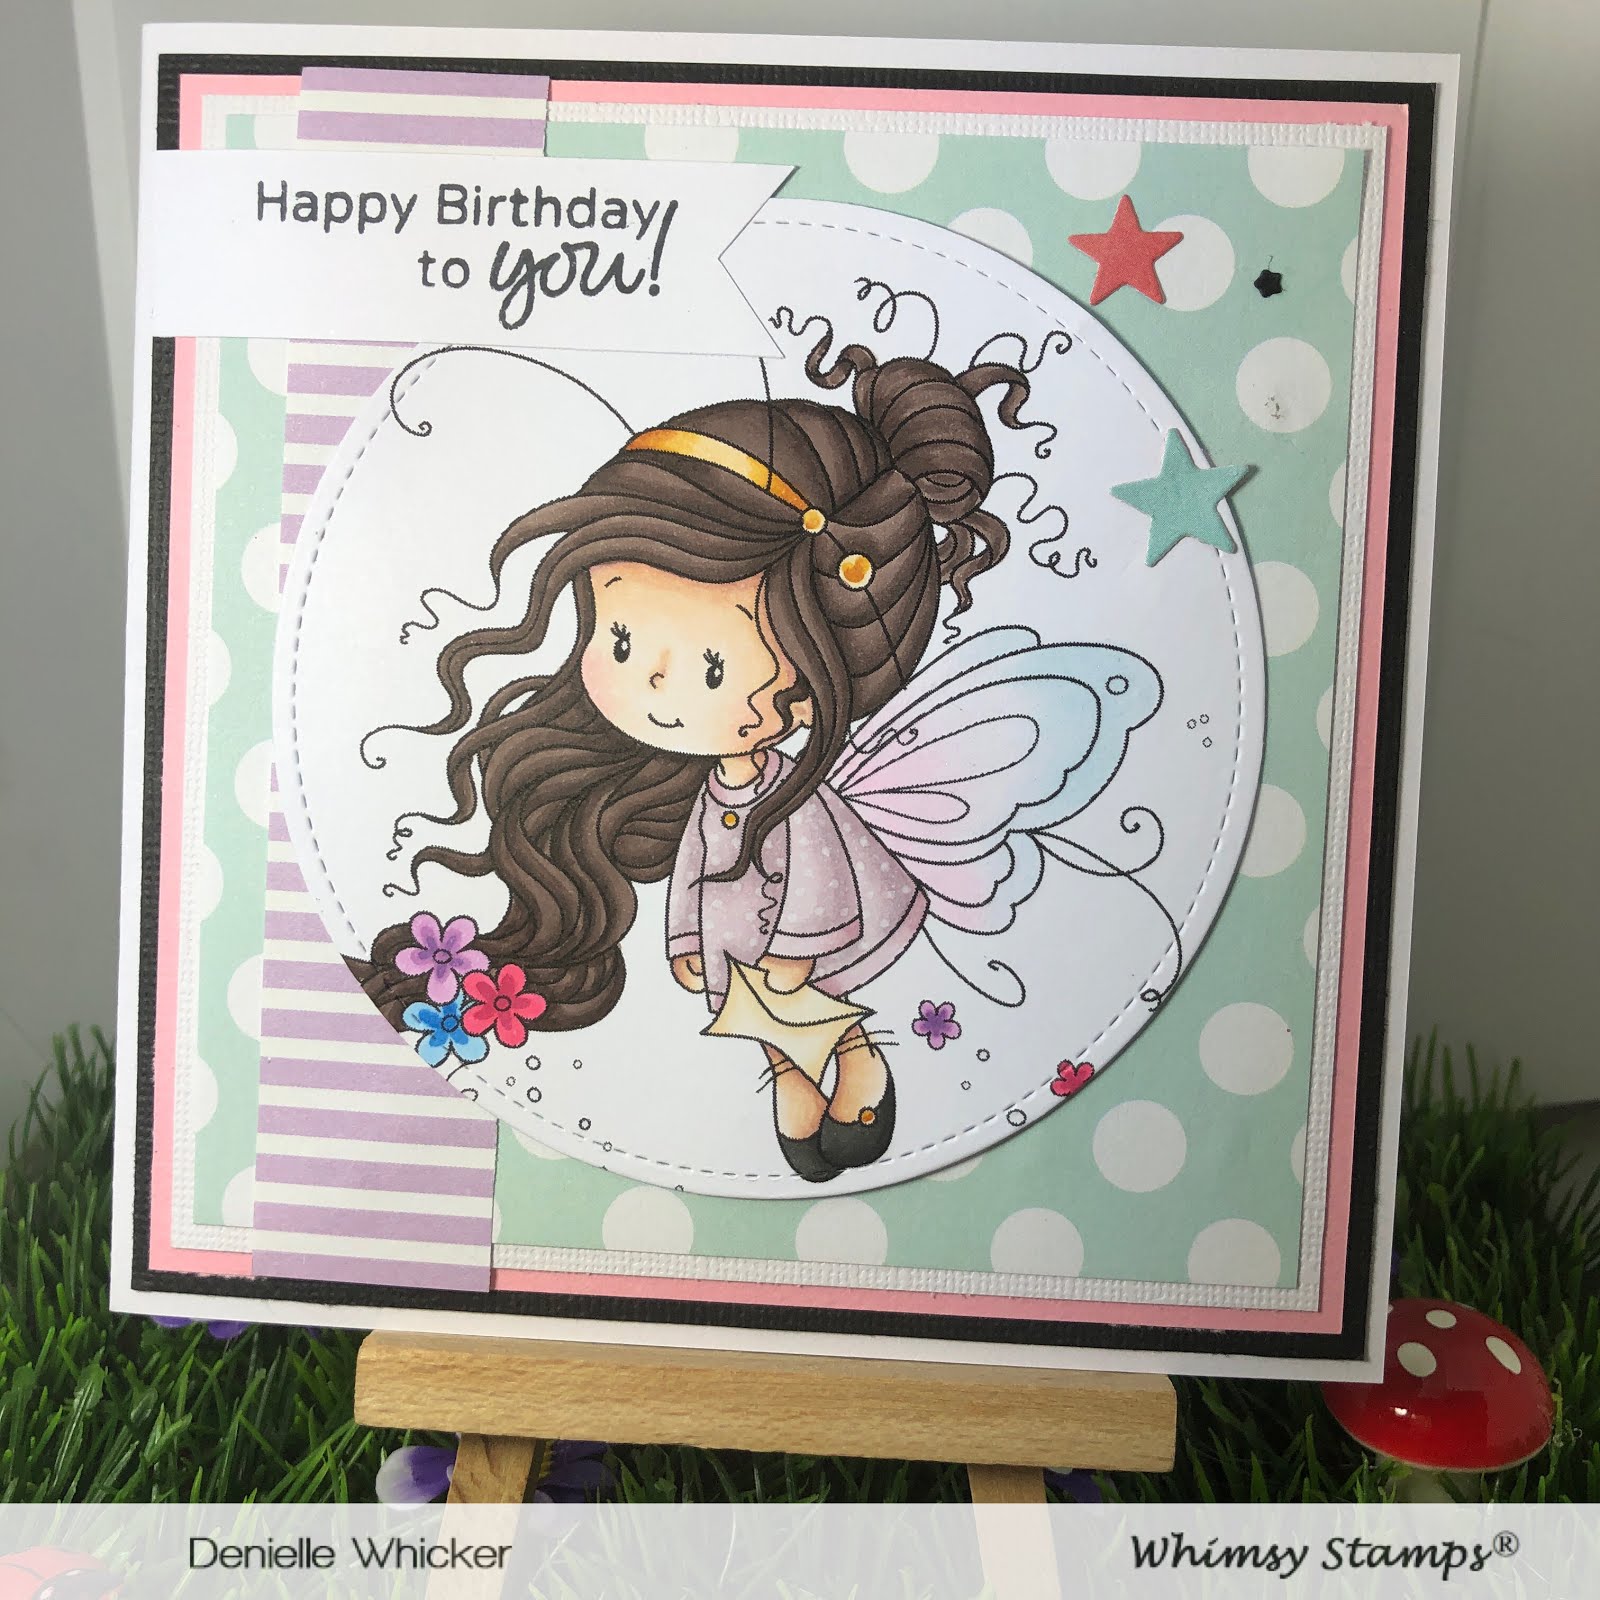
I am so super excited to share with you one of the new Sylvia Zet images over at Whimsy Stamps, this is Cindy and she is my absolute favourite so far :-)


I printed her using my Brother Laser Printer onto X-Press It Blending Cardstock so I was able to colour using Copic Markers.

I ran the image through my Sizzix Big Shot using Lawn Fawn Stitched Circle Die, these are my favourite circle dies, always perfectly sized just for me.


I used patterned papers from a Kmart paper pad, and cardstocks from American Crafts and some other unknown papers.

I used a sentiment from Studio Katia Birthday Greetings, I inked it up using Memento Tuxedo Black and used a Lawn Fawn Acrylic Block to stamp it out onto some leftover X-Press It Blending Cardstock which I then cut down to size using EK Success Cutterbee Scissors.

I added Wink Of Stella Clear to her wings and finally I used my Silhouette Pick Me Up Tool to add some stars to my card, the stars are leftovers from other projects.

I adhered all the layers to a Couture Creations card base and decorated the inside of my card to match.

I hope you have enjoyed my post today, if you have any questions feel free to send me a message or contact me via facebook (all links can be found below).

Watch the You Tube Video Here


  Products Used On My Card (Affiliate Links Used Where Possible)


Copic Markers Used

E74, E77, E79
T6, T8, T10
YR21, YR24, YR27
V12, V15, V17
RV14, RV19
B12, B16
E000, E00, E21, E11, E04, R20
V91, V93, V95
RV91, RV93, RV95
RV00, RV0000, B0000
E50, E53

Thanks for stopping by, Deni

CAMERA SET UP - FOR YOU TUBE VIDEOS ONLY
Blue Yeti Microphone
Sony Handycam HDR CX4-05
Tripod – Manfrotto MKCompactaCN-BK

S O C I A L MEDIA 
B L O G : http://angelhandmadepapercraft.blogspot.com.au/
I N S T A G R A M : http://instagram.com/angelhandmadepapercraft
YOU TUBE: http://www.youtube.com/c/AngelHandmadePapercraft
F A C E B O O K: http://www.facebook.com/angelhandmadepapercraft
PINTEREST: https://www.pinterest.com.au/angelhandmadepapercraft


I was a 2018 Ambassador for Copic Marker Australia and NZ


Monday, 1 April 2019

Whimsy Stamps - Lady Marieta

Good Morning Everyone,

It is New Release week over at Whimsy Stamps and I have been lucky enough to work with PC Marieta for my post today.

I printed her out onto X-Press It Blending Cardstock using my Brother Laser Printer, Laser Printers are Copic safe which means you will have no bleeding through the ink.


I coloured her up using my Copic Markers which I will have all listed below, I then used my EK Success Cutterbee Scissors to fussy cut her out, finally to finish her off I used a Tombow Dual ended black marker to go around the outside and give her a gently black outline.

Using Uni-ball Signo White Angelic gel pen I added a few little details to her outfit, shoes and to the lady bug she is holding, I then went in and added some Wink Of Stella to the ladybug.


I used patterned papers from Crafter's Clearance Primary Basic, and American Crafts plain card stocks, I trimmed them down to size on my Cutterpillar Pro then adhered them to a Couture Creations Card base using Scotch ATG.

I ran a left over piece of the X-Press It Blending Card stock through my Sizzix Big Shot using a Lawn Fawn Stitched Circle die, I then used a sentiment from Studio Katia Birthday Greetings Stamp Set and stamped it out onto the circle using a Lawn Fawn Acrylic Block and some Memento Tuxedo Black.

I adhered the little lady and the sentiment down to the patterned paper using American Tombow Mono Multi Liquid Adhesive.

Lucky last I added some Tonic Studios Nuvo Crystal Does in Red Berry and Ebony Black to the middle of the stars on the patterned paper. Whilst the black was still wet I added the red to the centre. Most of them worked out perfect others not so perfect but I went with it anyway.

That is my card complete.


I hope you have enjoyed my post today, if you have any questions feel free to send me a message or contact me via facebook (all links can be found below).

Watch the You Tube Video Here


  Products Used On My Card (Affiliate Links Used Where Possible)


Copic Markers Used

E000, E00, E21, E11, E04, R20
R35, R37, R39
T6, T8, T10
E25, E27, E29
E30, E31

Thanks for stopping by, Deni

CAMERA SET UP - FOR YOU TUBE VIDEOS ONLY
Blue Yeti Microphone
Sony Handycam HDR CX4-05
Tripod – Manfrotto MKCompactaCN-BK

S O C I A L MEDIA 
B L O G : http://angelhandmadepapercraft.blogspot.com.au/
I N S T A G R A M : http://instagram.com/angelhandmadepapercraft
YOU TUBE: http://www.youtube.com/c/AngelHandmadePapercraft
F A C E B O O K: http://www.facebook.com/angelhandmadepapercraft
PINTEREST: https://www.pinterest.com.au/angelhandmadepapercraft


I was a 2018 Ambassador for Copic Marker Australia and NZ