Showing posts with label Paper Rose Studio. Show all posts

Wednesday, 6 May 2020

Whimsy Stamps - Ahoy Birthday Boy

I am having a blast creating with the Whimsy Stamps May 2020 New Release, and this card is another that just makes me smile.


For my card today I have used Ahoy Matey, he is from the Digital Stamp Release.


As always being a Digital Stamp I printed him out using my Brother Laser Printer onto X-Press It Blending Cardstock, there is other brands out there but this one works best for me and is easily accessible. I get a nice blend with my Copic Markers on this cardstock. Ignore the RV markers in the Copic picture as I used those on another project.


I used some pirate patterned papers from an old patterned paper pad I purchased from Spotlight's Crafters Clearance brand called Cheeky Pirate, I thought these papers would be perfect on this card, sometimes I forget to pull out all my old 12x12 Paper Pads as they are not right next to my desk (well actually they are but not on my trolley haha).


I cut out one of the puzzle pieces from one of the papers and the other papers I cut down. I didn't want to waste a whole page of this puzzle as I think that it is awesome.


I ran a Paper Rose Jumbo Number 3 through my Sizzix Big Shot using some American Crafts Cardstock and coated it with Wink Of Stella so it would be all shiny.


I used a sentiment from Taylored Expressions Simple Strips, I stamped it out onto American Crafts Cardstock using Ink On 3 Embossing Ink, coated it with Ranger Ink Super Fine White Embossing Powder and melted it using my heat tool. I then ran the sentiments through my Big Shot using the matching dies.


I used a white Uni-Ball Gel Pen to add details to the image and to the number cut out then adhered all the layers to a Couture Creations Card Base using Helmar Acid Free.

Once I was done with the front of the card I used matching papers to decorate the inside of the card.


I hope you have enjoyed my post today, if you have any questions feel free to send me a message or contact me via facebook (all links can be found below).

Watch the You Tube Video Here


Products Used On My Card (Affiliate Links Used Where Possible)


Copic Markers Used

E000, E00, E21, E11, E04,
Y04, Y15, YR04
R14, R27
E74, E77, E79
E31, E33, E35, E37
BG10, BG11
N0, N2, N4, 0
N6, N8, N10
BG02, BG05
YG17

Thanks for stopping by, Deni

CAMERA SET UP - FOR YOU TUBE VIDEOS ONLY
Blue Yeti Microphone
Sony Handycam HDR CX4-05
Tripod – Manfrotto MKCompactaCN-BK

S O C I A L MEDIA 
B L O G : https://ldli.co/e/3xky6x
I N S T A G R A M : https://ldli.co/e/5dn20x
YOU TUBE: https://ldli.co/e/ej5l90 
F A C E B O O K: https://ldli.co/e/mjxn2r
PINTEREST: https://ldli.co/e/2l9zom


I was a 2018 Ambassador for Copic Marker Australia and NZ


Friday, 13 March 2020

Helmar Worldwide - Masquerade Marci

Hi Everyone,

Today I am sharing with you a card I have created using liquid adhesives from Helmar Worldwide.

I have used both the Acid Free and the Quick Dry 450 on my card.


I printed the Digital Stamp Masquerade Marci from La La Land Crafts (no longer av as Digi, I have linked up some rubbers) onto X-Press It Blending Cardstock using my Brother Laser Printer.


I cut down some layers of Doodlebug Sugar Shoppe for my layers, some I bannered up using EK Success Cutterbee Scissors, I also did the same with the sentiment from the stamp set.


The balloons are from an old MFT Stamps die  - Big Birthday Balloons, I used some leftover bits of the paper pad and ran them through my Sizzix Big Shot.


I used Paper Rose Studio - Jumbo Numbers to cut out the number 5 digit, also using some leftovers of the patterned paper.


I used a white Uni-Ball Signo Gel Pen to add details to Marci's dress when I was colouring her up, I think this made a really big difference. When I was done the card I also carefully added some Wink Of Stella Clear.


You can really see the detail in this next picture. 


Dont forget to check out the Helmar Worldwide Adhesives here.

I hope you have enjoyed my post today, if you have any questions feel free to send me a message or contact me via facebook (all links can be found below).

Watch the You Tube Video Here


Products Used On My Card (Affiliate Links Used Where Possible)


Copic Markers Used - sorry no list for you today.


Thanks for stopping by, Deni

CAMERA SET UP - FOR YOU TUBE VIDEOS ONLY
Blue Yeti Microphone
Sony Handycam HDR CX4-05
Tripod – Manfrotto MKCompactaCN-BK

S O C I A L MEDIA 
B L O G : https://ldli.co/e/3xky6x
I N S T A G R A M : https://ldli.co/e/5dn20x
YOU TUBE: https://ldli.co/e/ej5l90 
F A C E B O O K: https://ldli.co/e/mjxn2r
PINTEREST: https://ldli.co/e/2l9zom


I was a 2018 Ambassador for Copic Marker Australia and NZ


Wednesday, 20 November 2019

Helmar - Rainbows and Unicorns

Hi everyone,

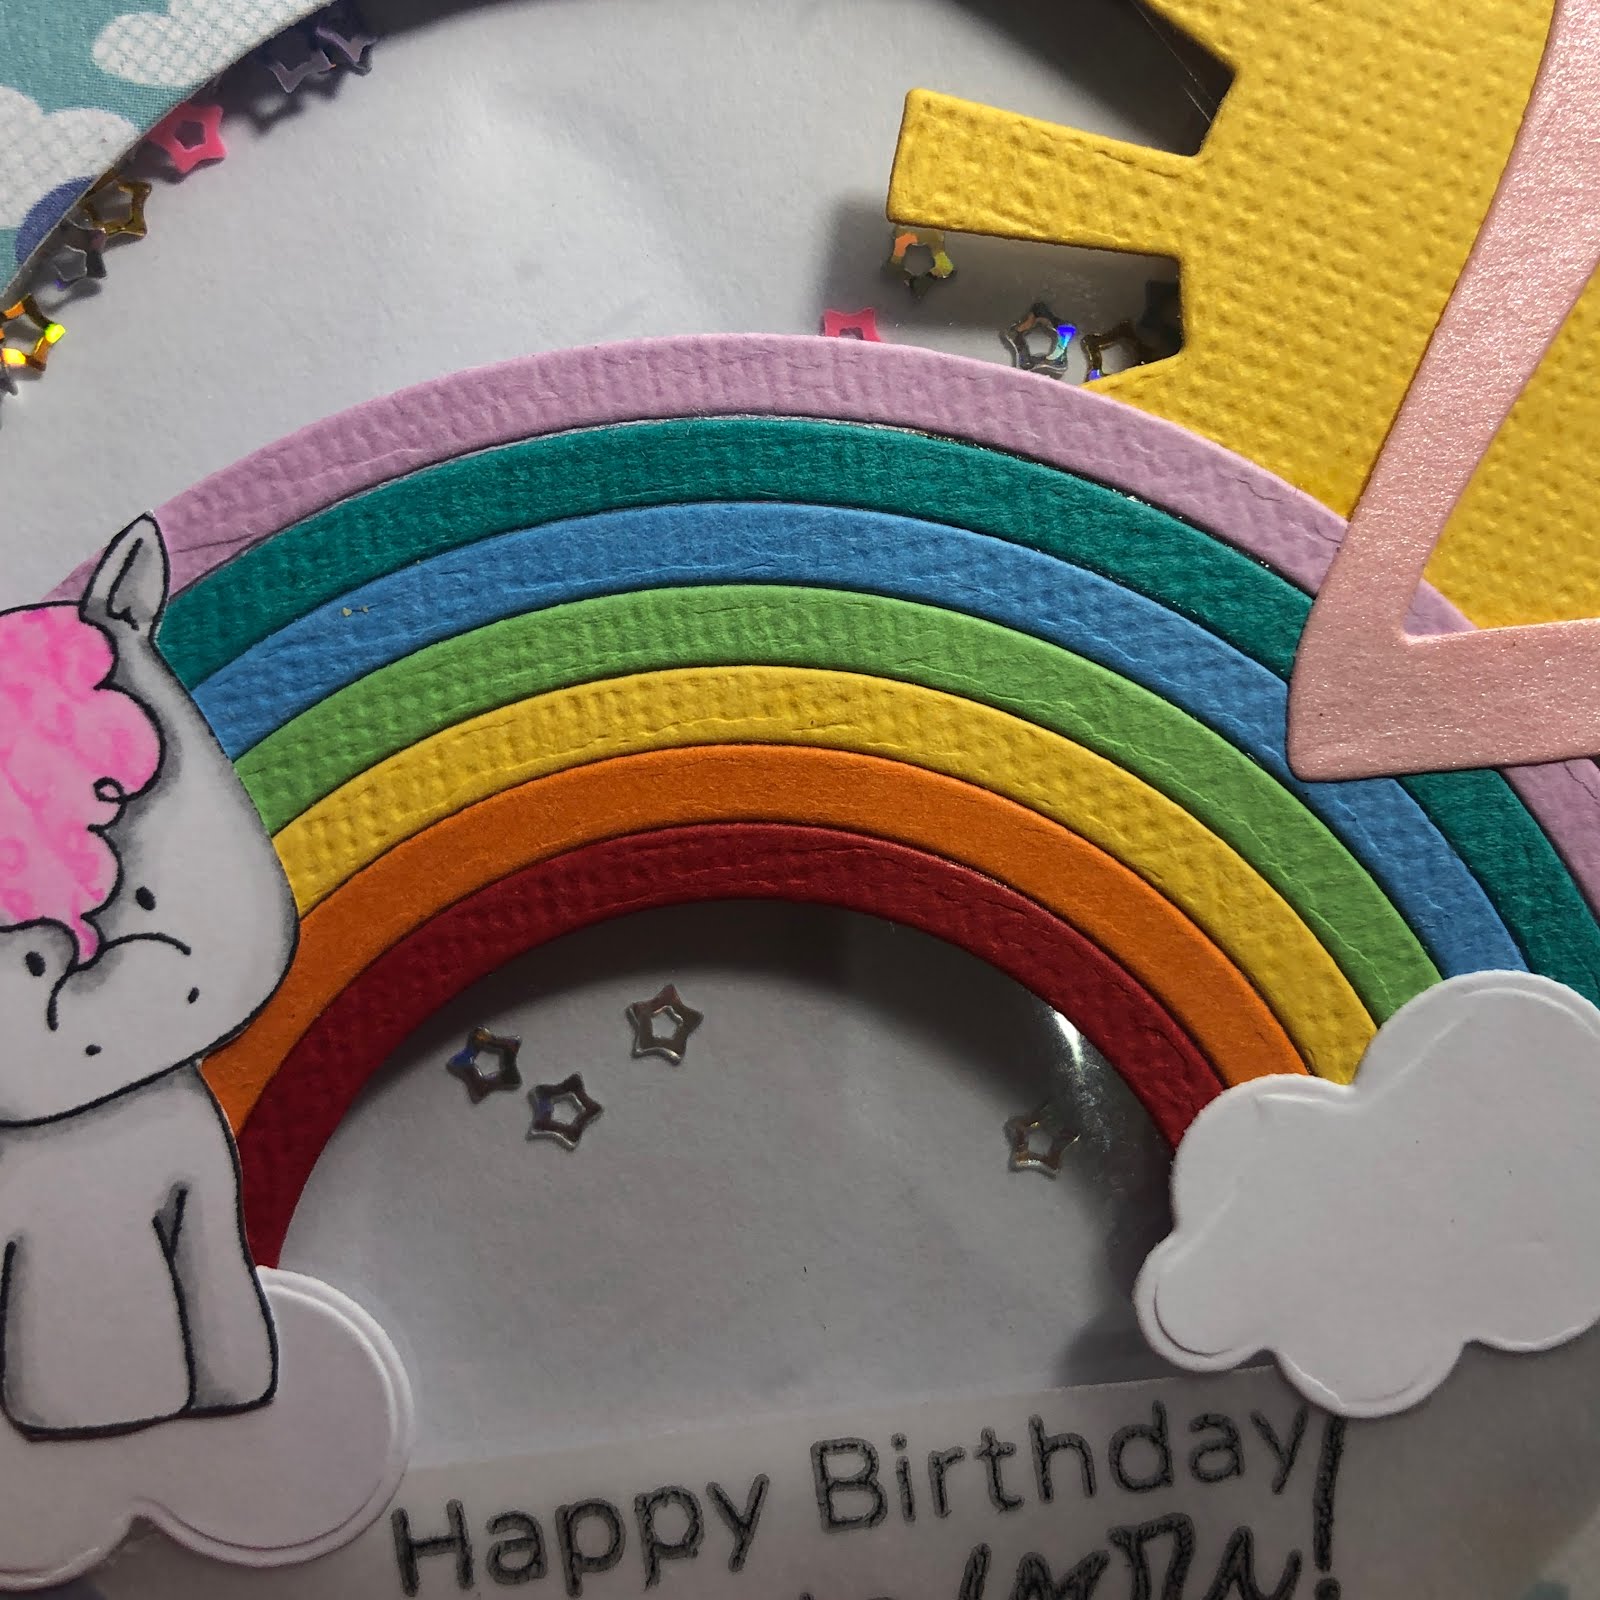
Today I am sharing with you a shaker card I made using products from Helmar Adhesive.


I used a stamp set from Stamping Bella called Unicorn Sentiments, I stamped the image out using a Lawn Fawn acrylic block onto X-Press It Blending Card with Memento Tuxedo Black.

I then coloured the image using Copic Markers, I will have those listed below.


Once I had the image coloured I began putting the card together.

I used Helmar Quick Dry and also the Acid Free to adhere all my pieces.

I started by making my rainbow, I used a whole lot of scraps from my leftovers bucket to cut all the strips then used the Quick Dry adhesive to adhere them all together, I did this on my glass media mat so I didn't make a mess.


I then added some puffy clouds to the ends of the rainbow and glued my unicorn the left side on top of one of the clouds. I also cut a sun and added that behind the rainbow on the right.


I used some clouds patterned paper from Pebbles to create my shaker laker, I ran a lawn fawn stitched circle die to cut out the centre and create my window. I didn't have any clear vellum left so i used some leftover acetate from packaging and ran that through with the same dies but the next size up and adhered that to the back of my clouds piece using the quick dry adhesive.

I added some foam tape to the back of the acetate and used star sequins from Beebee Craft for my shaker element.

I stamped out a sentiment from Studio Katia Birthday Greetings onto some vellum using Ink on 3 Blackout ink and carefully used my heat gun to make sure it was completely dry, I added some bling to the ends so I could hide some of the quick dry adhesive.


I cut a number 2 from Paper Rose Studio Jumbo Numbers using some pink card stock from my stash and added that to the sun in the top right corner..


Finally I adhered everything to a couture creations card base and my card was complete.


I hope you have enjoyed my post today, if you have any questions feel free to send me a message or contact me via facebook (all links can be found below).

Watch the You Tube Video Here


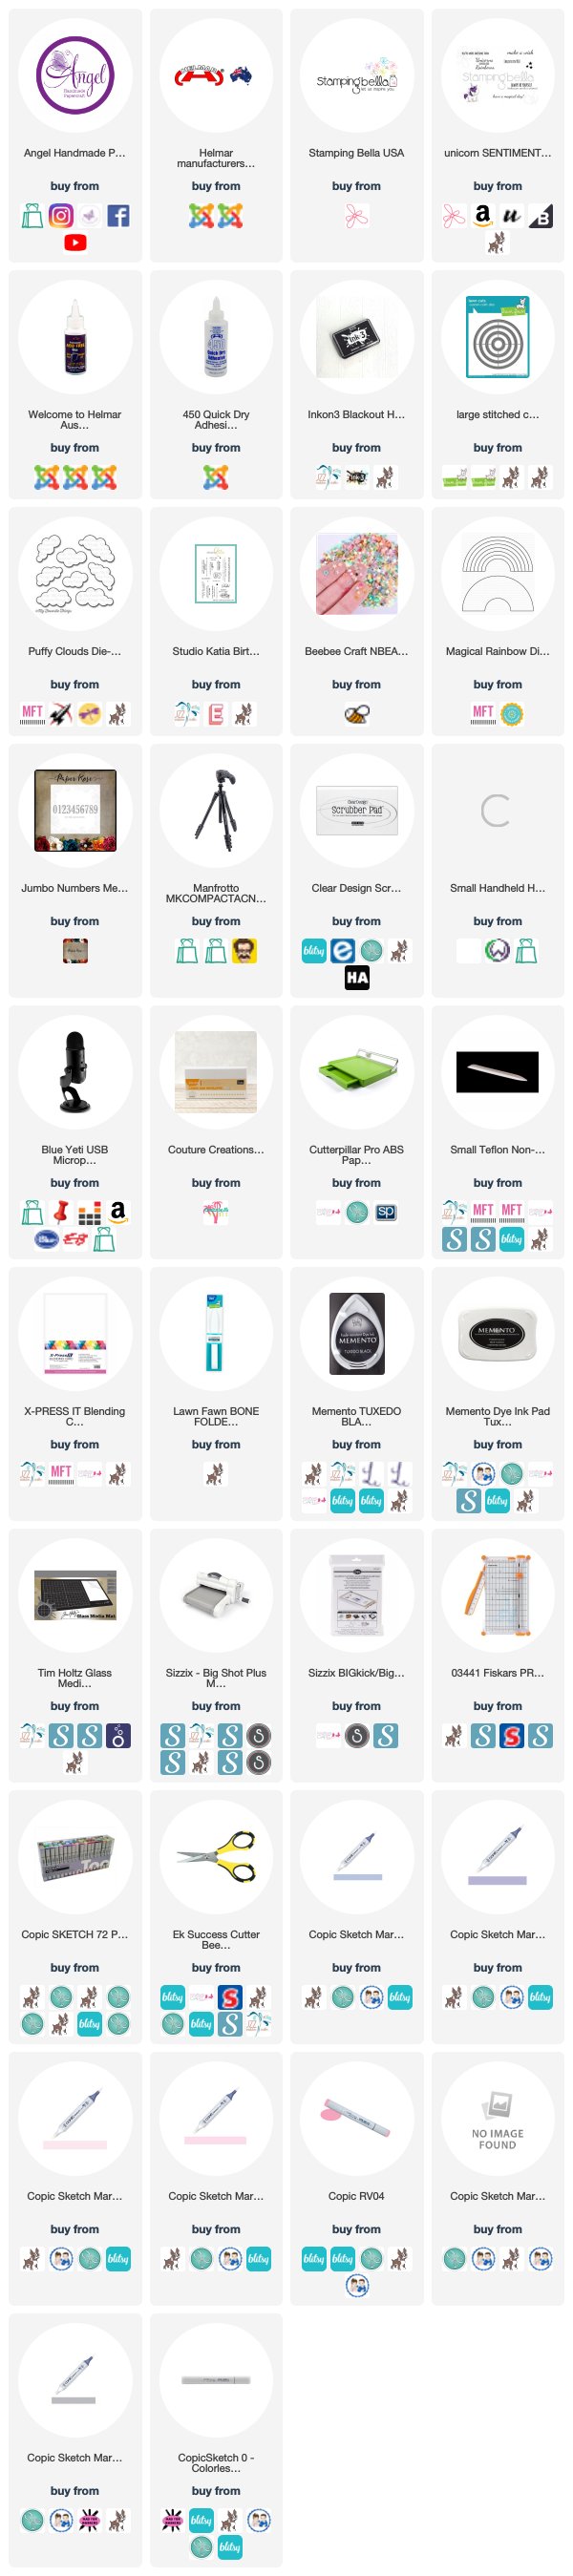
Products Used On My Card (Affiliate Links Used Where Possible)


Copic Markers Used

V20, V22,
RV00, RV02, RV04
N0, N4, 0 Colorless Blender

Thanks for stopping by, Deni

CAMERA SET UP - FOR YOU TUBE VIDEOS ONLY
Blue Yeti Microphone
Sony Handycam HDR CX4-05
Tripod – Manfrotto MKCompactaCN-BK

S O C I A L MEDIA 
B L O G : https://ldli.co/e/3xky6x
I N S T A G R A M : https://ldli.co/e/5dn20x
YOU TUBE: https://ldli.co/e/ej5l90 
F A C E B O O K: https://ldli.co/e/mjxn2r
PINTEREST: https://ldli.co/e/2l9zom


I was a 2018 Ambassador for Copic Marker Australia and NZ