Today I am sharing with you a card I made for Whimsy Stamps using Penguin Snow Fun, this image was part of the November 2019 Digital Release.

I printed the image onto X-Press It Blending Cardstock using X-Press It Blending Cardstock, I then coloured them up using Copic Markers.


Once I had the image coloured up I found some papers to match, I decided to go with the Kaisercraft Silly Season 6.5" Paper Pad, I love all the beautiful Christmas colours and patterns.

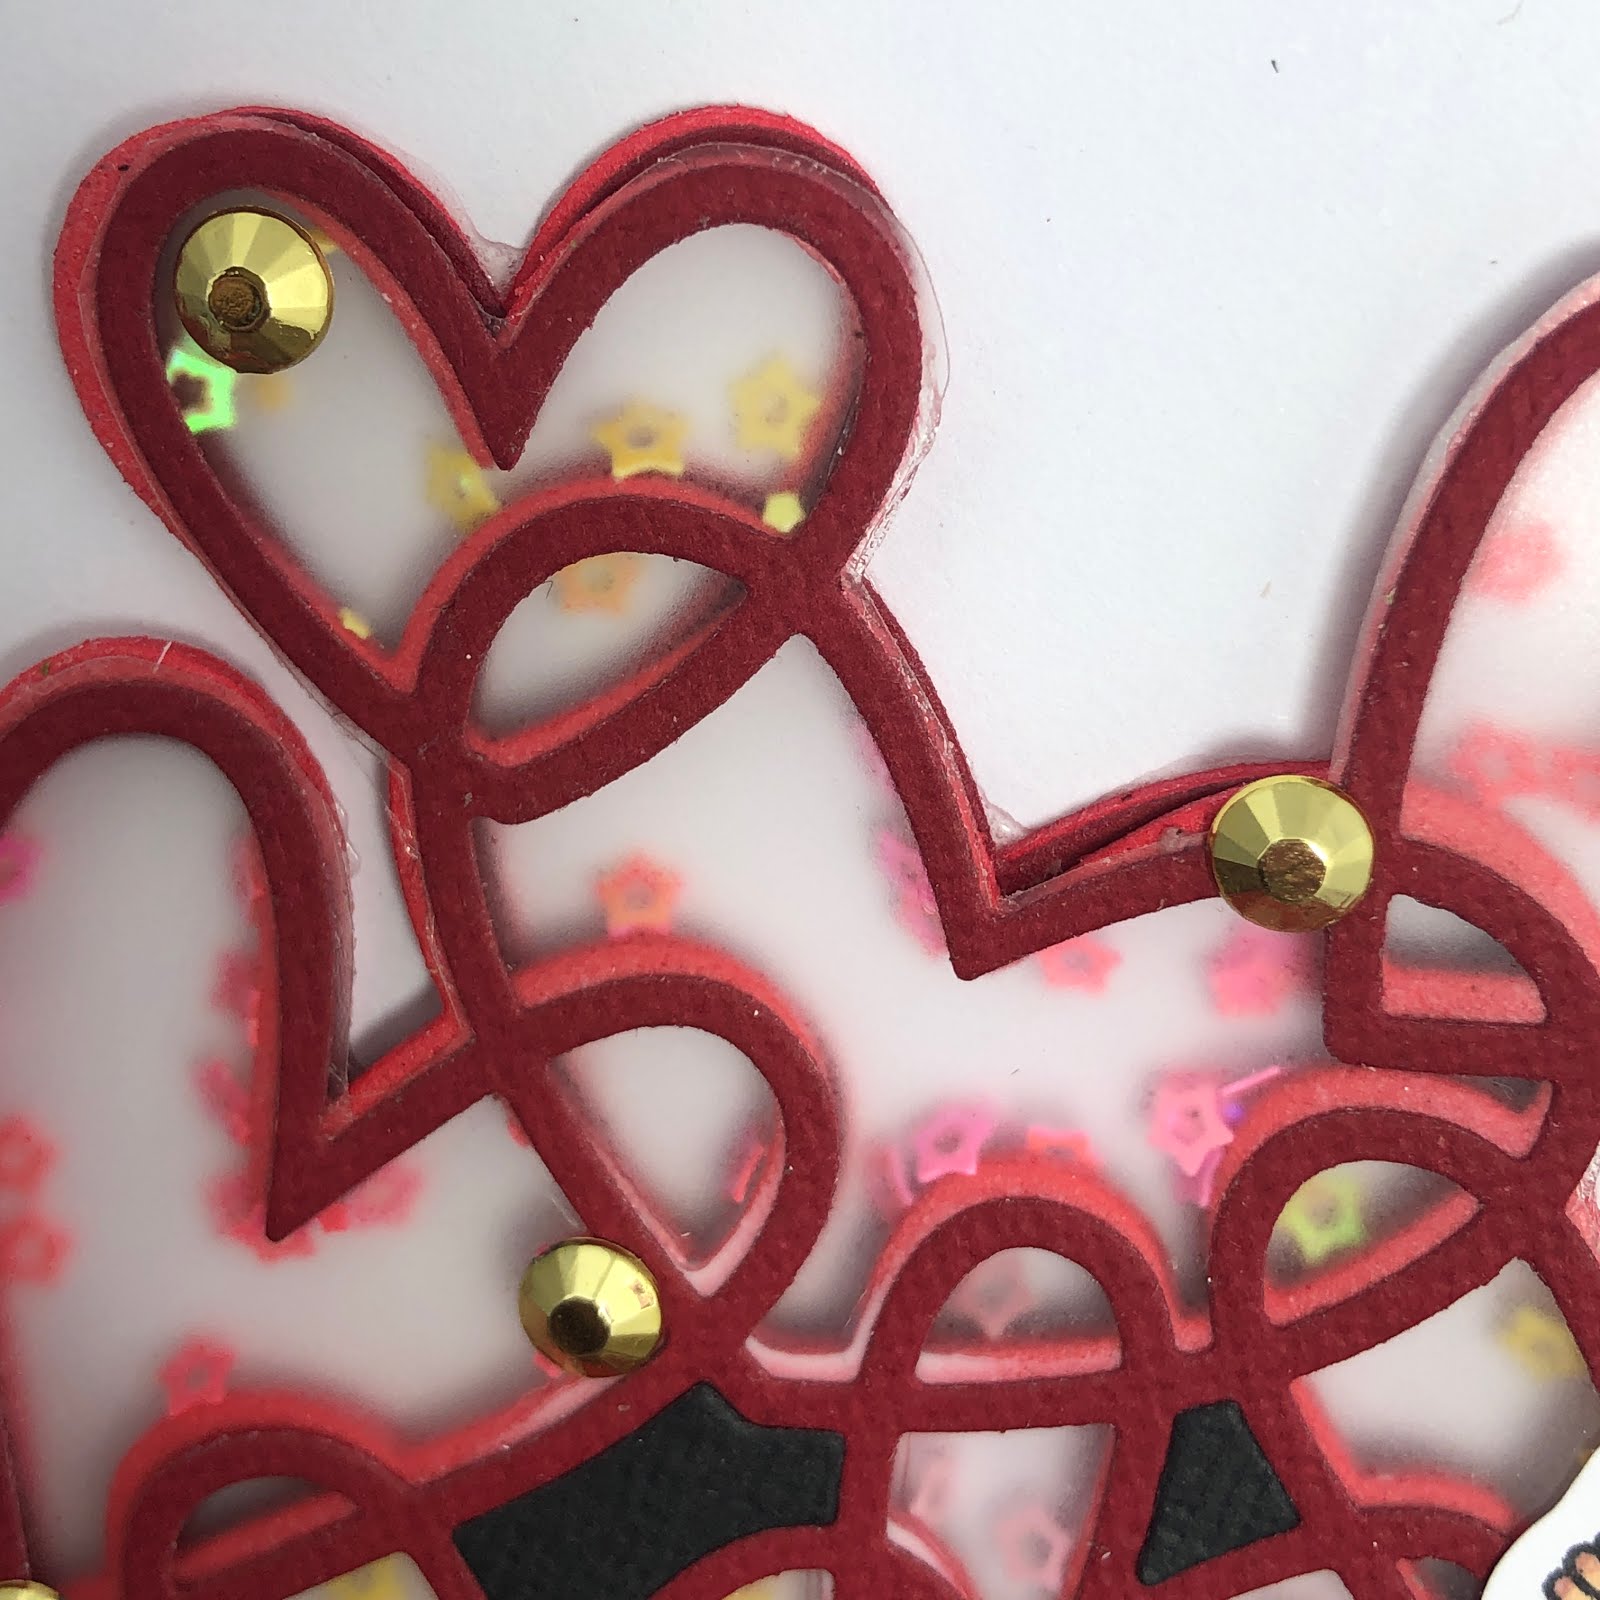
I don't have a lot of Christmas dies in my stash so I decided to go through all my other companies to see what I could find. I ended up cutting a few things - I actually ran them all through my Sizzix Big Shot at the same time. I used Memory Box Precious Mittens (these actually didn't end up making it onto my card), I also used a few dies from La La Land Crafts - Candy Canes, Build a Christmas Tree and North Pole. I just used scraps from my bucket that I keep under my desk, no new plain card stocks were harmed in the making of this card lol.


Once I had all my die cuts I started layering everything up.
I decided I want to cut my image out into a circle shape, because the image was so big it was not all going to fit in my circle and the next size up would be too big and look silly, so I decided to use my Mechanical Pencil and trace the die then fussy cut any areas that would be cut off, I could then slide the die underneath this area and I got a perfect cut.

I cut a mat layer from one of the patterned paper sheets and I also cut a mat for this layer using some Silver Glitter card, now to not waste all this beautiful glitter I decided to run through Lawn Fawn Stitched Snowflakes through using that same sheet, I just made sure that I did not get too close to the edge because I needed it all covered up by the patterned paper.

I now used Helmar Acid Free Adhesive to start putting all my layers together, and finally I cut a sentiment from one of the patterned paper sheets and adhered it using some Foam Tape.

I decorated the inside of the card off screen and my card was complete. You can watch my process video my clicking the You Tube Box link below.
I hope you have enjoyed my post today, if you have any questions feel free to send me a message or contact me via facebook (all links can be found below).
Watch the You Tube Video Here
Products Used On My Card (Affiliate Links Used Where Possible)

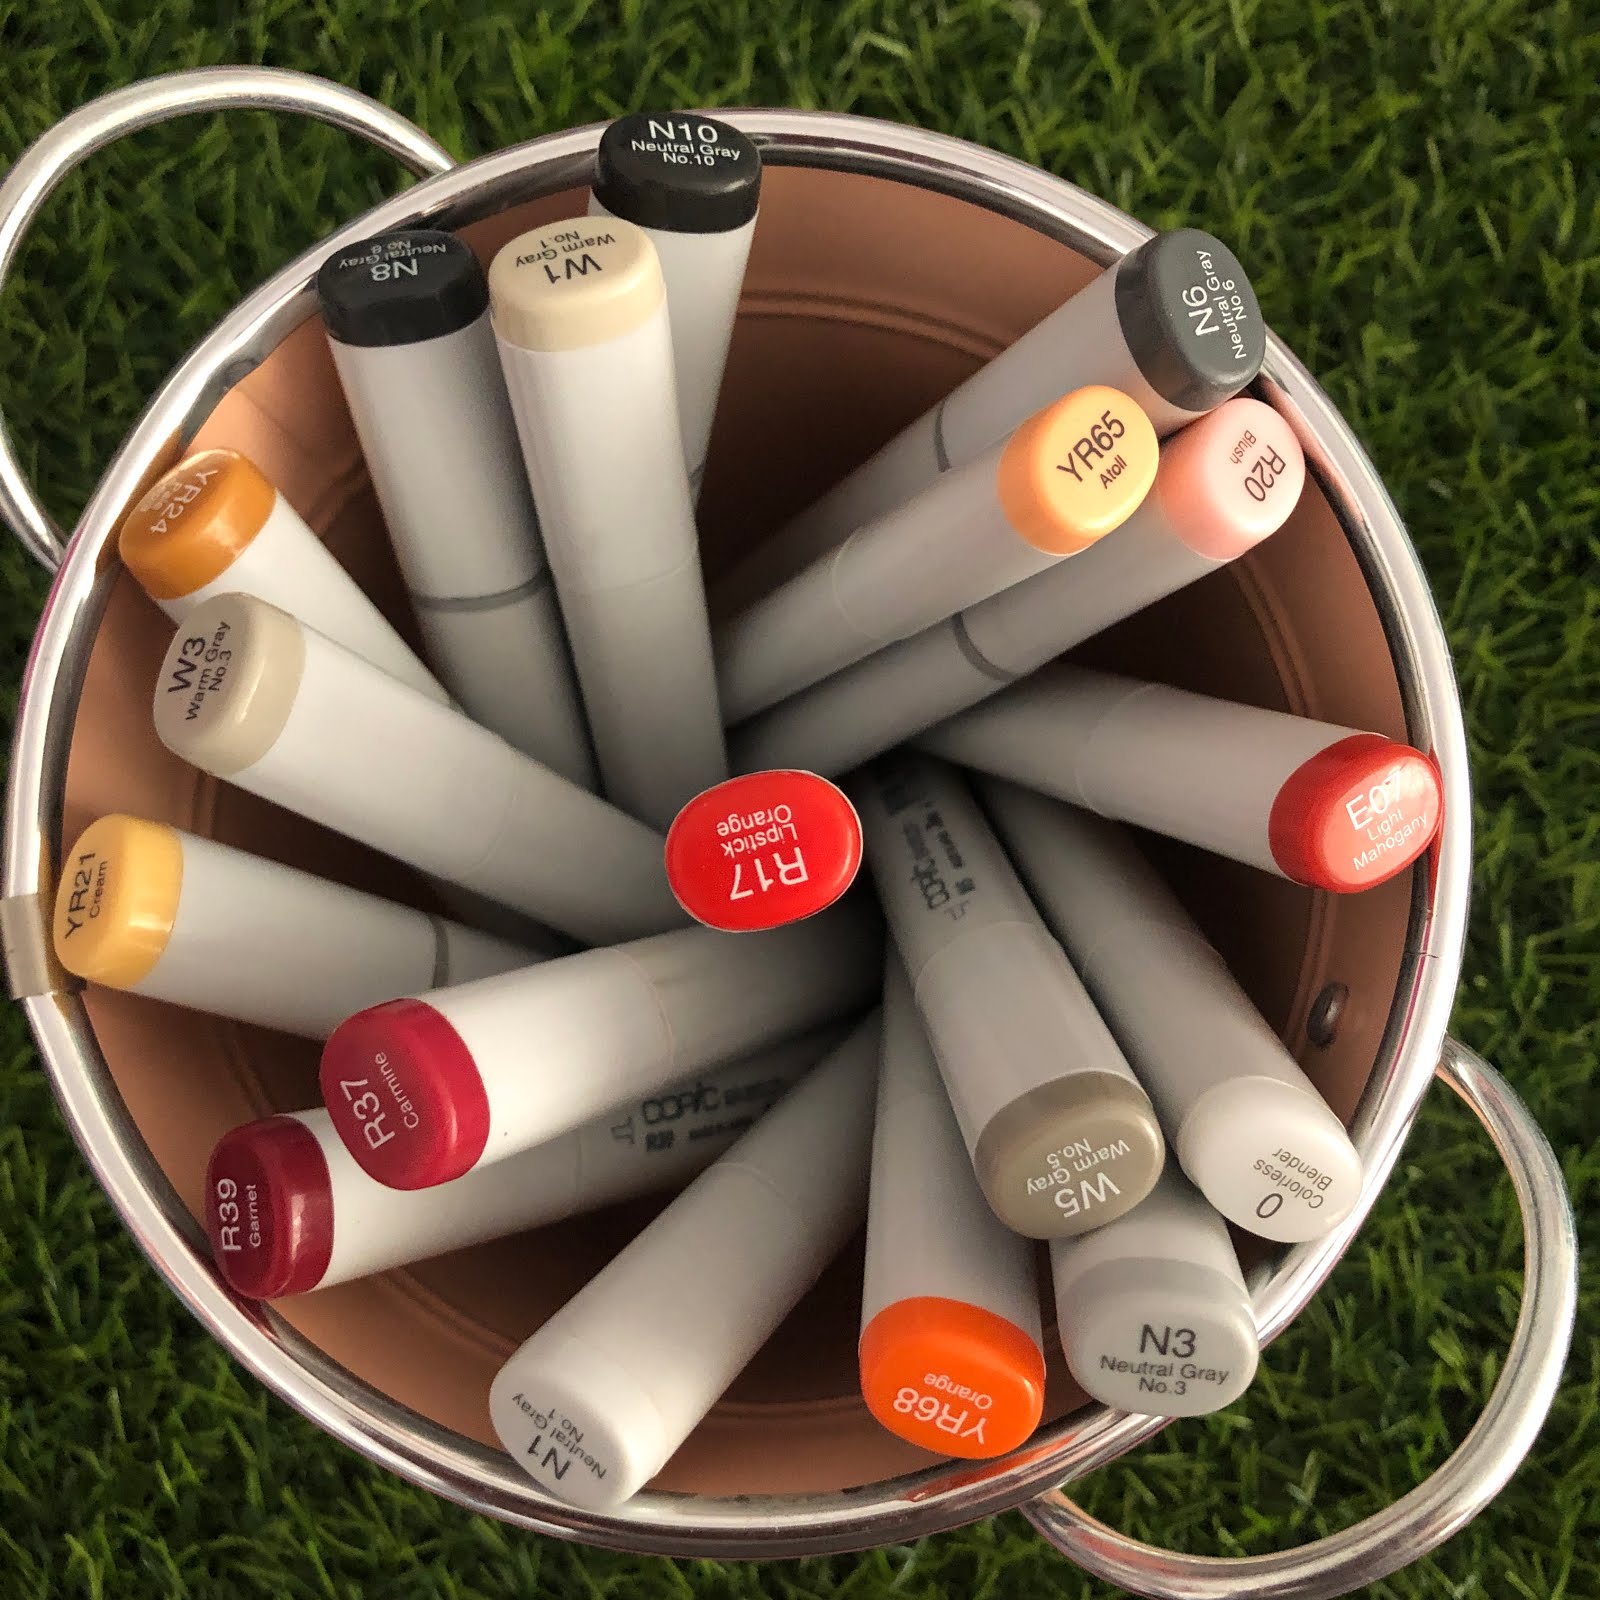
Copic Markers Used
N1, N3, 0 Colorless Blender
N6, N8, N10
W1, W3, W5, R20
YR01, YR04, E97
R17, R37, R39
YG05, YG09
BG02
Thanks for stopping by, Deni
CAMERA SET UP - FOR YOU TUBE VIDEOS ONLY
Blue Yeti Microphone
Sony Handycam HDR CX4-05
Tripod – Manfrotto MKCompactaCN-BK
S O C I A L MEDIA
B L O G : https://ldli.co/e/3xky6x
I N S T A G R A M : https://ldli.co/e/5dn20x
YOU TUBE: https://ldli.co/e/ej5l90
F A C E B O O K: https://ldli.co/e/mjxn2r
PINTEREST: https://ldli.co/e/2l9zom
I was a 2018 Ambassador for Copic Marker Australia and NZ