Monday 29 March 2021

Whimsy Stamps - A Mother's Day Gift - Pups In A Basket

Hi Everyone,

Today I have a super quick card to share with you for Whimsy Stamps, the image I have used is called Pups in A Basket. This is a Digital Stamp so I have printed it onto X-Press It Blending Card using my Brother Laser Printer making it completely safe for Copic Markers.


I coloured the image up with Copic Markers as I had mentioned above, I will have a full list of those colours used underneath this post so if you are interested you will find them there. 

I fussy cut the image using my EK Success Cutterbee Scissors, these are my go to when it comes to fussy cutting an image as they are super sharp and pointy giving you that nice smooth cut. 

I used patterned papers that I had in my stash from an unknown brand (I was tidying up all my papers last week and came across a few things I wanted to use on my upcoming projects).


I also added a doily, I buy these from our local cheap shop in the kitchen section however I have listed. few options for you in my picture links below. 

I printed out the Everyday Banner Sentiments also from Whimsy Stamps' Digital Collection and trimmed down the Happy Mother's Day sentiment as I thought this would make a cute Mother's Day Card. 


When I had finished colouring the image I went back in and added some details using my Uni-Ball white gel pen. I love doing this as I think it finishes off an image.


Here you can see the details on their faces, the bucket and the hats.

I don't have links for the die cuts I added because they are from another brand and they are no longer for sale. 


I used leftovers of the patterned papers to decorate the inside of the card, I do this on every card that I make, it gives that extra little touch.


I hope you have enjoyed my post today, if you have any questions feel free to send me a message or contact me via facebook (all links can be found below).

Watch the You Tube Video Here


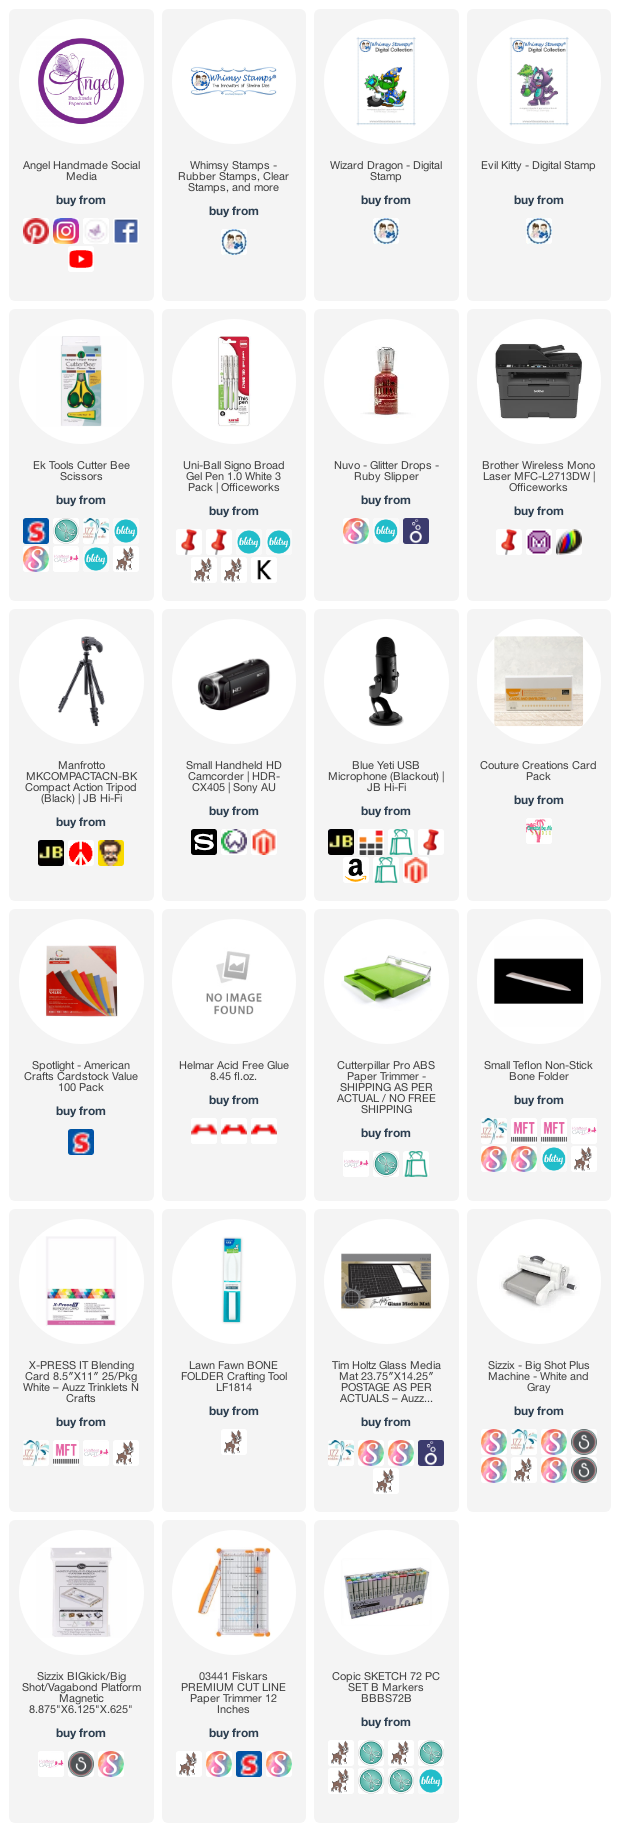
Products Used On My Card (Affiliate Links Used Where Possible)


Copic Markers Used

E42, E44, E47, E49
N1, N4
R27
N6, N8, N10, E99
R35, R37, R39
T3, 0 Colorless Blender

Thanks for stopping by, Deni

CAMERA SET UP - FOR YOU TUBE VIDEOS ONLY
Blue Yeti Microphone
Sony Handycam HDR CX4-05
Tripod – Manfrotto MKCompactaCN-BK

S O C I A L MEDIA 
B L O G : https://ldli.co/e/3xky6x 
I N S T A G R A M : https://ldli.co/e/5dn20x
YOU TUBE: https://ldli.co/e/ej5l90 
F A C E B O O K: https://ldli.co/e/mjxn2r
PINTEREST: https://ldli.co/e/2l9zom


I was a 2018 Ambassador for Copic Marker Australia and NZ


Saturday 27 March 2021

Dudley and Dahlia Celebrate their Anniversary

Hi Everyone,

Today I am sharing with you all the Wedding Anniversary Card I made for my Husband for our upcoming 3rd anniversary.


I used a Digital Stamp from Whimsy Stamps called Dudley and Dahlia Together - Designed by the wonderfully talented Dustin Pike.. I am such a big fan of all his images. 


I printed the image onto X-Press It Blending Cardstock using my Brother Laser Printer. 

Before I began colouring I ran the image through my Sizzix Big Shot using a Lawn Fawn Stitched Circle Die, I will link up some other options for you also. 


I coloured the image up using Copic Markers - I will have a full list of the markers used at the end of the blog post. 


Using my Copic Markers I added some extra details - rocks and grass under the dragons, some clouds and some sunshine. I finally used my Uni-Ball Signo White gel pen to add final details to all the image included into the grass and the wood.


I printed sentiments from Whimsy Stamps Everyday Sentiments set, trimming down the "you make me happy" sentiment which was perfect for this card. 


The papers are from The Craft Stall, just a cheap paper collection from my local Kmart store.


I added some clouds from MFT Stamps Puffy Clouds dies, I have linked up some Whimsy Stamps branded ones also.


Finally I used my Zig Wink Of Stella to add glitter to the bow, the heart and the star.


I did decorate the inside of the card with leftover papers I just forgot to take photos.


I hope you have enjoyed my post today, if you have any questions feel free to send me a message or contact me via facebook (all links can be found below).

Watch the You Tube Video Here


Products Used On My Card (Affiliate Links Used Where Possible)


Copic Markers Used

G40, G07, G28
B21, C00
R56, R59
E71, E44, E29
Y11, Y13, Y17
V22, V25, V28
YR16, YR27
B02, B04, B16

Thanks for stopping by, Deni

CAMERA SET UP - FOR YOU TUBE VIDEOS ONLY
Blue Yeti Microphone
Sony Handycam HDR CX4-05
Tripod – Manfrotto MKCompactaCN-BK

S O C I A L MEDIA 
B L O G : https://ldli.co/e/3xky6x 
I N S T A G R A M : https://ldli.co/e/5dn20x
YOU TUBE: https://ldli.co/e/ej5l90 
F A C E B O O K: https://ldli.co/e/mjxn2r
PINTEREST: https://ldli.co/e/2l9zom


I was a 2018 Ambassador for Copic Marker Australia and NZ


Sunday 21 March 2021

Happy Mother's Day Love Ellie

Hi Everyone,

Seems to be the go to lately that I am running super behind on my posts ahah.. I just haven't had a chance to edit the videos.. I do have so much to share with you.


Today I am sharing Ellie Over The Edge with you from Whimsy Stamps, she is from the Ellie Summer Squares Collection, these stamps are available to purchase in Digital and Rubber Stamp Versions.


I used the Digital Stamp so I printed her onto X-Press It Blending Cardstock using my Brother Laser Printer and coloured her using Copic Markers. 


I trimmed her down from the A4 page roughly then ran her through my Sizzix Big Shot using a Lawn Fawn Stitched Square Die.


I added details to the image using Uni-Ball Signo white gel pen, and some details to the flower using Copic Multi liner 0.03, I love to add the extra details it just finishes off an image.


I used patterned papers from Bella! My Romance collection, this is a really old collection I'm just finishing up what I had of it.


I added details to the card using Tonic Studios Nuvo Drops in Bubblegum Blush, Ripened Pumpkin, and Apple Green.


I had some flowers in my stash from my scrapbooking days and I thought they would be perfect on this card. 


The sentiment is also from Whimsy Stamps - this is the Everyday Banners Digital Set.


I adhered all the layers to a Couture Creations Card base, then decorated the inside with leftover bits and pieces. 


I hope you have enjoyed my post today, if you have any questions feel free to send me a message or contact me via facebook (all links can be found below).

Watch the You Tube Video Here


Products Used On My Card (Affiliate Links Used Where Possible)


Copic Markers Used

N2, N4, N6
N2, 0 Colorless Blender
G14, G09
R20
Y06, R43, R05

Thanks for stopping by, Deni

CAMERA SET UP - FOR YOU TUBE VIDEOS ONLY
Blue Yeti Microphone
Sony Handycam HDR CX4-05
Tripod – Manfrotto MKCompactaCN-BK

S O C I A L MEDIA 
B L O G : https://ldli.co/e/3xky6x 
I N S T A G R A M : https://ldli.co/e/5dn20x
YOU TUBE: https://ldli.co/e/ej5l90 
F A C E B O O K: https://ldli.co/e/mjxn2r
PINTEREST: https://ldli.co/e/2l9zom


I was a 2018 Ambassador for Copic Marker Australia and NZ


Thursday 18 March 2021

La La Land Crafts - Awareness Marci

Hi Everyone,

Today I am working on a card using a Digital stamp from La La Land Crafts, this is Awareness Marci.


I printed the image onto X-Press It Blending Cardstock using my Brother Laser Printer, then coloured her using Copic Markers. I coloured this one a while ago so I do not have the list of markers used. 

I fussy cut the image using my EK Success Cutterbee Scissors, I didn't want any white outline so I cut all the way up to the line then used a Tombow marker to go around the outside and make sure it is all covered. 


I used pink cardstock from Kaisercraft for the base layer.


I ran some patterned papers from The Craft Stall though my Sizzix Big Shot - I used a MFT Stamps crossed stitched circle stax for the denim looking paper and the sentiment (part of the stamp set)


I added Wink of Stella to the pink ribbons and to her bows.


The little pink ribbon I added to the sentiment is a hole punch, I couldn't find anything similar to link up - I do apologise I have had this for almost 10 years. 


I used Tonic Studios Nuvo Crystal Drops in Blue Babe and Carnation Pink to add some enamel dots.


I used leftovers of the patterned papers to decorate the inside of the card. 


I went in add added some details to the image whilst it was drying - using a Uni-Ball Signo white gel pen.


I hope you have enjoyed my post today, if you have any questions feel free to send me a message or contact me via facebook (all links can be found below).


Products Used On My Card (Affiliate Links Used Where Possible)


Copic Markers Used

sorry no list today

Thanks for stopping by, Deni

CAMERA SET UP - FOR YOU TUBE VIDEOS ONLY
Blue Yeti Microphone
Sony Handycam HDR CX4-05
Tripod – Manfrotto MKCompactaCN-BK

S O C I A L MEDIA 
B L O G : https://ldli.co/e/3xky6x 
I N S T A G R A M : https://ldli.co/e/5dn20x
YOU TUBE: https://ldli.co/e/ej5l90 
F A C E B O O K: https://ldli.co/e/mjxn2r
PINTEREST: https://ldli.co/e/2l9zom


I was a 2018 Ambassador for Copic Marker Australia and NZ


Wednesday 17 March 2021

Whimsy Stamps - Mash Up Magic


Hi Everyone, 

I had this fun idea to create a mash up with some images from Whimsy Stamps, I used Wizard Dragon and Evil Kitty. These are both Digital Stamps so I opened them both up in Pages on my MacBook Air and merged them together.


I love the way I was able to create a scene using two different images. I printed them onto X-Press It Blending Cardstock using my Brother Laser Printer.


I used my EK Success Cutterbee Scissors to fussy cut the image out.


I coloured the image up using Copic Markers (you will find a full list of Copic Markers at the bottom of the blog post.)


I used my EK Success Star Confetti punch to punch out a few stars from American Crafts Card Stock.


I also added some Tonic Studios Nuvo Crystal Drops in Ruby Slippers.


I printed out Everyday Banner Sentiments from Whimsy Stamps and trimmed down the wishing you luck sentiment, I thought this would be cute for someone into science :-)


I added Wink Of Stella Clear to parts of the image and some Uni-Ball White Angelic Gel Pen, I love how all these little extra touches finish off a card. 


I hope you have enjoyed my post today, if you have any questions feel free to send me a message or contact me via facebook (all links can be found below).

Watch the You Tube Video Here


Products Used On My Card (Affiliate Links Used Where Possible)


Copic Markers Used

YR12, YR16, YR09
Y02, Y06, Y38
V04, V05, V09 (V05 alternated for V06)
N4, N6, N10
YR21, YR24, E09
E04, E07, E39
B12, B14, B16
BG11, G14
N2, T4, T6 (N2 Alternated for T2)
R20, R22
0 Colorless Blender

Thanks for stopping by, Deni

CAMERA SET UP - FOR YOU TUBE VIDEOS ONLY
Blue Yeti Microphone
Sony Handycam HDR CX4-05
Tripod – Manfrotto MKCompactaCN-BK

S O C I A L MEDIA 
B L O G : https://ldli.co/e/3xky6x 
I N S T A G R A M : https://ldli.co/e/5dn20x
YOU TUBE: https://ldli.co/e/ej5l90 
F A C E B O O K: https://ldli.co/e/mjxn2r
PINTEREST: https://ldli.co/e/2l9zom


I was a 2018 Ambassador for Copic Marker Australia and NZ