Well after Time For Tea Designs had a busy few days at the Doncaster Show, the Design Team were so proud of Jo for getting herself out there and we hear she had a great time meeting lots of fans of her work.
We hope you guys loved all the sample cards we (The Design Team) made for you to see all the new images and stamps.
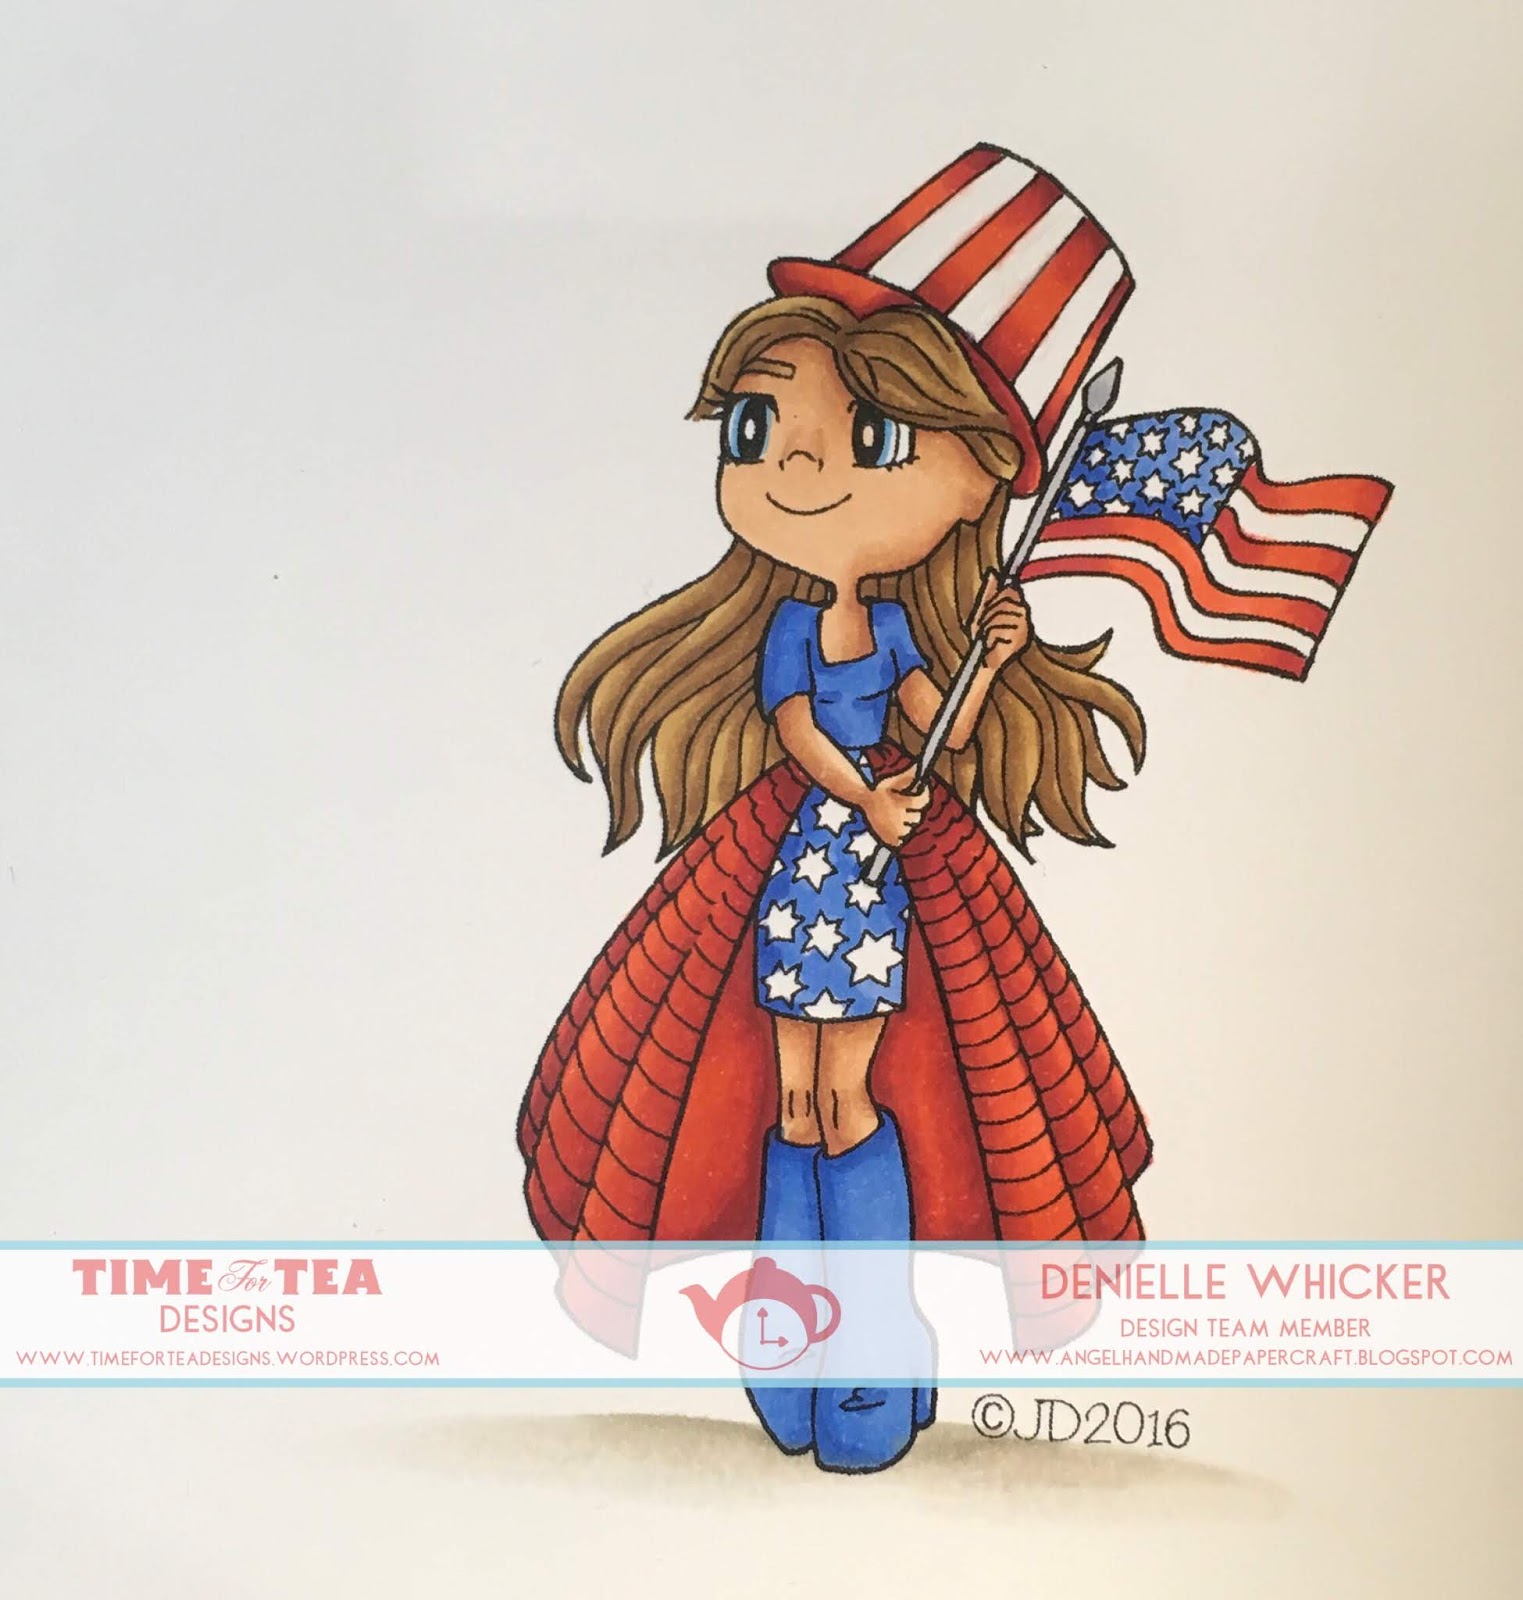
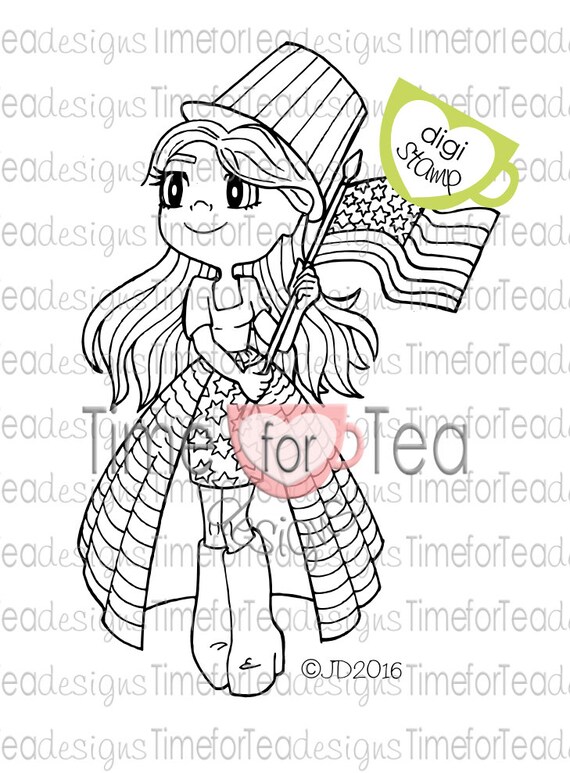
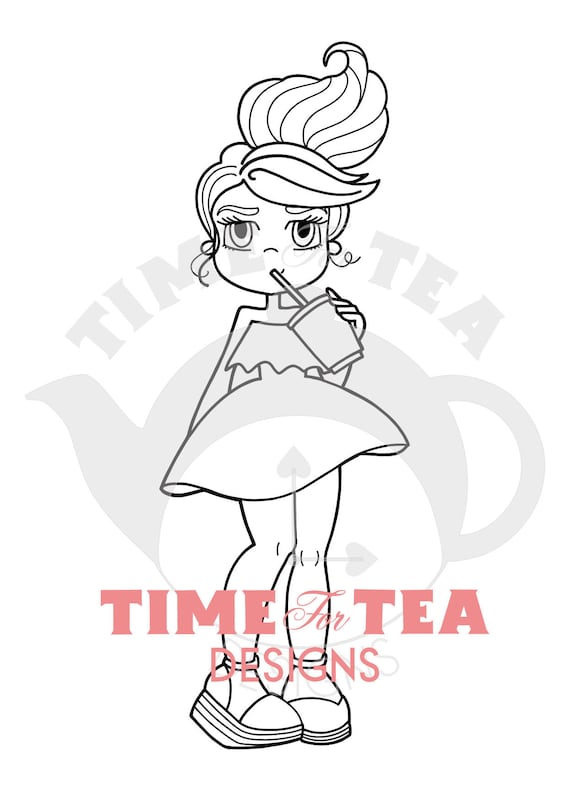
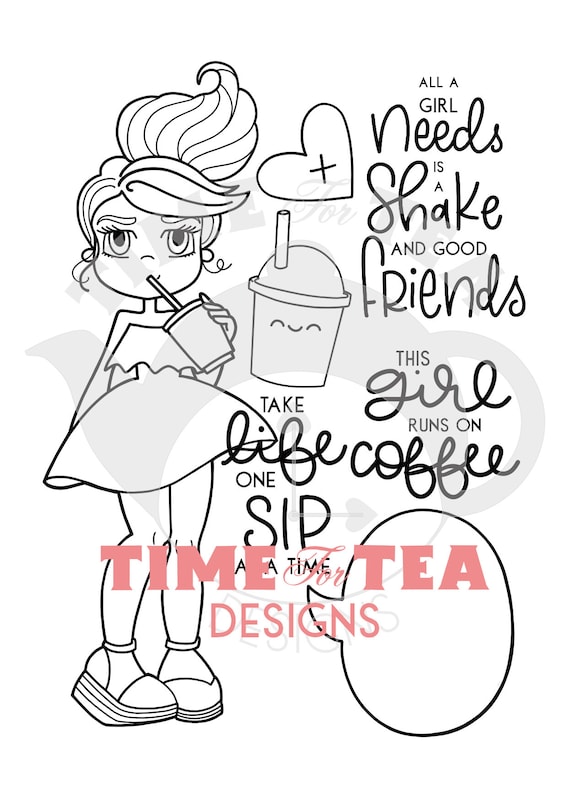
Today I am sharing with you "Milkshake and Iced Coffee" such a sweet image to colour up and work with. She was one of the new Release Digital Images and she can be purchase on her own here and as a Full Collection here.

I coloured the image up using Copic Markers, there weren't alot of colour involved because I wanted a simple style on my card.
I started by printing onto Mondi Color Copy 250 GSM and then moved onto colouring her skin, i'm still playing with the darker skin tone at the moment - Ell, E13, E15, E17 and R22 in her cheeks.
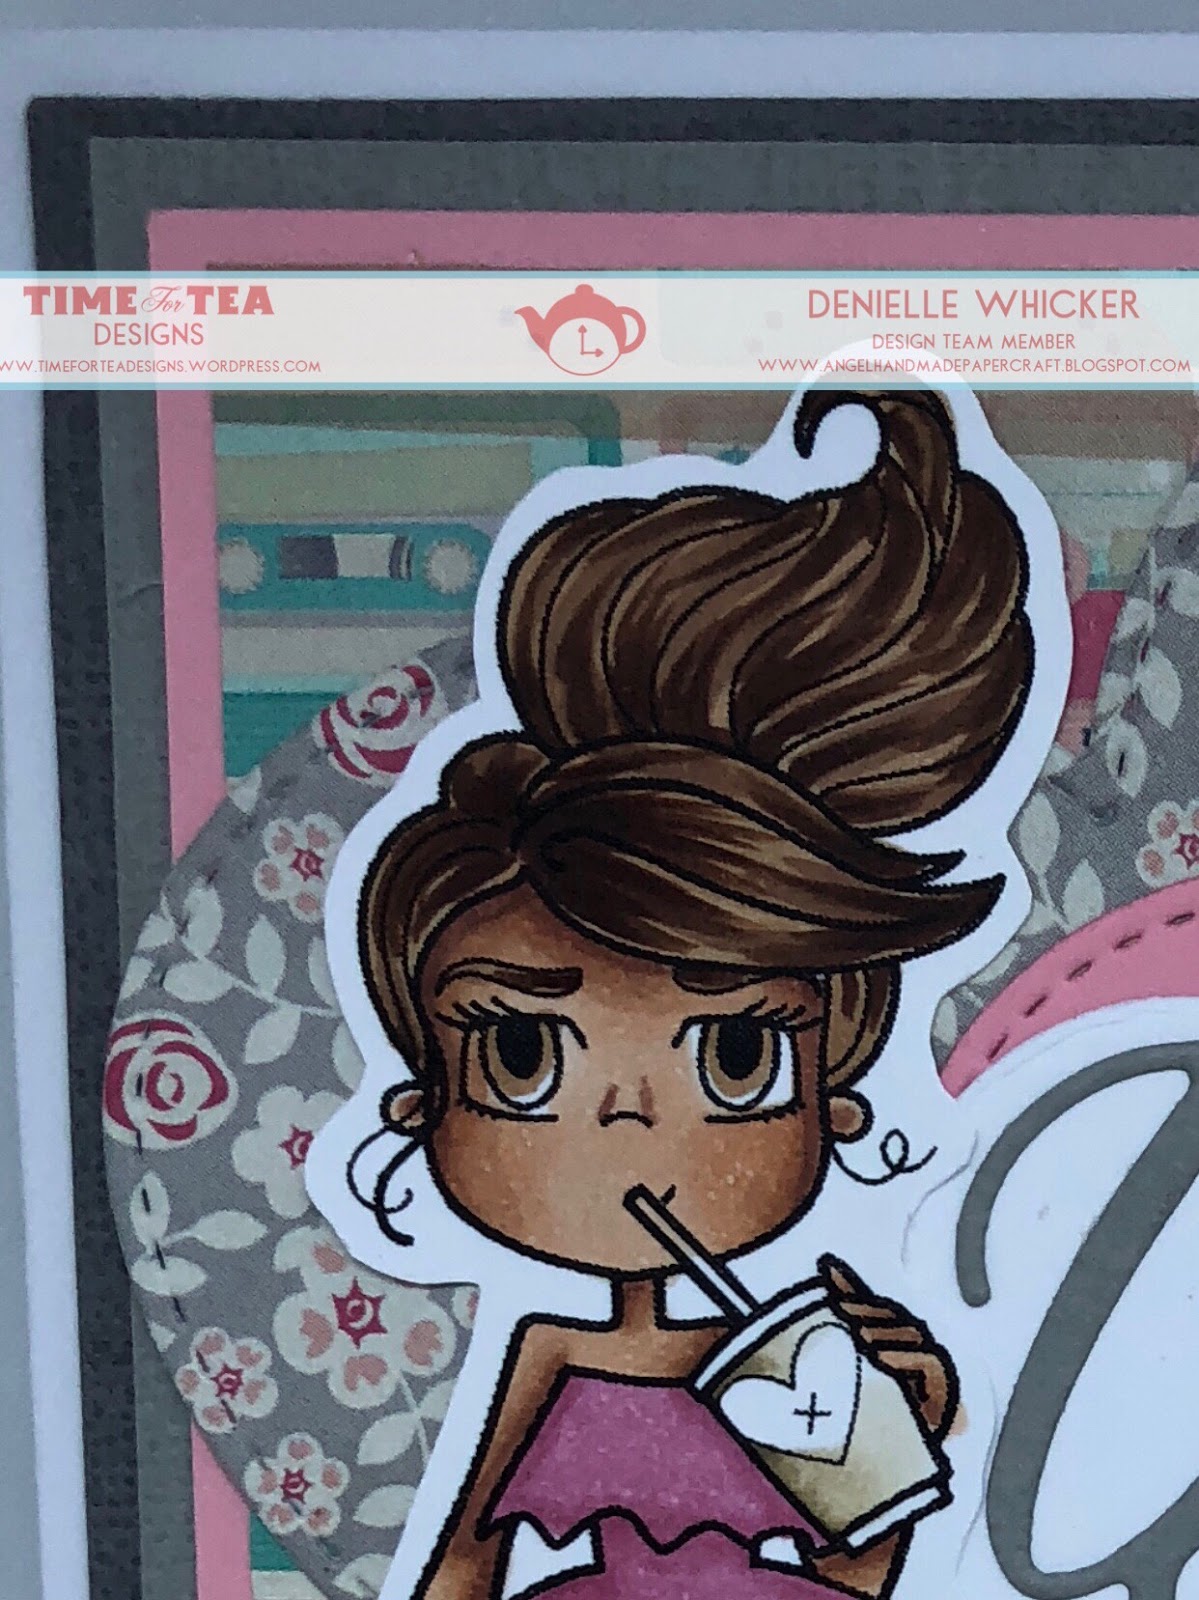
The To Go cup was coloured using E41,E42 and E44 I also coloured the ground using W1 and W4 but you don't see much of it because I ended up fussy cutting the image out.

On the gorgeous dress and shoes I wanted to go with pinks so of course I grabbed my go to blend for pinks - R81, R83, R85.
I used some grey tones of Card Stock for my back layers - I think they are both American Crafts Cardstock, I used pieces that were left over in my container next to me. The pink card is from Canson Paper, the patterned papers I used Crate Paper - Love Notes 6x6 Paper Pad. You guys must think this is a never ending paper pad.. no its not haha I just try to use up every last piece in my paper pad so I make good use of them all.
I grabbed some heart dies from my stash - My Favorite Things Stitched Heart Stax, I ran them through my Sizzix Big Shot with some of the leftover patterned papers and a leftover piece from the Canson pink card.
I recently purchased the Cardmaking Magic - Christina Griffiths die - On Your Special Day from craft online, it only arrived a few days ago so was still sitting on my desk not put away yet :-)
I ran it through the Sizzix Big Shot using the same grey card, and it also comes with the border so I ran that through with Mondi Color Copy 250 GSM (I had a small piece left over from another project).

I used some American Tombow Mono multi Liquid Adhesive to adhere the two layers together.
Now I start putting all the card together. All the mat layers I adhered together using Scotch ATG. The hearts, the young lady and the sentiment I adhered using American Tombow Mono Multi Liquid Adhesive.
I then adhered all those layers onto a Twiddleybitz Pre-Made Card Base using Scotch ATG.
Finally I added some Tonic Studios Nuvo Crystal Drops in Silver Moondust.
I hope you have enjoyed my post today, if you have any questions feel free to send me a message or contact me via facebook (all links can be found below).
Thanks for stopping by, Deni
You can find my cards for sale here
https://www.facebook.com/angelhandmadepapercraft
My You Tube Here
https://www.youtube.com/user/Denielle1983/
You Tube Here
https://www.youtube.com/user/Denielle1983/
Instagram Here
http://instagram/angelhandmadepapercraft
Pinterest Here
https://www.pinterest.com.au/DeniAngelHandmade/