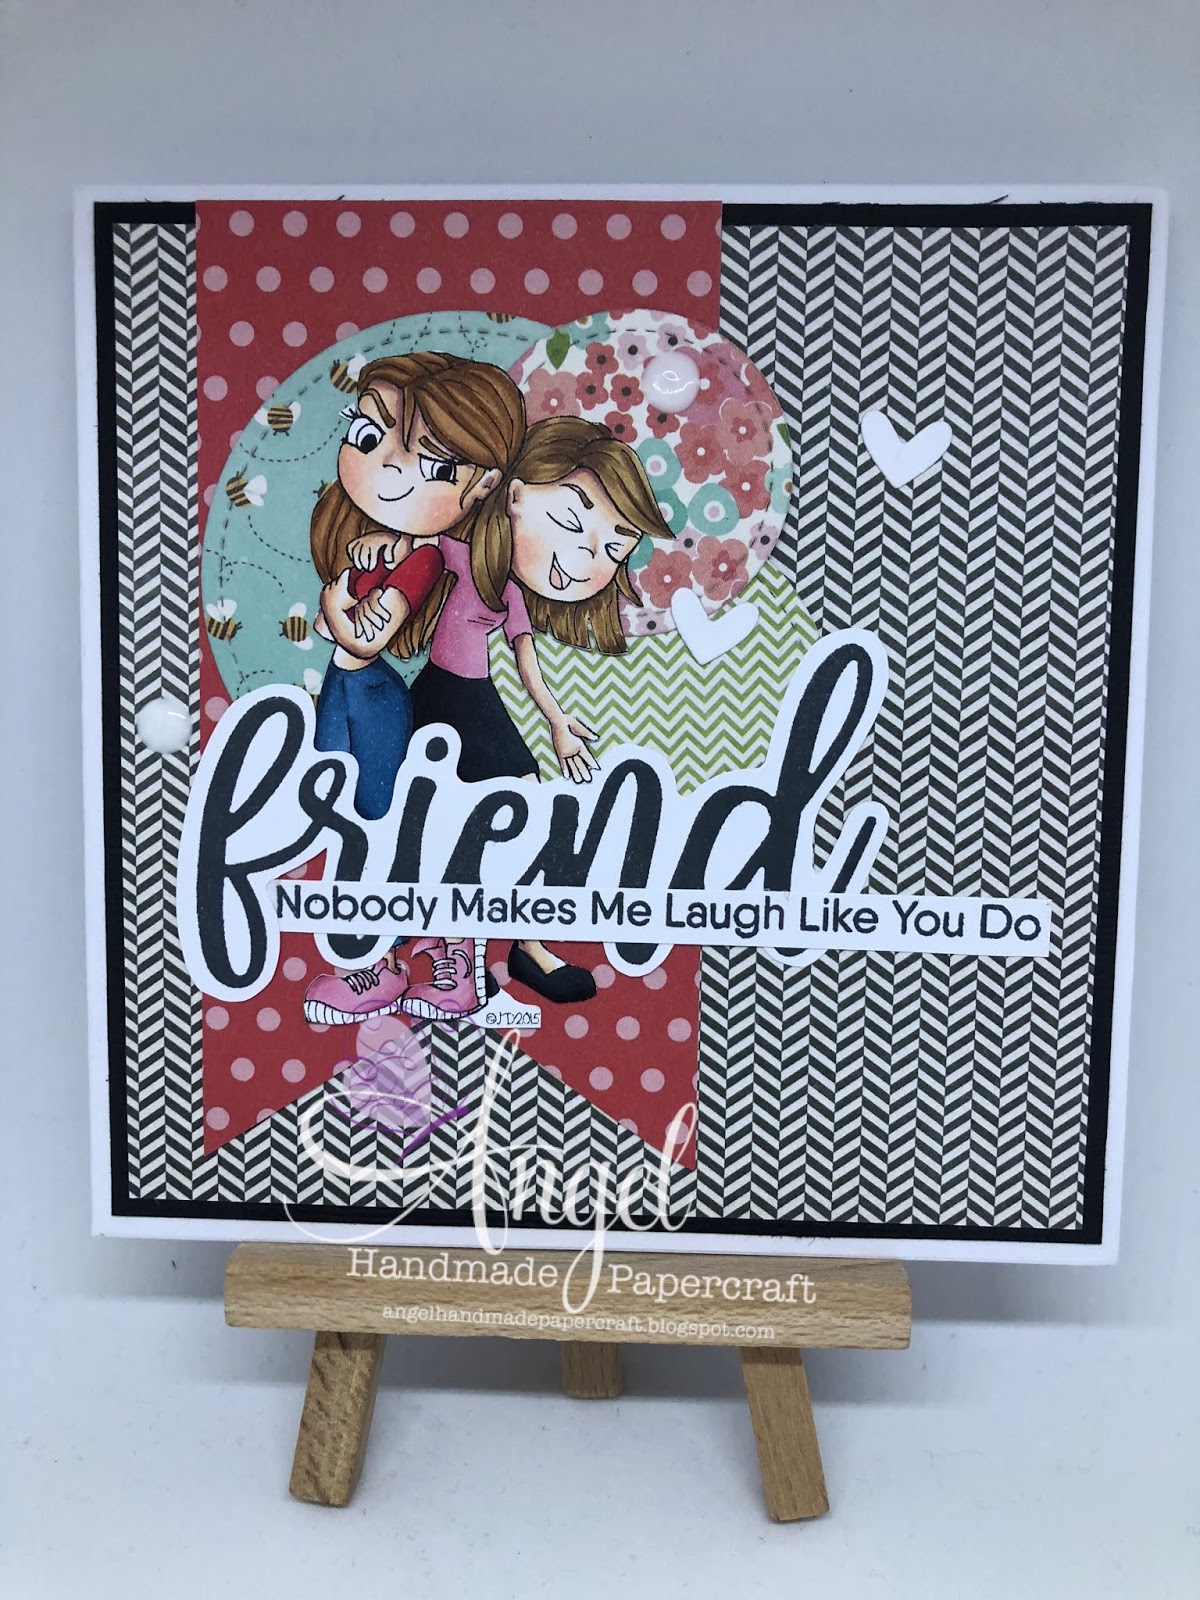
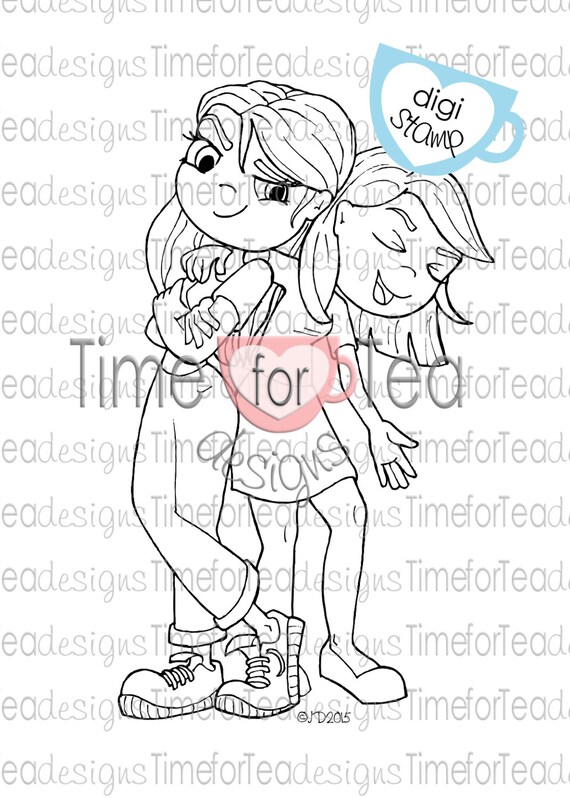
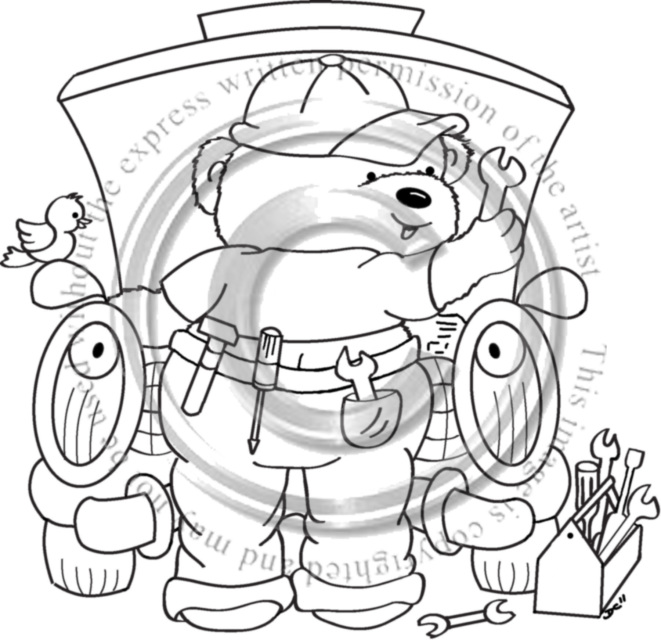
I stamped her out onto Mondi Color Copy 250GSM using Memento Tuxedo Black and coloured her up using Copic Markers . I carefully fussy cut her left side using EK Success Cutterbee Scissors, then cut her into a rectangle using Cutterpillar Pro.

I cut two hearts from Crate Paper Love Notes Paper using MFT Stitched Heart Stax which I ran through my Sizzix Big Shot. I also cut a banner from the same paper pad.

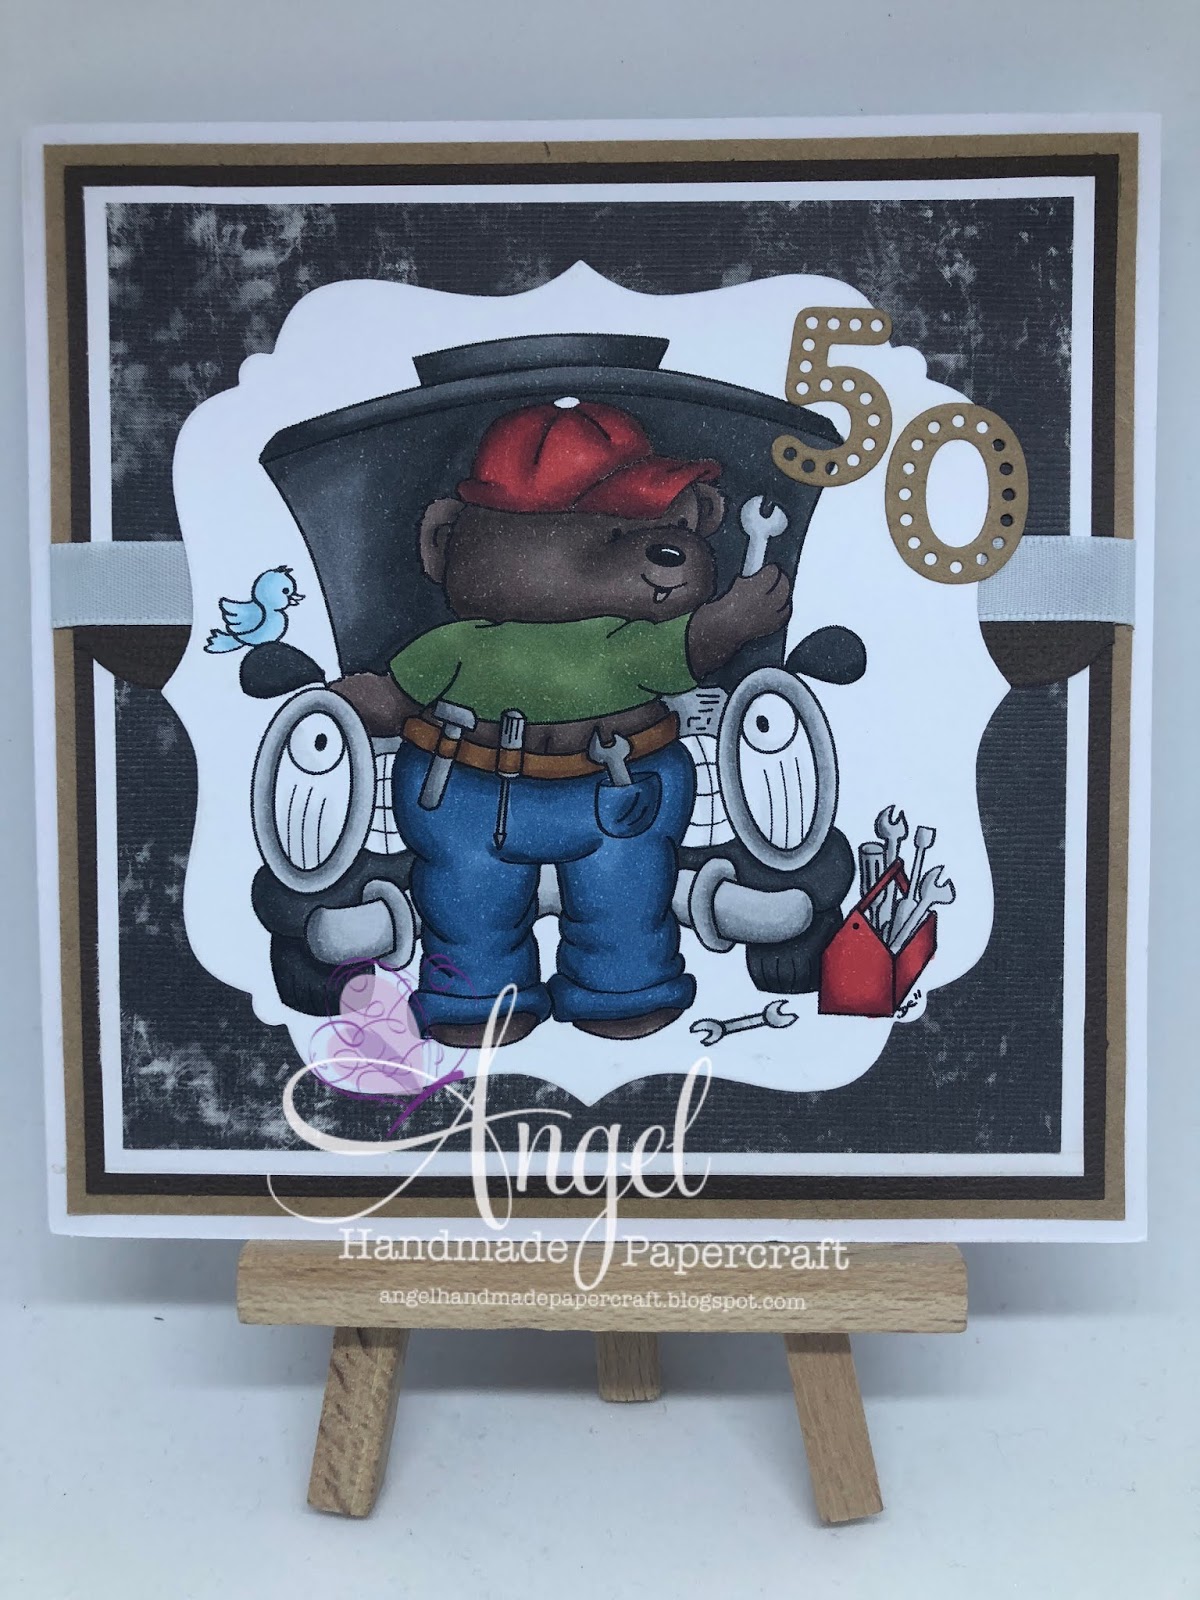
Using A Twiddleybitz Premade Card Base I added all the hexagons using American Tombow Mono Multi Liquid Adhesive. I then layered a doily over the top, then my xox patterned paper strip and then the image. I made sure I didn't add any liquid adhesive under the image on the left side as I wanted to slip the hearts under.
I used a Disney Stamp Set Called "Belle" to stamp the sentiment on the heart, I did this using Memento Tuxedo Black and a Lawn Fawn Acrylic Block.
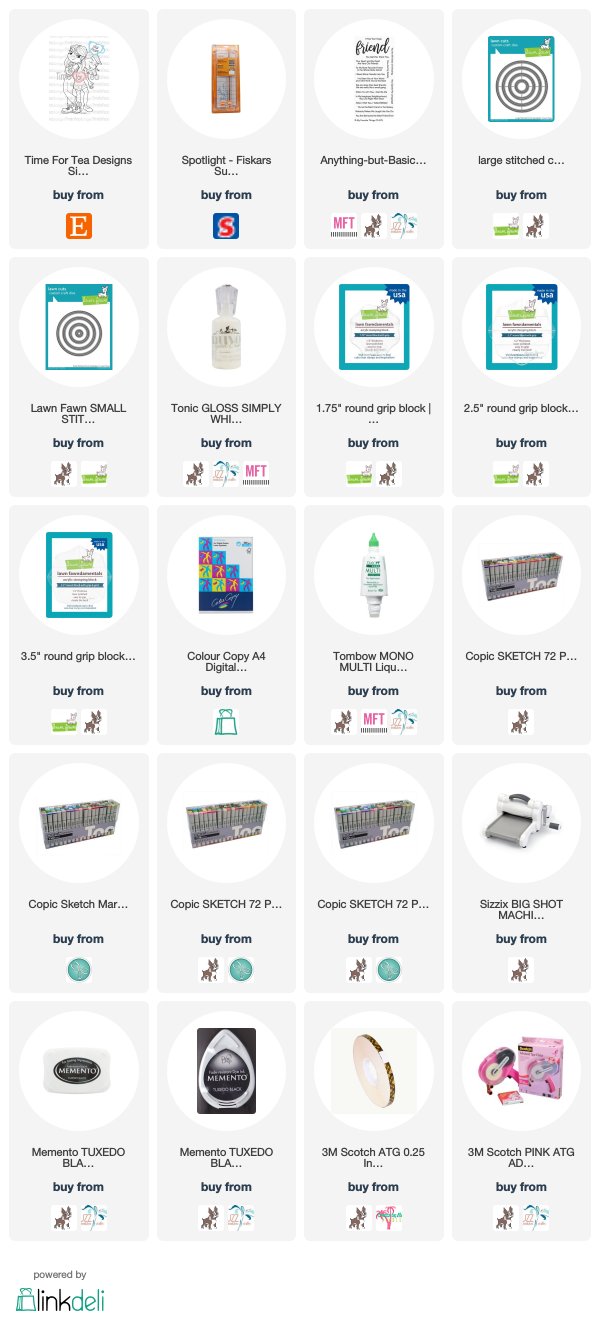
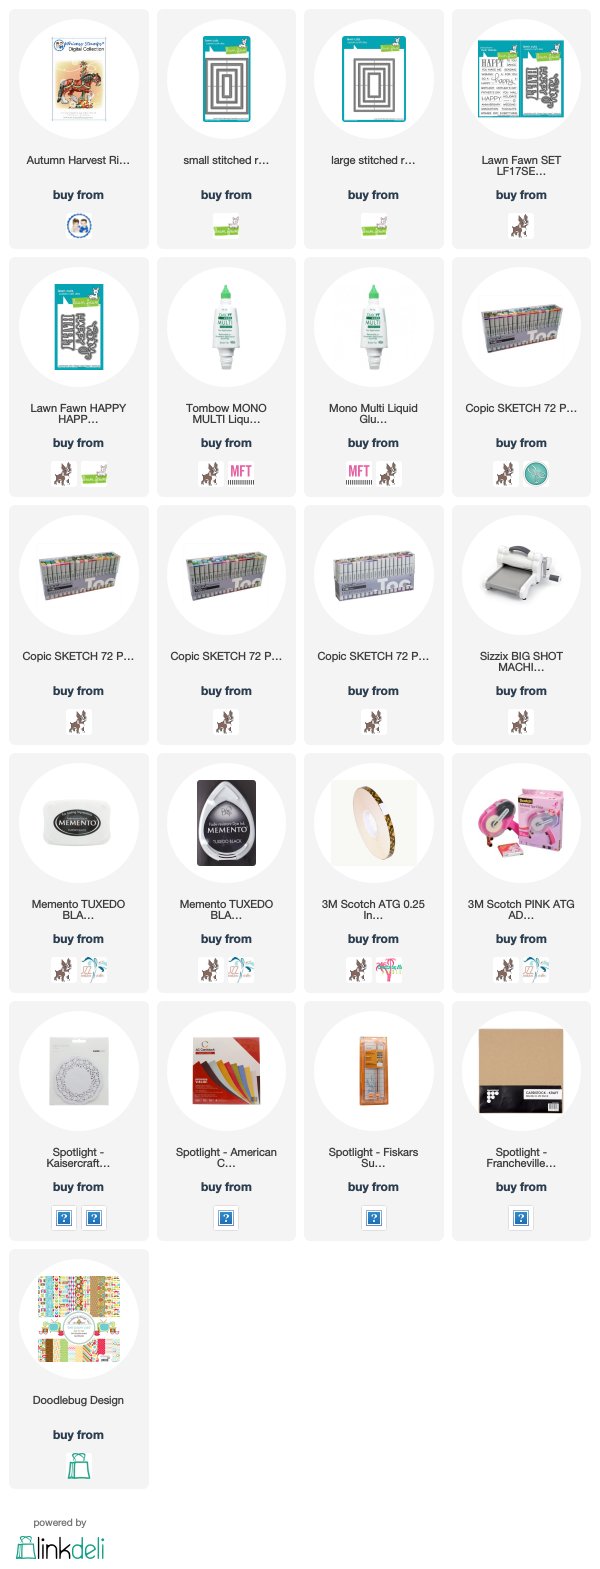
Products Used On My Card
Copic Markers Used
E000, E00, E21, E11, E04, R20
YG67, Y13
BG53, BG57
R81, R83, R85
N1, N3, N0
E74, E77, E79
I hope you have enjoyed my post today, if you have any questions feel free to send me a message or contact me via facebook (all links can be found below).
Thanks for stopping by, Deni
You can find my cards for sale here
https://www.facebook.com/angelhandmadepapercraft
My You Tube Here
https://www.youtube.com/c/AngelHandmadePapercraft/
Instagram Here
http://instagram/angelhandmadepapercraft
Pinterest Here
https://www.pinterest.com.au/DeniAngelHandmade/