Today I am sharing a project for Whimsy Stamps using "Dolly" from the Wee Stamps Collection.
I ran the image through my Sizzix Big Shot using a Lawn Fawn Stitched Circle die.
I cut down two mat layers - one from Kraft Cardstock and one more from American Crafts yellow cardstock, I layered them up using Helmar Acid Free liquid adhesive.
Using Kaisercraft Bow & Arrow paper pad I cut down one layer of the banners sheet and used some smaller leftover pieces to lay down the left side. I trimmed these down using my Cutterpillar Pro.
I used some already die cut flowers - these are from an old MFT die. I layered them up using Helmar Scrap Dots, it gives that extra layer.
From my leftovers drawer I grabbed some MFT Stamps Puffy Clouds and some stars from EK Success Star Confetti punch.
All the bits and pieces were adhered using Helmar Acid Free liquid adhesive.
Finally I added some Tonic Studios Nuvo Crystal Drops in Summer Sunrise.
I used leftovers of the same paper pad to decorate the inside of the card
I hope you have enjoyed my post today, if you have any questions feel free to send me a message or contact me via facebook (all links can be found below).
Watch the You Tube Video Here
Products Used On My Card (Affiliate Links Used Where Possible)
Copic Markers Used
G40, G42
BG02, B04
V20, V25
Y02, Y19
C00, C2, C4, 0
Y21, Y23, Y26
E97, E17
N5, N8, N10
R81, R83, R85
E000, E00, E21, E11, E04, R20
Thanks for stopping by, Deni
CAMERA SET UP - FOR YOU TUBE VIDEOS ONLY
Blue Yeti Microphone
Sony Handycam HDR CX4-05
Tripod – Manfrotto MKCompactaCN-BK
A friend's Mum contacted me and requested a Monster Truck card for her Grandson Turning 5 Years old.
I remembered that I had this stamp set that I had been hoarding from Your Next Stamp called Got Mud?, such a great stamp set to use.
I was originally planning on Colouring and adding all the monster Trucks on as more of a back ground, I did all the colouring and cut them out but then this awesome scene came into my head and I didn't use the ones I had done haha.
I stamped the image directly onto X-Press It Blending Cardstock and coloured them with my Copic Markers.
I also used my Copic Markers to create the dirt underneath the truck.
I stamped out the mud images (also part of the stamp set) using a mix of Lawn Fawn Doe and Walnut Premium Inks, I used my acrylic blocks to roll the images onto the stamp pads and get a nice mixture of the two inks.
The sentiments are stamped out using Memento Tuxedo Black
MFT Stamps Big Numbers were used for the number 5 - originally I had them in yellow but the customer asked for them to be changed to Red, easy enough I just adhered them on top using liquid adhesive.
The Cohen name is cut from Kaisercraft lowercase script dies which I ran through my Sizzix Big Shot.
I cut the layer down to a a smaller size then matted it using brown and black American Crafts Cardstock.
I also decorated the inside of the card using the same stamp set.
I hope you have enjoyed my post today, if you have any questions feel free to send me a message or contact me via facebook (all links can be found below).
Watch the You Tube Video Here
Products Used On My Card (Affiliate Links Used Where Possible)
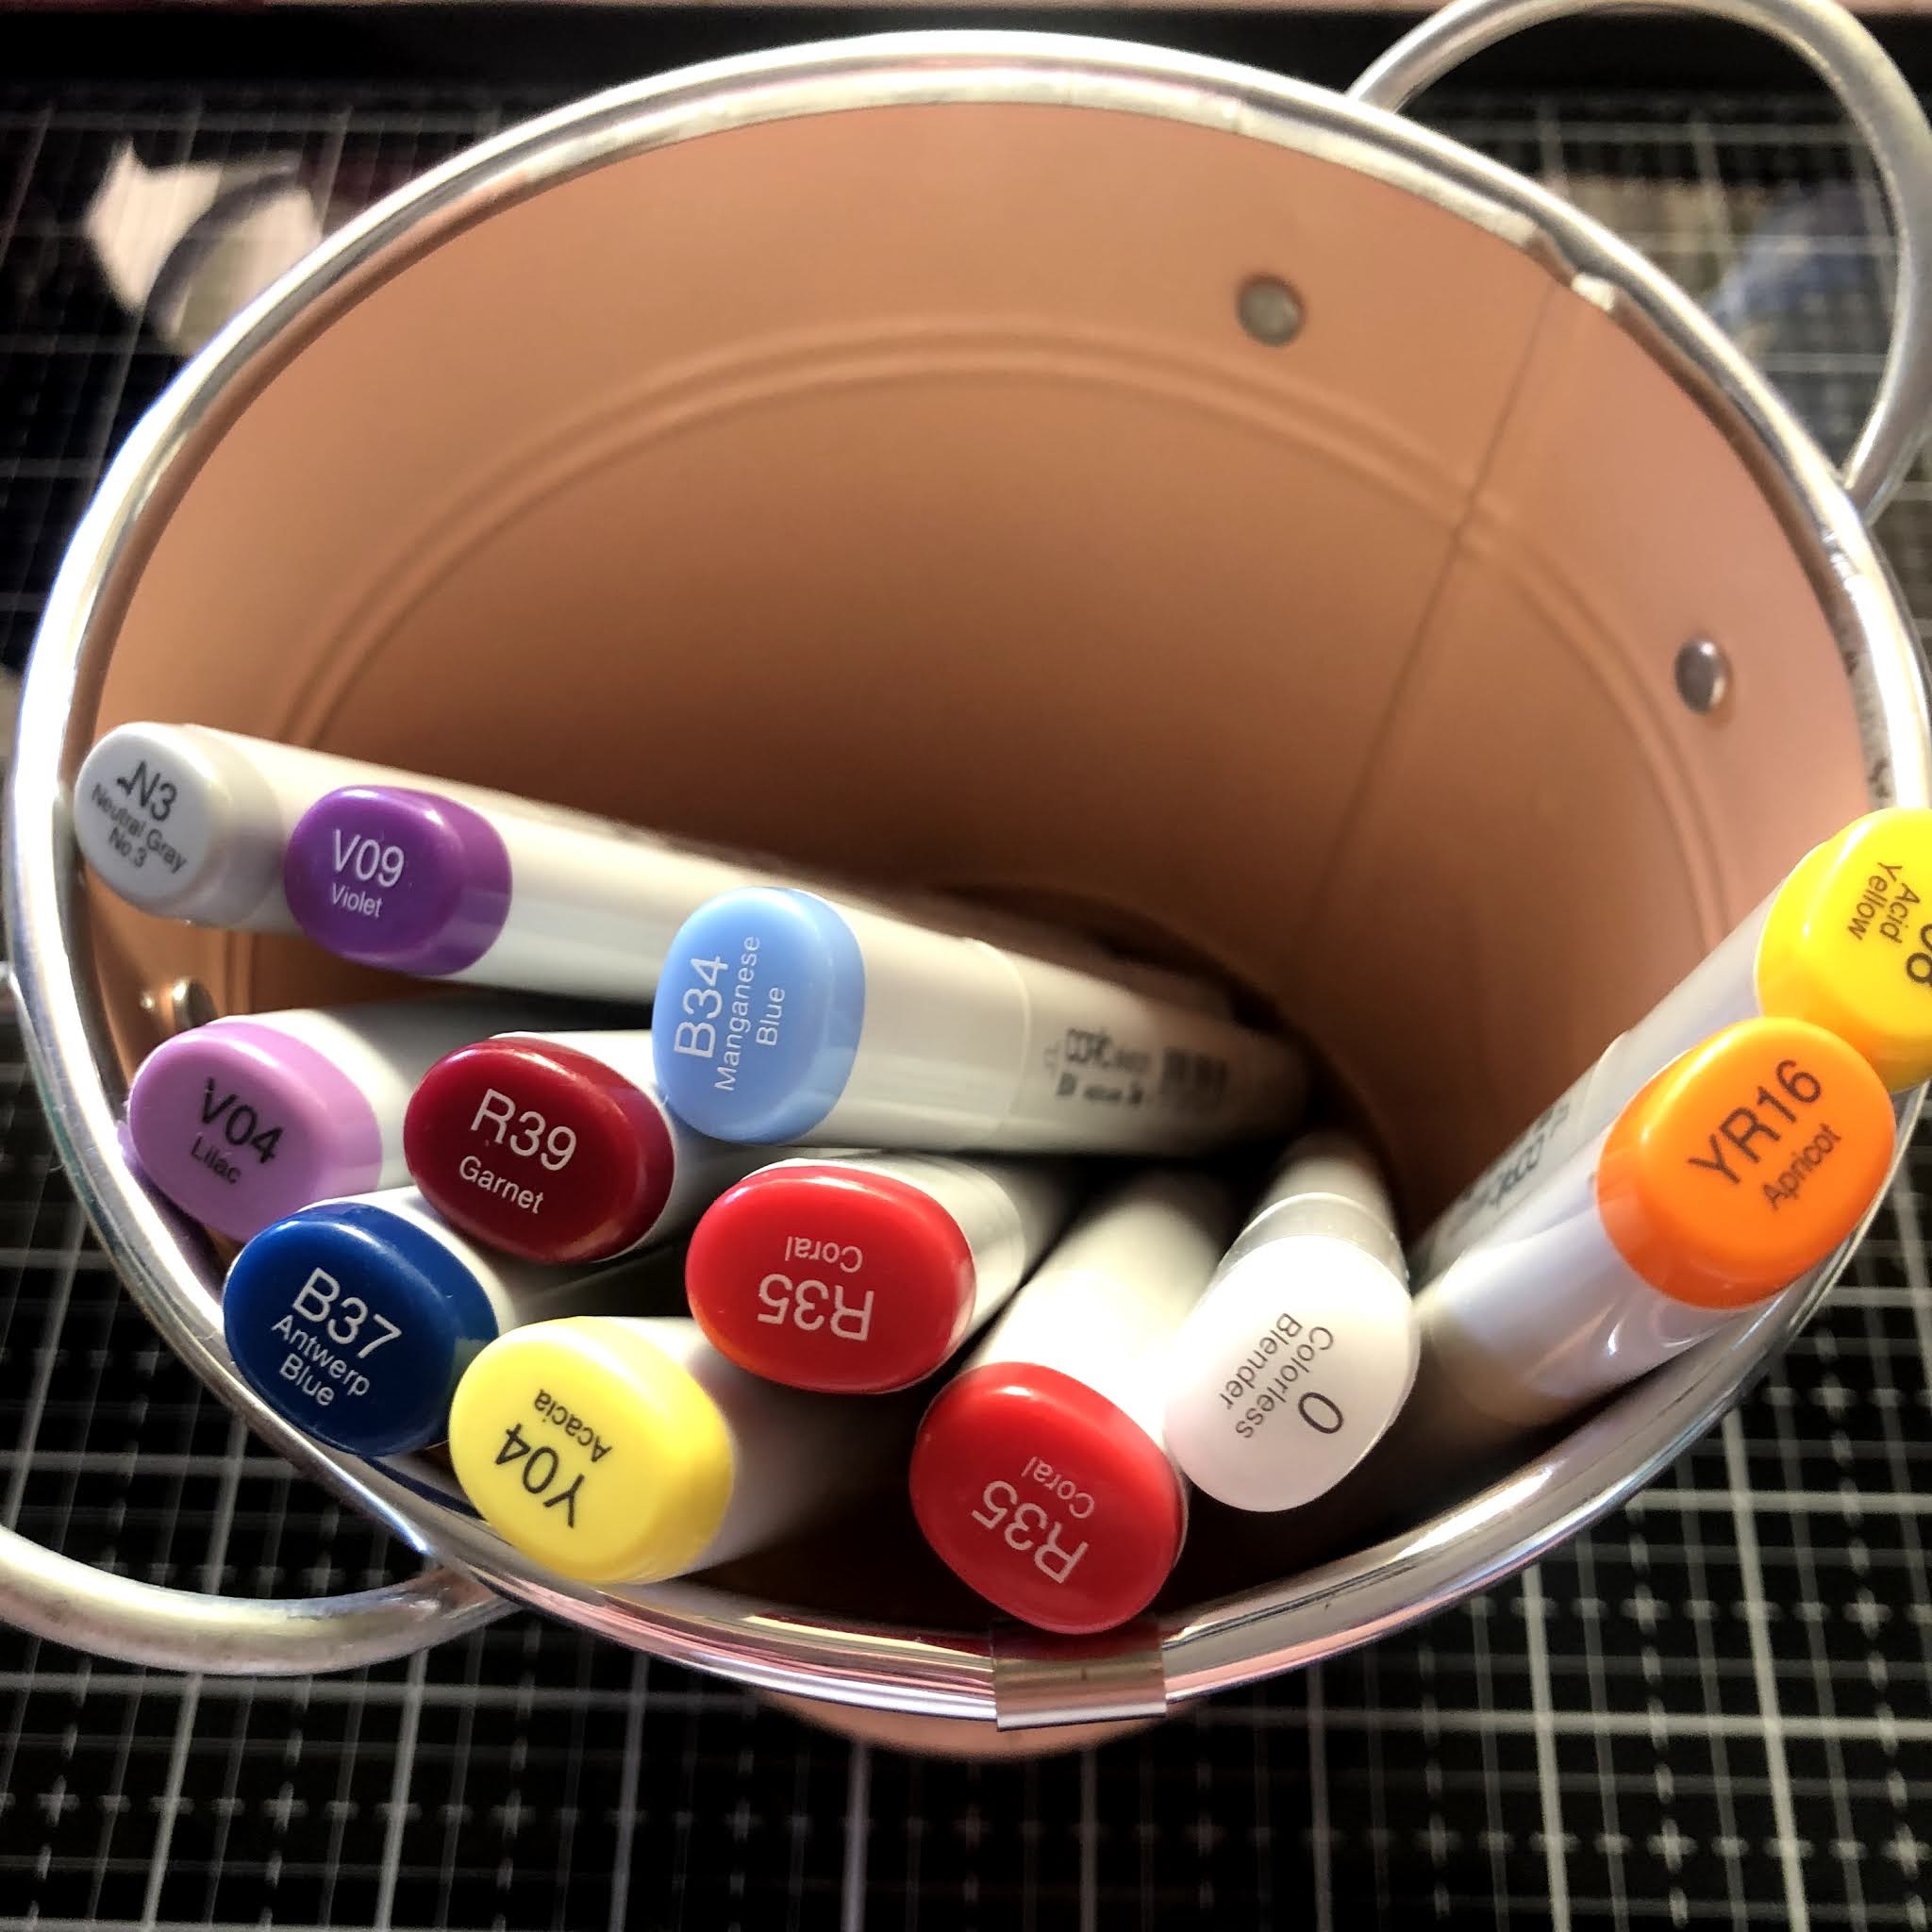
Copic Markers Used
E31, E35, N5
Y04, Y08, YR16
R35, R39
N3, N5
N5, 0 Colorless Blender
V04, V09
B34, B37
Thanks for stopping by, Deni
CAMERA SET UP - FOR YOU TUBE VIDEOS ONLY
Blue Yeti Microphone
Sony Handycam HDR CX4-05
Tripod – Manfrotto MKCompactaCN-BK
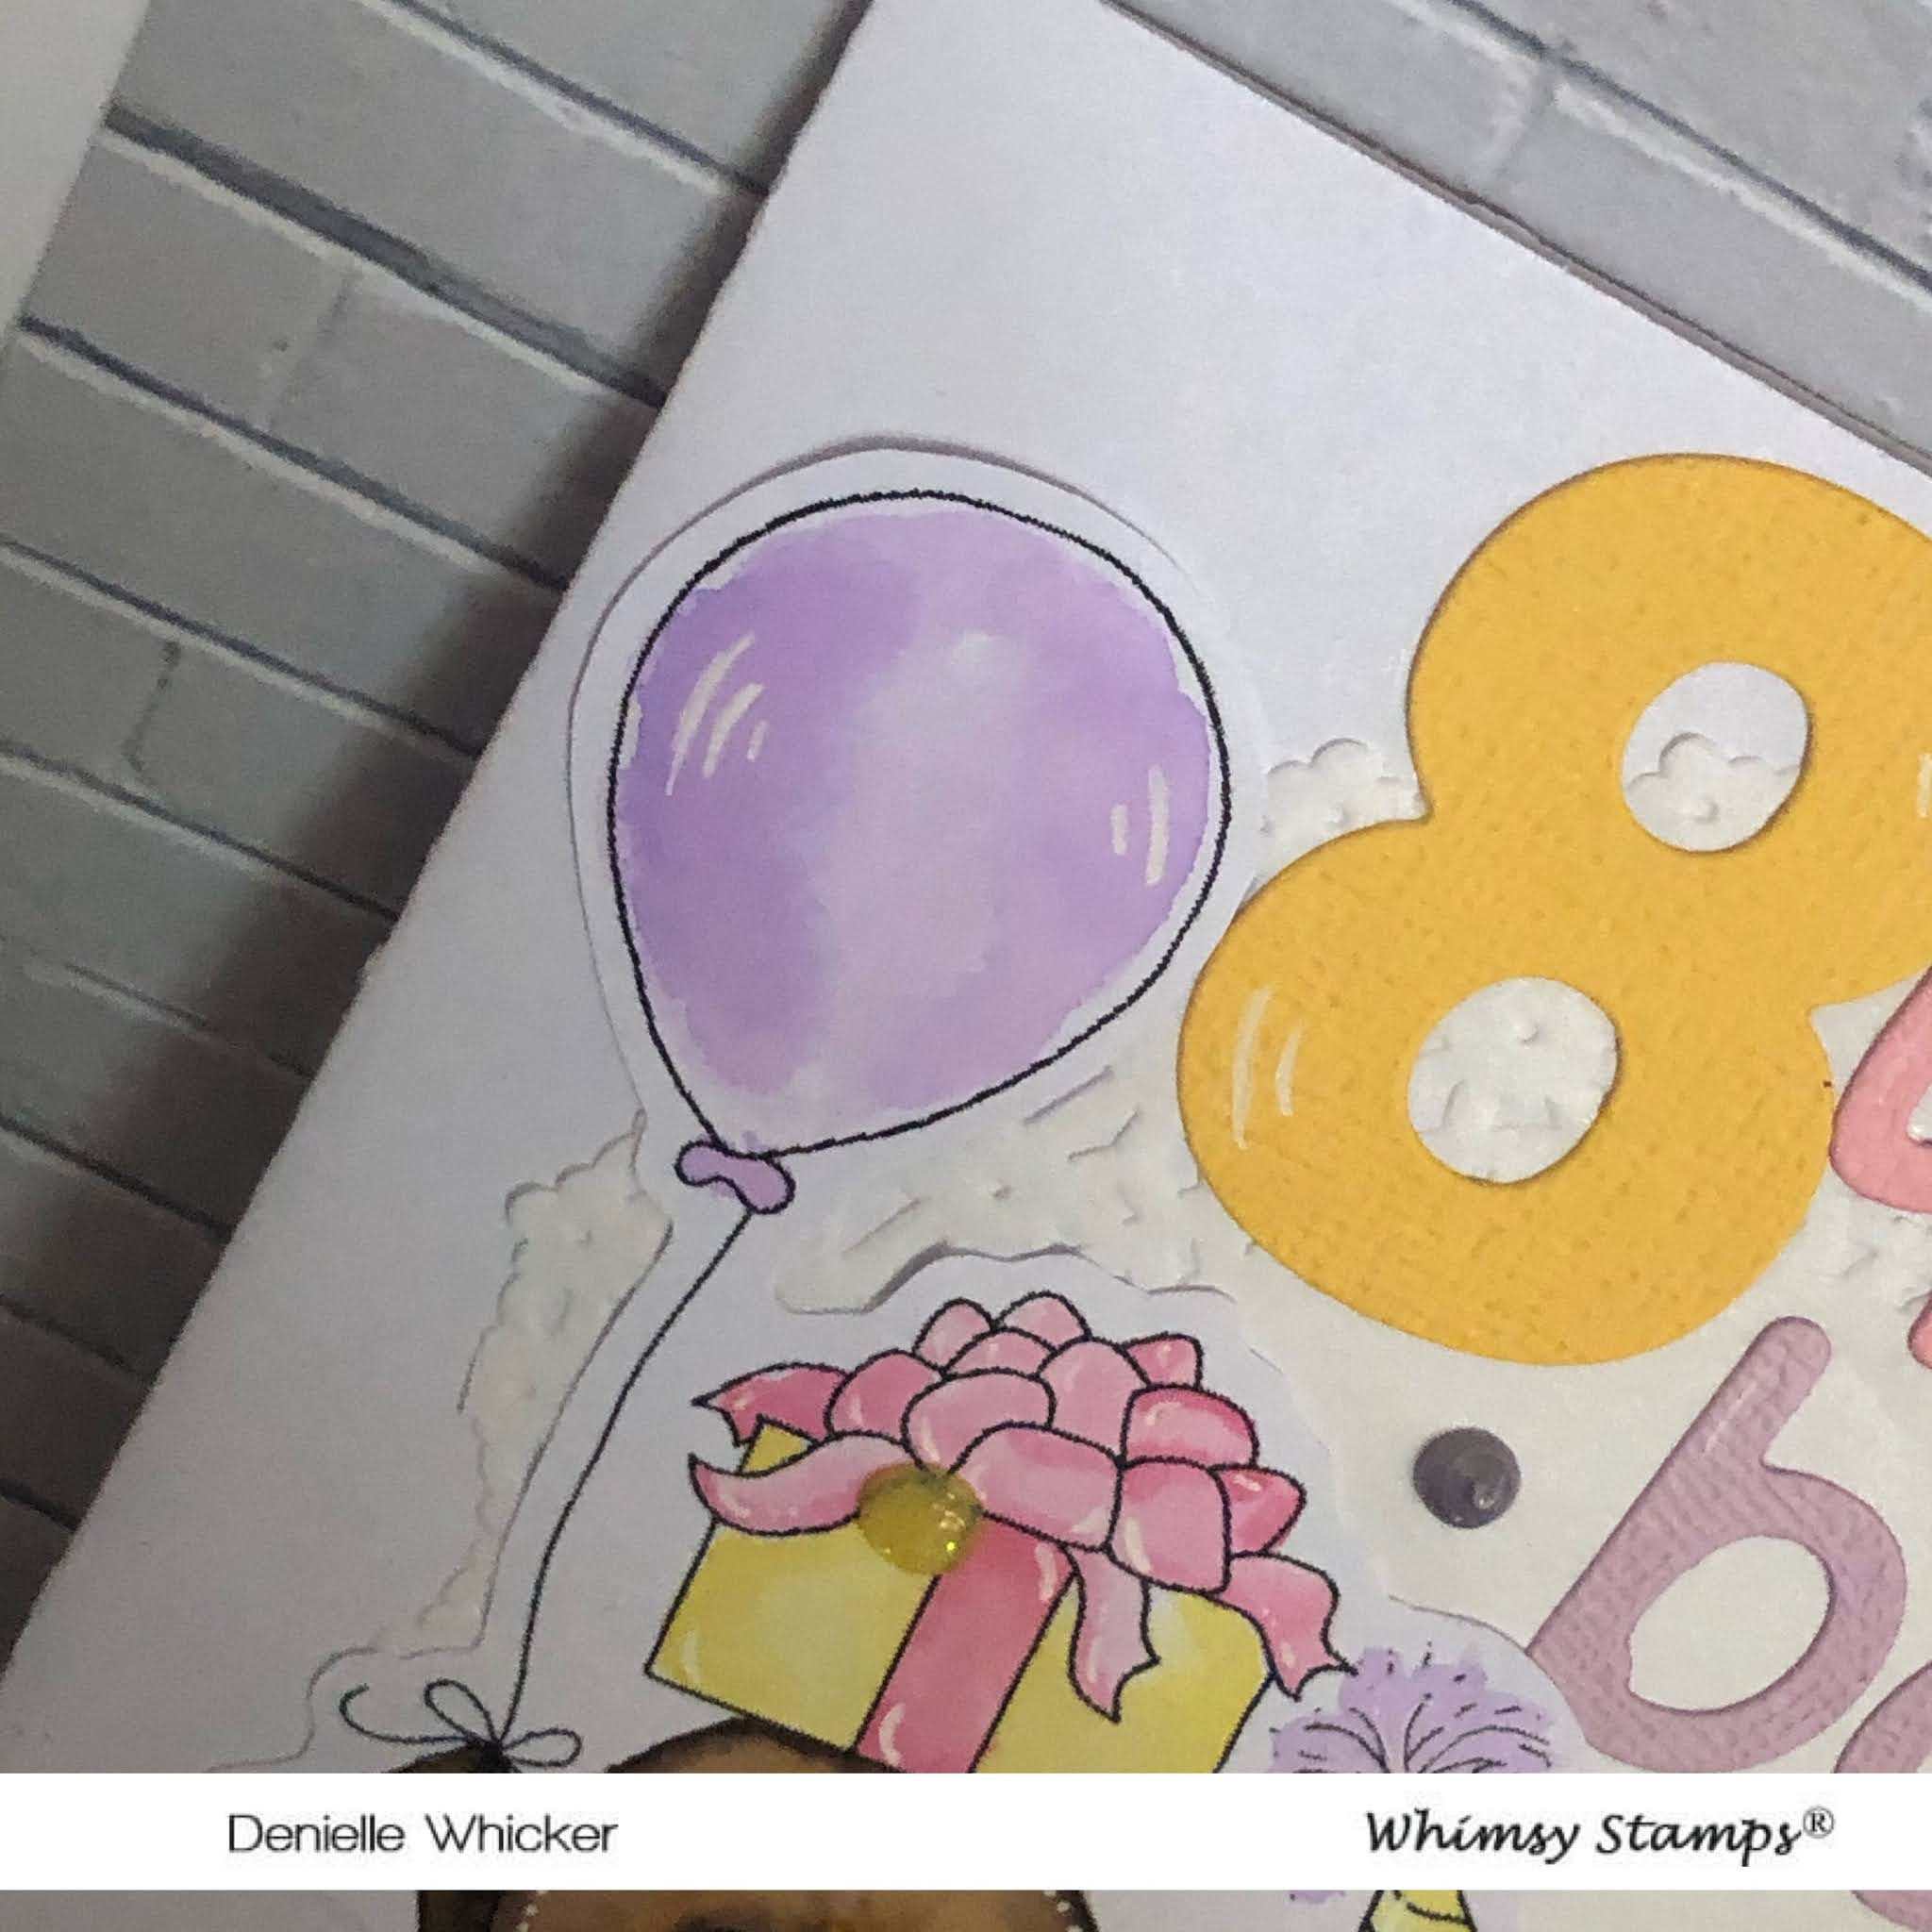
Today I have been creating with some Whimsy Stamps Digital Stamps, for my card I am sharing with you today I have used an image called Party Snail.
I made an 8th Birthday Card for a little girl using Number dies from MFT Stamps Big Numbers, I ran them through my Sizzix Big Shot using American Crafts Cardstock.
The alphabet letters are from Kaisercraft Decorative Dies - alphabet lowercase I used some Kaisercraft Cardstock for those.
I printed the image onto X-Press It Blending Card using my Brother Laser Printer.. I hadn't planned on doing watercolour to begin with so it didnt blend as perfect as it would have on Watercolour Paper.
I grabbed my Zig Clean Color Markers and a clean paint brush and watercolored the image up, careful not to use too much water or it would pill my card stock.
I added a doily to the card base, the number and alphas all using some liquid adhesive.
I finished the card off by adding some white gel penned Wink Of Stella to the image, number and alphas and finally I added some Tonic Studios Nuvo Crystal Drops in Wisteria Purple and Yellow Bird.
Very happy with the way the card turned out and can't wait to give it to the young lady I made it for.
I hope you have enjoyed my post today, if you have any questions feel free to send me a message or contact me via facebook (all links can be found below).
Watch the You Tube Video Here
Products Used On My Card (Affiliate Links Used Where Possible)
Zig Markers Used
068 Deep Brown
072 Beige
065 Mid Brown
062 Dark Brown
050 Yellow
024 Wine Red
080 Violet
Thanks for stopping by, Deni
CAMERA SET UP - FOR YOU TUBE VIDEOS ONLY
Blue Yeti Microphone
Sony Handycam HDR CX4-05
Tripod – Manfrotto MKCompactaCN-BK
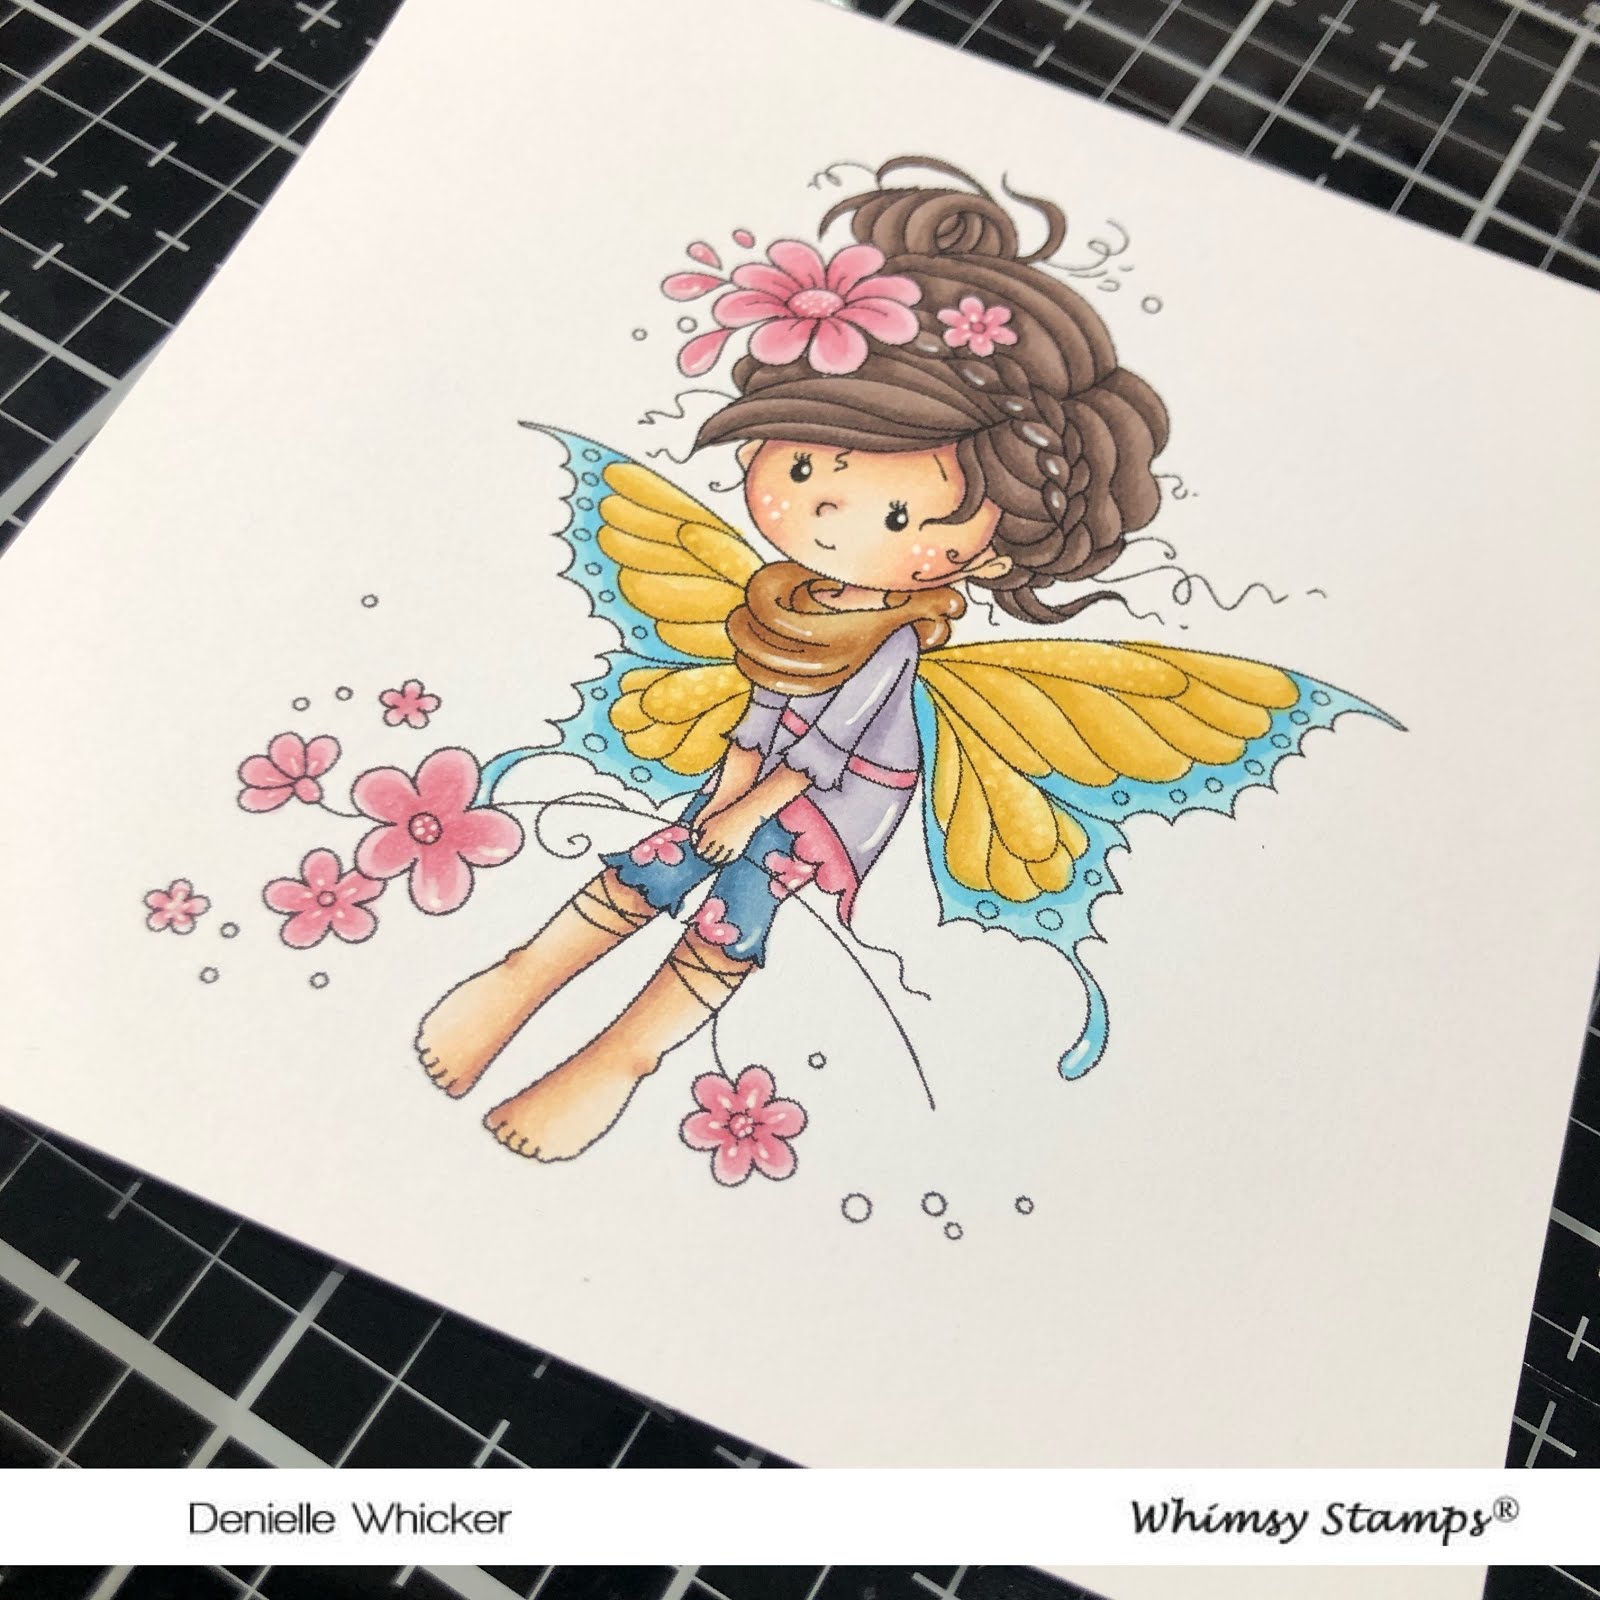
Today I am sharing with you a real time video for Whimsy Stamps colouring up Iris from the Wee Stamps collection. The image is available is Digital format and also as a Rubber Stamp, I have both of them linked up at the bottom of this post in the picture links. I coloured this image up a while ago in a live colouring video so I will have that linked up below separate to the card process video.
This is such a stunning image to colour up and I hope you will come and colour along with me (you can find the colouring video at the end of this post and a direct link if you prefer to watch directly on My You Tube Channel here.
To assist in the real time colouring video I mapped out exactly what colours I was going to use and where I was going to use them on this image. Hopefully this Direct Link works to the download as I have never done this before.
I began with colouring the skin on the image, I used E000, E00, E21, E11, E04, R20 for this area of the image.
Moving on to the hair, I used E74, E77, E79, this is my favourite blend for darker hair tones. I worked the hair in chunks rather than doing a flicking motion, meaning I coloured up each of the sections one by one.
Next up I coloured the scarf, I wanted it to pop off the image a little but still blend so I decided to go with a brown combo - E31, E33, E35, E37.
I coloured the pants up as a denim type look so went with B33, B95, B97 and used R81, R83, R85 for the flowers on them as I was planning on using those pinks on the image elsewhere and that would help bring all the details together.
I continued using the pink blend from above - R81, R83, R85 and coloured up all the flowers on the image, this is my most used pink blend of markers and one of the first ever blends of markers I used.
Next I began colouring up her dress, I used some V Markers - V20, V22, V25, they give a nice lilac/mauve type tone and I used the pink markers above to colour the strap on her dress.
Moving on to her wings, I went with yellow and blue, I used Y21, Y23, Y26 to give a nice golden yellow rather than a bright yellow. For the blues I had originally planned to use 3 markers however I ended up only using 2 - the B01, B02, the section to colour was only small and when I started laying the colour down I realised it was going to be un-necessary to add the third marker into the mix. I had planned to go back with my white gel pen and add the white dots back in however I completely forgot and did not do this - I will more than likely add these when I start putting my card together.
I used my 0 Colorless Blender marker to fix up any areas that need the colour pushed back in, then I used it to add some dotted detail to the wings.
Finally I used my Uni-Ball White Gel pen to add details to the image, this always makes an image look completed.
I thank you all so much for reading my post and I hope you will pop on over to my You Tube Channel and Watch the colouring process and colour along with me. Remember you don't have to use the same markers as me, they are there as a guideline only. Use what you have and make it you :-)
For the card I used patterned papers from Kaisercraft's Bow & Arrow Collection, the stars are from a EK Success Star Confetti Punch, and the clouds are from MFT Stamps Puffy Clouds.
Once the card was all put together I added Nuvo Crystal Drops in Summer Sunrise.
I hope you have enjoyed my post today, if you have any questions feel free to send me a message or contact me via facebook (all links can be found below).
Watch the Colouring Process You Tube Video Here
Watch the Card Process You Tube Video Here
Products Used On My Card (Affiliate Links Used Where Possible)
Copic Markers Used
Skin E000, E00, E21, E11, E04, R20
Hair E74, E77, E79
Flowers R81, R83, R85
Wings B01, B02, B04, Y21, Y23, Y26
Scarf E31, E33, E35, E37
Pants B93, B95, B97, R81, R83, R85
Dress V20, V22, V25, R81, R83, R85
I hope you have enjoyed my post today, if you have any questions feel free to send me a message or contact me via facebook (all links can be found below).
Thanks for stopping by, Deni
CAMERA SET UP - FOR YOU TUBE VIDEOS ONLY
Blue Yeti Microphone
Sony Handycam HDR CX4-05
Tripod – Manfrotto MKCompactaCN-BK
Is it too early to be creating Christmas Cards?.. I cannot believe how quickly this year has gone but here we are mid October already.
Today I have a Christmas Card I created using Penguins Build A Snowman and an old retired stamp set (also from Whimsy Stamps) called Friendship Notables.. I think was actually one of the first sentiments sets that I had ever purchased.
I printed the Digital Image onto X-Press It Blending Cardstock using my Brother Laser Printer (there is a rubber version of this image also which I have linked up below).
Using my Copic Markers I coloured up the image, using my Colorless Blender Marker and a Uni-Ball white gel pen to add extra detail to the image.
I used my Toner Markers to create the snow all over the image then used my blender marker to pull the colour back and blend it out. I used the same markers to create the look of white.
The card base is a Couture Creations Card Base, comes pre-made in a pack with matching envelopes. I cut down a layer of red cardstock from my stash and some black American Crafts Cardstock. I used Helmar Acid Free liquid adhesive to adhere those layers then layed down the image.
I used leftovers of the same papers to decorate the inside of the card.
I hope you have enjoyed my post today, if you have any questions feel free to send me a message or contact me via facebook (all links can be found below).
Watch the You Tube Video Here
Products Used On My Card (Affiliate Links Used Where Possible)
Copic Markers Used
T2, T4, T6
T2, T0, 0, EO7
E31, E33, E35
R35, R39
T8, T10
BG02, BG49, BG09
Thanks for stopping by, Deni
CAMERA SET UP - FOR YOU TUBE VIDEOS ONLY
Blue Yeti Microphone
Sony Handycam HDR CX4-05
Tripod – Manfrotto MKCompactaCN-BK