Showing posts with label Avery Elle. Show all posts

Wednesday, 15 January 2020

Art Stash Dec 19 Box - Adding on Avery Elle Journey

Hi Everyone,


I was very honoured to be invited to try out the "Art Stash" Box, I have received the December Box which is all about Hand Lettering. I have previously release an unboxing video so if you want to see that check out my Art Stash folder on You Tube.


Today I used a stamp set from Avery Elle called Journey to create my card using products from the December Box.


If you are interested in Subscribing to these boxes, you can use my code "DENI" on check out to receive 15% Off. Every little bit counts :-) You can purchase each box as you go or you can do a subscription, this is great for those of you who have not had one before.

I had fun playing with the watercolours from the box to colour my images in, the colours are so vibrant even after being watered own a little.

I hope you have enjoyed my post today, if you have any questions feel free to send me a message or contact me via facebook (all links can be found below).

Watch the You Tube Video Here


Products Used On My Card (Affiliate Links Used Where Possible)


Thanks for stopping by, Deni

CAMERA SET UP - FOR YOU TUBE VIDEOS ONLY
Blue Yeti Microphone
Sony Handycam HDR CX4-05
Tripod – Manfrotto MKCompactaCN-BK

S O C I A L MEDIA 
B L O G : https://ldli.co/e/3xky6x
I N S T A G R A M : https://ldli.co/e/5dn20x
YOU TUBE: https://ldli.co/e/ej5l90 
F A C E B O O K: https://ldli.co/e/mjxn2r
PINTEREST: https://ldli.co/e/2l9zom


I was a 2018 Ambassador for Copic Marker Australia and NZ

I hope you have enjoyed my post today, if you have any questions feel free to send me a message or contact me via facebook (all links can be found below).

Watch the You Tube Video Here

Products Used On My Card (Affiliate Links Used Where Possible)


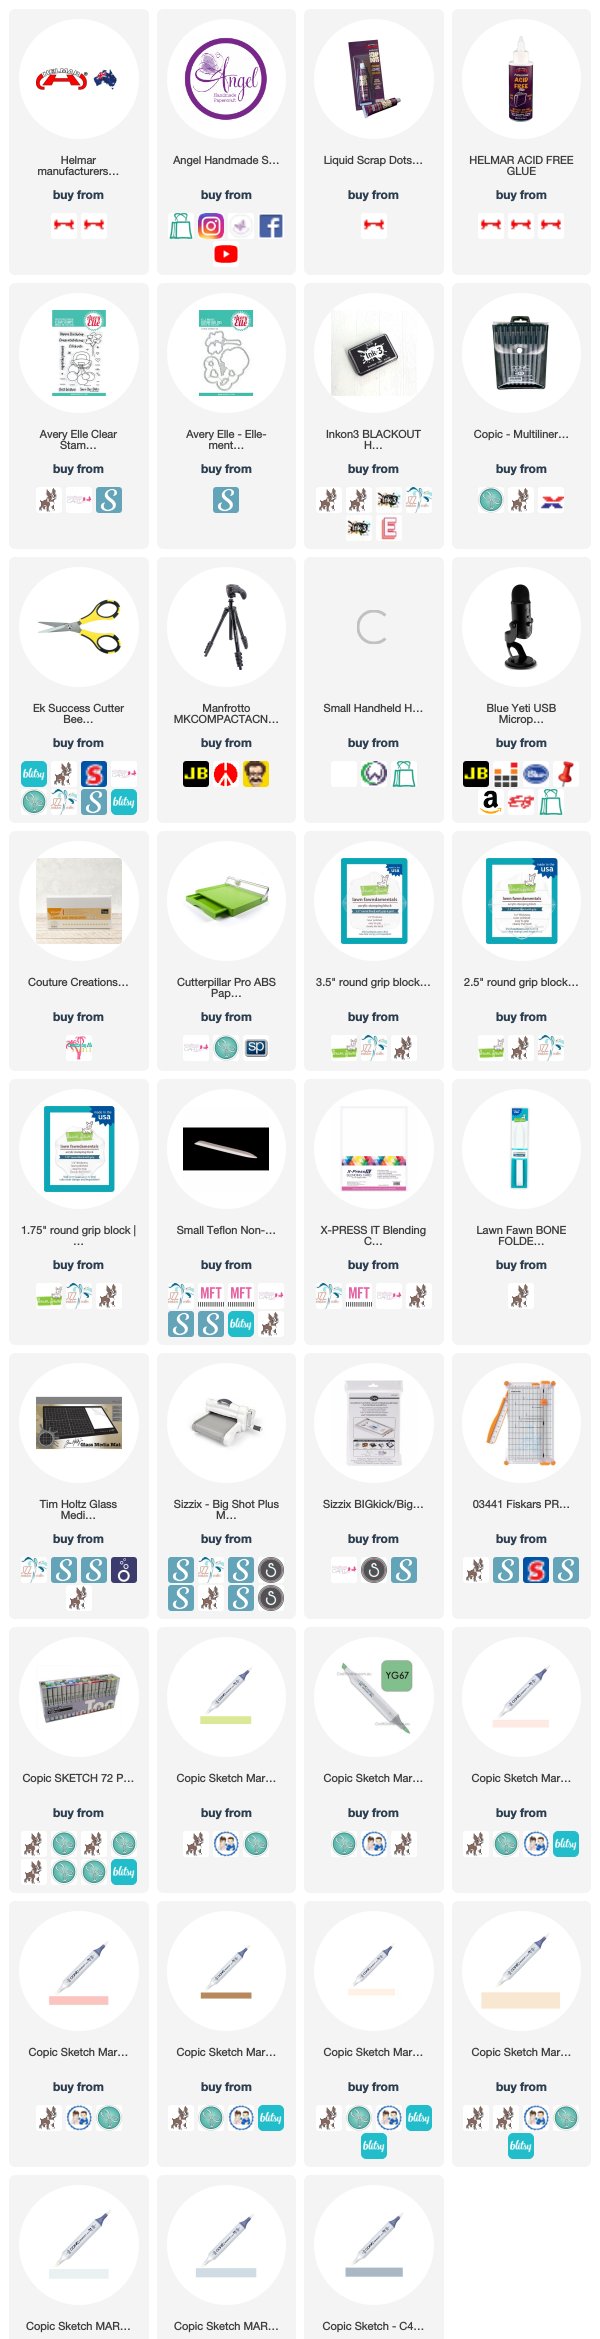
Helmar - Just Married with Avery Elle

Hi All!

Today I am super excited to share with you a new to me product from Helmar Worldwide.

Liquid_Scrap_Dot_4f18a7aca6706.jpg

This is such an awesome product, you guys know me, I would not recommend a product that I don't believe in, this adhesive is like a thick liquid form of foam dots and it is really cool. 


I decided I wanted to use it on this Avery Elle Stamp Set, this is the Journey stamp set, I will link it up at the end of my blog post. 

My idea was to make the balloons look 3d, I then went a step further and applied it to the tree also. 


It was a little more fiddly on the tree because the tree is so thin and the leaves are smaller but I made it work and I love the way that it turned out in the end.. and well that's all that matters really. 


I stamped the images out onto X-Press It Blending Cardstock because I knew I was going to Copic Colour the images. I used Ink On 3 Blackout Detail Ink and some Lawn Fawn acrylic blocks. 

I then stamped out extras of everything so I was able to colour them up and use them for my layers. 


I applied the Scrap Dots to the backs and began layering them all up, I love the way it all came together, and the finished product just highlights everything perfectly. 


I used a Copic Multiliner in 0.1 to draw in my road after I sketched it out in pencil then erased those lines so they were not stuck underneath the Copic Ink. 


I trimmed my image layer down very carefully as everything was not completely dried yet. 


For my patterned papers I used Bella Wedding, and I layered them up using American Crafts Cardstock. 


I hope you have enjoyed my post today, if you have any questions feel free to send me a message or contact me via facebook (all links can be found below).

Watch the You Tube Video Here


Products Used On My Card (Affiliate Links Used Where Possible)


Copic Markers Used

YG05, YG67
R30, R32
E57
E00, E31
C0, C2, C4

Thanks for stopping by, Deni

CAMERA SET UP - FOR YOU TUBE VIDEOS ONLY
Blue Yeti Microphone
Sony Handycam HDR CX4-05
Tripod – Manfrotto MKCompactaCN-BK

S O C I A L MEDIA 
B L O G : https://ldli.co/e/3xky6x
I N S T A G R A M : https://ldli.co/e/5dn20x
YOU TUBE: https://ldli.co/e/ej5l90 
F A C E B O O K: https://ldli.co/e/mjxn2r
PINTEREST: https://ldli.co/e/2l9zom


I was a 2018 Ambassador for Copic Marker Australia and NZ


Thursday, 14 November 2019

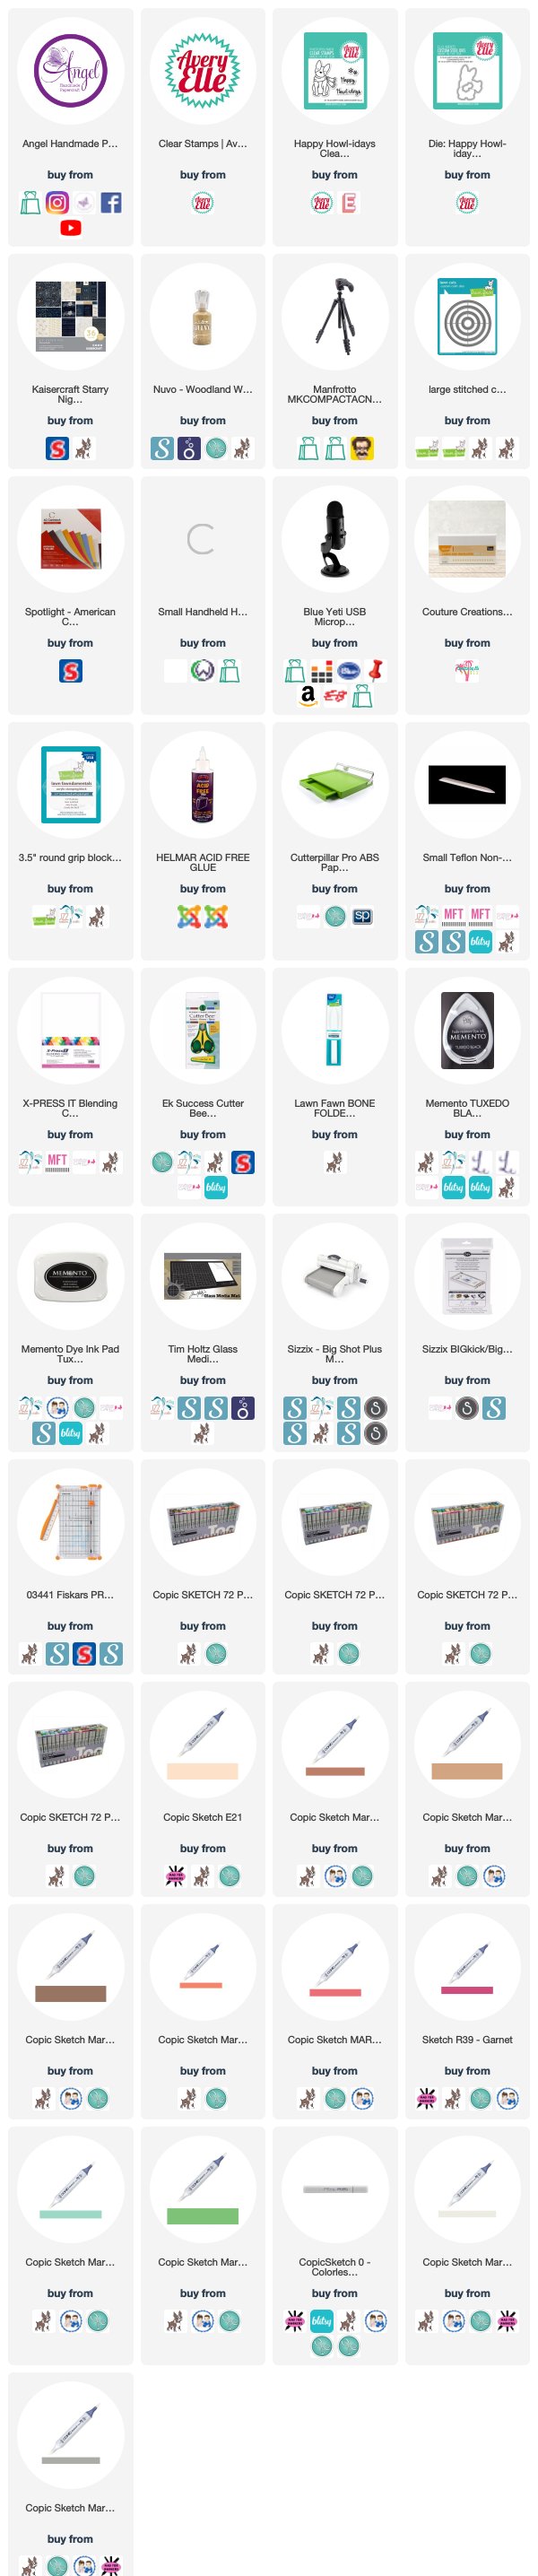
Avery Elle - Starry Christmas Card 3

Hey All,

Today I am sharing with you the third card in the Avery Elle Happy Holidays series I have done.

I stamped the image onto X-Press It Blending Cardstock using Memento Tuxedo Black and a Lawn Fawn Acrylic Block. I then proceeded to colour it up using Copic Markers.


I ran the image through my Sizzix Big Shot using Lawn Fawn Stitched Circles dies.


Patterned papers are from Kaisercraft Starry Night 6.5" Paper Pad, I cut down the layers using my Caterpillar Pro and adhered them using Helmar Acid Free liquid adhesive. I added some mat layers from American Crafts card stocks.


I also added a strip and a pop out from the same paper pad and also adhered them using the Acid Free adhesive.


I added some Tonic Studios Nuvo Crystal Drops in Mustard Gold, I really love the way it sets off the stars on the background paper.


Using leftovers from the patterned paper pad I decorated the inside of the card to match the front.


I hope you have enjoyed my post today, if you have any questions feel free to send me a message or contact me via facebook (all links can be found below).

Watch the You Tube Video Here


Products Used On My Card (Affiliate Links Used Where Possible)


Copic Markers Used

E21, E23, E25, E27
W5, W1, 0 Colorless Blender
G03, G07
R17, R37, R39

Thanks for stopping by, Deni

CAMERA SET UP - FOR YOU TUBE VIDEOS ONLY
Blue Yeti Microphone
Sony Handycam HDR CX4-05
Tripod – Manfrotto MKCompactaCN-BK

S O C I A L MEDIA 
B L O G : https://ldli.co/e/3xky6x
I N S T A G R A M : https://ldli.co/e/5dn20x
YOU TUBE: https://ldli.co/e/ej5l90 
F A C E B O O K: https://ldli.co/e/mjxn2r
PINTEREST: https://ldli.co/e/2l9zom


I was a 2018 Ambassador for Copic Marker Australia and NZ


Tuesday, 12 November 2019

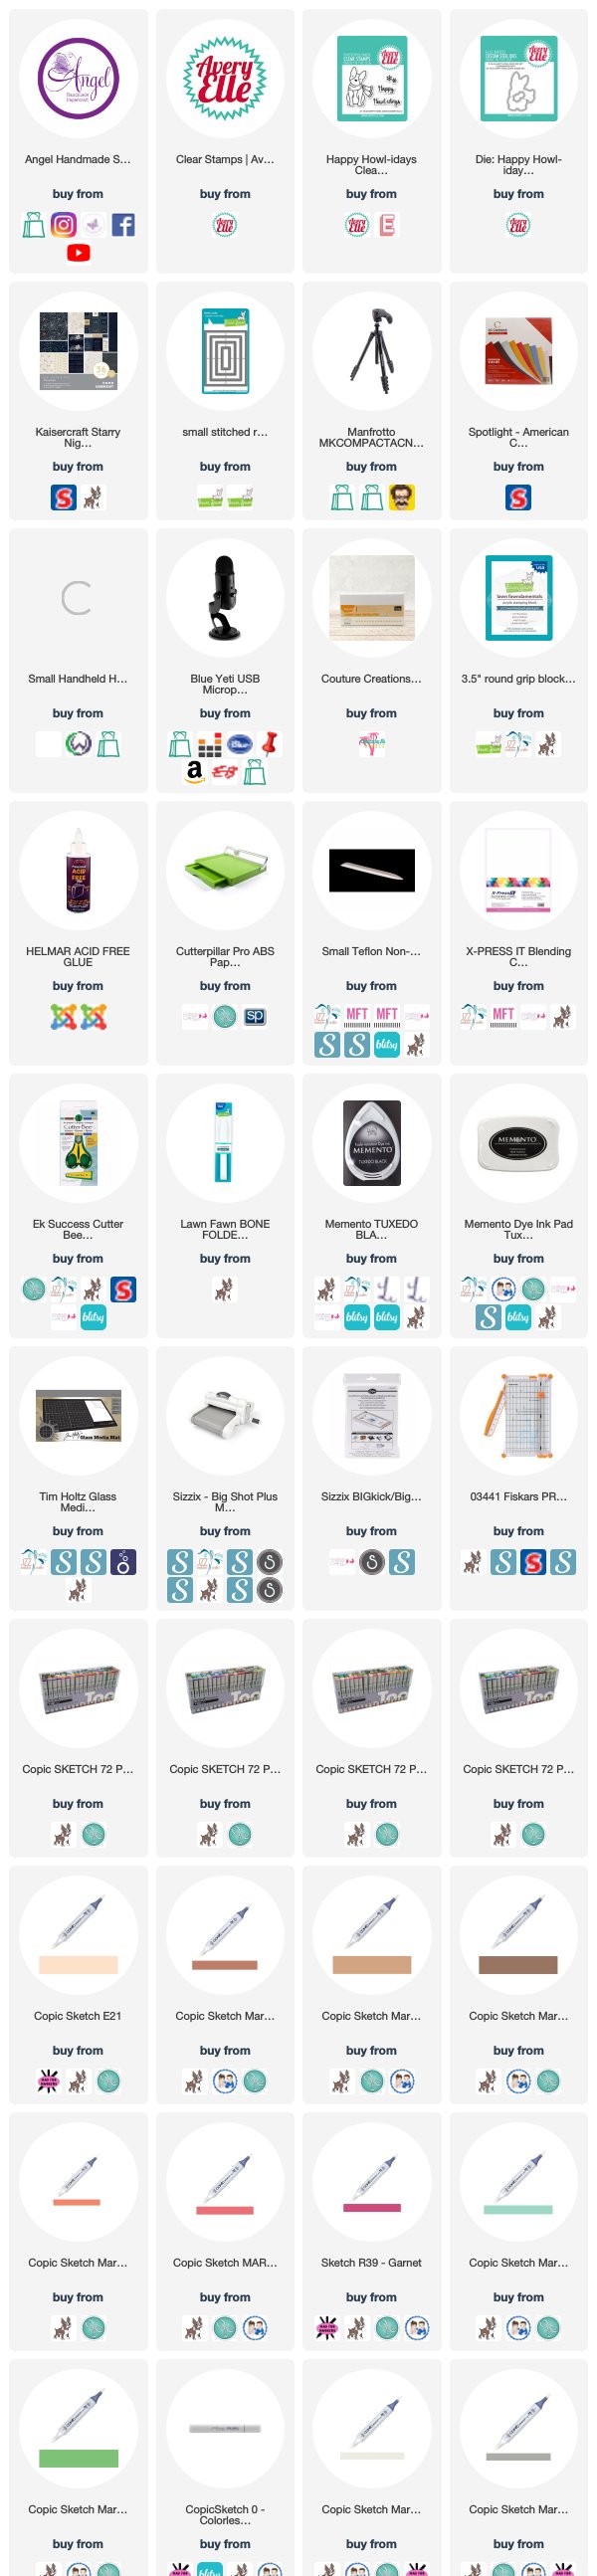
Avery Elle - Happy Howlidays Snow Day Card 2

Hi Everyone,

Today I have used a stamp set from Avery Elle called Happy Howl-idays, such an adorable little set and it was perfect to get a couple of Christmas Cards made.


I stamped the image out onto X-Press It Blending Cardstock using Memento Tuxedo Black and a Lawn Fawn acrylic block.

I then coloured him up using Copic Markers.


I used Memento Tuxedo Black to stamp out the snowflakes around the image.


I ran the image through my Sizzix Big Shot using Lawn Fawn Stitched Rectangle die.


Patterned papers and pop outs are from Kaisercraft Starry Night 6.5" Paper Pad.


I decorated the inside of the card using the same paper pad to match the front of the card.


I hope you have enjoyed my post today, if you have any questions feel free to send me a message or contact me via facebook (all links can be found below).

Watch the You Tube Video Here


Products Used On My Card (Affiliate Links Used Where Possible)


Copic Markers Used

E21, E23, E25, E27
R17, R37, R39
G03, G07
W1, W5, 0 Colorless Blender

Thanks for stopping by, Deni

CAMERA SET UP - FOR YOU TUBE VIDEOS ONLY
Blue Yeti Microphone
Sony Handycam HDR CX4-05
Tripod – Manfrotto MKCompactaCN-BK

S O C I A L MEDIA 
B L O G : https://ldli.co/e/3xky6x
I N S T A G R A M : https://ldli.co/e/5dn20x
YOU TUBE: https://ldli.co/e/ej5l90 
F A C E B O O K: https://ldli.co/e/mjxn2r
PINTEREST: https://ldli.co/e/2l9zom


I was a 2018 Ambassador for Copic Marker Australia and NZ


Sunday, 10 November 2019

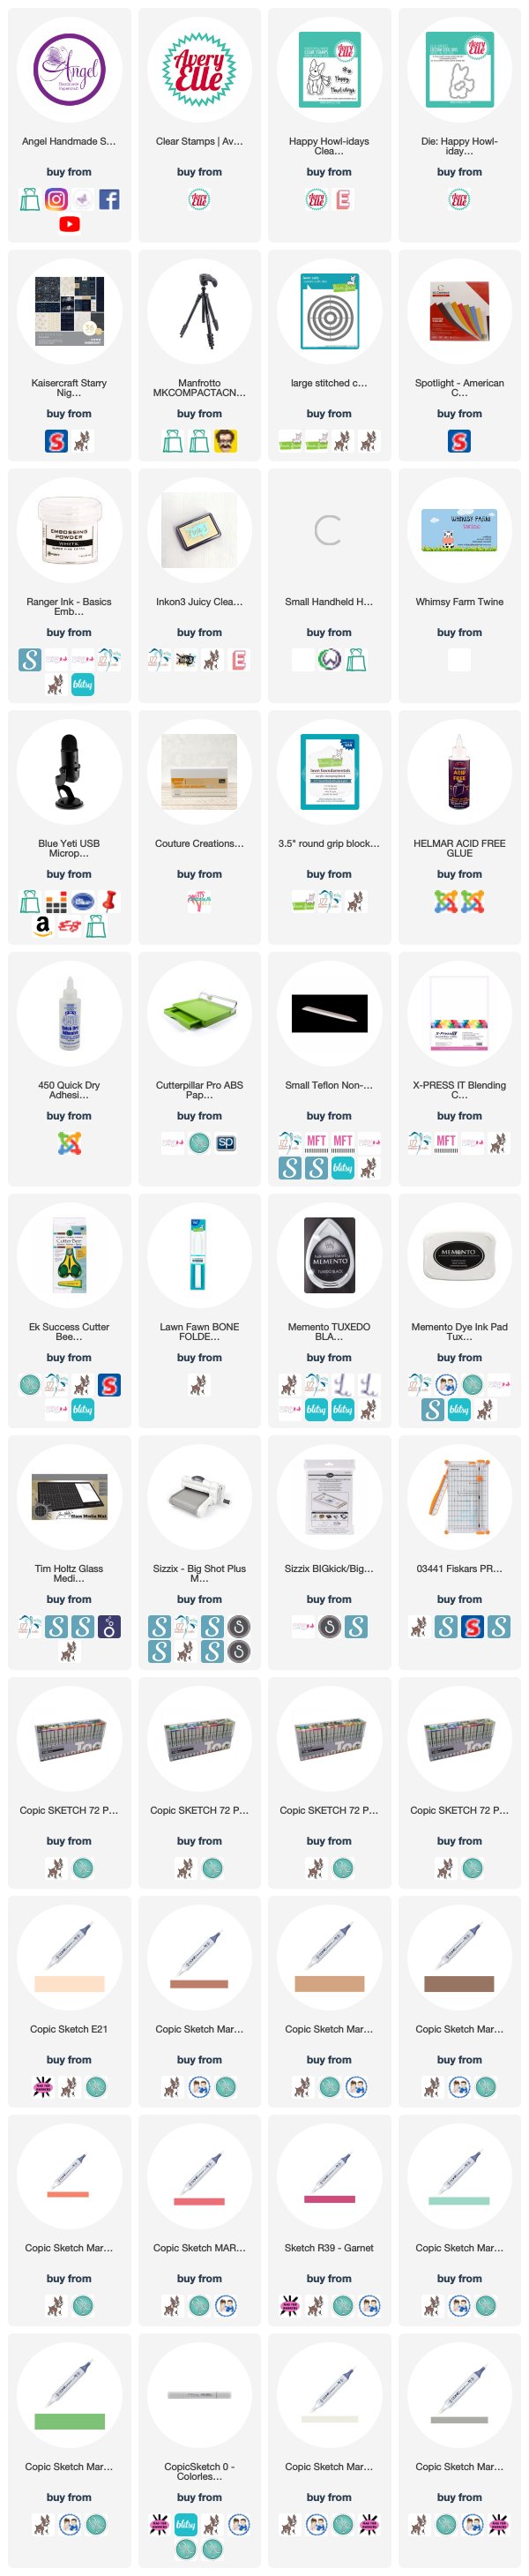
Have yourself a Merry little holiday - Avery Elle

Hi Everyone,

How sweet is this little guy from Avery Elle, he is Happy Howli-days stamp set.


I stamped him out using a Lawn Fawn Acrylic Block onto X-Press It Blending Card Stock and Memento Tuxedo Black.

I used my Copic Markers to colour the images up, I did a bulk batch ready for my next few cards.


I ran the image through my Sizzix Big Shot using Lawn Fawn Stitched Circle dies.


I used Kaisercraft Starry Night paper pad for the patterned paper layers and matted them onto American Crafts Card Stock.

I adhered a pop out tag from the Kaisercraft paper pad to the right side of my card and added some Whimsy Farm Twine in a bow to the top of it.


I used Ranger Ink Super Fine White Detail Embossing Powder and Ink on 3 Embossing Ink to stamp out and emboss the sentiment.


I used Helmar Acid Free adhesive to adhere all my layers down to a Couture Creations Card Base, and I used 450 Quick Dry to adhere the twine to the pop out tag.


I hope you have enjoyed my post today, if you have any questions feel free to send me a message or contact me via facebook (all links can be found below).

Watch the You Tube Video Here


Products Used On My Card (Affiliate Links Used Where Possible)


Copic Markers Used

E21, E23, E25, E27
R17, R37, R39
G03, G07
W1, W5, 0 Colorless Blender

Thanks for stopping by, Deni

CAMERA SET UP - FOR YOU TUBE VIDEOS ONLY
Blue Yeti Microphone
Sony Handycam HDR CX4-05
Tripod – Manfrotto MKCompactaCN-BK

S O C I A L MEDIA 
B L O G : https://ldli.co/e/3xky6x
I N S T A G R A M : https://ldli.co/e/5dn20x
YOU TUBE: https://ldli.co/e/ej5l90 
F A C E B O O K: https://ldli.co/e/mjxn2r
PINTEREST: https://ldli.co/e/2l9zom


I was a 2018 Ambassador for Copic Marker Australia and NZ


Wednesday, 6 November 2019

Avery Elle - Oh What Fun Ho Ho Ho

Hi All,

Today is my third post sharing the last card I made with the little Santas I coloured up from Avery Elle Oh What Fun Stamp Set. (You can see the colouring in a previous You Tube Video which will be linked up to this one).


I stamped the images out onto X-Press It Blending Card using Memento Tuxedo Black.


I used patterned papers from Kaisercraft Mistletoe 6.5" Paper Pad, and some red card stock also from Kaisercraft.

I cut the layers down using my Cutterpillar Pro, and ran the green piece through my Sizzix Big Shot using a Lawn Fawn Stitched Circle die.


I stamped out the little snow flakes from the same stamp set onto Black American Crafts Card Stock which I first prepped using Anti Static Powder bag, using Ink on 3 Embossing Ink and applied Ranger Super fine white embossing powder which I then melted using my Heat Tool.


I then trimmed the Ho Ho Ho down to separate words using my EK Success Cutterbee Scissors.


I adhered all the layers down to a Couture Creations Card Base using Helmar Acid Free Adhesive.


Finally I added some Tonic Studios Nuvo Crystal Drops in Red Berry around the santa, I left this overnight to dry (Nuvo drops need time to dry and I have a habit of bumping and ruining them if I don't set my project aside).


I decorated the inside of the card using some leftovers of the patterned papers and my card was complete.


I hope you have enjoyed my post today, if you have any questions feel free to send me a message or contact me via facebook (all links can be found below).

Watch the You Tube Video Here


Products Used On My Card (Affiliate Links Used Where Possible)


Copic Markers Used

E000, E00, E21, E11, E04, R20
N6, N8, N10
YR24, YR27
R17, R29, R37, R39
N1, N3, 0 Colorless Blender

Thanks for stopping by, Deni

CAMERA SET UP - FOR YOU TUBE VIDEOS ONLY
Blue Yeti Microphone
Sony Handycam HDR CX4-05
Tripod – Manfrotto MKCompactaCN-BK

S O C I A L MEDIA 
B L O G : https://ldli.co/e/3xky6x
I N S T A G R A M : https://ldli.co/e/5dn20x
YOU TUBE: https://ldli.co/e/ej5l90 
F A C E B O O K: https://ldli.co/e/mjxn2r
PINTEREST: https://ldli.co/e/2l9zom


I was a 2018 Ambassador for Copic Marker Australia and NZ


Tuesday, 5 November 2019

Avery Elle - Christmas Brings Joy Card 2

Hi Everyone,

A few days ago I coloured these little santas up from Avery Elle - Oh What Fun, this is a follow on from that video as I ended up making another 2 cards using the extras that I coloured up. I will link the original video to this one on my You Tube so you can check them both out.


I coloured the images up using Copic Markers after first stamping them out onto X-Press It Blending Card Stock.


For this card I used patterned papers from Kaisercraft Mistletoe paper pad, I also used some plain card stock from American Crafts and Kaisercraft.

I cut all the layers down using my Cutterpillar Pro and adhered them all using Helmar Acid Free Adhesive.

I also cut down a thin strip of the red card stocks I could stamp out the sentiment - I decided to emboss the sentiment so I prepared the strip using Anti - Static Powder Bag then stamped the image using a Lawn Fawn Acrylic Block and Ink on 3 Embossing Ink, I then applied Ranger Ink Princess Gold Embossing Powder and melted it using my Heat Tool.


I also stamped out some of the little ribbons from Lawn Fawn Winter Big Scripty Words using the same as above.


Finally I adhered Santa using the same Helmar Acid Free liquid adhesive then adhered all the layers to a Couture Creations Card Base.


I also decorated the inside of the card to match.


I hope you have enjoyed my post today, if you have any questions feel free to send me a message or contact me via facebook (all links can be found below).

Watch the You Tube Video Here


Products Used On My Card (Affiliate Links Used Where Possible)


Copic Markers Used

E000, E00, E21, E11, E04, R20
N6, N8, N10
N1, N3, 0 Colorless Blender
YR24, YR27
R17, R29, R37, R39

Thanks for stopping by, Deni

CAMERA SET UP - FOR YOU TUBE VIDEOS ONLY
Blue Yeti Microphone
Sony Handycam HDR CX4-05
Tripod – Manfrotto MKCompactaCN-BK

S O C I A L MEDIA 
B L O G : https://ldli.co/e/3xky6x
I N S T A G R A M : https://ldli.co/e/5dn20x
YOU TUBE: https://ldli.co/e/ej5l90 
F A C E B O O K: https://ldli.co/e/mjxn2r
PINTEREST: https://ldli.co/e/2l9zom


I was a 2018 Ambassador for Copic Marker Australia and NZ


Monday, 4 November 2019

Team Tiny - Avery Elle Oh What Fun

Hi Everyone,

Today I am joining in on a You Tube Hop for #teamtiny, if you search this hash tag on You Tube you will be able to find all the team projects. The theme for the hop is "joy", for me joy is Christmas.. spending time with family.

I was contacted to join this lovely team on the hop to help small You Tubers grow their Subscribers.


For my project today I have created a card using a stamp set from Avery Elle called Oh What Fun, I will have some links below in the picture links, it is an old stamp set so I apologise if you are not able to track one down. I also used the matching die set so have linked that up also.

I stamped the image out onto X-Press It Blending Cardstock using my Misti Stamping Tool and Memento Tuxedo Black, I then coloured him up using Copic Markers.


The patterned papers I have used are from Kaisercraft's - Mistle Toe 6.5" Paper Pad, I also used a pop out sentiment from the paper pad.


I added Tonic Studios Nuvo Crystal Drops in Red Berry to the card, I love using them :-)


Finally I adhered all the layers to a Couture Creations Card Base using Helmar Acid Free Adhesive. I ended up making 2 more cards with the other 2 santas I coloured up in this video so I will share them over the next few days. 


I hope you have enjoyed my post today, if you have any questions feel free to send me a message or contact me via facebook (all links can be found below).

Watch the You Tube Video Here


Products Used On My Card (Affiliate Links Used Where Possible)


Copic Markers Used

E000, E00, E21, E11, E04, R20
N6, N8, N10
YR24, YR27
R17, R29, R37, R39
N1, N3, 0 Colorless Blender

Thanks for stopping by, Deni

CAMERA SET UP - FOR YOU TUBE VIDEOS ONLY
Blue Yeti Microphone
Sony Handycam HDR CX4-05
Tripod – Manfrotto MKCompactaCN-BK

S O C I A L MEDIA 
B L O G : https://ldli.co/e/3xky6x
I N S T A G R A M : https://ldli.co/e/5dn20x
YOU TUBE: https://ldli.co/e/ej5l90 
F A C E B O O K: https://ldli.co/e/mjxn2r
PINTEREST: https://ldli.co/e/2l9zom


I was a 2018 Ambassador for Copic Marker Australia and NZ