Showing posts with label Kmart. Show all posts

Saturday, 5 March 2022

Whimsy Stamps - Time to Retire the love bug

Hi Everyone, 

I'm so sorry for my sabbatical from the crafting world, I've had some personal stuff going on that I have been dealing with.

I have a few videos and cards made that I'm hoping will give me the push I need to get back up and running. 


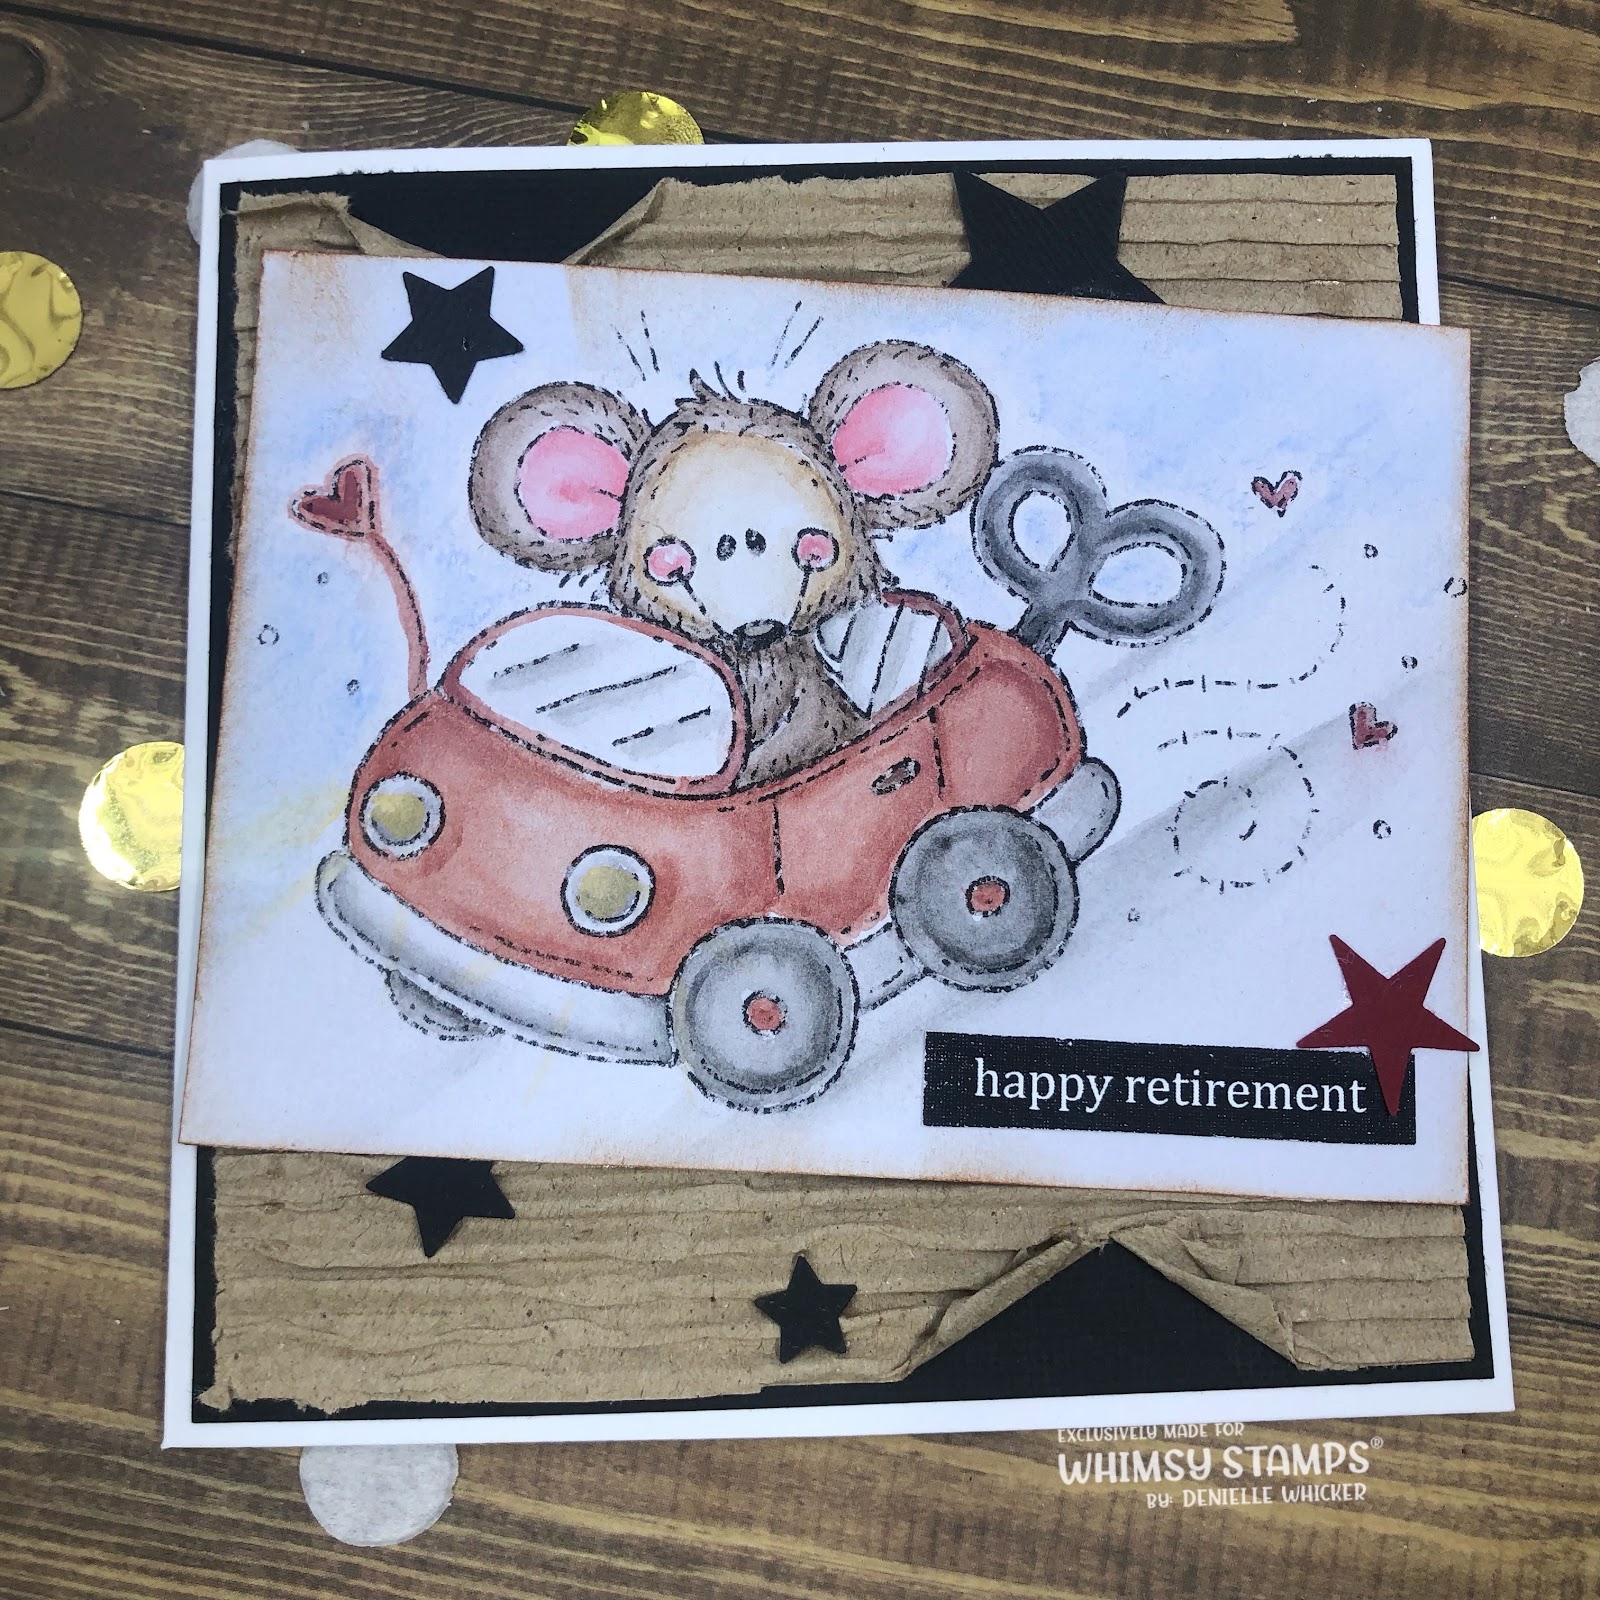
Today I have used an image from Meljens over at Whimsy Stamps Digital Collection called Love Bug, a super cute image that can be used on various cards. As you can see on my card instead of going with the tradition Valentines card, I went with a Retirement Card and made it out all manly. 


I began by printing the image onto Kmart Anko Watercolour Paper, this is new to me and I actually really like it, I don't have a lot of brands to compare it to but it was lovely to work with using my Watercolour Pencils. I used watercolour pencils from Faber Castell for my image. I have a small collapsable cup on my desk from Faber Castell - love this thing if you don't have one you need it :-) I used some round brushes I picked up from Kmart the last time I was there, I will also link up some other brands for you. 
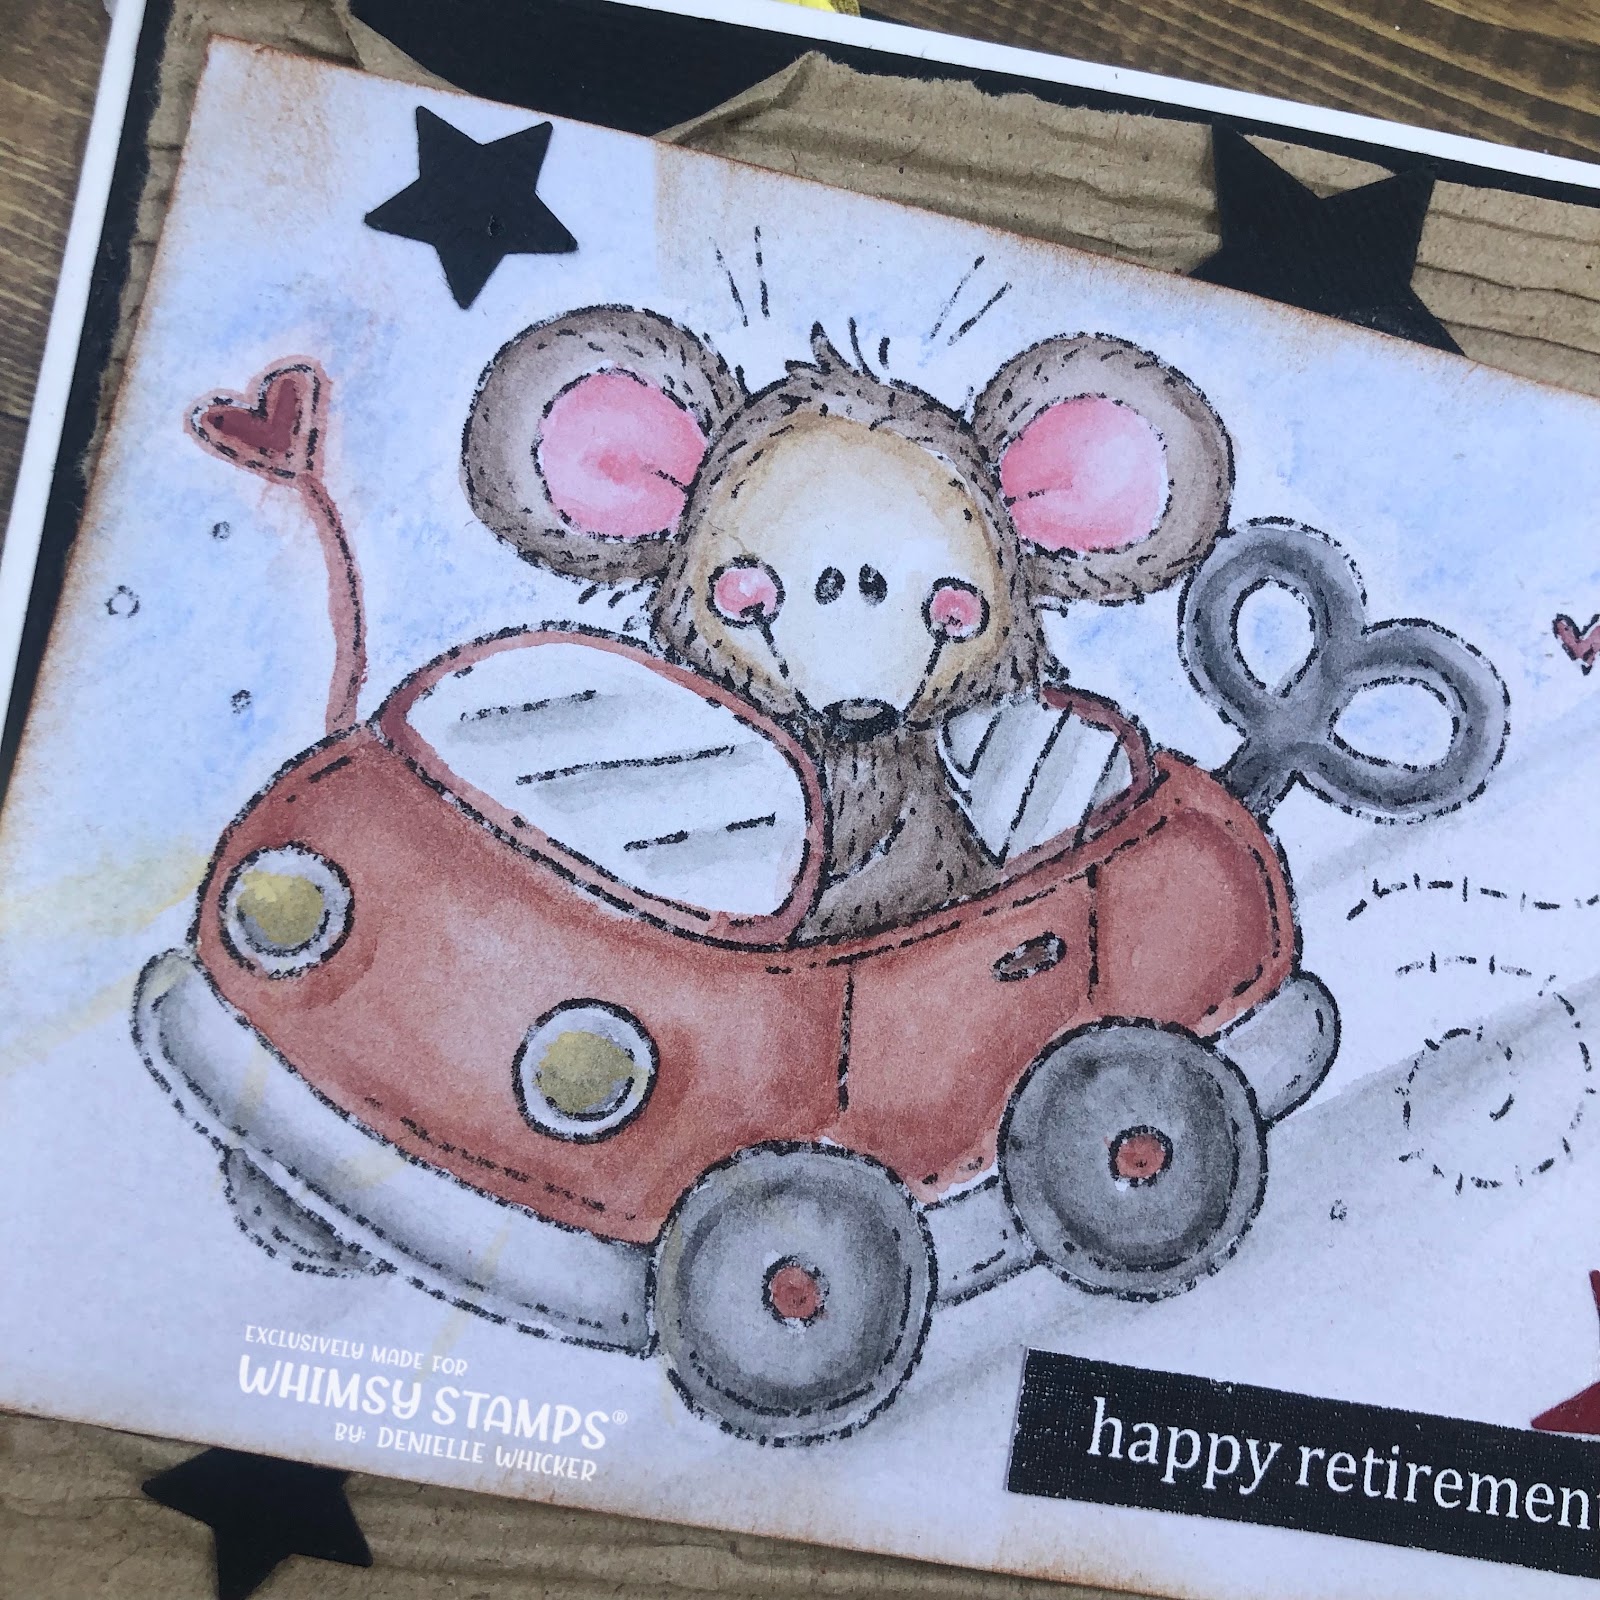

Once the image was all coloured up I trimmed it down so that it would fit onto my card. I cut down a layer of American Crafts Black Cardstock to use as a matting layer using my Cutterpillar Pro. I purchased 2 new dinner sets (because they only come with a serving for 4 and we have a family of 7) recently and they had all this corrugated card between each of the plates. I quickly popped it all into my craft room knowing I wanted to try and use it on one of my cards. 


I trimmed the corrugated sheet down to be slightly smaller then the black then really carefully tore a spot on the top and bottom to fold in and just manly up the card a little. 


I grabbed some stars from the little leftovers tub I keep on my desk and adhered them around my card to finish it off. These stars were from EK Success Star Confetti Punch. 
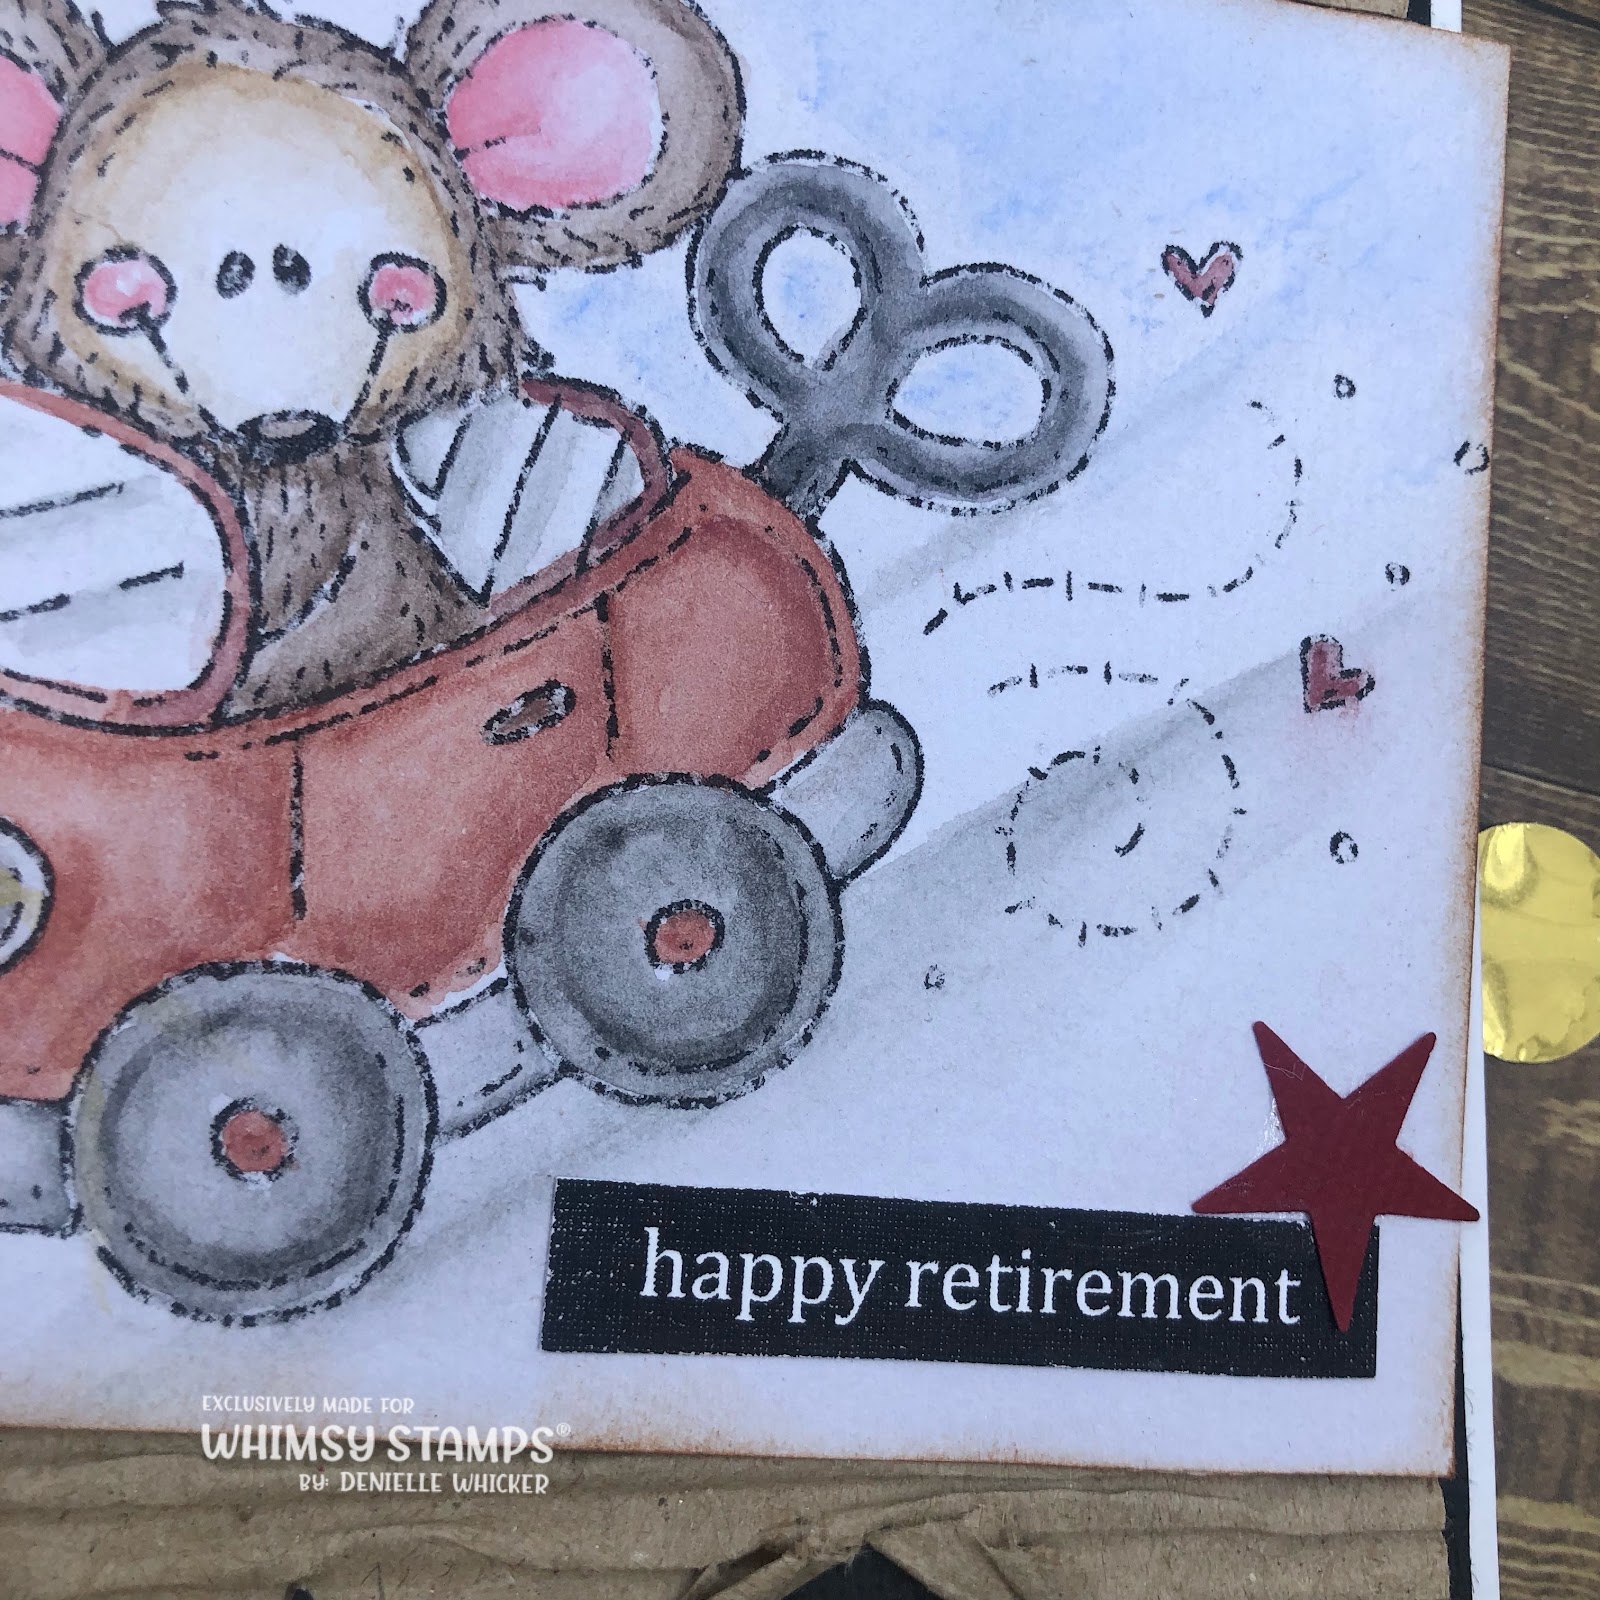

For all the adhering I used three different adhesives - Helmar Acid Free, Helmar Quick Dry 450 and Scotch ATG Tape Runner. 

The sentiment is also from Whimsy Stamps, It is from the Everyday Banner Collection, I will have everything linked up in the picture links below of products I have used plus alternatives if the products are for Australia only. 


Oh I forgot to mention before I adhered the image down I used a Vintage Photo Ink Pad from Tim Holtz / Ranger Ink to ink the edges up with a Mini Ink Blending Tool. 

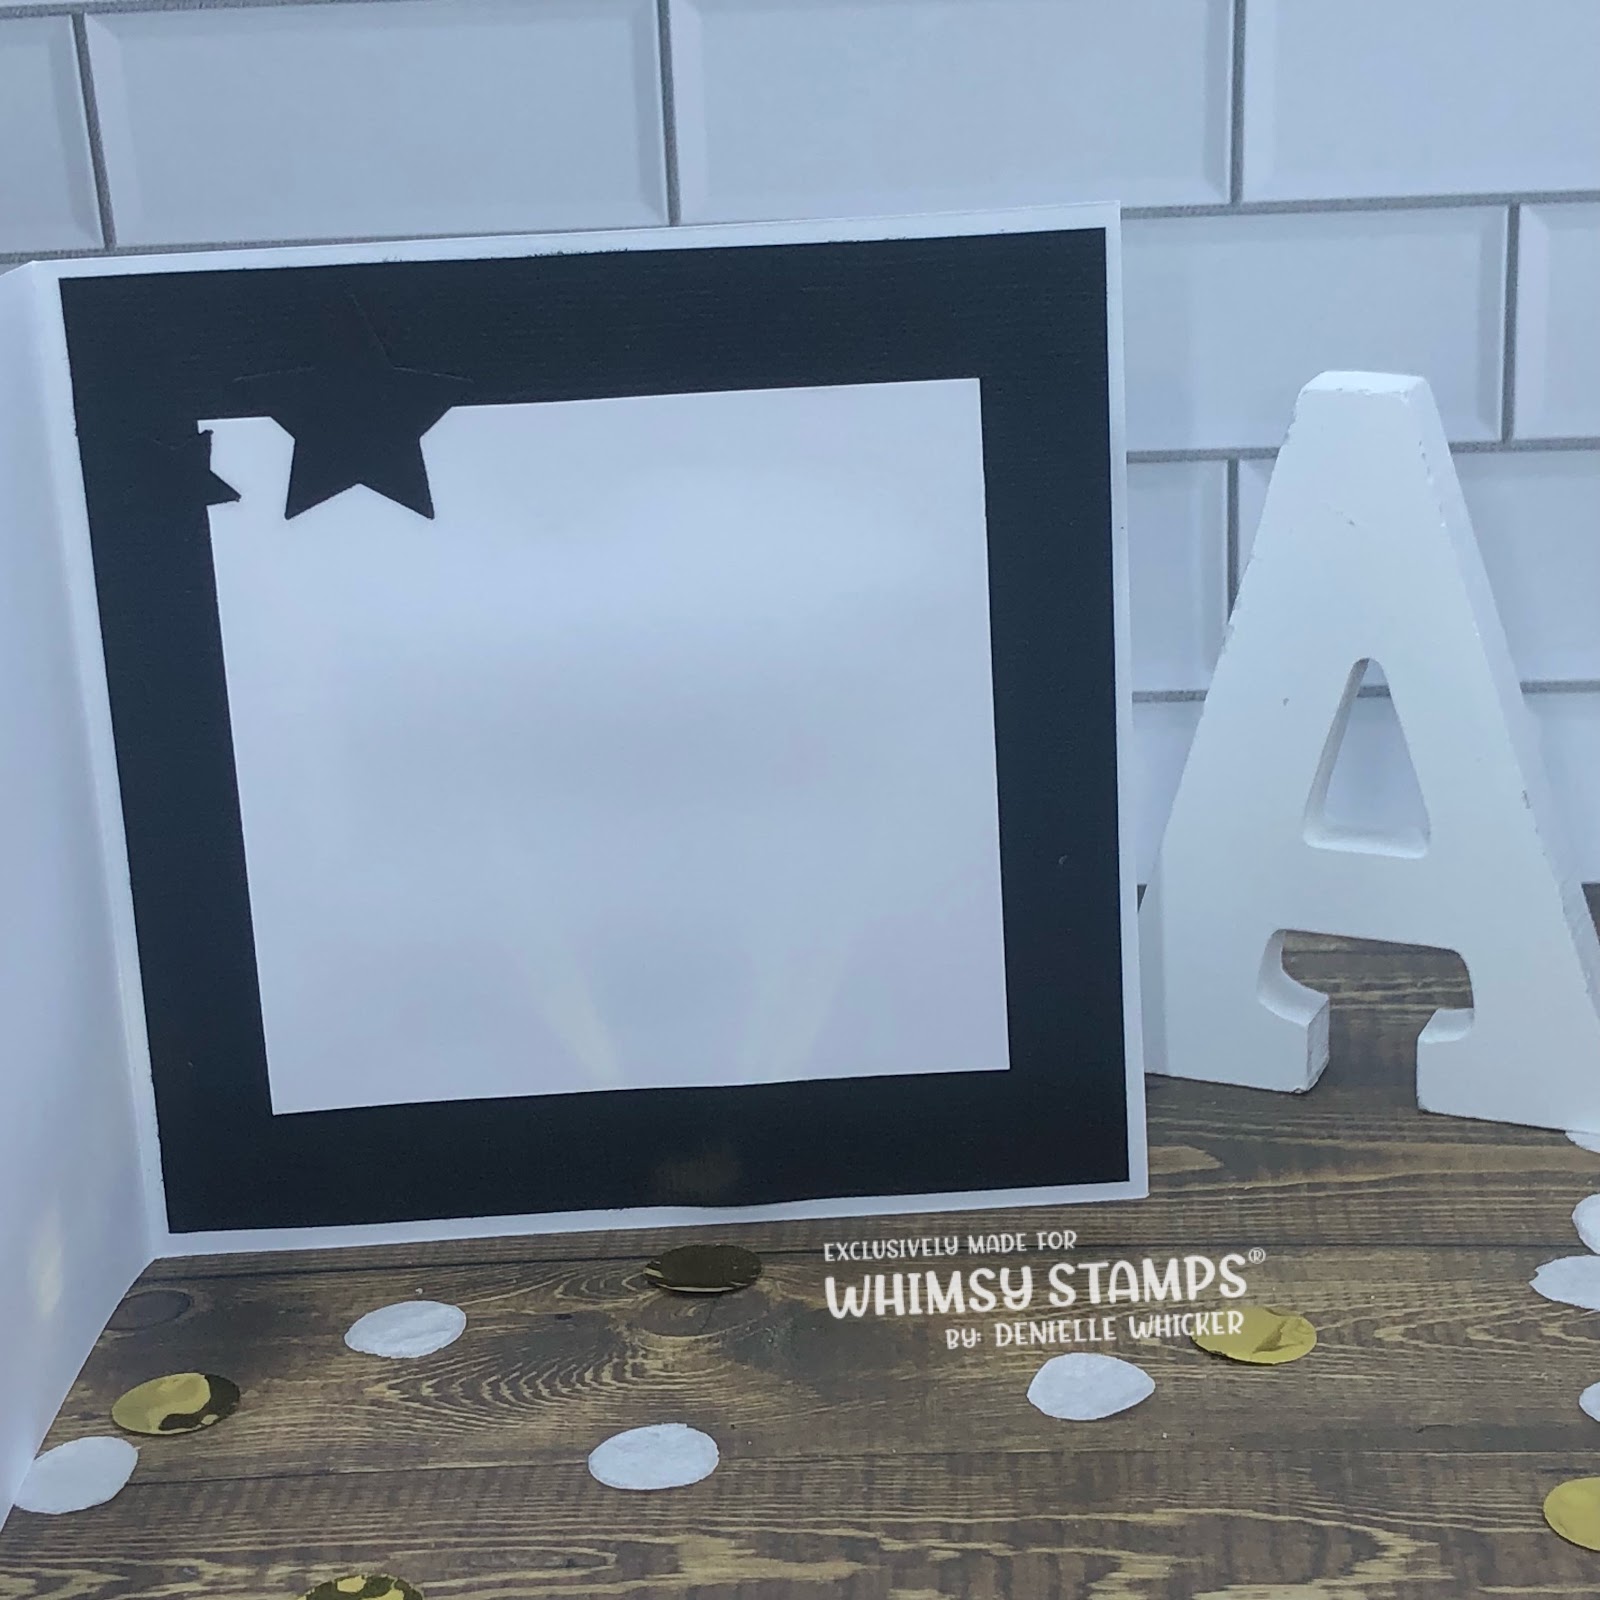
For the inside of my card I used some leftover black cardstock and some more stars, and added a white rectangle to be able to write a message. 

I hope you have enjoyed my video, if you are yet to watch it, all the links are below and I would love for you to hit subscribe and leave a comment on the video :-)


I hope you have enjoyed my post today, if you have any questions feel free to send me a message or contact me via facebook (all links can be found below).

Watch the You Tube Video Here


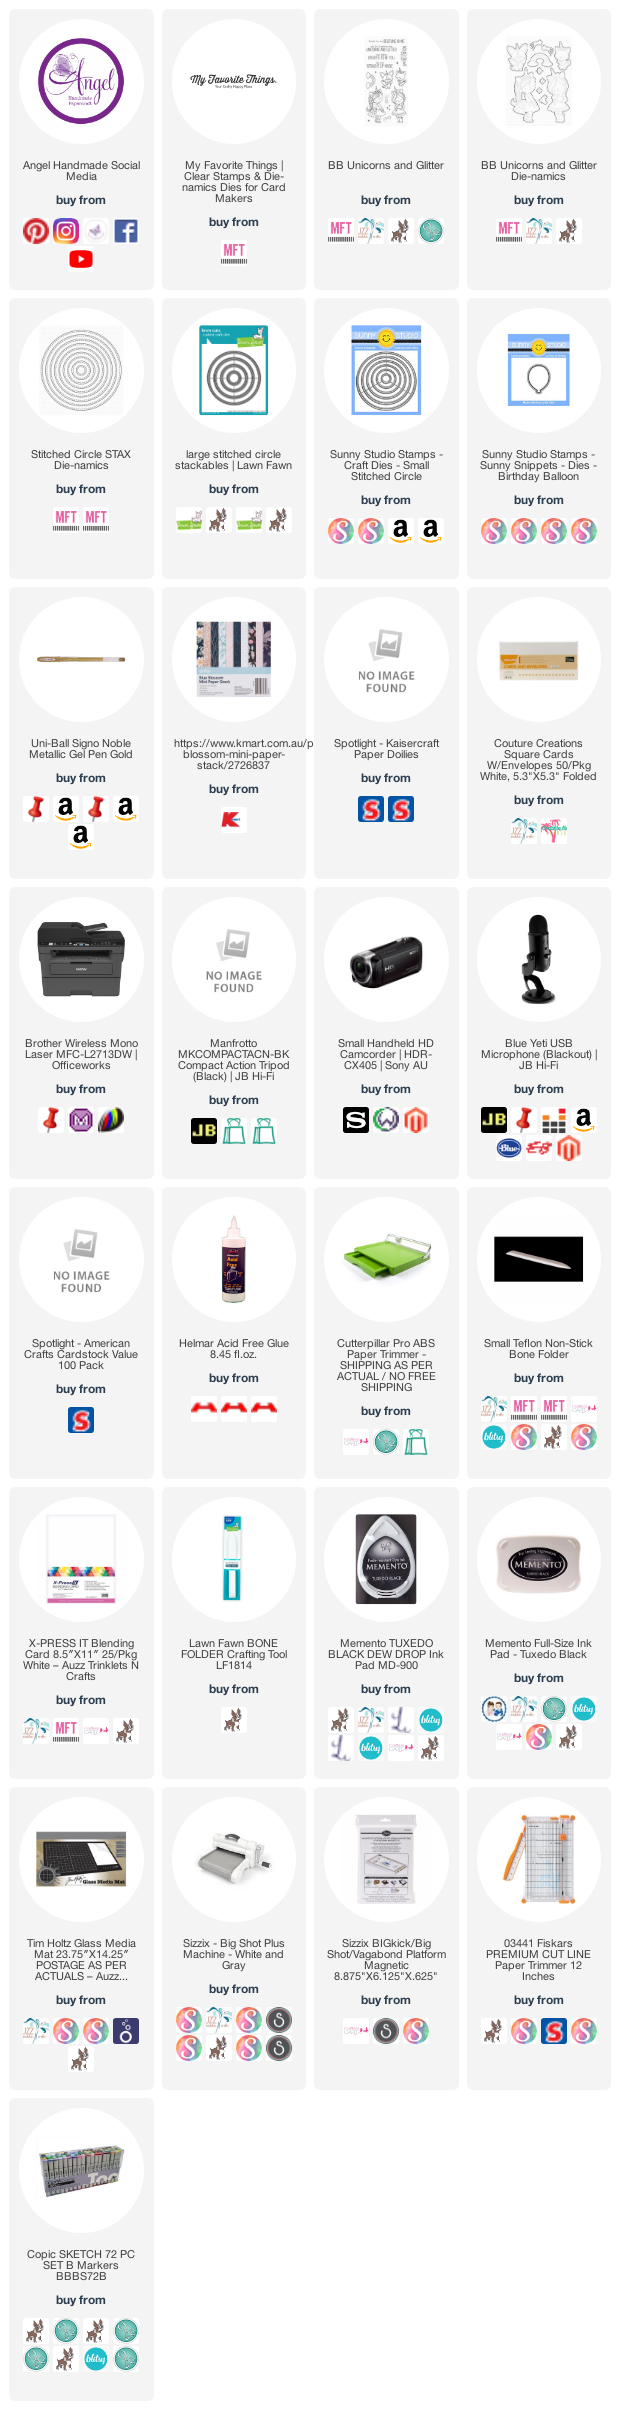
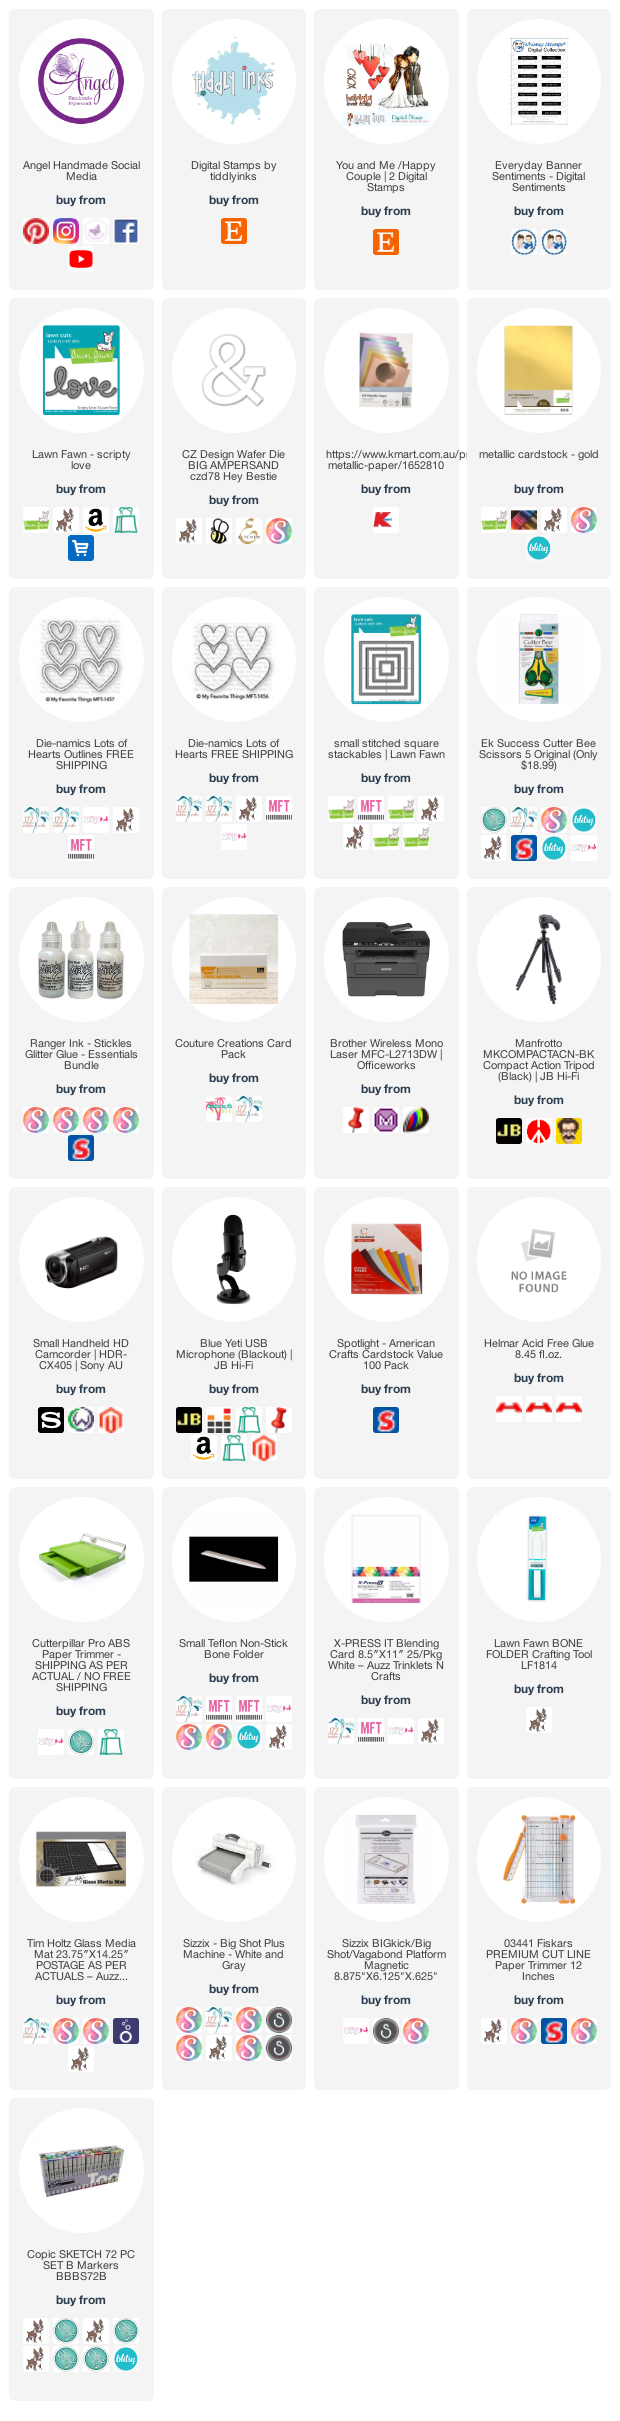
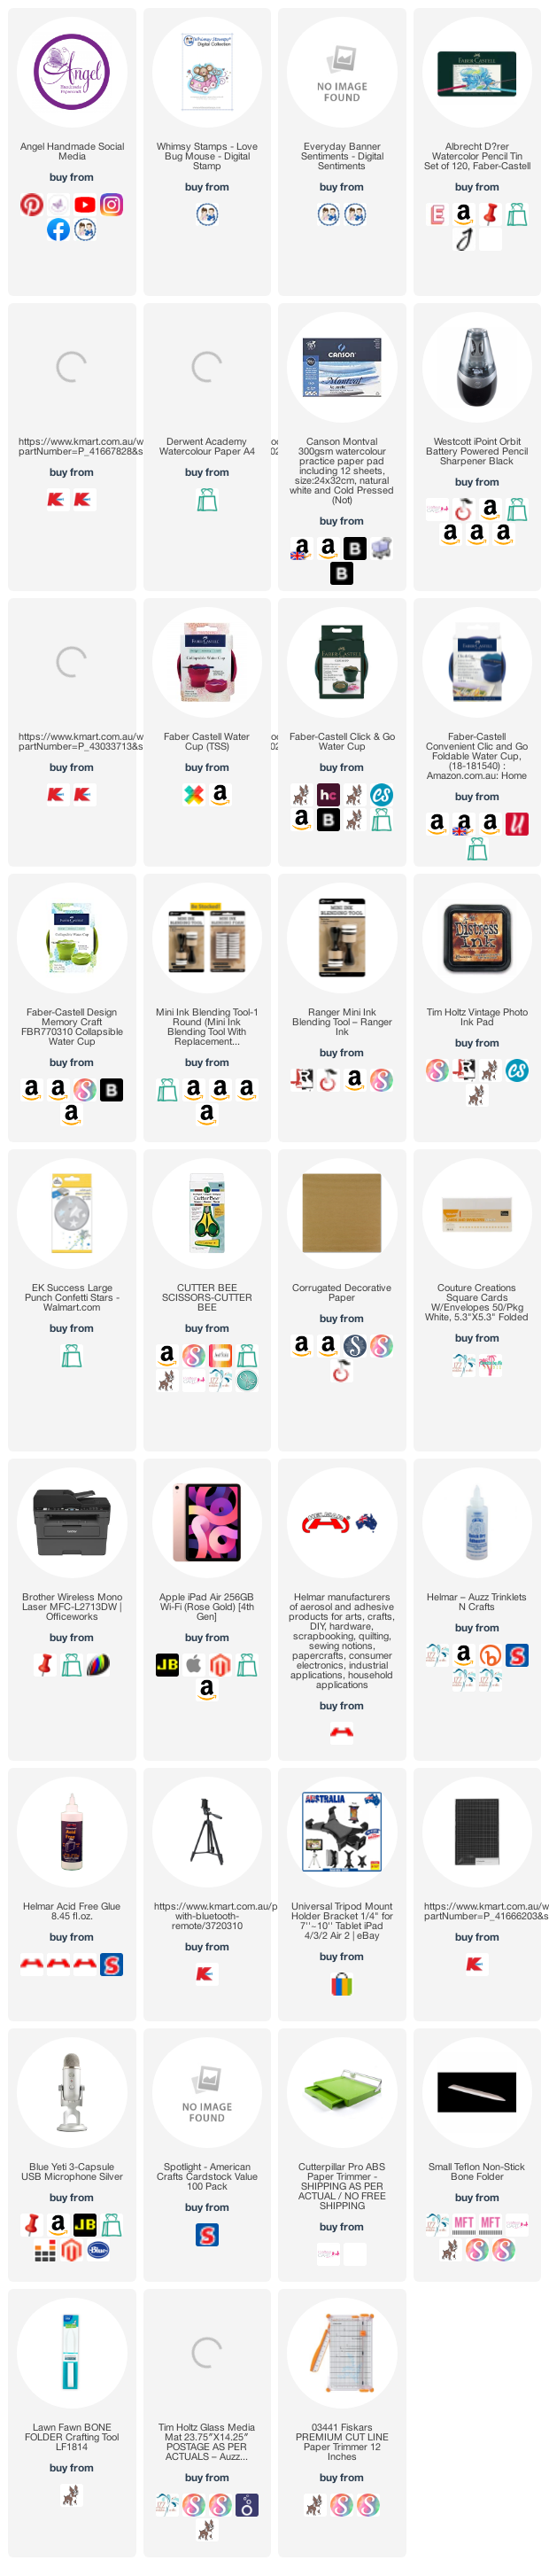
Products Used On My Card (Affiliate Links Used Where Possible)


Thanks for stopping by, Deni

——— CAMERA SET-UP ——— Microphone - • Blue Yeti 3-Capsule USB Microphone Silver https://ldli.co/e/zrr6zq7 [ officeworks.com.au ] https://amzn.to/2oGWzVa [ Amazon US ] https://ldli.co/e/9ddgj5k [ jbhifi.com.au ] https://ldli.co/e/kqqm6ep [ ebgames.com.au ] https://ldli.co/e/766nery [ storedj.com.au ] https://ldli.co/e/nqqj4lp [ harveynorman.com.au ] https://ldli.co/e/6ll7on9 [ bluedesigns.com ] Camera - • Apple iPad Air 256GB Wi-Fi (Rose Gold) [4th Gen] https://ldli.co/e/e22gdl5 [ apple.com ] https://ldli.co/e/qyyl30l [ harveynorman.com.au ] https://ldli.co/e/jqq3n69 [ thegoodguys.com.au ] https://amzn.to/3fQcc3T [ amazon.com.au ] Tripod – • https://www.kmart.com.au/product/trip... https://ldli.co/e/xll716j [ kmart.com.au ] • Universal Tripod Mount Holder Bracket 1/4" for 7''~10'' Tablet iPad 4/3/2 Air 2 | eBay https://ldli.co/e/1pp1065 [ ebay.com ]

S O C I A L MEDIA 
B L O G : https://ldli.co/e/3xky6x 
I N S T A G R A M : https://ldli.co/e/5dn20x
YOU TUBE: https://ldli.co/e/ej5l90 
F A C E B O O K: https://ldli.co/e/mjxn2r
PINTEREST: https://ldli.co/e/2l9zom


I was a 2018 Ambassador for Copic Marker Australia and NZ

Saturday, 29 January 2022

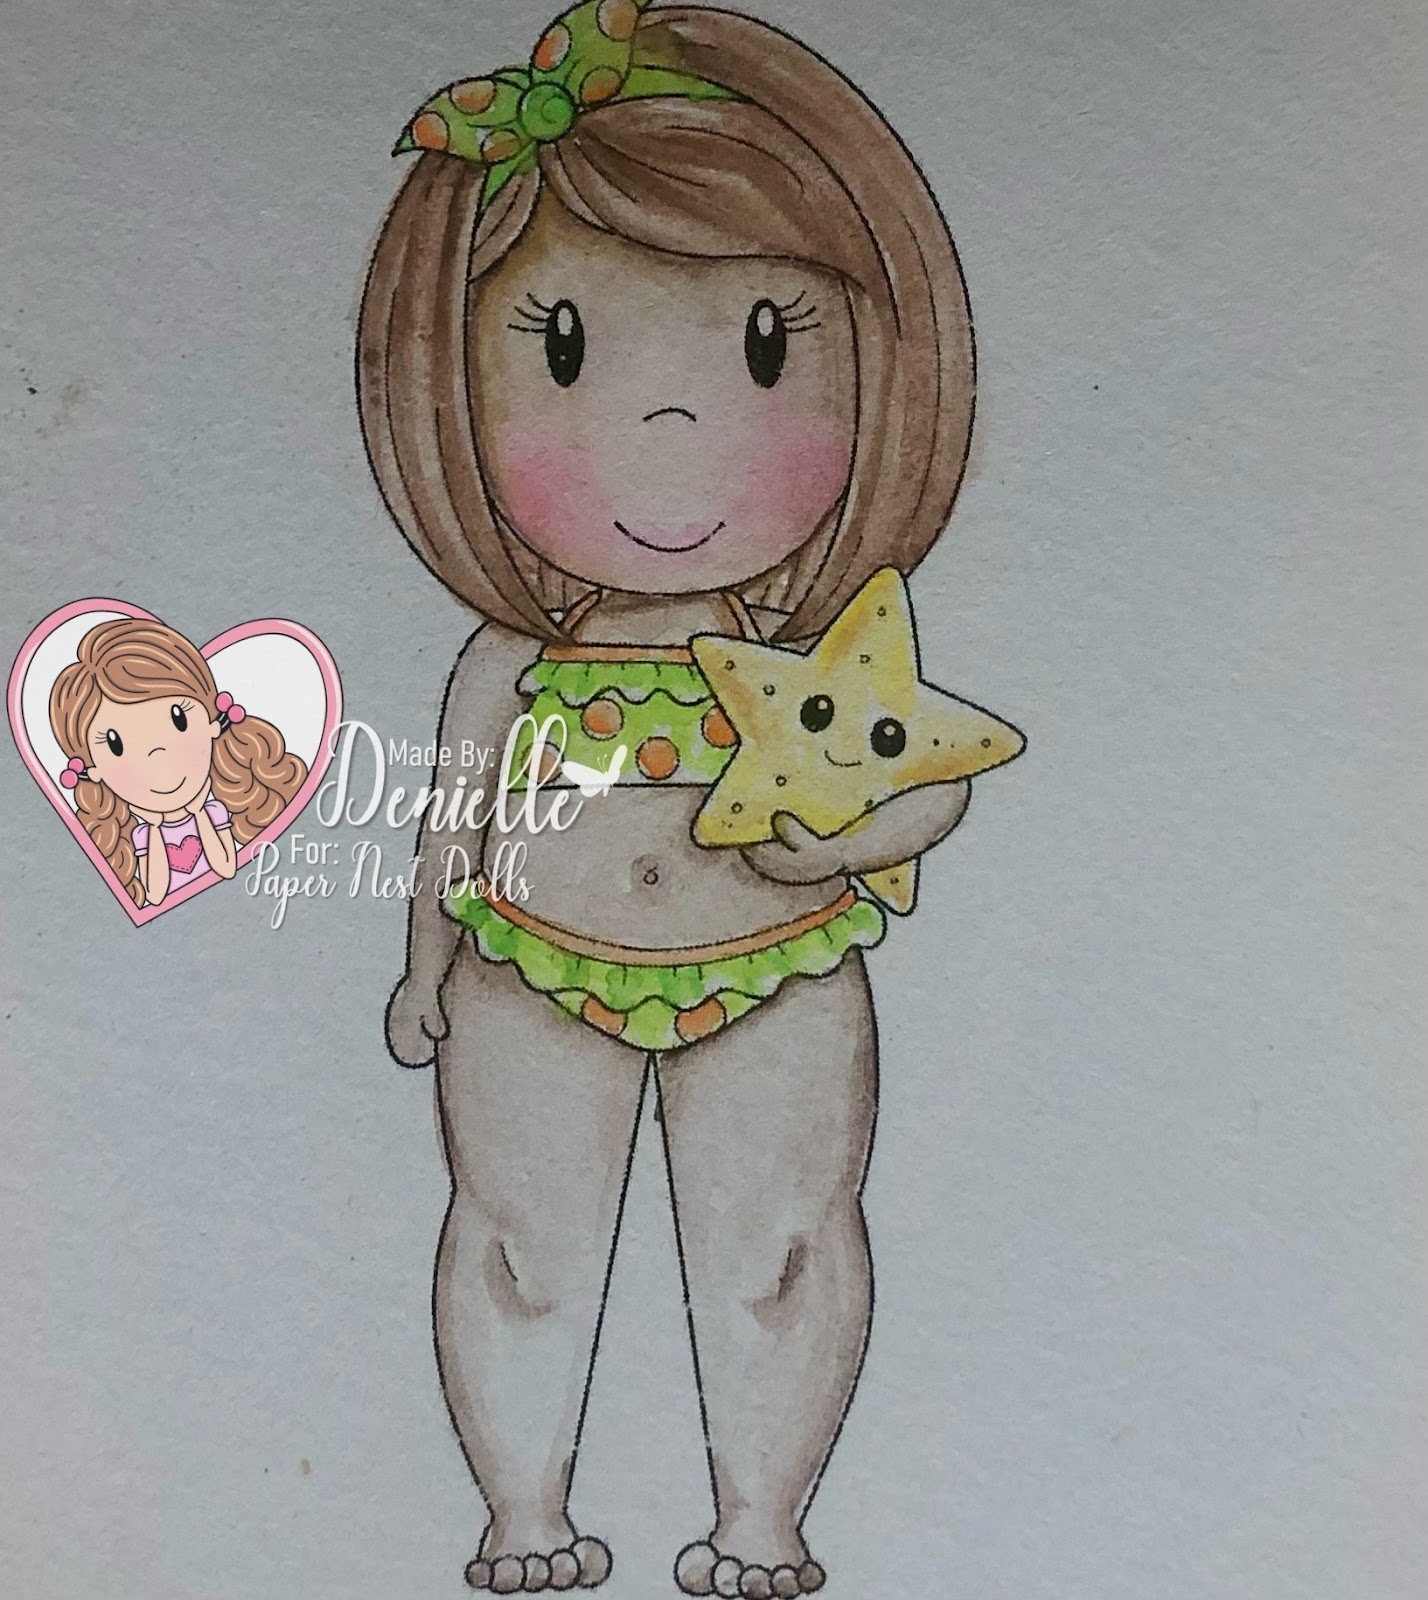
Paper Nest Dolls - Emma with Starfish (Water Colouring Only)

Hi Everyone, 

Today I am here to share with you a colour along video for Paper Nest Dolls. I am a recent addition to their team and am super excited to get life back on track and lots of sharing with you guys. 


For my project today I am using a Digital Image called Emma with Starfish, we are super lucky because this image is also available as a Rubber Stamp.


I printed the image onto some Watercolour paper from Kmart, silly me this is the first time I've printed onto this type of paper and I put it into the printed back to front so I watercoloured onto the reverse side hehe. 

I got some watercolours from of our cheaper shops recently, they are Mont Marte brand, there is quite a few colours in there including 3 shades of each of the colours. I've not used these before and I am actually quite happy with the way that they turned out, 


The brushes I used are also from Kmart, they are the rounded brushes, I have linked up a few options for you in the picture links below. 


I ordered some new water cups which are not here yet, the one I am currently using is one from a local cheap shop, I really love the idea of these Faber Castell ones that I have ordered as they are collapsable which means they can pack away easily, see how they go when they arrive I will give you an update on my thoughts, 


I hope you have enjoyed my post today, if you have any questions feel free to send me a message or contact me via facebook (all links can be found below).

Watch the You Tube Video Here


Products Used On My Card (Affiliate Links Used Where Possible)


Thanks for stopping by, Deni

CAMERA SET UP - FOR YOU TUBE VIDEOS ONLY
Blue Yeti Microphone
iPad Air
Tripod – Kmart, iPad attachment eBay

S O C I A L MEDIA 
B L O G : https://ldli.co/e/3xky6x 
I N S T A G R A M : https://ldli.co/e/5dn20x
YOU TUBE: https://ldli.co/e/ej5l90 
F A C E B O O K: https://ldli.co/e/mjxn2r
PINTEREST: https://ldli.co/e/2l9zom


I was a 2018 Ambassador for Copic Marker Australia and NZ


Wednesday, 29 December 2021

Whimsy Stamps - Don't Make Me Get My Flying Monkeys

Hi Everyone,


Today I am sharing with you a card I have created using Get My Monkeys plus Sentiments. 


I printed the image onto X-Press It Blending Cardstock using my Brother Laser Printer then coloured him up using some markers from Kmart's Anko Collection. There is a few different packs which all work together so I will link all of them up, such a great price for those starting out. 

I ran the image through my Sizzix Big Shot using a Stitched Square die, this one in particular is from Lawn Fawn however there are a few options out there so I will link them up for you. 


I had some leftover Whimsy Stamps papers that I had printed from other projects. I will link up what I can. 


I trimmed the papers down and adhered them to some American Crafts black cardstock. 


Using an EK Success Star Confetti Punch I punched out some stars in various leftover cardstocks I had.


I used my Cutterpillar Pro to trim down the sentiment then my EK Success Cutterbee Scissors to banner it up. 


All the layers were then adhered to a Couture Creations Card Base, I used some more of the patterned papers to decorate the inside of the card. 


I hope you have enjoyed my post today, if you have any questions feel free to send me a message or contact me via facebook (all links can be found below).

Watch the You Tube Video Here


Products Used On My Card (Affiliate Links Used Where Possible)


Graphic Markers Used

183, 74
E33, E37
E37, E29
E09, C9
C5, C7
0 Colorless Blender
C4, C0

Thanks for stopping by, Deni

CAMERA SET UP - FOR YOU TUBE VIDEOS ONLY
Blue Yeti Microphone
Sony Handycam HDR CX4-05
Tripod – Manfrotto MKCompactaCN-BK

S O C I A L MEDIA 
B L O G : https://ldli.co/e/3xky6x 
I N S T A G R A M : https://ldli.co/e/5dn20x
YOU TUBE: https://ldli.co/e/ej5l90 
F A C E B O O K: https://ldli.co/e/mjxn2r
PINTEREST: https://ldli.co/e/2l9zom


I was a 2018 Ambassador for Copic Marker Australia and NZ


Wednesday, 17 November 2021

Whimsy Stamps - Get My Monkeys

Good Morning Everyone, 

Sorry I'm late in posting this week. 

Today I am sharing with you Get My Monkeys from Whimsy Stamps. For something different I have coloured him up using Graphic Markers from Kmart Anko Collection. I printed the image onto X-Press It Blending Card so I had the same effect as Copic Markers.


They are very similar to Copic Markers in that you still blend them much the same however they have more of a bullet type end a bit wider then the Copic Markers, 


I have a list of all the Graphic Markers at the end of this post if you are interested, including picture links the the sets available, there is a couple of different sets, I would recommend getting all of them as they make up the blends better than what you get in each of the sets. 


I did have to do 2 takes on the colouring of this image because I list some of my video when my camera battery went flat and it had an issue with the Memory Card.


Using the same markers I coloured the background, I wanted it a little more spooky looking, it did take quite a few layers of the markers to get a nice smooth black background. I added some detail to the card using a White Gelly Roll Pen.

I cut some stars from EK Success Star Confetti and also graved some white ones from my little leftovers bowl.

I grabbed some patterned papers from my Whimsy Stamps Digital Papers pile, I always pop all the leftovers into one tub so I know where they are from and trying not to mixx and match. I couldn't find the set that these ones came from but they are Whimsy papers. 


I adhered all the layers to a Kraft Cardstock layer then adhered all of the layers to a Couture Creations card base. I used leftovers of the same patterned papers to decorate the inside of the card. 

I hope you have enjoyed my post today, if you have any questions feel free to send me a message or contact me via facebook (all links can be found below).

Watch the You Tube Video Here


Products Used On My Card (Affiliate Links Used Where Possible)


Graphic Markers Used

183, 74
E33, E37, E29
C3, C5, C7, C9
W1, W5
0 Colorless Blender

Thanks for stopping by, Deni

CAMERA SET UP - FOR YOU TUBE VIDEOS ONLY
Blue Yeti Microphone
Sony Handycam HDR CX4-05
Tripod – Manfrotto MKCompactaCN-BK

S O C I A L MEDIA 
B L O G : https://ldli.co/e/3xky6x 
I N S T A G R A M : https://ldli.co/e/5dn20x
YOU TUBE: https://ldli.co/e/ej5l90 
F A C E B O O K: https://ldli.co/e/mjxn2r
PINTEREST: https://ldli.co/e/2l9zom


I was a 2018 Ambassador for Copic Marker Australia and NZ


Wednesday, 29 September 2021

MFT Stamps - Unicorns and Glitter

Hi Everyone,

I had an order for a 1st Birthday Card to go with some of my cupcakes last week, and the Unicorns and Glitter stamp set from MFT Stamps was perfect. 


I inked up the stamp using Memento Tuxedo Black and an acrylic block then stamped the images onto X-Press It Blending Cardstock. 

I coloured the image up using Copic Markers and added extra details using Uni-Ball Signo Broad Gold Pen, I will link up a few different brands of gold pens. 


I ended up stamping and colouring the little puppy out also.

Using my EK Success Cutterbee Scissors I fussy cut the image leaving just a small border, there is a die set that goes with this stamp set however I don't own it. I have linked it up for you in the picture links below. 


The patterned papers I have used are from Kmarts Anko - Blue Blossom Mini Stack, I matted it using some pink cardstock that I had in my stash. I added a doily from my kitchen using Helmar Acid Free. 


I adhered the image onto a MFT Stamps Stitched Circle that I had die cut from some leftover X-Press It cardstock. 


The gorgeous balloons was also cut from patterned papers from the paper pad, the tail was a leftover from another project. I cut the number 1 using an older die set from MFT Stamps called Little Numbers and some leftover white cardstock. 


I added some stars using EK Success Star Confetti punch. 


I love the way the card turned out and the recipient also loved it :-)


I hope you have enjoyed my post today, if you have any questions feel free to send me a message or contact me via facebook (all links can be found below).


Products Used On My Card (Affiliate Links Used Where Possible)


Copic Markers Used

N6, N8, N10
Y17, YR18
E000, E00, E21, E11, E04, R20
R81, R83, R85

Thanks for stopping by, Deni

CAMERA SET UP - FOR YOU TUBE VIDEOS ONLY
Blue Yeti Microphone
Sony Handycam HDR CX4-05
Tripod – Manfrotto MKCompactaCN-BK

S O C I A L MEDIA 
B L O G : https://ldli.co/e/3xky6x 
I N S T A G R A M : https://ldli.co/e/5dn20x
YOU TUBE: https://ldli.co/e/ej5l90 
F A C E B O O K: https://ldli.co/e/mjxn2r
PINTEREST: https://ldli.co/e/2l9zom


I was a 2018 Ambassador for Copic Marker Australia and NZ


Monday, 5 April 2021

Tiddlyinks - It's all about You and Me

Hello Everyone,

Today I am sharing with you a Wedding Card I created using a Digital Stamp from Tiddlyinks called You and Me.


I printed the image onto X-Press It Blending Cardstock and coloured them up using Copic Markers. I coloured this one up a while ago so I do not have a list for you today.. my apologies.


I ran the image through my Sizzix Big Shot using a Lawn Fawn Stitched Square die, I have linked up some other options for you incase you can't track these ones down. 


I cut an Ampersand die from MFT Stamps Ampersand using some white and some black card stocks. I have linked up some other options as I can't seem to find any Links for this set. I had originally planned to use the stamp set instead but it just wasn't working for me.


Using Lawn Fawn scripty Love die I ran some Kmart Metallic Paper through my Big Shot, I love this gold paper I need to grab some more next time I see it in stock. I will see if I can find some other links for other metallic papers for you, look how shiny it is.


The sentiment is from Whimsy Stamps Everyday Banner Sentiments, I trimmed the set down so I was able to get this one in particular using my EK Success Cutterbee Scissors. 


The patterned papers are from Bella - My Romance collection, don't even bother to go looking because you won't find this one.. its from my ancient stash


I used leftovers of the patterned papers to decorate the inside of the card.


I added Derivan Kindyglitz to the heart, this finished it off :-)


Finally I adhered all the layers to a Couture Creations card base. 


I hope you have enjoyed my post today, if you have any questions feel free to send me a message or contact me via facebook (all links can be found below).

Watch the You Tube Video Here


Products Used On My Card (Affiliate Links Used Where Possible)


Copic Markers Used

sorry no list for you today.

Thanks for stopping by, Deni

CAMERA SET UP - FOR YOU TUBE VIDEOS ONLY
Blue Yeti Microphone
Sony Handycam HDR CX4-05
Tripod – Manfrotto MKCompactaCN-BK

S O C I A L MEDIA 
B L O G : https://ldli.co/e/3xky6x 
I N S T A G R A M : https://ldli.co/e/5dn20x
YOU TUBE: https://ldli.co/e/ej5l90 
F A C E B O O K: https://ldli.co/e/mjxn2r
PINTEREST: https://ldli.co/e/2l9zom


I was a 2018 Ambassador for Copic Marker Australia and NZ