Showing posts with label inkon3. Show all posts

Tuesday, 28 September 2021

Whimsy Stamps - Gnome Trick Or Treat

Good Morning Everyone :-)

Today I am sharing with you the first of many Halloween Cards I will be creating.


This is Gnome Trick or Treat from Whimsy Stamps Digital Collection.


I printed the image onto X-Press It Blending Cardstock using my Brother Laser Printer.

Using a Cross Stitch Circle die from another brand a ran the image through my Sizzix Big Shot.


I coloured the image up using Copic Markers which I will have a full list of down below.

I pulled out my Tim Holtz Ranger Distress Inks (I have the minis however the big ones are the same if you have those). I used Seedless Preserves and a Mini Ink Blending Tool making sure I started blending off the image so I wouldn't get those horrible lines, make sure you are blending in nice smooth circles and keep the same pressure. 


I used Ink On 3 Liquid Pixie Dust to carefully drip all around my image and soak up using some Kitchen Paper Towel, it has an awesome effect on the Distress Ink. 


I printed papers from Whimsy Stamps Digital Paper Collections - Autumn Beauty and Wonky Circles, I used more distress ink to give them that Halloween look. I used Seedless Preserves and Black Soot. I matted the patterned papers on some old cardstock and some American Crafts Black Cardstock.


I wrapped some twine around the bottom two layers and adhered it using Scotch ATG. Finally I adhered all those layers to a Couture Creations Card Base. I found this old spider die from Memory Box called dangling spider, so glad I sorted some of my stamps and dies into theme draws :-)


I used some Foam dots to adhered the image on top of that layer and the twine. I then had this cool idea to add some spooky eyes to the background and remembered I had a big tub of googly eyes :-)


I used leftovers of the papers to decorate the inside of the card and finally we were complete. 


I hope you have enjoyed my post today, if you have any questions feel free to send me a message or contact me via facebook (all links can be found below).

Watch the You Tube Video Here


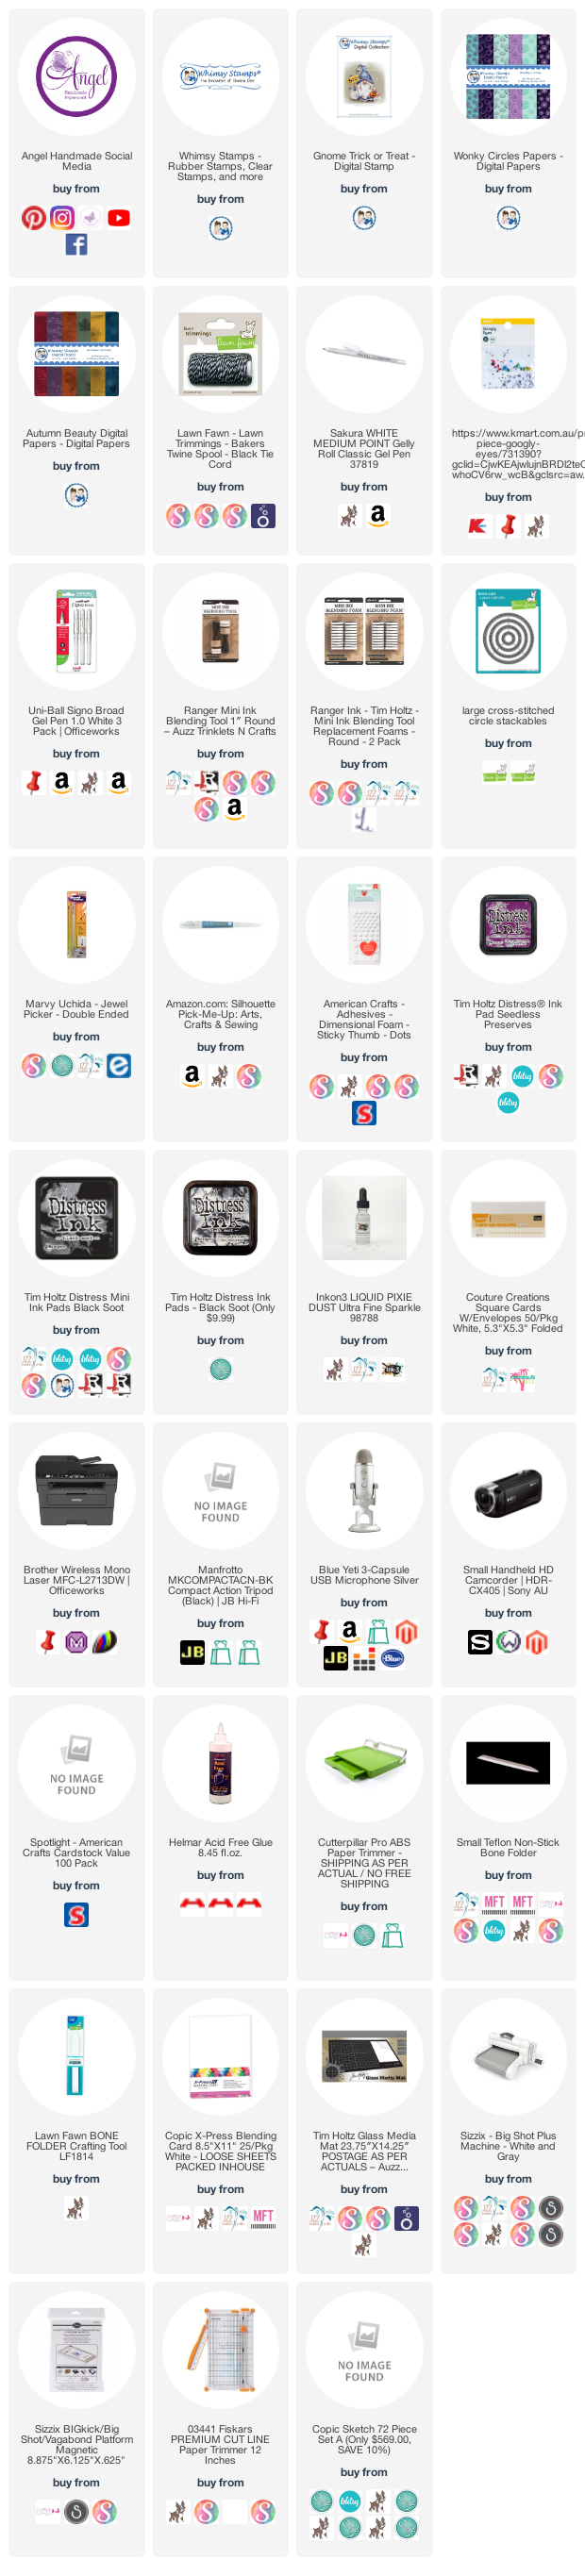
Products Used On My Card (Affiliate Links Used Where Possible)


Copic Markers Used

YR20, YR24, YR07
W1, W5, 0 Colorless Blender
N6, N8, N10
V04, V06, V09
E25, E27, E29
E55, E25, E59

Thanks for stopping by, Deni

CAMERA SET UP - FOR YOU TUBE VIDEOS ONLY
Blue Yeti Microphone
Sony Handycam HDR CX4-05
Tripod – Manfrotto MKCompactaCN-BK

S O C I A L MEDIA 
B L O G : https://ldli.co/e/3xky6x 
I N S T A G R A M : https://ldli.co/e/5dn20x
YOU TUBE: https://ldli.co/e/ej5l90 
F A C E B O O K: https://ldli.co/e/mjxn2r
PINTEREST: https://ldli.co/e/2l9zom


I was a 2018 Ambassador for Copic Marker Australia and NZ


Monday, 22 February 2021

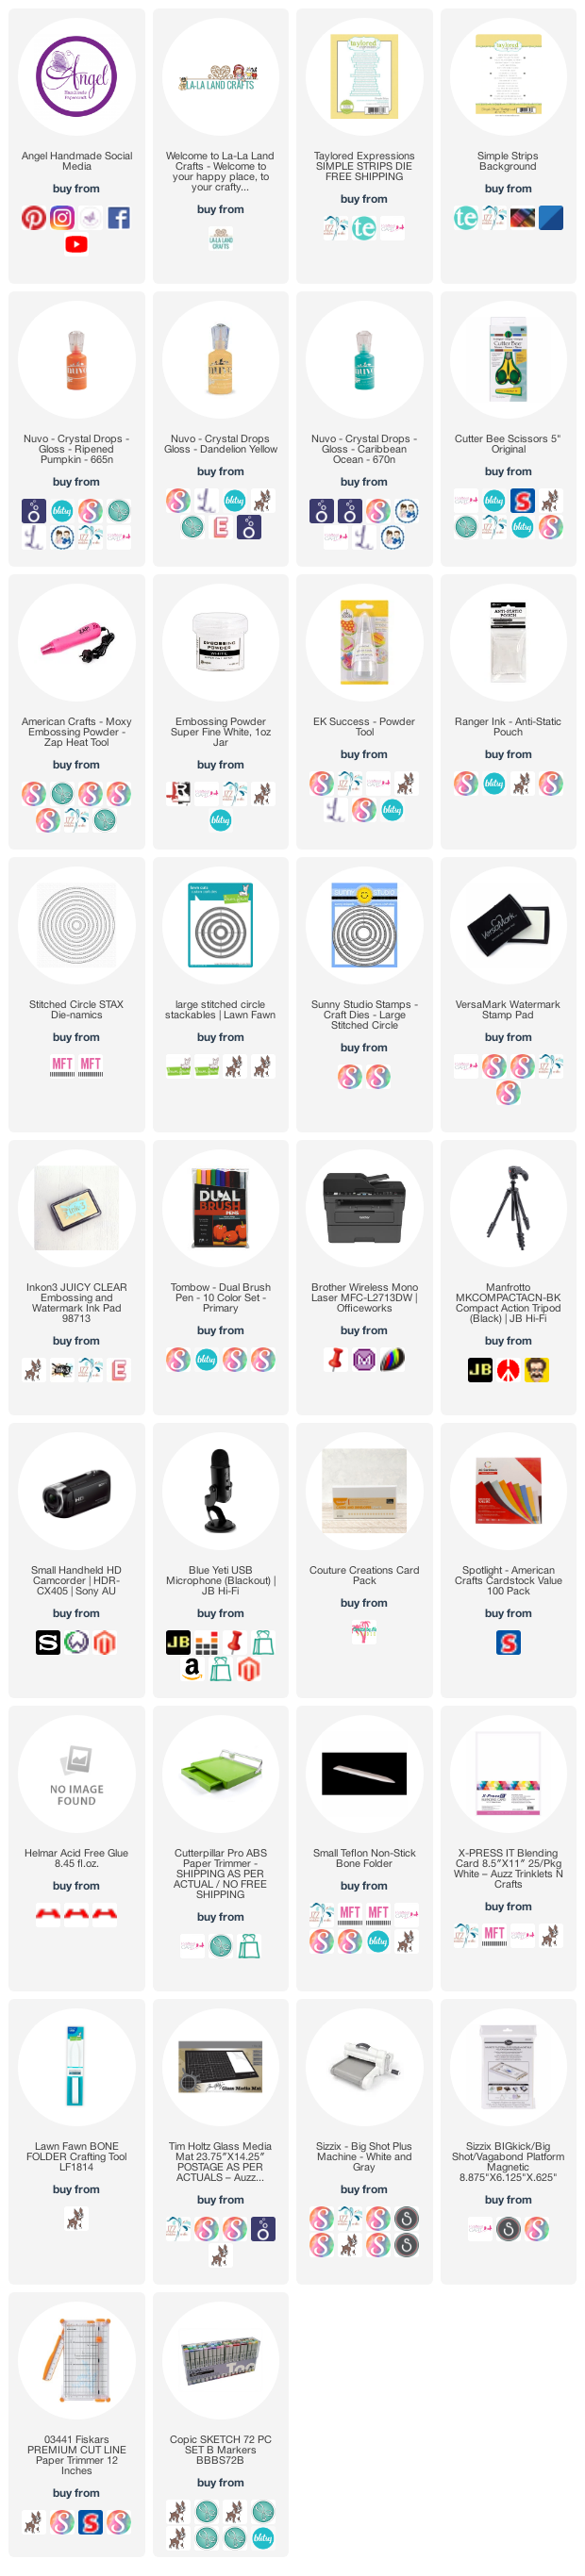
La La Land Crafts - Snorkelling Luka with BIG OOPS at the end :-)

Hi Everyone, 

Today I am sharing with you a card I created using an old retired image from La La Land Crafts, I believe it is called Snorkelling Luka, I coloured him up quite a while ago so I don't have any Copic Marker lists. 


I do know I printed him onto X-Press It Blending Cardstock using my Brother Laser Printer. 

I fussy cut the image down using EK Success Cutterbee Scissors, I did cut right down to the line on this one as I didn't want the white border. I did run around the outside of the image using a Dual Tombow Black marker.


I stamped the Celebrating with you sentiment using Taylored Expressions Simple Strips Background, I stamped it onto American Crafts Cardstock using Ink On 3 Watermark Embossing Ink, then used Ranger Ink Super Fine White Embossing Powder. I melted the embossing powder using a Heat Gun. I then ran all the stamps through my Sizzix Big Shot using the matching die set.


The papers are all leftovers from other projects - the blue piece I ran through my Big Shot using a Lawn Fawn Stitched Circle die - I have linked up a few options for you.


I adhered all the layers to a Couture Creations Card Base Using Helmar Acid Free liquid adhesive.

Finally I went in with Tonic Studios Nuvo Crystal Drops in Ripened Pumpkin, Caribbean Ocean and Dandelion Yellow... here's where the oops comes in.. the Caribbean Ocean burst out onto my card spraying Nuvo Drops everywhere.. all over our floors, my desk my card and my shirt!


I couldn't save the card or my shirt I was just glad I could get it off our floor boards and my desk. 


I hope you have enjoyed my post today, if you have any questions feel free to send me a message or contact me via facebook (all links can be found below).

Watch the You Tube Video Here


Products Used On My Card (Affiliate Links Used Where Possible)


Copic Markers Used
no list today


Thanks for stopping by, Deni

CAMERA SET UP - FOR YOU TUBE VIDEOS ONLY
Blue Yeti Microphone
Sony Handycam HDR CX4-05
Tripod – Manfrotto MKCompactaCN-BK

S O C I A L MEDIA 
B L O G : https://ldli.co/e/3xky6x 
I N S T A G R A M : https://ldli.co/e/5dn20x
YOU TUBE: https://ldli.co/e/ej5l90 
F A C E B O O K: https://ldli.co/e/mjxn2r
PINTEREST: https://ldli.co/e/2l9zom


I was a 2018 Ambassador for Copic Marker Australia and NZ


Saturday, 19 December 2020

Time For Tea Designs Tennis Fun

Hi Everyone,

Sorry I haven't been around much lately.. needed some me time.

The Mum of a friend of mine asked me to make a friend of hers (did u get all that haha) a Tennis Birthday Card. I love this image from Time For Tea Designs, unfortunately this image is an old retired stamp so you won't be able to purchase it but it is definitely one of my favourites. 


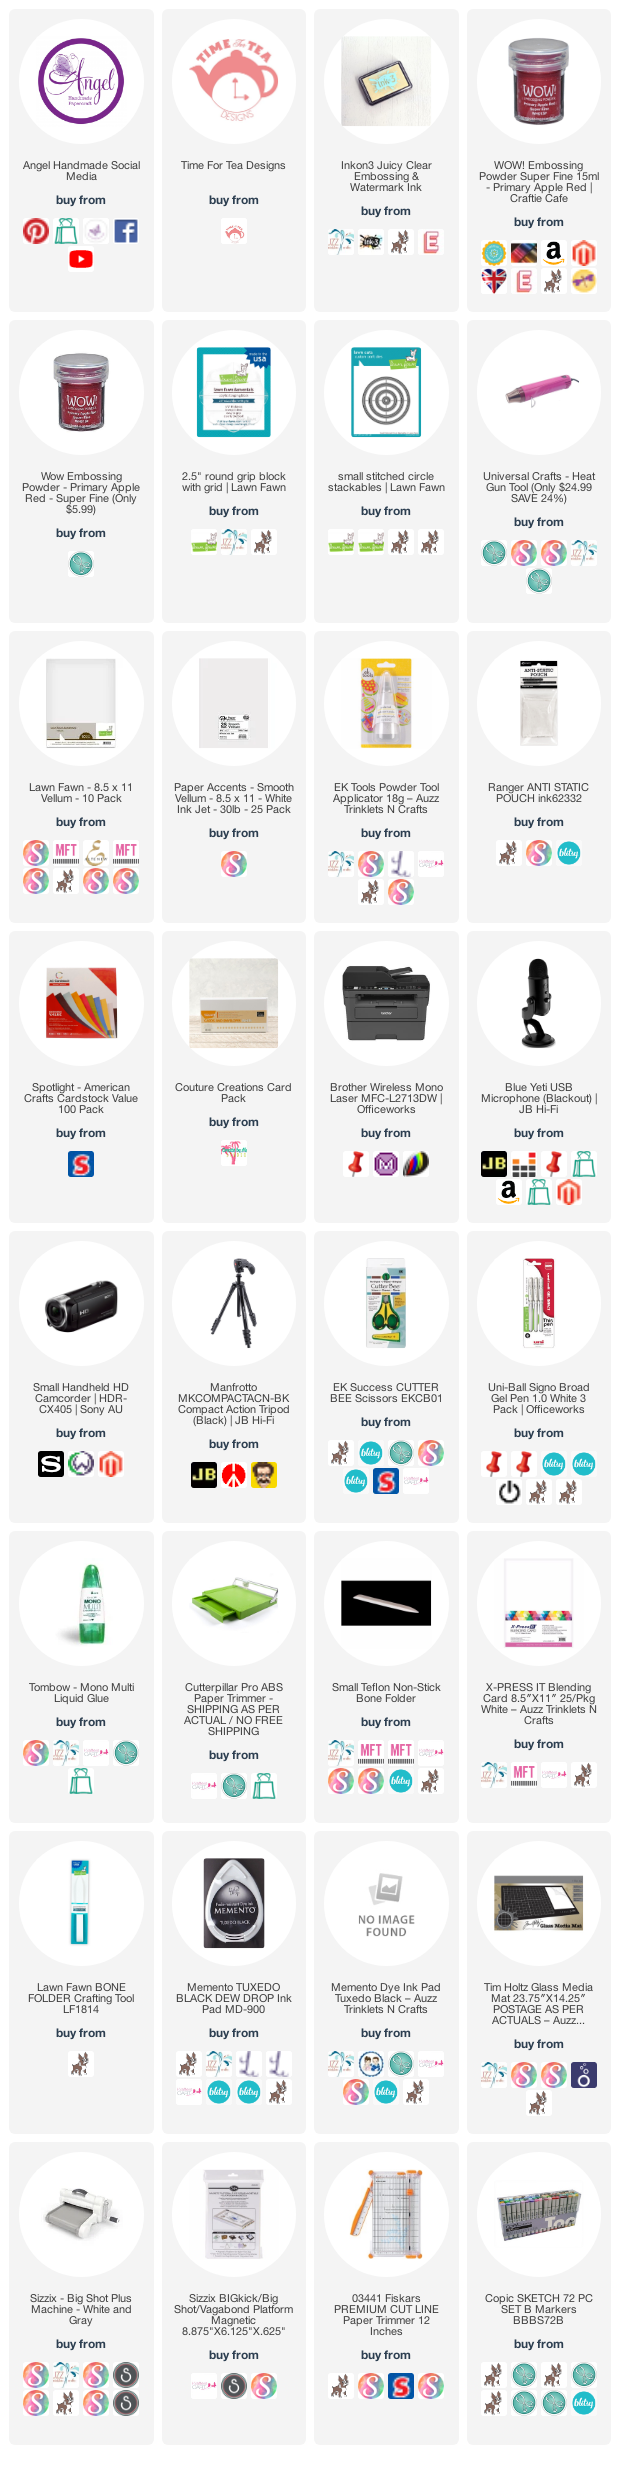
I printed the image onto X-Press It Blending Cardstock using my Brother Laser Printer, I then ran the image through Sizzix Big Shot using a Lawn Fawn Stitched Circle Die. 


Using my Copic Markers I coloured the image up, I will have a full list of Copic Markers Used at the bottom of my blog post if you are looking for them. 

The Gold patterned cardstock is actually from my Erin Condren Planner bands packaging, I packed them all away and thought I would be able to use the packaging.. and I did :-)

I cut down some American Crafts Black Cardstock and some Kaisercraft Red Cardstock to create my matte layers. I adhered the patterned paper and the matte layers using my Scotch ATG. 


I ran some red scraps through my Big Shot using Kaisercraft alphabet lowercase (I can't find any links for these but will try and link up some other alphabet dies), I also used some black scraps to cut MFT Stamps Big Numbers. I adhered the alphas to my card using American Tombow Mono Multi. 


Using Lawn Fawn Wavy Sayings stamp set I stamped out the Happy Birthday using Ink on 3 Embossing Ink and Wow Embossing Powder Fine in Primary Apple Red. I had some vellum scraps in my bucket which I had prepped using EK Success Powder Tool ( I will link up a few different ones). I heated the embossing powder up and melted it using my Heat Tool. Finally I trimmed the sentiment down using my EK Success Cutterbee Scissors then gently added a very small amount of American Tombow Mono Multi to the back of each letter.


I used more of the matte layers to decorate the inside of my card. 


I hope you have enjoyed my post today, if you have any questions feel free to send me a message or contact me via facebook (all links can be found below).

Watch the You Tube Video Here


Products Used On My Card (Affiliate Links Used Where Possible)


Copic Markers Used 

W1, 0
C3, 0
E51, E53, E55, R20
Y21, Y23, E31
Y02, Y08
R27, R39


Thanks for stopping by, Deni

CAMERA SET UP - FOR YOU TUBE VIDEOS ONLY
Blue Yeti Microphone
Sony Handycam HDR CX4-05
Tripod – Manfrotto MKCompactaCN-BK

S O C I A L MEDIA 
B L O G : https://ldli.co/e/3xky6x 
I N S T A G R A M : https://ldli.co/e/5dn20x
YOU TUBE: https://ldli.co/e/ej5l90 
F A C E B O O K: https://ldli.co/e/mjxn2r
PINTEREST: https://ldli.co/e/2l9zom


I was a 2018 Ambassador for Copic Marker Australia and NZ


Saturday, 14 November 2020

Whimsy Stamps - Retirement Golfer

Hi Everyone, 

Welcome to my blog for all my new visitors and welcome back to all my followers. 

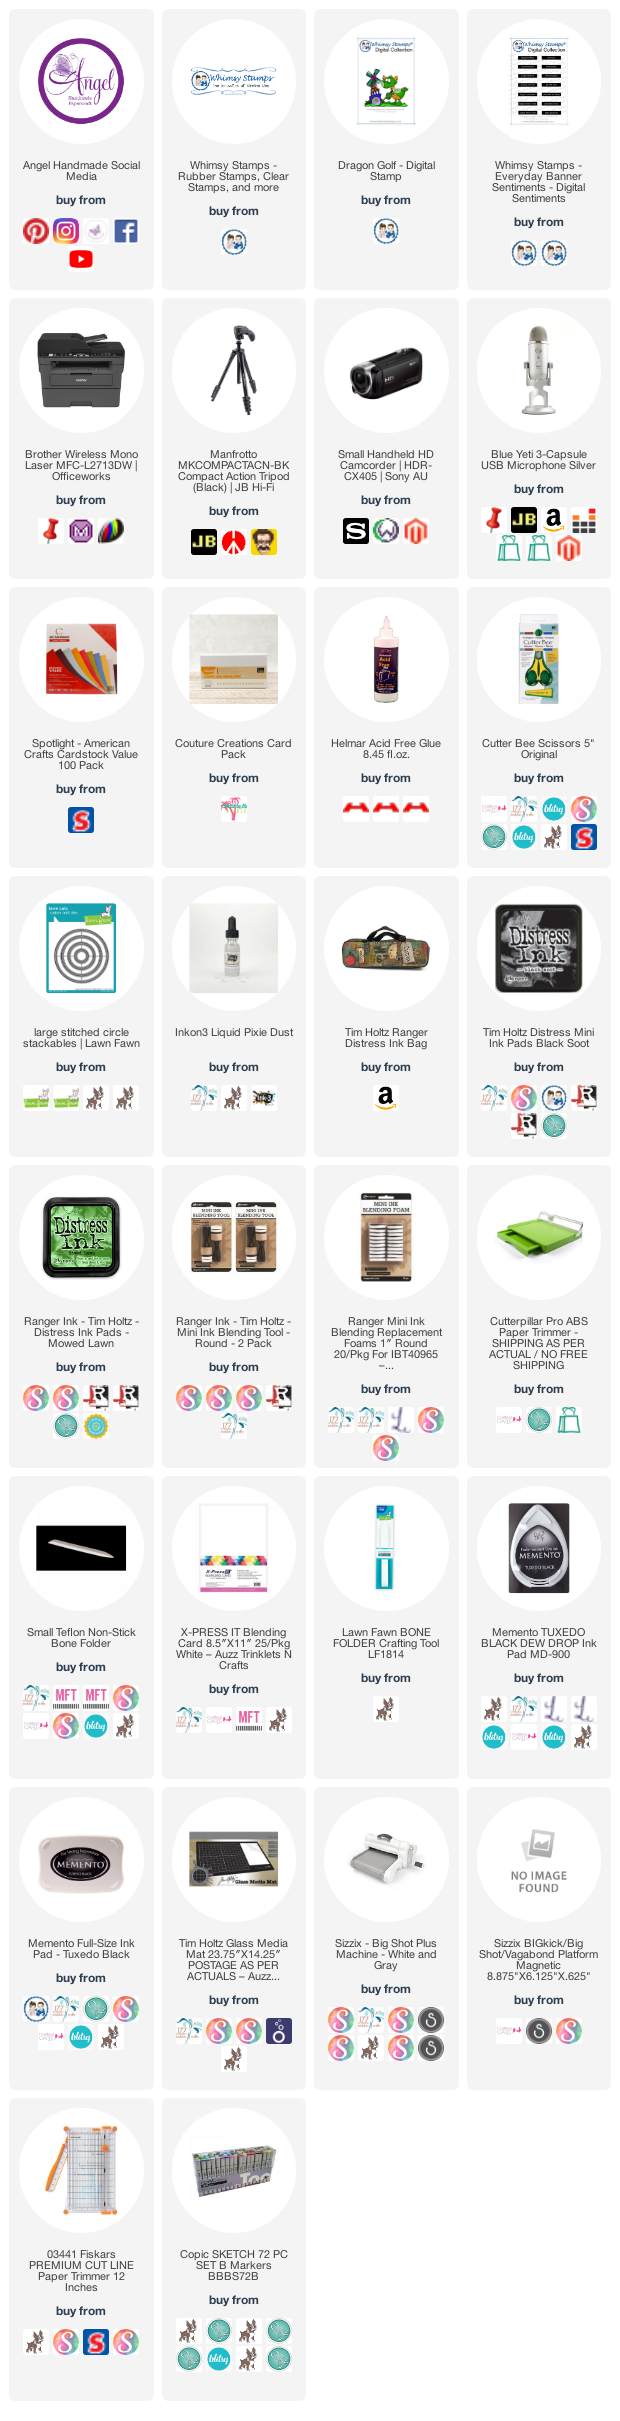
Today I am sharing with you a card I created for Whimsy Stamps using a Digital Stamp called Dragon Golf from the Dustin Pike Collection. 


I love using Digital Stamps because you can print them and resize them to fit your project.


I printed the image onto X-Press It Blending Cardstock (to make it Copic Safe) using my Brother Laser Printer, I then trimmed it down using my Cutterpillar Pro Trimmer. I also printed a Digital Sentiment Set- Everyday Banner Sentiments also from Whimsy Stamps using the same X-Press It Blending Card (I like all my whites to be the same).

Using my Copic Markers I coloured the image up and drew on some grass. 


I cut down some scrap cardstock from my bucket then used some Tim Holtz Distress Inks and a Mini Ink Blending Tool to ink up the background.


I added some droplets of Ink On 3 Pixie Dust then soaked up the excess using a paper towel, it gives that water look with a little glitter.


I ran this piece through my Big Shot using Lawn Fawn Stitched Circle dies, I then layed some scrap pieces over the back and adhered them using Helmar Acid Free adhesive.


I cut down the sentiment  using my Trimmer and adhered it to the image.


Using some leftover green cardstock  that I had previously cut some grass out of I used it as a stencil and blended on some grass to the bottom of the image.


I love the way the card turned out and I hope you guys too :-)


I hope you have enjoyed my post today, if you have any questions feel free to send me a message or contact me via facebook (all links can be found below).

Watch the You Tube Video Here


Products Used On My Card (Affiliate Links Used Where Possible)


Copic Markers Used

YR12, YR16, YR18
V04, V06, V09, 0
G12, G14, G07
T1, T3, T6
N2, 0 Colorless Blender

Thanks for stopping by, Deni

CAMERA SET UP - FOR YOU TUBE VIDEOS ONLY
Blue Yeti Microphone
Sony Handycam HDR CX4-05
Tripod – Manfrotto MKCompactaCN-BK

S O C I A L MEDIA 
B L O G : https://ldli.co/e/3xky6x 
I N S T A G R A M : https://ldli.co/e/5dn20x
YOU TUBE: https://ldli.co/e/ej5l90 
F A C E B O O K: https://ldli.co/e/mjxn2r
PINTEREST: https://ldli.co/e/2l9zom


I was a 2018 Ambassador for Copic Marker Australia and NZ


Saturday, 17 October 2020

Whimsy Stamps - Penguins Build A Snowman

Hi Everyone,

Is it too early to be creating Christmas Cards?.. I cannot believe how quickly this year has gone but here we are mid October already.

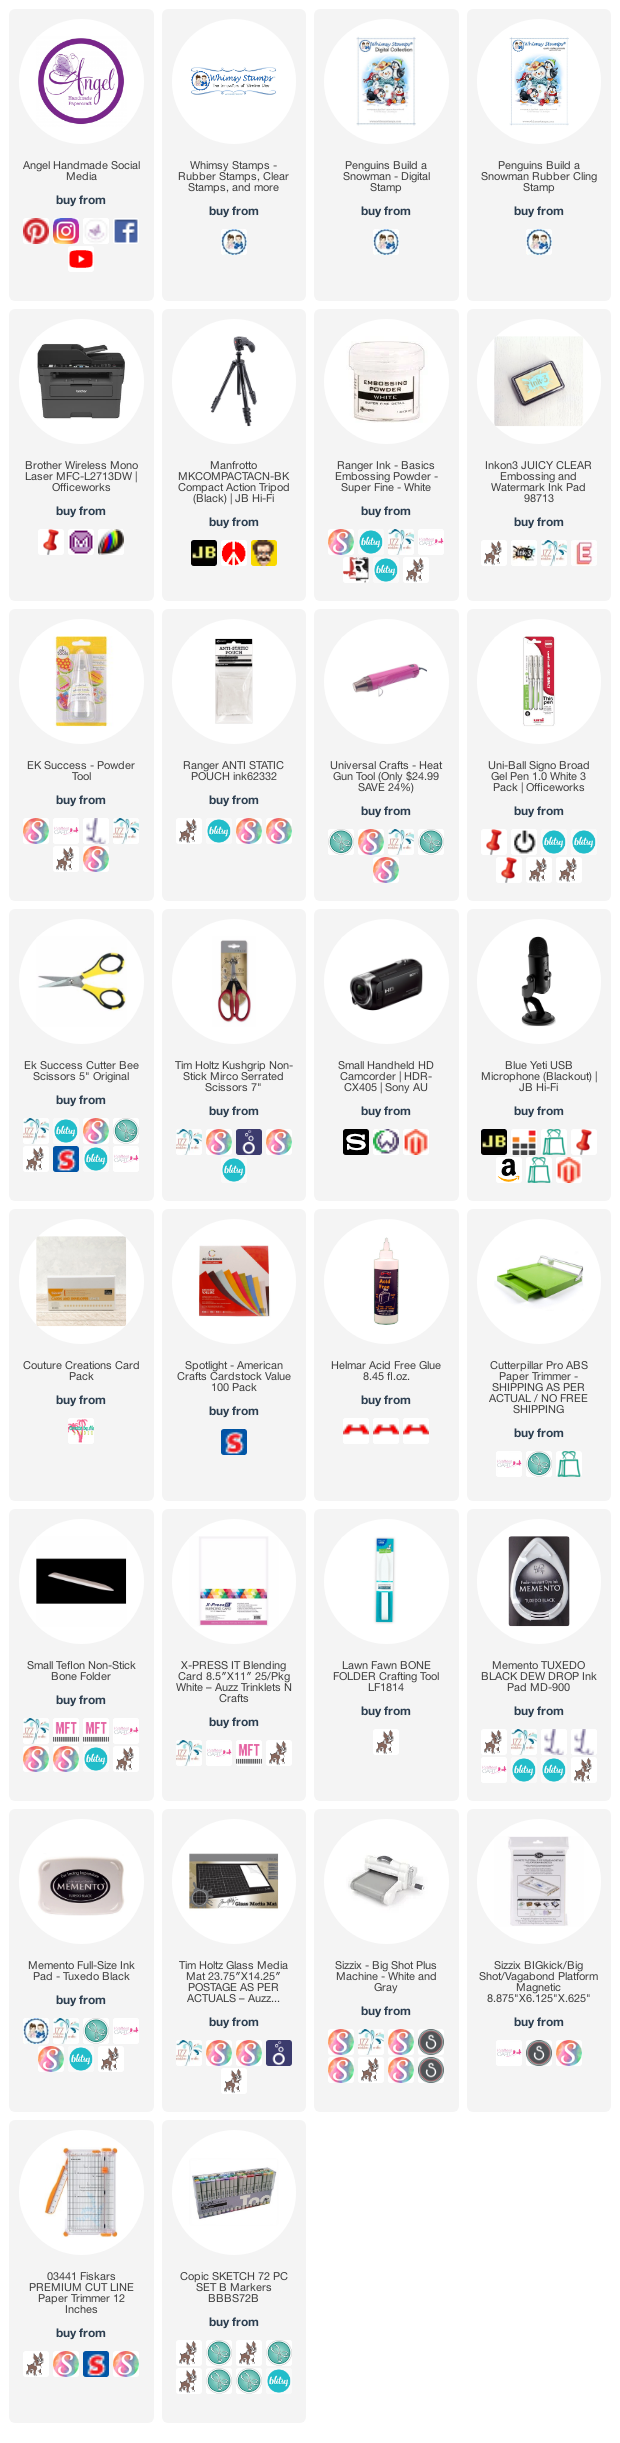
Today I have a Christmas Card I created using Penguins Build A Snowman and an old retired stamp set (also from Whimsy Stamps) called Friendship Notables.. I think was actually one of the first sentiments sets that I had ever purchased.


I printed the Digital Image onto X-Press It Blending Cardstock using my Brother Laser Printer (there is a rubber version of this image also which I have linked up below).


Using my Copic Markers I coloured up the image, using my Colorless Blender Marker and a Uni-Ball white gel pen to add extra detail to the image.


I used my Toner Markers to create the snow all over the image then used my blender marker to pull the colour back and blend it out. I used the same markers to create the look of white.


The card base is a Couture Creations Card Base, comes pre-made in a pack with matching envelopes. I cut down a layer of red cardstock from my stash and some black American Crafts Cardstock. I used Helmar Acid Free liquid adhesive to adhere those layers then layed down the image. 


I used leftovers of the same papers to decorate the inside of the card.


I hope you have enjoyed my post today, if you have any questions feel free to send me a message or contact me via facebook (all links can be found below).

Watch the You Tube Video Here


Products Used On My Card (Affiliate Links Used Where Possible)


Copic Markers Used

T2, T4, T6
T2, T0, 0, EO7
E31, E33, E35
R35, R39
T8, T10
BG02, BG49, BG09

Thanks for stopping by, Deni

CAMERA SET UP - FOR YOU TUBE VIDEOS ONLY
Blue Yeti Microphone
Sony Handycam HDR CX4-05
Tripod – Manfrotto MKCompactaCN-BK

S O C I A L MEDIA 
B L O G : https://ldli.co/e/3xky6x 
I N S T A G R A M : https://ldli.co/e/5dn20x
YOU TUBE: https://ldli.co/e/ej5l90 
F A C E B O O K: https://ldli.co/e/mjxn2r
PINTEREST: https://ldli.co/e/2l9zom


I was a 2018 Ambassador for Copic Marker Australia and NZ


Thursday, 11 June 2020

MFT Stamps - Best of Luck Year 7 2021

Good Morning Everyone,

Today I have a nice quick video for you showing you how I made this Best Of Luck for Year 7 card for a friend who's nephew is starting High School next year.


I used MFT Stamps Graduation Sentiment Set and also the Lightbulb dies from MFT Stamps also.

I used a powder tool to prepare the vellum so the embossing powder didn't stick where it was supposed to, I then put the vellum into my Mini Misti and stamped it using Ink On 3 Embossing Ink, I applied Ranger Super Fine Gold Embossing Powder, I then used my heat tool to melt the embossing powder.


I ran the dies through my Big Shot using a few leftover bits and pieces from my leftovers bucket and adhered them all together using some Helmar Acid Free liquid Adhesive.


I used patterned papers also from my leftovers bucket, I believe they were from a very old Spotlight Paper pad, sorry no links on these today as I've had them since forever. I matted the star paper onto some white cardstock then onto black American Crafts Cardstock.


I did stamp out a sentiment from the set to add below the above sentiment however I ended up creating a new one on my computer and printing it out onto X-Press It Blending Cardstock.


I adhered the vellum to the patterned paper using Helmar Acid Free liquid adhesive, I added the adhesive right behind the embossing so you can't see it. I wrapped the vellum around the card stock and used some Helmar 450 Quick Dry to keep it adhered, I didnt want it to come off. 

I added some Wink Of Stella to the Light Bulb to finish it off and give it a little sparkle. 

I adhered all my layers to a Couture Creations Card Base using Helmar Acid Free liquid adhesive. 

To complete my card I added Nuvo Crystal Drops in Bright Gold.


I used leftovers of the patterned paper to decorate the inside of the card.


I hope you have enjoyed my post today, if you have any questions feel free to send me a message or contact me via facebook (all links can be found below).

Watch the You Tube Video Here


Products Used On My Card (Affiliate Links Used Where Possible)


Thanks for stopping by, Deni

CAMERA SET UP - FOR YOU TUBE VIDEOS ONLY
Blue Yeti Microphone
Sony Handycam HDR CX4-05
Tripod – Manfrotto MKCompactaCN-BK

S O C I A L MEDIA 
B L O G : https://ldli.co/e/3xky6x
I N S T A G R A M : https://ldli.co/e/5dn20x
YOU TUBE: https://ldli.co/e/ej5l90 
F A C E B O O K: https://ldli.co/e/mjxn2r
PINTEREST: https://ldli.co/e/2l9zom


I was a 2018 Ambassador for Copic Marker Australia and NZ