Showing posts with label Paper Nest Dolls. Show all posts

Saturday, 29 January 2022

Paper Nest Dolls - Emma with Starfish (Water Colouring Only)

Hi Everyone, 

Today I am here to share with you a colour along video for Paper Nest Dolls. I am a recent addition to their team and am super excited to get life back on track and lots of sharing with you guys. 
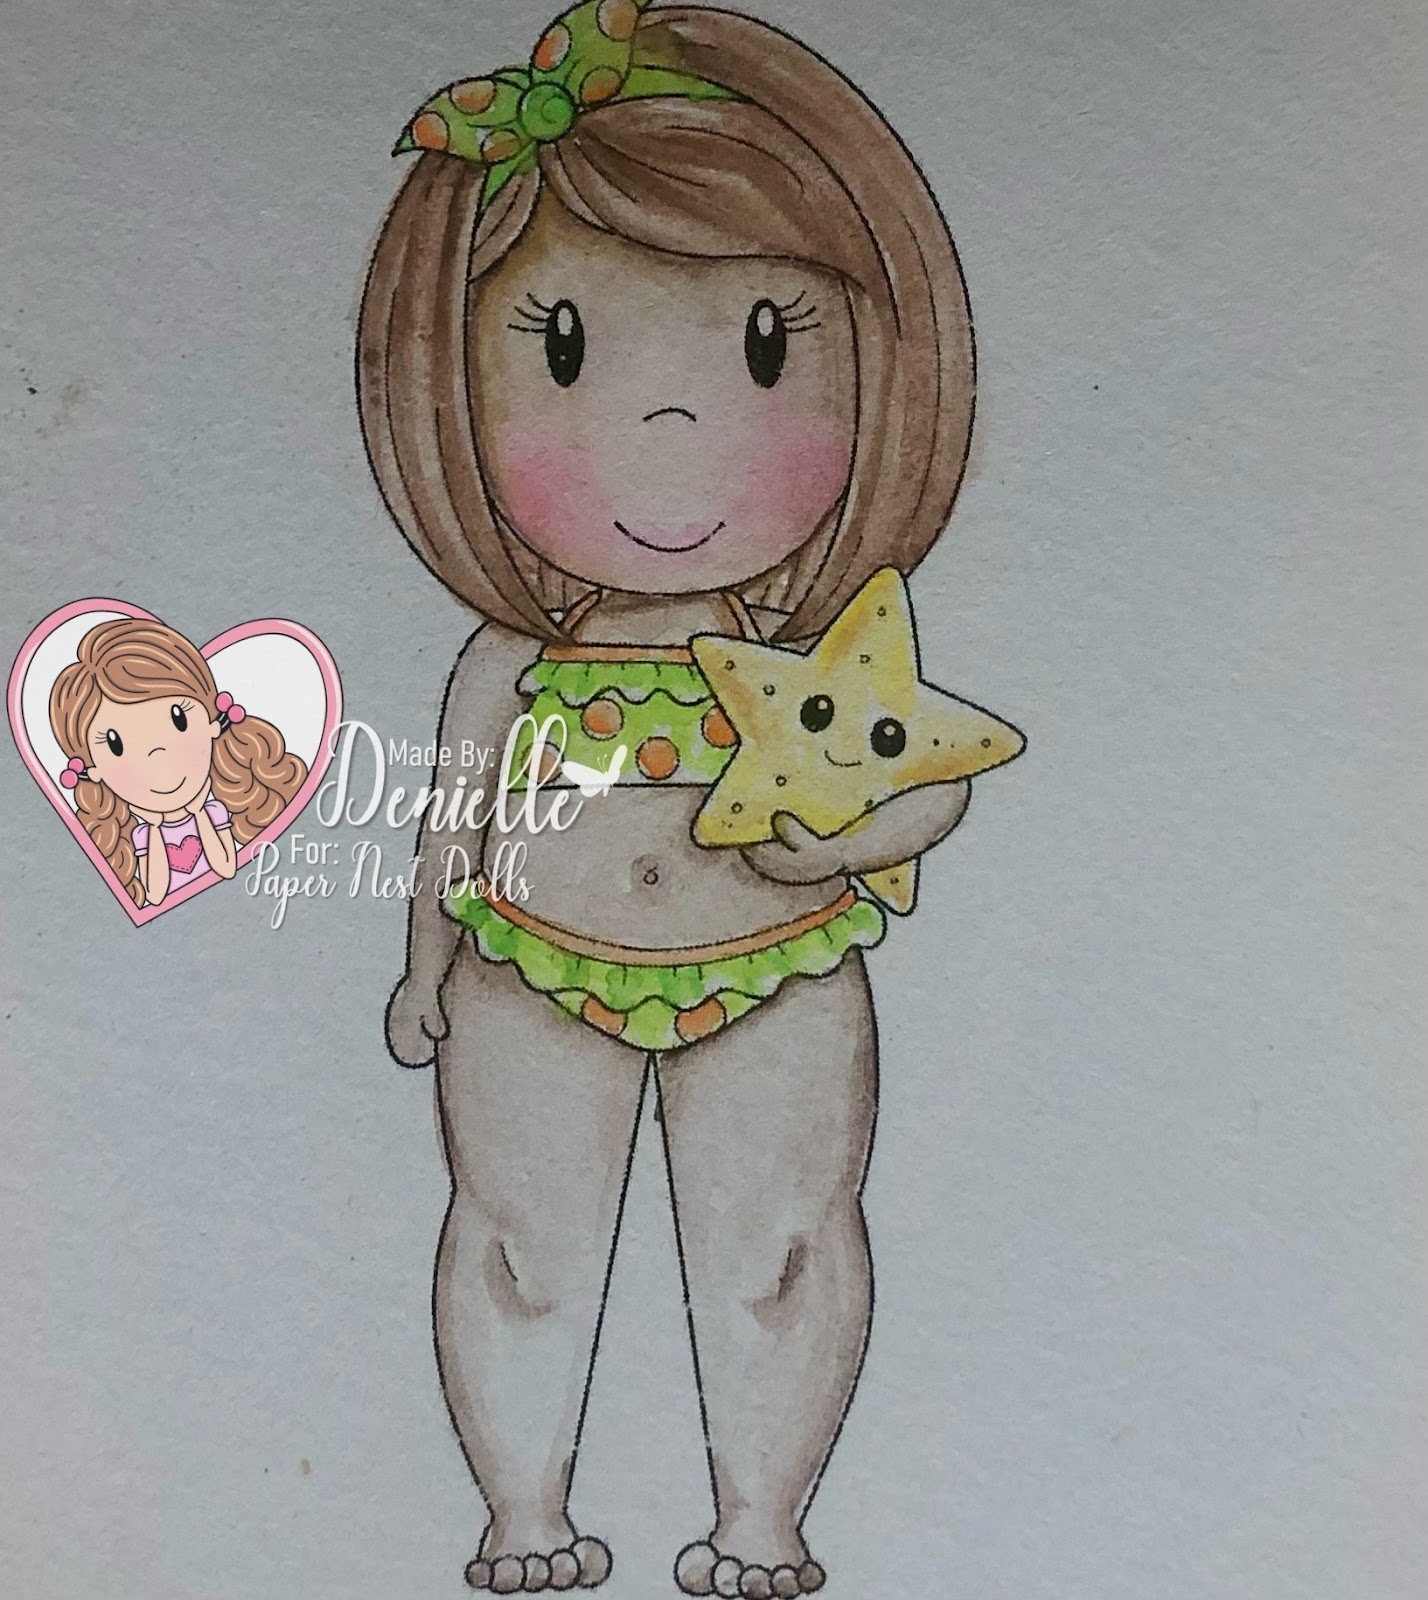

For my project today I am using a Digital Image called Emma with Starfish, we are super lucky because this image is also available as a Rubber Stamp.


I printed the image onto some Watercolour paper from Kmart, silly me this is the first time I've printed onto this type of paper and I put it into the printed back to front so I watercoloured onto the reverse side hehe. 

I got some watercolours from of our cheaper shops recently, they are Mont Marte brand, there is quite a few colours in there including 3 shades of each of the colours. I've not used these before and I am actually quite happy with the way that they turned out, 


The brushes I used are also from Kmart, they are the rounded brushes, I have linked up a few options for you in the picture links below. 


I ordered some new water cups which are not here yet, the one I am currently using is one from a local cheap shop, I really love the idea of these Faber Castell ones that I have ordered as they are collapsable which means they can pack away easily, see how they go when they arrive I will give you an update on my thoughts, 


I hope you have enjoyed my post today, if you have any questions feel free to send me a message or contact me via facebook (all links can be found below).

Watch the You Tube Video Here


Products Used On My Card (Affiliate Links Used Where Possible)


Thanks for stopping by, Deni

CAMERA SET UP - FOR YOU TUBE VIDEOS ONLY
Blue Yeti Microphone
iPad Air
Tripod – Kmart, iPad attachment eBay

S O C I A L MEDIA 
B L O G : https://ldli.co/e/3xky6x 
I N S T A G R A M : https://ldli.co/e/5dn20x
YOU TUBE: https://ldli.co/e/ej5l90 
F A C E B O O K: https://ldli.co/e/mjxn2r
PINTEREST: https://ldli.co/e/2l9zom


I was a 2018 Ambassador for Copic Marker Australia and NZ


Sunday, 16 February 2020

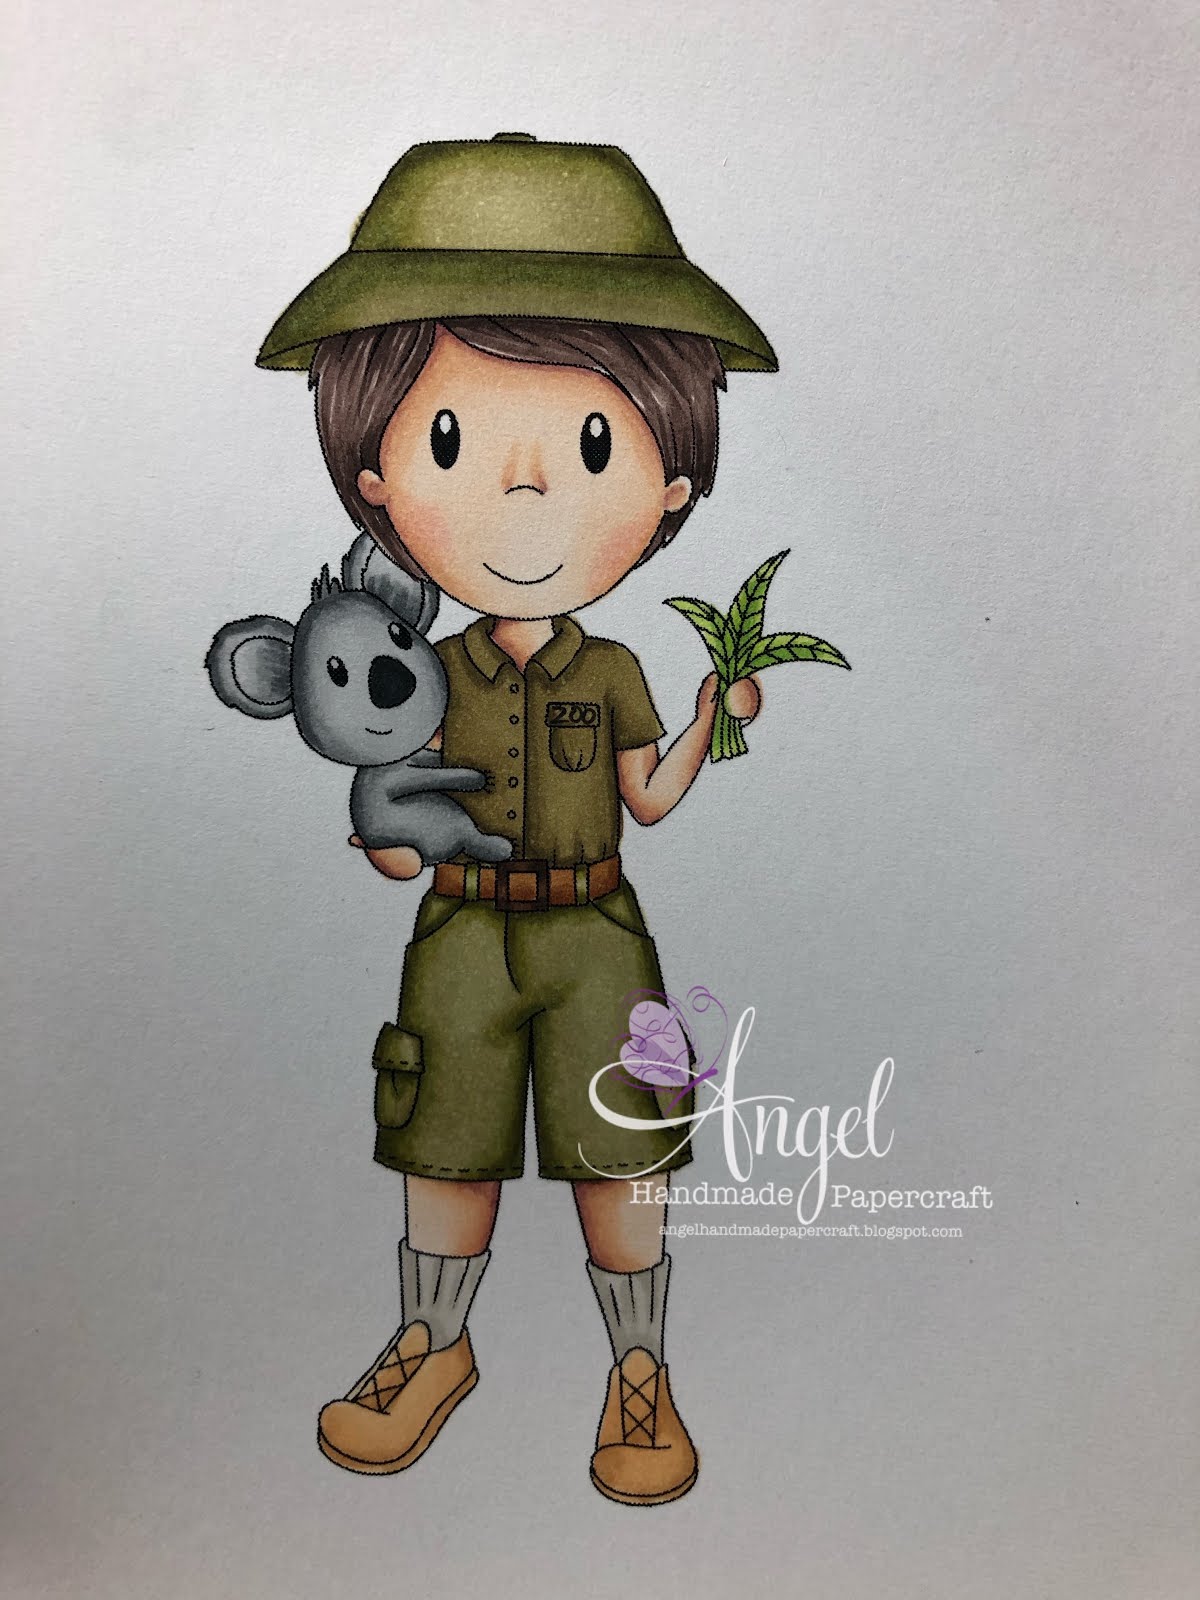
Paper Nest Dolls - Safari Owen

Hi Everyone :-)

Today is video editing day for me, I'm falling so behind as always, it's so hard to get time to do voice overs at the moment, our house always seems to be full of noise lately :-)


I created this card using a Digital Image from Paper Nest Dolls called Safari Owen, he is currently (at the time of this post and video going live) being offered for free which is awesome.

Why is he for free? He is free to raise awareness for Australia and the horrible weather we have had lately, since November we have had drought, fires, hail and flooding.. the only thing we haven't had where I live is snow.. and we won't as where I am in NSW it doesn't get cold enough for snow. The weather is just miserable and we cannot wait to go back to normality.


I had so much fun colouring this image up and putting the card together, when I first seen the image I envisioned the guys/girls who work at Australia Zoo and how they wear Khaki, so those are the kids of colours I went for when colouring. I also used my Copic Multiliner to write Zoo on his pocket :-)


The paper pad I used is from Kaisercraft and is called Australiana, this is one of my all time favourite paper pads at the moment, I love all the patterns in it and all the awesome sentiments.

I used my EK Success Cutterbee Scissors to fussy cut the image out leaving a nice white border around the outside.


I cut down the "I made it to Sydney" logo using my Ek Success Scissors and worked my card around that.


I used American Crafts Cardstock to mat my patterned papers and also added a doily in. You can get away with using a doily on a male card if you use it in the right way, I love the way it worked on my card today.

The leaves are from Kaisercraft's Gum Leaves dies, I ran them through my Big Shot just using some green papers, I then ran them through a second time in a darker green.\


I used some of the leftover white blending card from the image in my EK Success Star Confetti Punch, it's a great way to use up leftover papers.


At this stage I hadn't stuck anything down yet, I pulled out my good old Tim Holtz Ranger Mini Distress Inks and grabbed the Vintage Photo, I used a mini ink blending tool to carefully add some ink to the outside of everything except the doily and the image. I love the way it finished everything off.

I adhered everything to a Couture Creations Card Base using Helmar Acid Free Adhesive - this is my go to for Liquid Adhesive.

I used all the same patterned papers etc and decorated the inside of the card to match.


Finally once I had my card complete, I pulled out some of my Tonic Studios Nuvo Crystal Drops in Dirty Bronze and Woodland Green and added a few drops around the card and on the leaves.


I hope you have enjoyed my post today, if you have any questions feel free to send me a message or contact me via facebook (all links can be found below).

Watch the You Tube Video Here


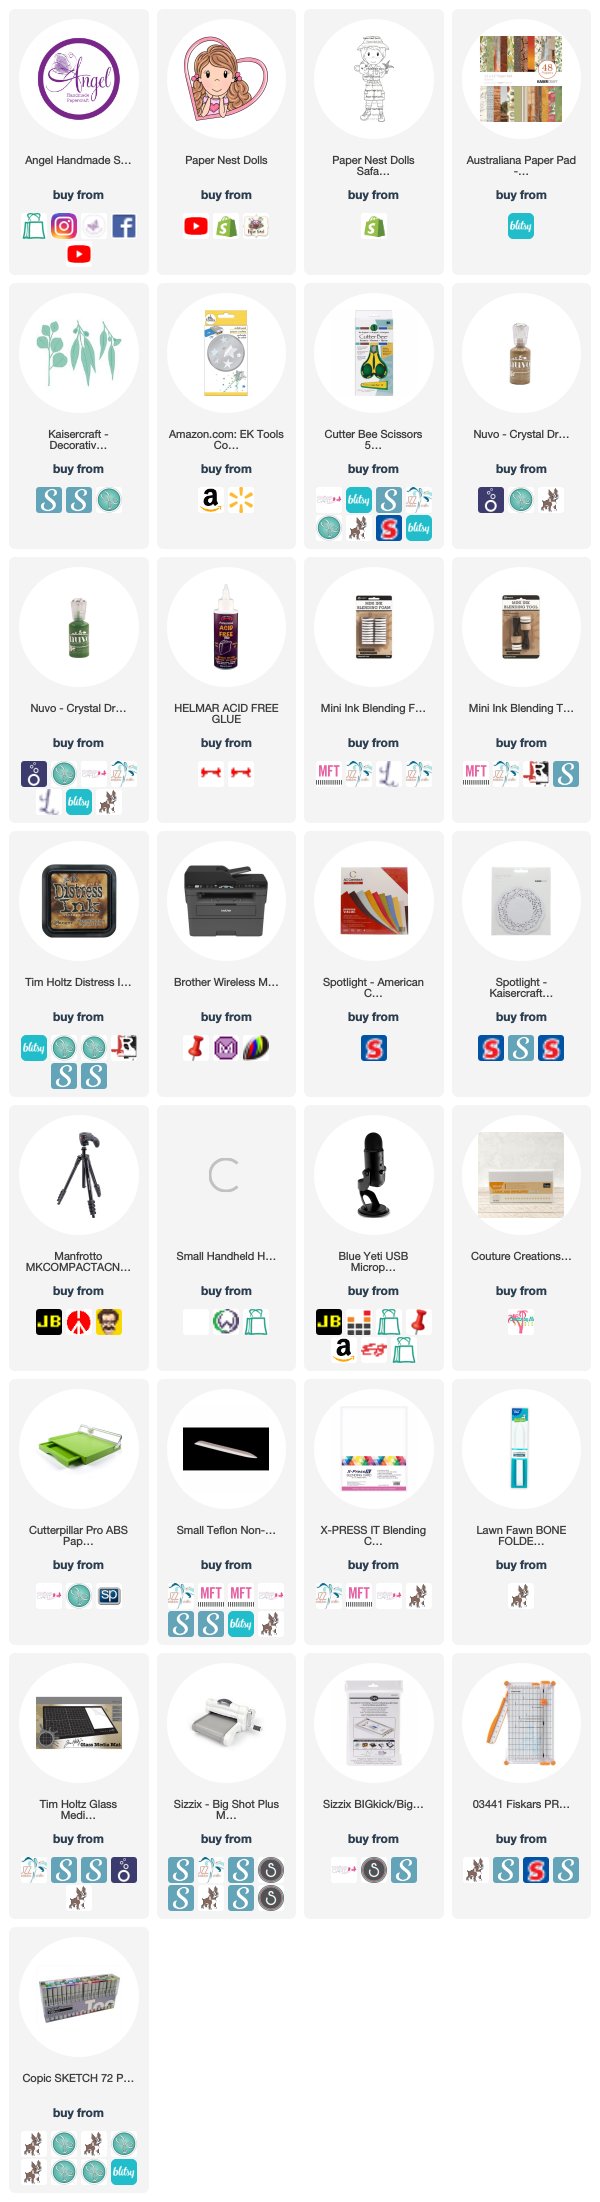
Products Used On My Card (Affiliate Links Used Where Possible)


Copic Markers Used

N6, N8, N1, 0 Colorless Blender
N0, N1, N3, N5
E000, E00, E21, E11, E04, R30
E51, E53, E55
W2, W3
E74, E77, E79
E35, E37
E59, E79
YG03, YG17
E84, E87
YG91, YG95, YG99

Thanks for stopping by, Deni

CAMERA SET UP - FOR YOU TUBE VIDEOS ONLY
Blue Yeti Microphone
Sony Handycam HDR CX4-05
Tripod – Manfrotto MKCompactaCN-BK

S O C I A L MEDIA 
B L O G : https://ldli.co/e/3xky6x
I N S T A G R A M : https://ldli.co/e/5dn20x
YOU TUBE: https://ldli.co/e/ej5l90 
F A C E B O O K: https://ldli.co/e/mjxn2r
PINTEREST: https://ldli.co/e/2l9zom


I was a 2018 Ambassador for Copic Marker Australia and NZ

Thursday, 6 February 2020

Paper Nest Dolls - Koala With Heart

Hi Everyone,

A few days ago I shared with you a stamp that Paper Nest Dolls is currently offering for free at their shop to raise awareness for Australia and the animals injured during the fires. This stamp Koala with Heart is another one of their freebie images to raise awareness.


I printed the image onto X-Press It Blending Cardstock using my Brother Laser Printer, I then proceeded to colour him up using Copic Markers.

I also used my Uni-Ball Signo White Gel pen to add some details to the image and finish it off.


I ran the image through my Sizzix Big Shot using Lawn Fawn Stitched Circle dies, I also ran the next size circle die through using some American Crafts Cardstock. I layered them together using Helmar Acid Free liquid adhesive.

I stamped out a sentiment from Taylored Expressions Simple Strips stamp set and ran it through my Big Shot using the matching dies, I just used Memento Tuxedo Black for this.


The patterned papers are from Crate Paper Little Boy Blue Paper Pad, unfortunately I couldn't find this paper pad to link it up for you, I know I have had it for a little while.


I also matted the patterned papers using some white and some more of the same blue card stock from American Crafts.


I finally adhered all the layers to a Couture Creations Card Base, I purchase these in bulk with matching envelopes.


I decorated the inside of the card to match using some leftover of the patterned paper pieces.


I hope you have enjoyed my post today, if you have any questions feel free to send me a message or contact me via facebook (all links can be found below).

Watch the You Tube Video Here


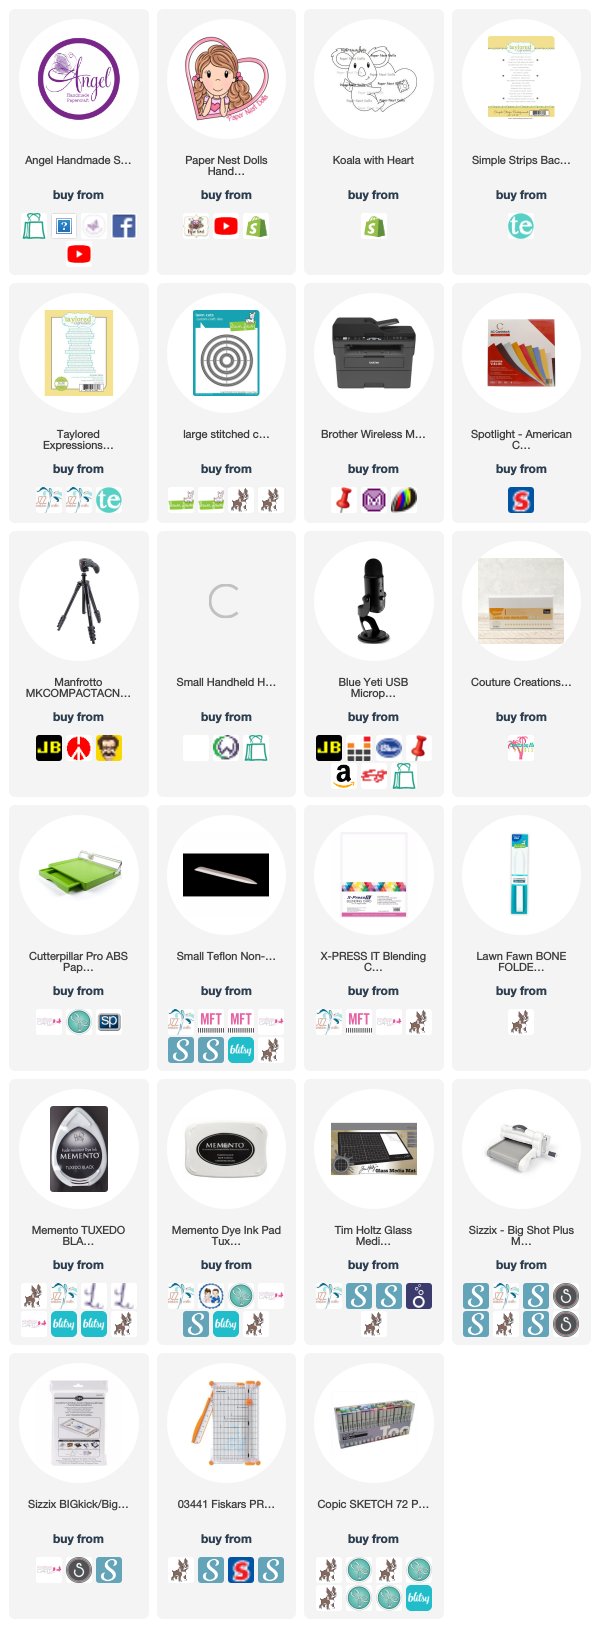
Products Used On My Card (Affiliate Links Used Where Possible)


Copic Markers Used

N0, N1, N3, N5
N6, N8, N10
V06, V09
B12, B14, B16
YR16, YR27
R17, R37, R59


Thanks for stopping by, Deni

CAMERA SET UP - FOR YOU TUBE VIDEOS ONLY
Blue Yeti Microphone
Sony Handycam HDR CX4-05
Tripod – Manfrotto MKCompactaCN-BK

S O C I A L MEDIA 
B L O G : https://ldli.co/e/3xky6x
I N S T A G R A M : https://ldli.co/e/5dn20x
YOU TUBE: https://ldli.co/e/ej5l90 
F A C E B O O K: https://ldli.co/e/mjxn2r
PINTEREST: https://ldli.co/e/2l9zom


I was a 2018 Ambassador for Copic Marker Australia and NZ


Thursday, 23 January 2020

Paper Nest Dolls - Koala Mama and Joey

Hi Everyone,

Today I am sharing with you a card I made using an image from Paper Nest Dolls, this is Koala Mama and Joey. This image is currently (at the time of this blog posting) for sale in the Paper Nest Dolls Shop, to raise awareness for all the injured wildlife in the Australian Bushfires. I am an Aussie so this is definitely close to my heart.


I printed the image out onto X-Press It Blending Cardstock using my Brother Laser Printer and coloured them up using Copic Markers, I will have a list of all the markers used below and in the picture links at the end of this post.


For my patterned papers I decided I wanted to make a baby boy card so I pulled out Crate Paper Little Boy Blue paper pad and some card stock from American Crafts.


I added some details to the image using Uni-Ball Signo White Angelic Gel Pen.


I ran the image through my Sizzix Big Shot using Lawn Fawn Stitched Circle Dies and adhered all the layers to a Couture Creations Cardbase using Helmar Acid Free liquid adhesive.

I used leftovers from the patterned paper pad to finish off my card.


I hope you have enjoyed my post today, if you have any questions feel free to send me a message or contact me via facebook (all links can be found below).

Watch the You Tube Video Here


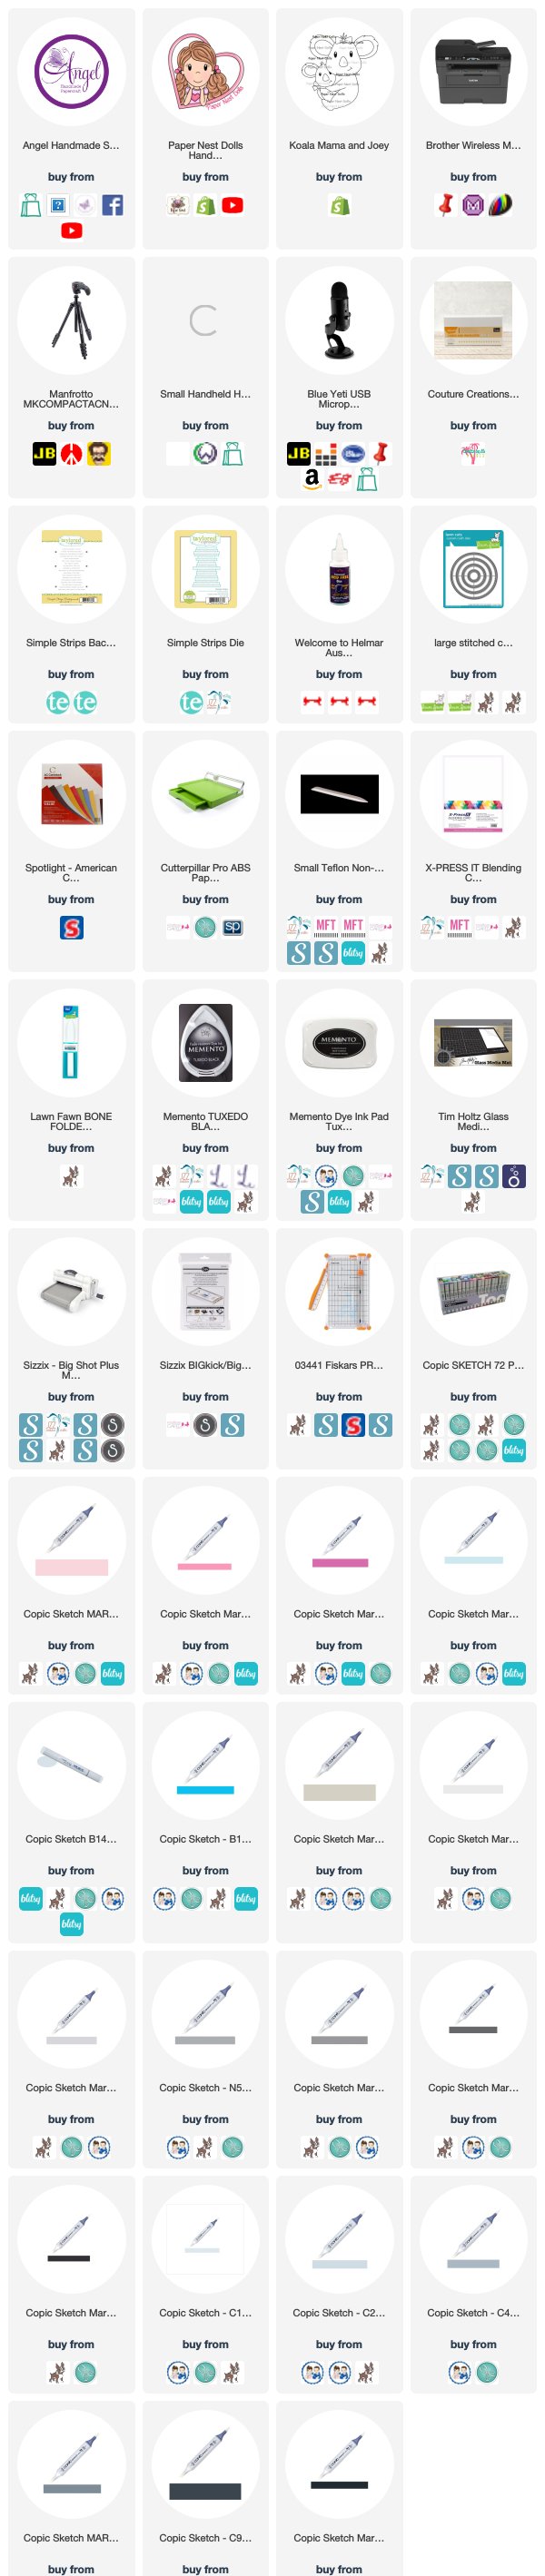
Products Used On My Card (Affiliate Links Used Where Possible)


Copic Markers Used

Mama
N0, N1, N3, N5
N6, N8, N10
RV11, RV14, RV17

Bubba
C1, C2, C4
C7, C9, C10
B12, B14, B16

Thanks for stopping by, Deni

CAMERA SET UP - FOR YOU TUBE VIDEOS ONLY
Blue Yeti Microphone
Sony Handycam HDR CX4-05
Tripod – Manfrotto MKCompactaCN-BK

S O C I A L MEDIA 
B L O G : https://ldli.co/e/3xky6x
I N S T A G R A M : https://ldli.co/e/5dn20x
YOU TUBE: https://ldli.co/e/ej5l90 
F A C E B O O K: https://ldli.co/e/mjxn2r
PINTEREST: https://ldli.co/e/2l9zom


I was a 2018 Ambassador for Copic Marker Australia and NZ


Friday, 21 June 2019

Paper Nest Dolls - Princess With Apple

Good Morning :-)

Today I am sharing with you a quick colouring video using Princess with Apple from Paper Nest Dolls.


I used the Digital Stamp for my colouring today, so I used my Brother Laser Printer to print her onto X-Press It Blending Cardstock, I then coloured her up using Copic Markers.

All of the Copic Markers are listed below and I will have more details on the project I have used her on at a later date.


I hope you have enjoyed my post today, if you have any questions feel free to send me a message or contact me via facebook (all links can be found below).

Watch the You Tube Video Here


  Products Used On My Card (Affiliate Links Used Where Possible)


Copic Markers Used

E50, E51, E53, E55, R20
G14, G03, G07
E44, E47, E49
Y02, Y06, Y08
B21, B24, B26

Thanks for stopping by, Deni

CAMERA SET UP - FOR YOU TUBE VIDEOS ONLY
Blue Yeti Microphone
Sony Handycam HDR CX4-05
Tripod – Manfrotto MKCompactaCN-BK

S O C I A L MEDIA 
B L O G : http://angelhandmadepapercraft.blogspot.com.au/
I N S T A G R A M : http://instagram.com/angelhandmadepapercraft
YOU TUBE: http://www.youtube.com/c/AngelHandmadePapercraft
F A C E B O O K: http://www.facebook.com/angelhandmadepapercraft
PINTEREST: https://www.pinterest.com.au/angelhandmadepapercraft


I was a 2018 Ambassador for Copic Marker Australia and NZ


Thursday, 20 June 2019

Paper Nest Dolls - Arabian Princess - Copic Colouring

A little Copic Colouring to share with you today using Arabian Princess from Paper Nest Dolls.


I used the Digital Version of this image (I will have all the picture links below), printed it onto X-Press It Blending Card using my Brother Laser Printer.


I added details using Uni-Ball White Gel Pen and Wink Of Stella Clear.


I hope you have enjoyed my post today, if you have any questions feel free to send me a message or contact me via facebook (all links can be found below).

Watch the You Tube Video Here


Products Used On My Card (Affiliate Links Used Where Possible)


Copic Markers Used

E000, E00, E21, Ell, E04, R20, R32
N4, N6, N8, N10
YR21, YR24, YR27, E08
BG0000, BG10, BG11, BG13, BG18

Thanks for stopping by, Deni

CAMERA SET UP - FOR YOU TUBE VIDEOS ONLY
Blue Yeti Microphone
Sony Handycam HDR CX4-05
Tripod – Manfrotto MKCompactaCN-BK

S O C I A L MEDIA 
B L O G : http://angelhandmadepapercraft.blogspot.com.au/
I N S T A G R A M : http://instagram.com/angelhandmadepapercraft
YOU TUBE: http://www.youtube.com/c/AngelHandmadePapercraft
F A C E B O O K: http://www.facebook.com/angelhandmadepapercraft
PINTEREST: https://www.pinterest.com.au/angelhandmadepapercraft


I was a 2018 Ambassador for Copic Marker Australia and NZ


Wednesday, 22 May 2019

Paper Nest Dolls - Blonde Lulu


Good Morning Everyone,

A few days ago I shared with you my colouring of Paper Nest Dolls Princess Butterfly Lulu, today I am sharing with you the card process.


I wanted to die cut my image with a spellbinders die but I did not want it to cut my image off so using a Mechanical pencil I traced out the die onto my image so I could see where it was going to cut. I used my EK Success Cutterbee scissor to carefully fussy cut the left side of the image and around the legs and the top of her head. I then put the die onto my Big Shot plates so that it was hanging off the edge and would only cut some of the image.


I then ran it through my Sizzix Big Shot and it turned out exactly as I had planned. I used an eraser to get rid of all the pencil lines.

I ran the next size up die through my Big Shot with some patterned paper from Basic Grey Mint Julep Paper Pad. I layered the image die cut over the patterned paper then used my Cutterpillar Pro to cut down another piece of the patterned paper pad and layered that underneath. I used Scotch ATG to adhere the layers.

Finally I adhered all the layers to a Couture Creation Card Base and added some little hearts to the top of the wand using MFT Stamps Cute Chemists stamp set with Memento Tuxedo Black and an acrylic block from Lawn Fawn.


I added some Mod Podge Dimensional Magic to the hearts, wand and her crown.

At this stage I still wasn't sure what sentiment I wanted to add so I left it to dry and came back to it later. I used Mama Elephant Happy Everything Stamp Set and Happy die to finish it off.


I hope you have enjoyed my post today, if you have any questions feel free to send me a message or contact me via facebook (all links can be found below).

Watch the You Tube Video Here


Products Used On My Card (Affiliate Links Used Where Possible)


Copic Markers Used

E000, E00, E21, E11, E04, R20
Y21, Y23, Y26
YR21, YR24, YR27
RV14, RV17, RV19
V12, V15
RV000, RV00, BG000

Thanks for stopping by, Deni

CAMERA SET UP - FOR YOU TUBE VIDEOS ONLY
Blue Yeti Microphone
Sony Handycam HDR CX4-05
Tripod – Manfrotto MKCompactaCN-BK

S O C I A L MEDIA 
B L O G : http://angelhandmadepapercraft.blogspot.com.au/
I N S T A G R A M : http://instagram.com/angelhandmadepapercraft
YOU TUBE: http://www.youtube.com/c/AngelHandmadePapercraft
F A C E B O O K: http://www.facebook.com/angelhandmadepapercraft
PINTEREST: https://www.pinterest.com.au/angelhandmadepapercraft


I was a 2018 Ambassador for Copic Marker Australia and NZ


Wednesday, 15 May 2019

Paper Nest Dolls - Butterfly Princess Lulu - Blonde

Hi Everyone,

Today I coloured a gorgeous image from Paper Nest Dolls, this is the second one as I also had one done for you yesterday. I haven't had a chance to make her into a card yet however I wanted to share the colouring video with you all.

The picture links below do have the other items I normally use on my cards listed so please just ignore those I didn't want to delete them as I will edit this post later on when the card is complete and I will have a second video for you.


The image I have used today is a Digital Stamp called Butterfly Fairy Lulu, this is the second one I have coloured, I did one yesterday where I loaded a video of real time colouring her. Today I have sped her up and coloured her as a blonde.

I printed her onto X-Press It Blending Cardstock using my Brother Laser Printer and coloured her up using Copic Markers.


If you haven't already subscribed to my video I would love for you to do so and don't forget to hit the like button on the video if you loved it :-)

Catch up with you once these cards are complete.


I hope you have enjoyed my post today, if you have any questions feel free to send me a message or contact me via facebook (all links can be found below).

Watch the You Tube Video Here


Products Used On My Card (Affiliate Links Used Where Possible)


Copic Markers Used

E000, E00, E21, E11, E04, R20
Y21, Y23, Y26
YR21, YR24, YR27
RV14, RV17, RV19
V12, V15
RV000, RV00, BG000

Thanks for stopping by, Deni

CAMERA SET UP - FOR YOU TUBE VIDEOS ONLY
Blue Yeti Microphone
Sony Handycam HDR CX4-05
Tripod – Manfrotto MKCompactaCN-BK

S O C I A L MEDIA 
B L O G : http://angelhandmadepapercraft.blogspot.com.au/
I N S T A G R A M : http://instagram.com/angelhandmadepapercraft
YOU TUBE: http://www.youtube.com/c/AngelHandmadePapercraft
F A C E B O O K: http://www.facebook.com/angelhandmadepapercraft
PINTEREST: https://www.pinterest.com.au/angelhandmadepapercraft


I was a 2018 Ambassador for Copic Marker Australia and NZ