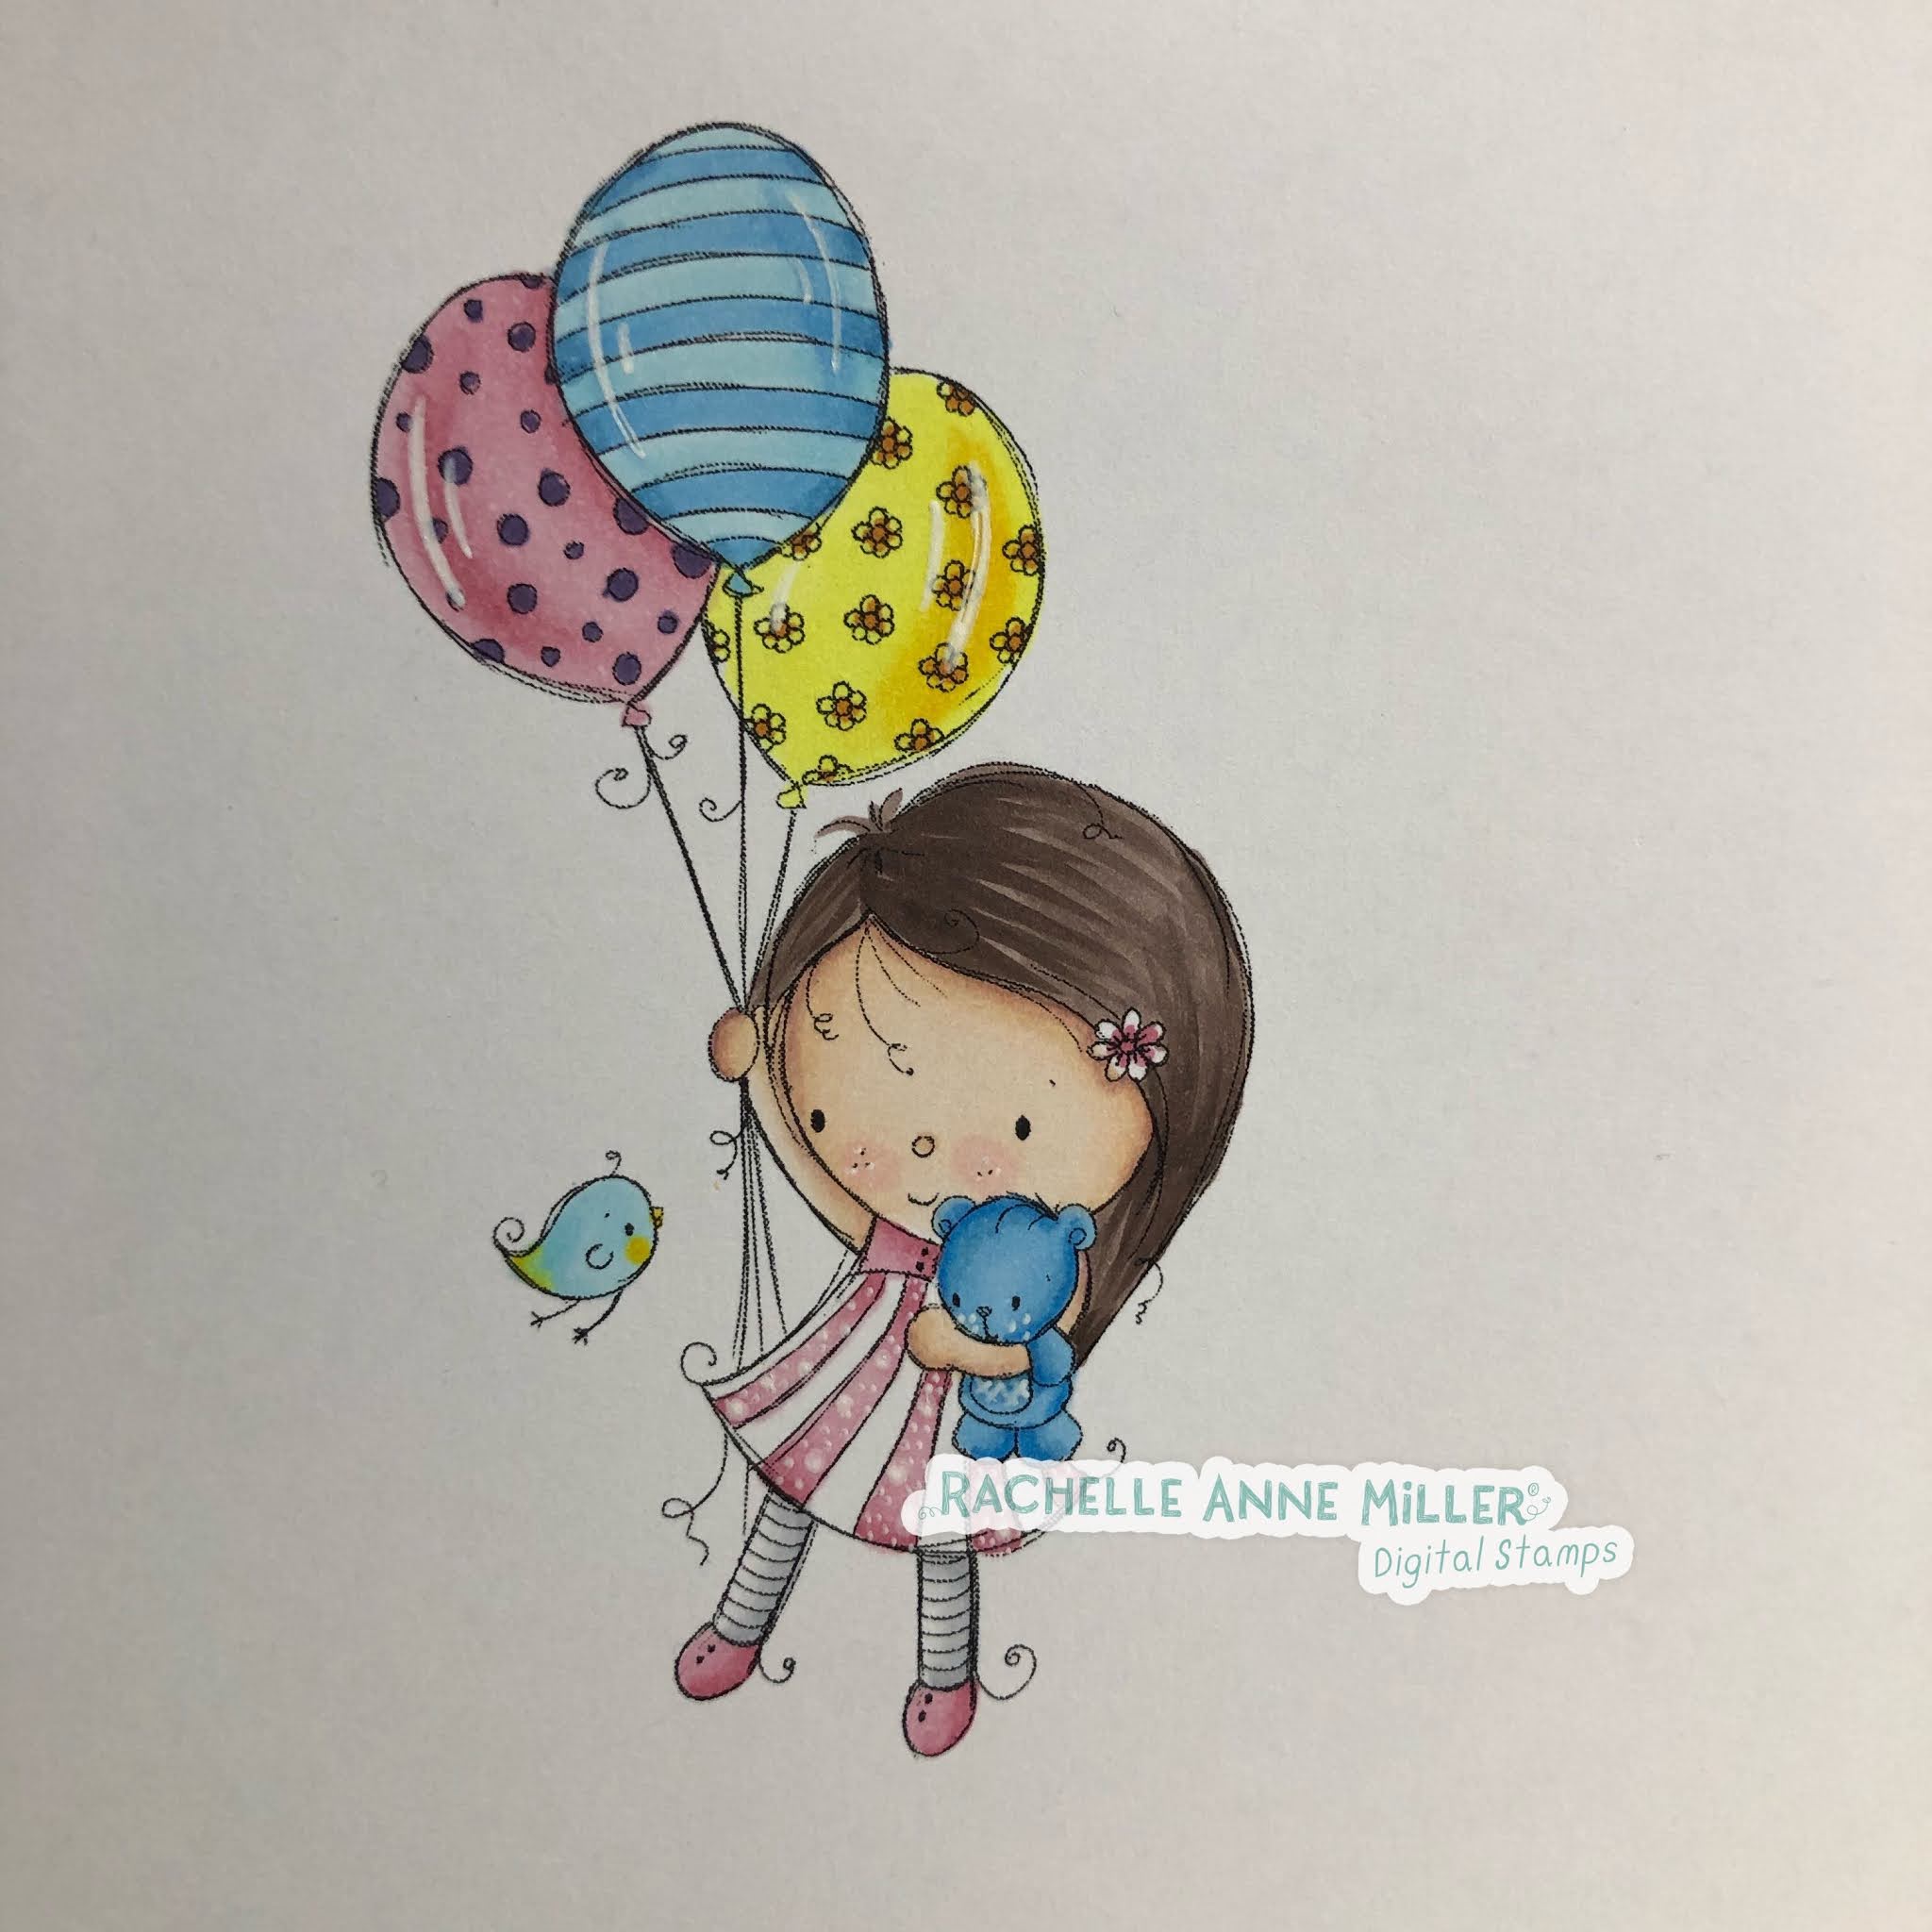
My second post for Rachelle Anne Miller, today I am sharing with you Balloon Ride, another awesome Digital Stamp from her collection.

I printed the image onto X-Press It Blending Cardstock using my Brother Laser Printer then coloured her up using Copic Markers.

I am really happy with the way the image turned out, and I love the pop of colour the balloons give to the card.
I used patterned papers from Kmart - Anko Whimsical Paper Pad, I trimmed them down and matted them using some Reflex copy paper as I didn't have any blue cardstock to match - you don't notice the thin-ness of the paper because there is so many layers to my card anyway.

I ran a Hot Air Balloon Die from La La Land Crafts through my Big Shot using some white Cardstock and adhered it to the top left corner.

I also used the Filigree heart dies from La La Land Crafts and scattered them around my card, I also used an EK Success Star Confetti punch to punch some smaller stars.

Using All Occasion Sentiments from MFT Stamps, I carefully cut the stamp in half so I could stamp each piece separately. I stamped them onto Vellum using Ink On 3 Embossing Ink, added Ranger Ink Super Fine White Embossing Powder then melted it using my Heat Tool. I then using my EK Success Cutterbee Scissors to fussy cut each piece.

I added some details to the image using a Uni-Ball White Gel Pen, I think this finishes off an image.


I used some leftovers to decorate the inside of the card then it was complete :-)

I hope you have enjoyed my post today, if you have any questions feel free to send me a message or contact me via facebook (all links can be found below).
Watch the You Tube Video Here
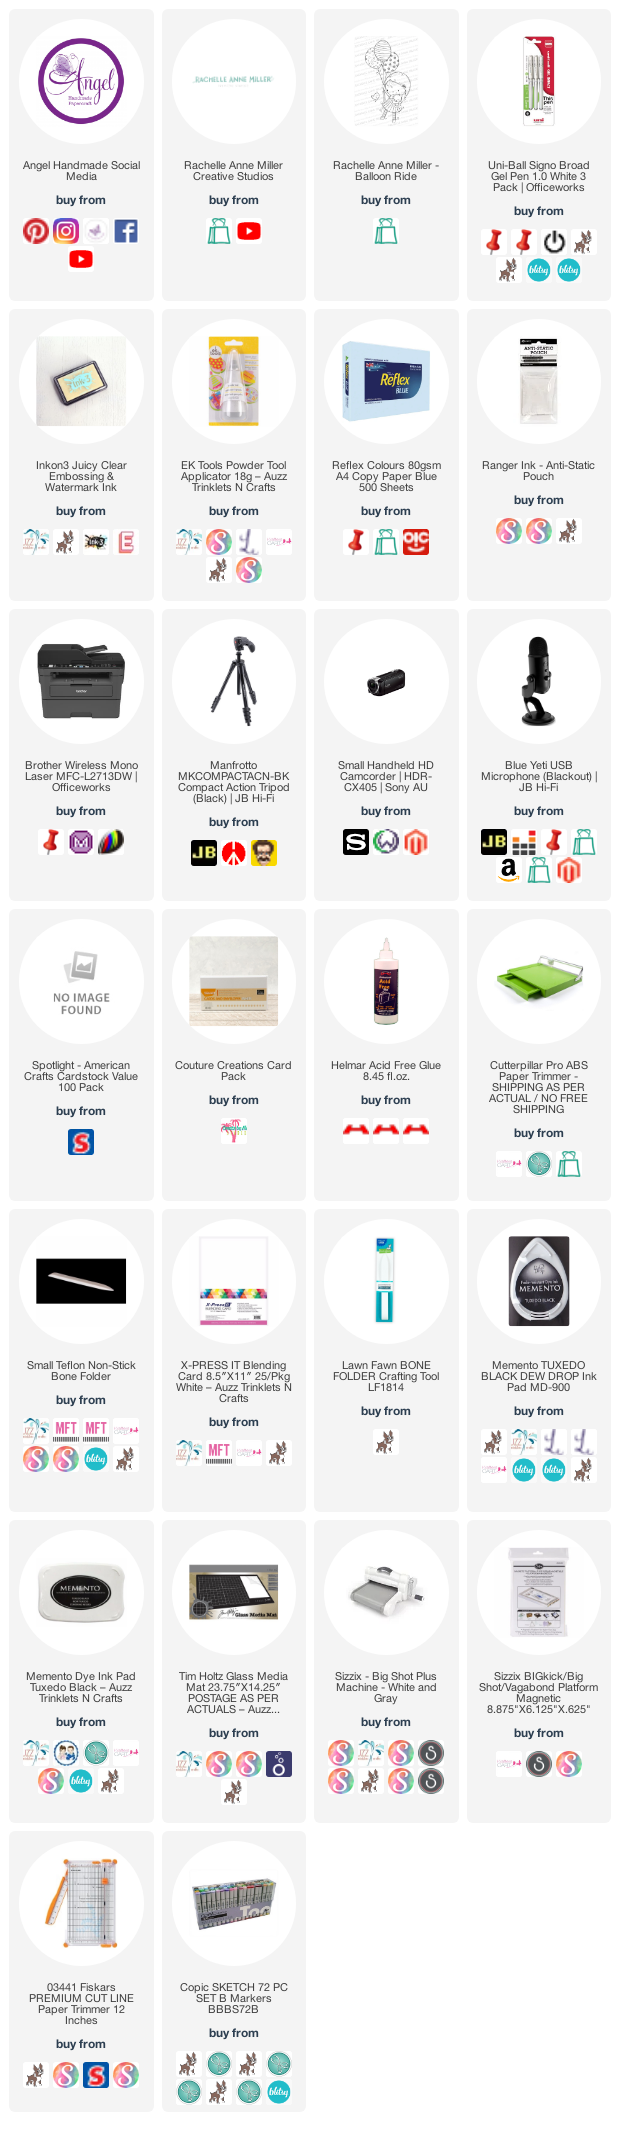
Products Used On My Card (Affiliate Links Used Where Possible)
Copic Markers Used
E000, E00, E21, E11, E04, R20
Copic Markers Used
E000, E00, E21, E11, E04, R20
B00, B12, B14, B16
E74, E77, E79
Y04, Y15, Y19, YR27
R81, R83, R85, BV08
C0, C3
Thanks for stopping by, Deni
CAMERA SET UP - FOR YOU TUBE VIDEOS ONLY
Blue Yeti Microphone
Sony Handycam HDR CX4-05
Tripod – Manfrotto MKCompactaCN-BK
S O C I A L MEDIA
B L O G : https://ldli.co/e/3xky6x
I N S T A G R A M : https://ldli.co/e/5dn20x
YOU TUBE: https://ldli.co/e/ej5l90
F A C E B O O K: https://ldli.co/e/mjxn2r
PINTEREST: https://ldli.co/e/2l9zom
I was a 2018 Ambassador for Copic Marker Australia and NZ
Thanks for stopping by, Deni
CAMERA SET UP - FOR YOU TUBE VIDEOS ONLY
Blue Yeti Microphone
Sony Handycam HDR CX4-05
Tripod – Manfrotto MKCompactaCN-BK
S O C I A L MEDIA
B L O G : https://ldli.co/e/3xky6x
I N S T A G R A M : https://ldli.co/e/5dn20x
YOU TUBE: https://ldli.co/e/ej5l90
F A C E B O O K: https://ldli.co/e/mjxn2r
PINTEREST: https://ldli.co/e/2l9zom
I was a 2018 Ambassador for Copic Marker Australia and NZ