Today I am super excited to share with you this gorgeous image from Whimsy Stamps - Krista Heij-Barber's Collection called Bat Balloon.
This is a Digital Stamp, so you can download it immediately, print it out onto Copic safe paper and it's ready to go.
I printed the image onto X-Press It Blending Card Stock using my Brother Laser Printer.
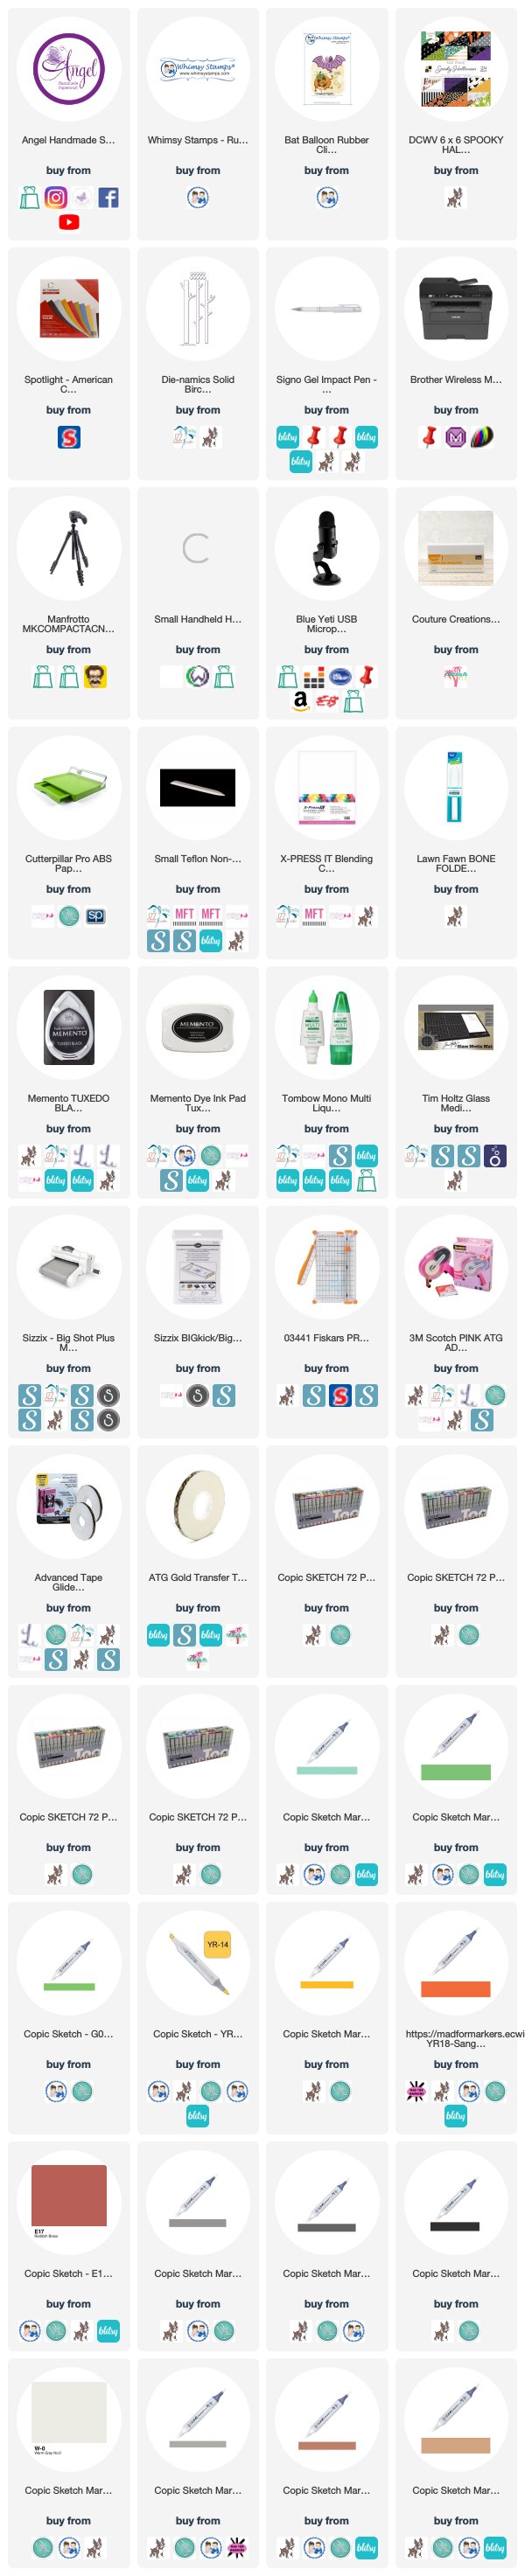
I then coloured him up using Copic Markers, I then cut him down to size using my Cutterpillar Pro, I used a white Uni-Ball Signo Gel Pen to colour the inside of the Halloween Word.
Patterned papers are from my favourite Halloween Paper Pad from DCWV called Spooky Halloween. I also pulled in some plain card stocks from American Crafts.
I ran a Birch Tree Die from MFT Stamps through my Sizzix Big Shot using some leftover black American Crafts card stock. I adhered this to the image using American Tombow Mono Multi Liquid Adhesive.
Using my Scotch ATG I adhered all the layers to a Couture Creations Card Base, I used leftovers of the patterned paper to adhere to the inside of the card.
I hope you have enjoyed my post today, if you have any questions feel free to send me a message or contact me via facebook (all links can be found below).
Watch the You Tube Video Here
Products Used On My Card (Affiliate Links Used Where Possible)
4. Leave a comment, tagging friends in separate comments.
⠀
The next stop on the hop is @crafty_kid_33. Be sure to hop along and leave comments at each stop, as the giveaway winner will be chosen randomly from all of the comments! You have until Saturday, October 12th at midnight EST to enter. For another chance to win a $25 gift certificate, head over to the Whimsy blog!
Hop list: ⠀
@whimsystamps
@angelhandmadepapercraft
@crafty_kid_33
@craftykiwimama
@embellish.craft.love
@frankiehelpscraft
@inkspots
@iriswiechmann
@stampedsmiles
@tanglemousecards
@westie1702⠀
This giveaway is open to all; however, unfollowers/giveaway accounts do not qualify. Per Instagram rules, we must mention this is in no way sponsored, administered, or associated with Instagram or Facebook. By entering, entrants confirm they are 13+ years of age, release Instagram or Facebook of responsibility, and agree to their terms of use.⠀
I have used Rory from the Pollycraft collection on my card today, it is a Digital Stamp so I have printed him onto X-Press It Blending Cardstock and used my Copic Markers to colour him up.
I will have a list of all the Copic Markers I have used below, but here is a few photos I took along the way.
I fussy cut the image using my EK Success Cutterbee Scissors, these are my go to scissors when I am doing fussy cutting, when I cut this little guy out I left a small amount of white border.
I used my favourite Halloween paper pad - DCWV Spooky Halloween for this card today, I posted a card up yesterday using the same paper pad and mentioned I had found another one of these paper pads and I sure was so excited when I came across it :-) I cut one large layer of the eye balls, a strip of the lolly pops and I used the potions paper and ran it through my Big Shot using a Lawn Fawn Acrylic Block.
I ran a La La Land Crafts die - Boo through my Sizzix Big Shot using some American Crafts Cardstock, I actually ended up running it through twice - one with the green and then again with the black .. this allowed me to create the look of a shadow, I used American Tombow Mono Multi Liquid Adhesive to layer them up.
I used some old retired dies on my card also - Memory Box Swooping Bats (I have linked something up similar but a little bigger from La La Land Crafts) I also used Memory Box Dangling Spider.
On the corner of my card I used the Neat and Tangled Booed Dies, I love the little spider web.
I cut mat layers from the American Crafts Papers I used with my dies earlier on my Cutterpillar Pro.
I adhered all the large layers onto my card using Scotch ATG, and the smaller pieces I used American Tombow Mono Multi.
I really love the card I have created today and hope you do too. Dont forget to head over to the Instagram hop and join in.
I hope you have enjoyed my post today, if you have any questions feel free to send me a message or contact me via facebook (all links can be found below).
Watch the You Tube Video Here
Products Used On My Card (Affiliate Links Used Where Possible)
Today I am sharing with you a card I have made using an image from Whimsy Stamps October New Release. This is Rustic Sugar Witch Cinnamon.
I printed her onto X-Press It Blending Card Stock using my Brother Laser Printer, I then coloured her up using Copic Markers.
Using my Uni-Ball Signo White Gel Pen I added polka dots to the witches cape and some Clear Wink Of Stella to the background and the stars.
I used patterned papers from DCWV Spooky Halloween 6x6 Paper Pad, I really love the way this card turned out, sometimes less is more.
The patterned paper was enough and all I needed to add was a sentiment - I used MFT Stamps Frightfully Sweet stamp set. Using Versamark Watermark Ink and Ranger Super Fine White Detail embossing powder.
I ran the image through my Sizzix Big Shot using Lawn Fawn Stitched Circle dies, I cut a mat layer from American Crafts Black Card Stock and I added all the layers to a Couture Creations Card Base.
I hope you have enjoyed my post today, if you have any questions feel free to send me a message or contact me via facebook (all links can be found below).
Watch the You Tube Video Here
Products Used On My Card (Affiliate Links Used Where Possible)
It's time for a new Challenge over at Happy Craft Challenge, this month I am working with the mood board. There is also a Sketch and a Scrapbooking Layout which you can check out if those suit you better.
Our sponsor for this month is Ike's Art and I have used KT Trick or Treat, a super cute little witch image.
I did have some hiccups along the way with this card so i'll tell you about them as we go.
I started by printing the image onto X-Press It Blending Card Stock using my Brother Laser Printer.
I then coloured the image up using Copic Markers.
For the skin I used E51, E53, E55 and R20 for the cheeks. On the dress I used V04, V06, V09
For the crazy green hair I used YG01, YG03, YG17. For the black sections I used T6, T8, T10
On the pumpkin I used YR04, YR07, E08
I ran the image through my Big Shot using Spellbinders Nestabilities Labels Twenty Two.
I used patterned papers from DCWV Spooky Halloween 6x6 paper pad, this is my favourite halloween paper pad and I'm down to the last few drips and drabs haha.
The Die cuts I have used are from MFT Stamps Spooky House set, I ran them through my Big Shot using American Crafts black Card Stock.
I used a Lawn Fawn stamp set called Spooktacular, I stamped out the sentiments onto purple cardstock using Versamark watermark embossing ink and used Wow Glow In The Dark Embossing Powder which I then set using my heat tool. So here is my first hiccup.. the embossing powder wouldn't glow on the dark cardstock.. total disappointment.
At the same time before realising the embossing powder wasn't glowing I added Nuvo Glow In The Dark drops in the apple sour.
I added some flowers to my tree just because.. well why not :-)
Here is some pics at this stage.
As you can see here we have no embossing glow :-(
I re-stamped the sentiments onto white cardstock (after advice from Wow Embossing themselves) and we glowed :-)
I was super excited I was able to fix this, and I added the little ghost and bat which made a big difference to my card also. I did over melt the embossing powder somehow on the top of the bat as u can see in the above pic. What's another hiccup in a card with hiccups.
I hope you have enjoyed my post today, if you have any questions feel free to send me a message or contact me via facebook (all links can be found below).
Watch the You Tube Video Here
Products Used On My Card (Affiliate Links Used Where Possible)
Today I am sharing with you a Halloween Card I made for Whimsy Stamps using Penguin Spooky Night.
This image is available as both a Digital Stamp and a Rubber Stamp, both of the links are below, I have used the Digital version on this card.
I printed the image onto X-Press It Blending Cardstock using my Brother Laser Printer and coloured him up using Copic Markers.
Patterned papers are from DCWV Spooky Halloween, and I used American Crafts Black Cardstock for my matting. I also used some paper from Sugar & Spice Happy Halloween 12x12 Paper Pad.
I used the Halloween Word die from La La Land Crafts and ran it through my Sizzix Big Shot using Black and orange American Crafts Cardstocks, I layered them using American Tombow Mono Multi Liquid Adhesive. The Dangling spider, and the bats are both retired dies from Memory Box, and the fence is a retired die from CC Designs called Witches Fence.
I adhered all the layers to a Couture Creations card base and added final touches using Wink Of Stella Clear and Uni-ball white gel pen.
I hope you have enjoyed my post today, if you have any questions feel free to send me a message or contact me via facebook (all links can be found below).
Watch the You Tube Video Here
No Video on this one sorry
Products Used On My Card (Affiliate Links Used Where Possible)
CAMERA SET UP - FOR YOU TUBE VIDEOS ONLY
Blue Yeti Microphone
Sony Handycam HDR CX4-05
Tripod – Manfrotto MKCompactaCN-BK
S O C I A L MEDIA
B L O G : http://angelhandmadepapercraft.blogspot.com.au/
I N S T A G R A M : http://instagram.com/angelhandmadepapercraft
YOU TUBE: http://www.youtube.com/c/AngelHandmadePapercraft
F A C E B O O K: http://www.facebook.com/angelhandmadepapercraft
PINTEREST: https://www.pinterest.com.au/angelhandmadepapercraft
I was a 2018 Ambassador for Copic Marker Australia and NZ
A few weeks ago I made this gorgeous baby card using MFT Stamps Hello, Little One stamp set and the matching dies.
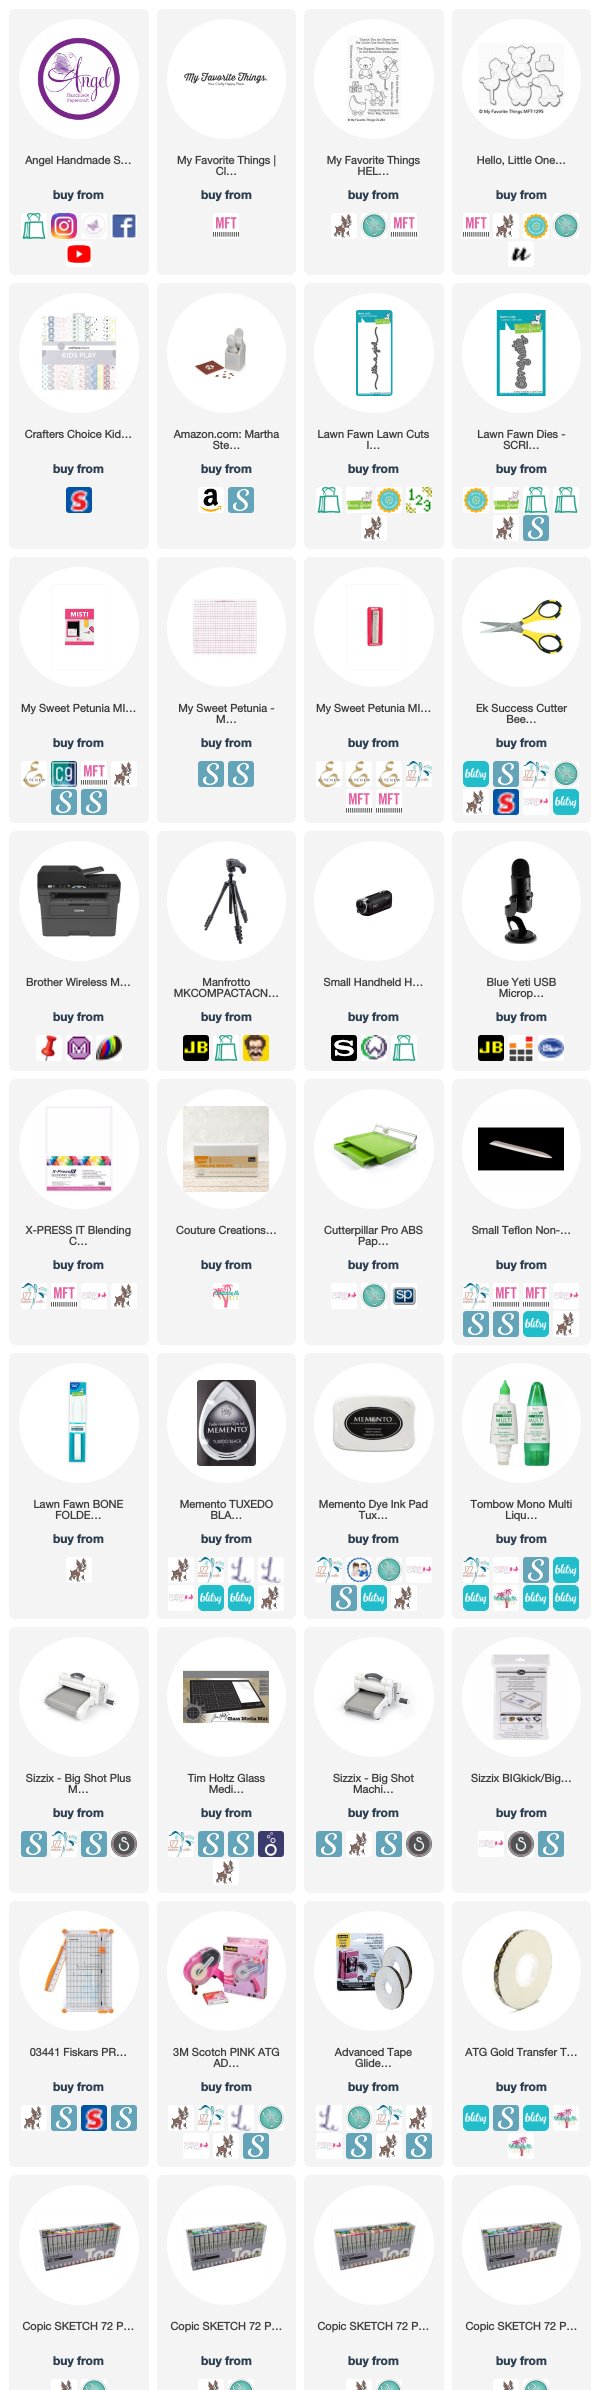
I used my Misti Stamping Tool, layed the dies down first and then inlayed all the stamps inside the dies, I then closed the Misti to pick up all the stamps, removed the dies and that made sure all the stamps were in the correct alignment so I couldn't have to cut my dies apart, I stamped the images onto X-Press It Blending Cardstock, I ran all the images through my Sizzix Big Shot at the same time.
I coloured all the images using Copic Markers and added detail to them using Uni-Ball White Gel Pen.
I used patterned papers from Crafter's Choice Kids Play Paper Pad, I ran the clouds paper through my Sizzix Big Shot through my Big Shot using Lawn Fawn Stitched Circle Dies.
The stars paper is also from the same paper pad, and I used some plain colours of cardstock to create the layers, which I cut down using my Cutterpillar Pro, and adhered them to a Couture Creations Card Base.
I layed all the images out and glued them to the circles using American Tombow Mono Multi.
I ran the Lawn Fawn Congrats word die through my Big Shot using some leftover great card stock, and Lawn Fawn It's A Girl Border die using some leftover pink card stock.
The sentiment was created using MS Word and then printed onto X-Press It Blending Cardstock.
I hope you have enjoyed my post today, if you have any questions feel free to send me a message or contact me via facebook (all links can be found below).
Watch the You Tube Video Here
Products Used On My Card (Affiliate Links Used Where Possible)
Copic Markers Used
sorry don't have a list of these for this project
Thanks for stopping by, Deni
CAMERA SET UP - FOR YOU TUBE VIDEOS ONLY
Blue Yeti Microphone
Sony Handycam HDR CX4-05
Tripod – Manfrotto MKCompactaCN-BK
S O C I A L MEDIA
B L O G : http://angelhandmadepapercraft.blogspot.com.au/
I N S T A G R A M : http://instagram.com/angelhandmadepapercraft
YOU TUBE: http://www.youtube.com/c/AngelHandmadePapercraft
F A C E B O O K: http://www.facebook.com/angelhandmadepapercraft
PINTEREST: https://www.pinterest.com.au/angelhandmadepapercraft
I was a 2018 Ambassador for Copic Marker Australia and NZ
It's a new month which means a new Challenge over at Whimsy Stamps this month.
For my New Release project I have chosen to work with Penguin Trick Or Treaters, totally loving this image and had a great time putting this card together.
I printed the image onto X-Press It Blending Card and ran it through my Sizzix Big Shot using Lawn Fawn Stitched Circle die. I coloured the image up using Copic Markers then used some Uni-Ball white gel pen to add some details to the image.
I used my brand new EK Success Confetti Stars punch and some American Crafts black card stock to punch out some stars.
The patterned papers are from DCWV Spooky Halloween, I used plain card stocks from American Crafts and Kmart.
I adhered all the layers to a Couture Creations Card Base using Scotch ATG, the image was also adhered the same, for the stars I used American Tombow Mono Multi.
Once all the card was complete I added some Wink Of Stella Clear to the image.
I hope you have enjoyed my post today, if you have any questions feel free to send me a message or contact me via facebook (all links can be found below).
Watch the You Tube Video Here
Products Used On My Card (Affiliate Links Used Where Possible)
CAMERA SET UP - FOR YOU TUBE VIDEOS ONLY
Blue Yeti Microphone
Sony Handycam HDR CX4-05
Tripod – Manfrotto MKCompactaCN-BK
S O C I A L MEDIA
B L O G : http://angelhandmadepapercraft.blogspot.com.au/
I N S T A G R A M : http://instagram.com/angelhandmadepapercraft
YOU TUBE: http://www.youtube.com/c/AngelHandmadePapercraft
F A C E B O O K: http://www.facebook.com/angelhandmadepapercraft
PINTEREST: https://www.pinterest.com.au/angelhandmadepapercraft
I was a 2018 Ambassador for Copic Marker Australia and NZ