Saturday, 20 October 2018

Whimsy Stamps - Coffee Break with the Penguins

It feels weird for me making Winter cards, we are just out of winter months here in Australia it is starting to warm up which we are looking forward to.

On a positive I have loved making winter cards the past few weeks, how cute is this little Penguin from Whimsy Stamps, but would you expect anything else from Crissy Armstrong :-)  She is the Queen of Penguins.


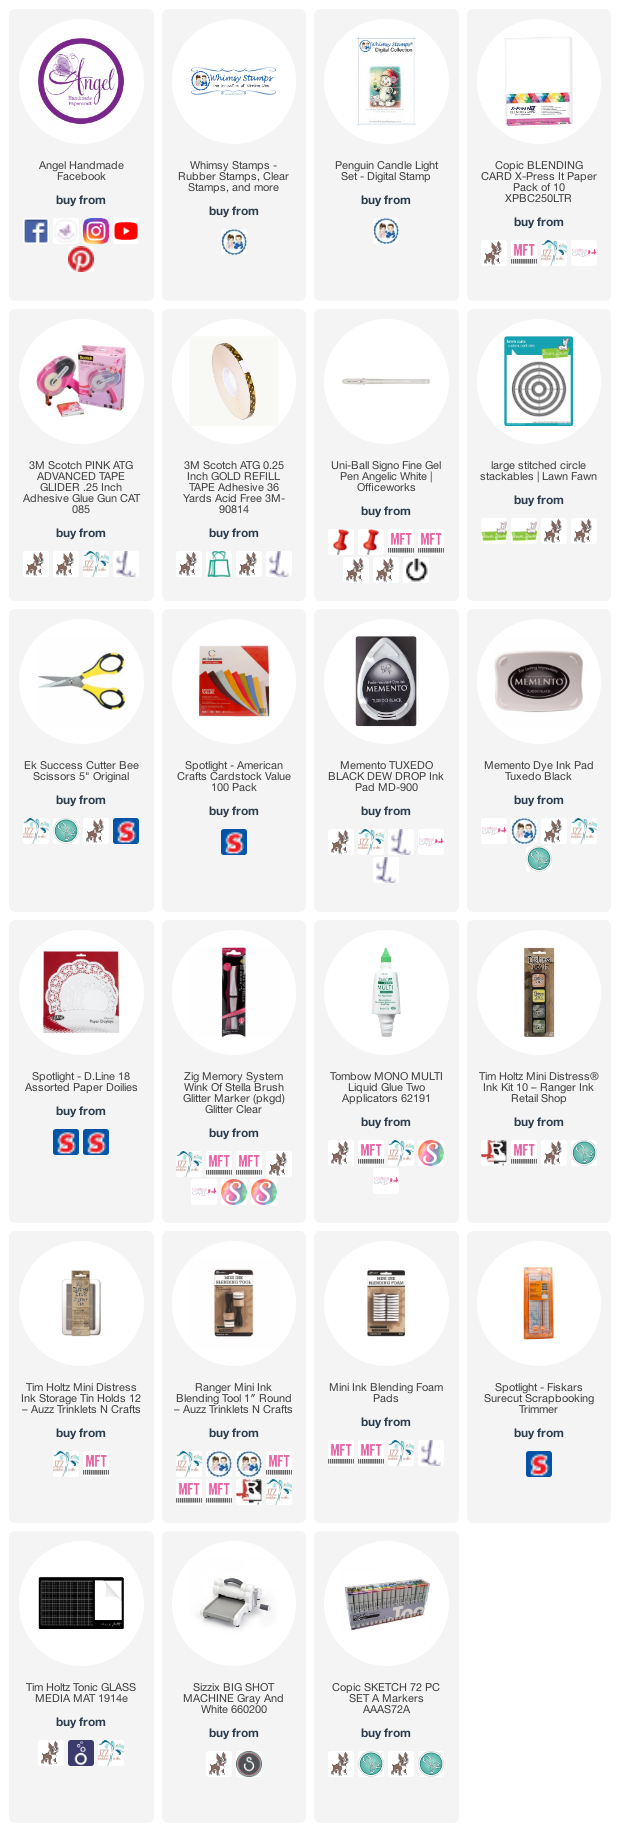
This is Penguin Coffee Break Set - Digital Stamp( WHM ) from Whimsy Stamps, and a digital file that you can download and print.


I printed the image and the sentiment onto X-Press It Blending Card using my Brother Laser Printer.

The patterned papers I have used on my card are from an American Crafts 6x6 Paper Pad called Hollyday. I cut two layers, one bigger layer and one a little bit bigger than the image. I adhered the larger piece to a Pre-made card base from Twiddleybitz (Unfortunately these are now retired). I added a doily on top of this piece using liquid adhesive.

The sentiment is also from Whimsy Stamps, I printed this when I printed the image out. I will try and find the link for that when I do the link ups at the end.

The Tree is cut from MFT Stamps Birch Trees dies, I ran them through my Sizzix Big Shot using Kraft Cardstock. I adhered them to the doily/patterned paper using American Tombow Mono Multi Liquid Adhesive. I then layered the smaller of the patterned papers down.

The image I ran through my Sizzix Big Shot using MFT Inside/Out Stitched Rounded Rectangles, I then adhered it to the smaller patterned paper piece using Scotch ATG. I ran some excess of the blending card through my Big Shot using MFT Stamps Snowflakes dies, and then adhered them using a small dab of liquid adhesive.

My card still needed a little more at this stage so I grabbed some green rhinestones from Kaisercraft and added them to the centre of my snowflakes.

Finally I cut the sentiment to size and adhered it to the bottom of my card using Scotch ATG.

I decorated the inside of the card to match using leftover pieces of the patterned papers.

I hope you have enjoyed my post today, if you have any questions feel free to send me a message or contact me via facebook (all links can be found below).


Products Used On My Card (Affiliate Links Used Where Possible)
Complete List here

Copic Markers Used


Thanks for stopping by, Deni

CAMERA SET UP - FOR YOU TUBE VIDEOS ONLY
Blue Yeti Microphone
Sony Handycam HDR CX4-05
Tripod – Manfrotto MKCompactaCN-BK

S O C I A L MEDIA 
B L O G : http://angelhandmadepapercraft.blogspot.com.au/
I N S T A G R A M : http://instagram.com/angelhandmadepapercraft
F A C E B O O K: http://www.facebook.com/angelhandmadepapercraft
PINTEREST: https://www.pinterest.com.au/angelhandmadepapercraft

PERSONAL BLOG 
ANGEL HANDMADE PAPERCRAFT: http://angelhandmadepapercraft.blogspot.com.au/

I am an Ambassador for Copic Marker Australia and NZ


Friday, 19 October 2018

Whimsy Stamps - Penguin and Reindeer Friend


How quick is Christmas coming, it's crazy! Christmas stamps have already started being released at Whimsy Stamps, and this one has got to be my favourite one so far.

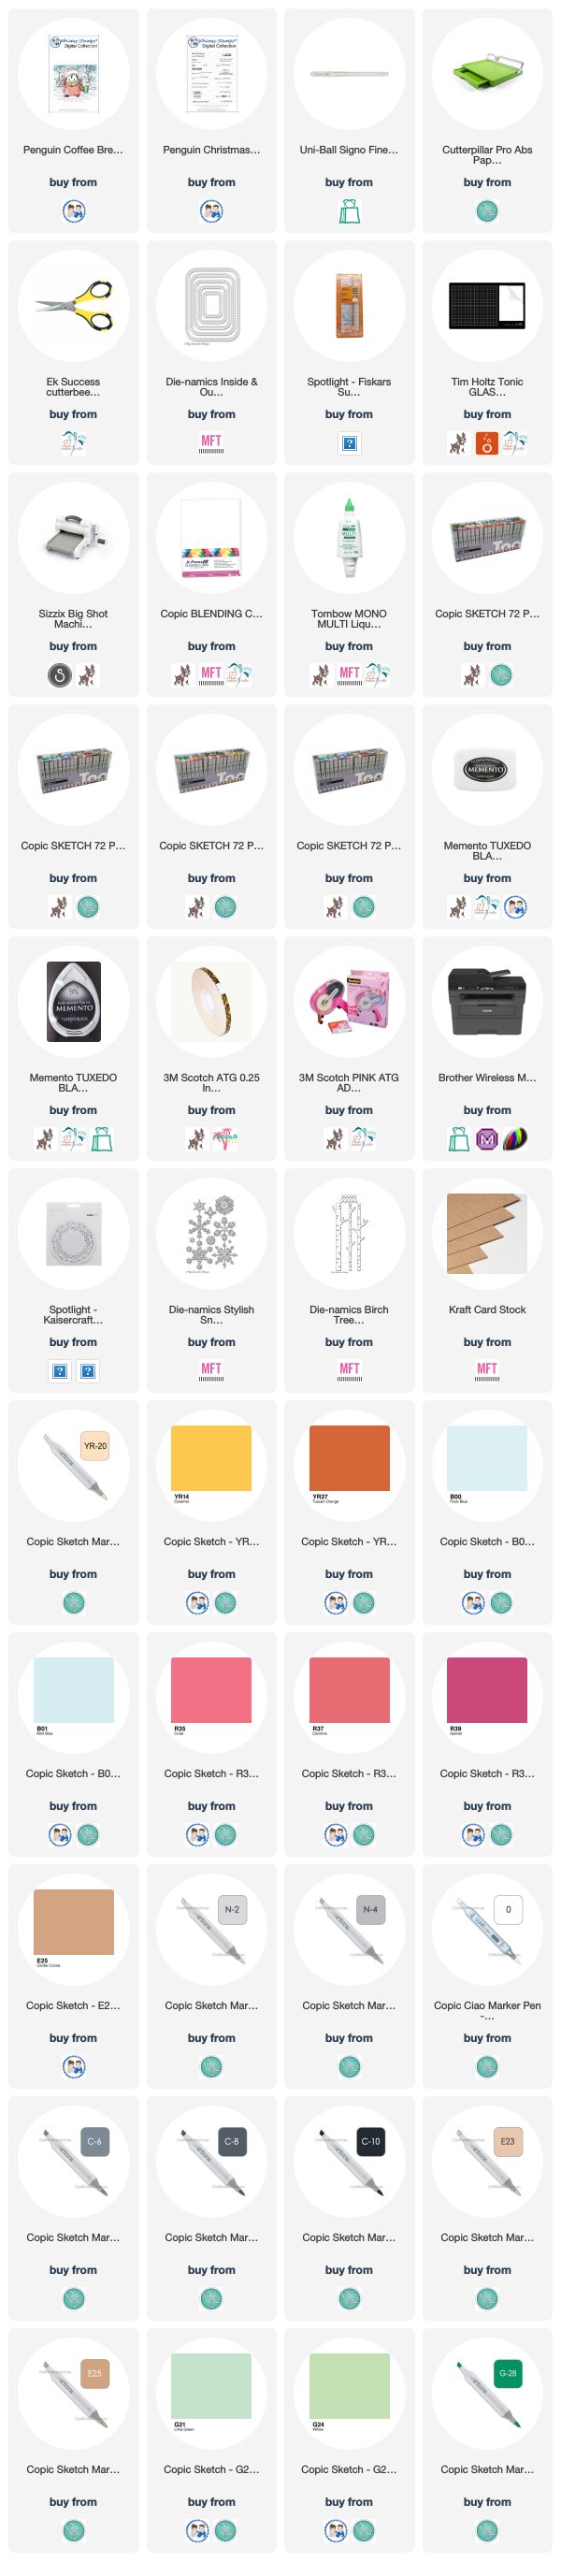
This is Penguin and Reindeer Friend from the Rubber Collection from Crissy Armstrong.


I stamped the image using Memento Tuxedo Black onto X-Press It Blending Cardstock then coloured it using Copic Markers. 

I wanted to use the design of the Kaisercraft Nesting Square Bracket, I traced the inside of the die over the image them fussy cut it using EK Success Cutterbee Scissors, I then used some brown American Crafts Cardstock and ran the die through my Sizzix Big Shot. 

                                                   
Once I had both layers cut I used some American Tombow Mono Multi Liquid Adhesive to adhere the two of them together. 

I used another layer of the brown cardstock to cut a mat layer, I then cut a patterned paper piece from Kaisercraft Mistle Toe 6 1/2inch Paper Pad and adhered them together. 

I cut another piece from the patterned paper and angled it, I adhered it using Scotch ATG then cut off the overhanging using Cutterbee Scissors. I then adhered the doily and all the other days. 
Everything was finally added to a Twiddleybitz Card base using the Scotch ATG. 


I hope you have enjoyed my post today, if you have any questions feel free to send me a message or contact me via facebook (all links can be found below).


Products Used On My Card (Affiliate Links Used Where Possible)


Copic Markers Used

T1, T3, 0
R20, 0
YR15, E97, YR24
E44, E44, E47, E49
B02, B04, B06
R35, R37, R39
E41, E43, E44, E47
YR24, YR27, E39
G82, G24, G28
C8, C10, 100
N2, 0

Thanks for stopping by, Deni

CAMERA SET UP - FOR YOU TUBE VIDEOS ONLY
Blue Yeti Microphone
Sony Handycam HDR CX4-05
Tripod – Manfrotto MKCompactaCN-BK

S O C I A L MEDIA 
B L O G : http://angelhandmadepapercraft.blogspot.com.au/
I N S T A G R A M : http://instagram.com/angelhandmadepapercraft
F A C E B O O K: http://www.facebook.com/angelhandmadepapercraft
PINTEREST: https://www.pinterest.com.au/angelhandmadepapercraft

PERSONAL BLOG 
ANGEL HANDMADE PAPERCRAFT: http://angelhandmadepapercraft.blogspot.com.au/

I am an Ambassador for Copic Marker Australia and NZ


Thursday, 18 October 2018

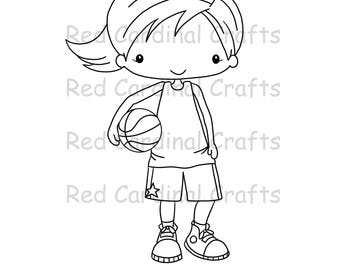
Basketball with Rose - Red Cardinal Crafts

Good Morning All!

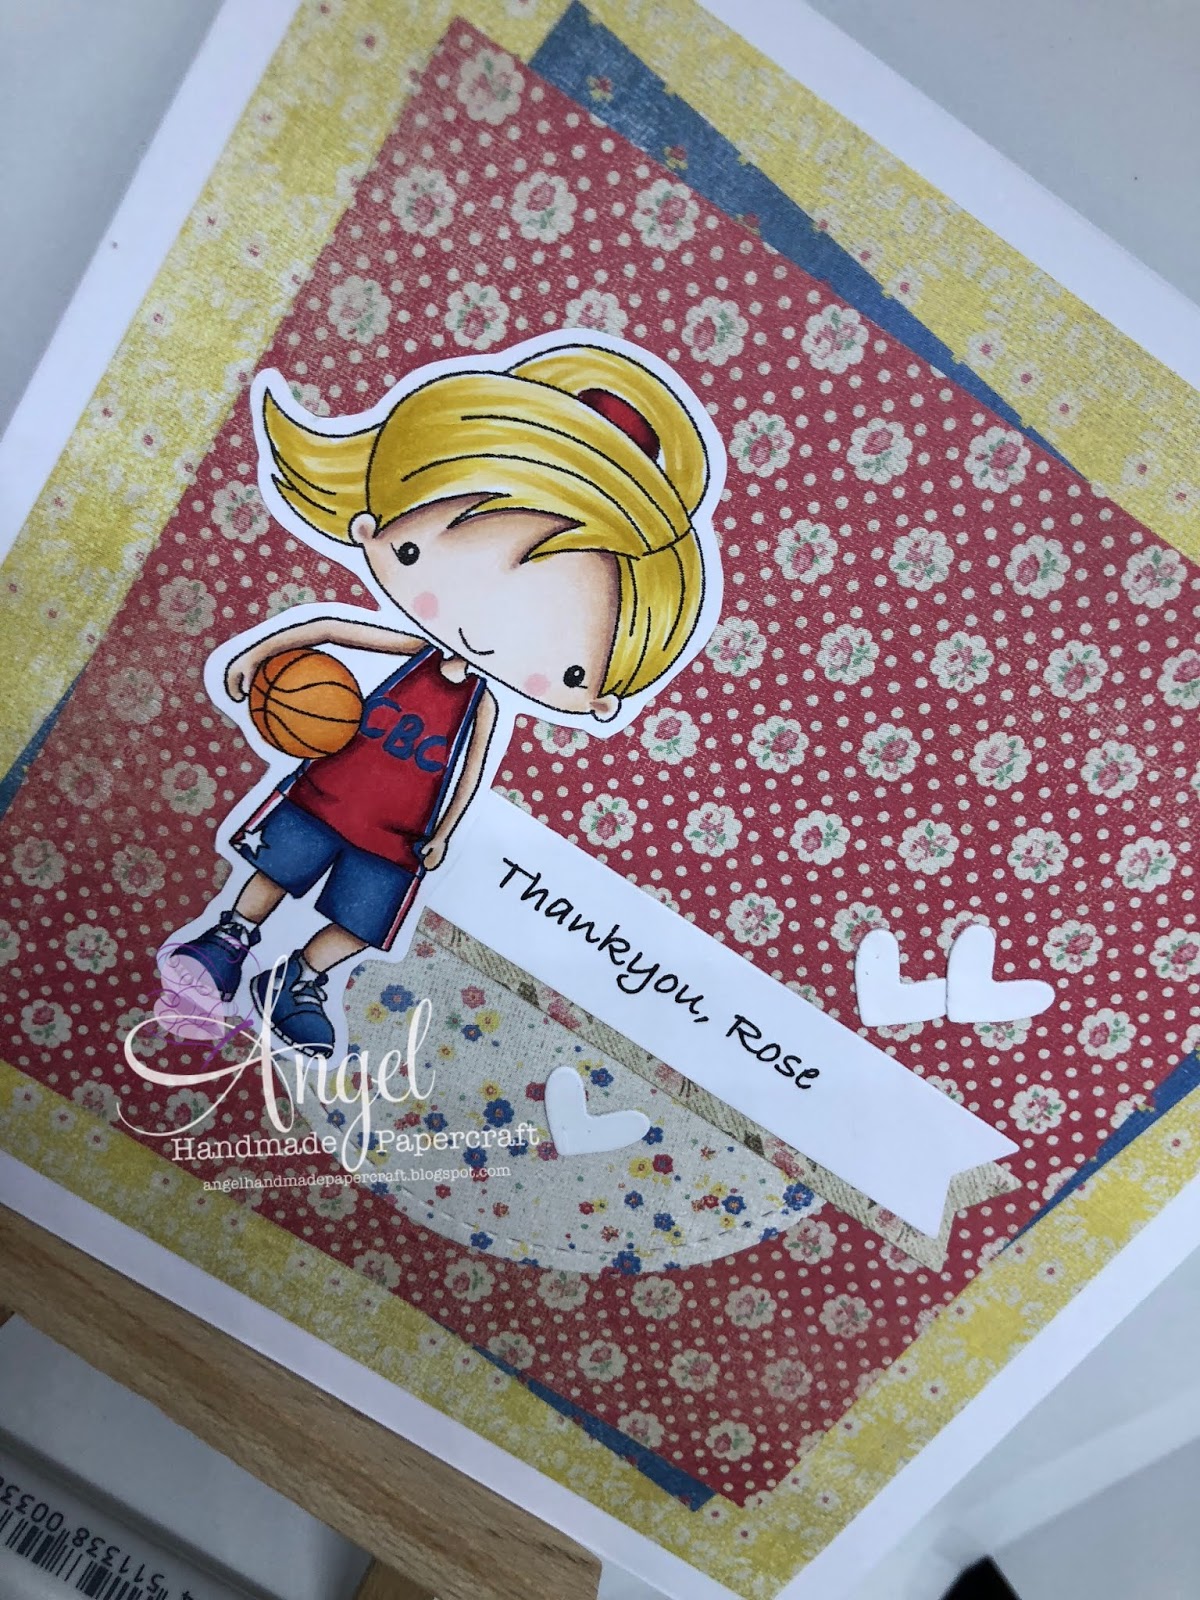
Today I just finished an order for a basketball girl card, this "Basketball Girl" Image from Red Cardinal Crafts was perfect.


I was able to personalise the image to make it look like the receiver which always makes my cards that little bit more special.


I coloured the image up using Copic Markers after printing onto X-Press It Blending Cardstock using my Brother Laser Printer.

I used patterned papers from Basic Grey - Mint Julep 6x6 Paper Pad, I loved using these smaller paper pads these days because I love the smaller images/patterns.

The layers were cut using Fiskars Surecut Trimmer and all adhered to a Twiddleybitz Card Base using Scotch ATG. Unfortunately these card bases are no longer available to purchase.

                             
The sentiment I created in MS Word as It was a special request sentiment, I also printed this on X-Press It Blending Card so the white card stocks were matching.

I ran some of the patterned paper through my Sizzix Big Shot using Lawn Fawn Stitched Circle die. The little hearts im unsure where they are from as they were sitting on my little tray on my desk from another project.


I used some of the leftover pieces of patterned papers to decorate the inside of my card.


I hope you have enjoyed my post today, if you have any questions feel free to send me a message or contact me via facebook (all links can be found below).


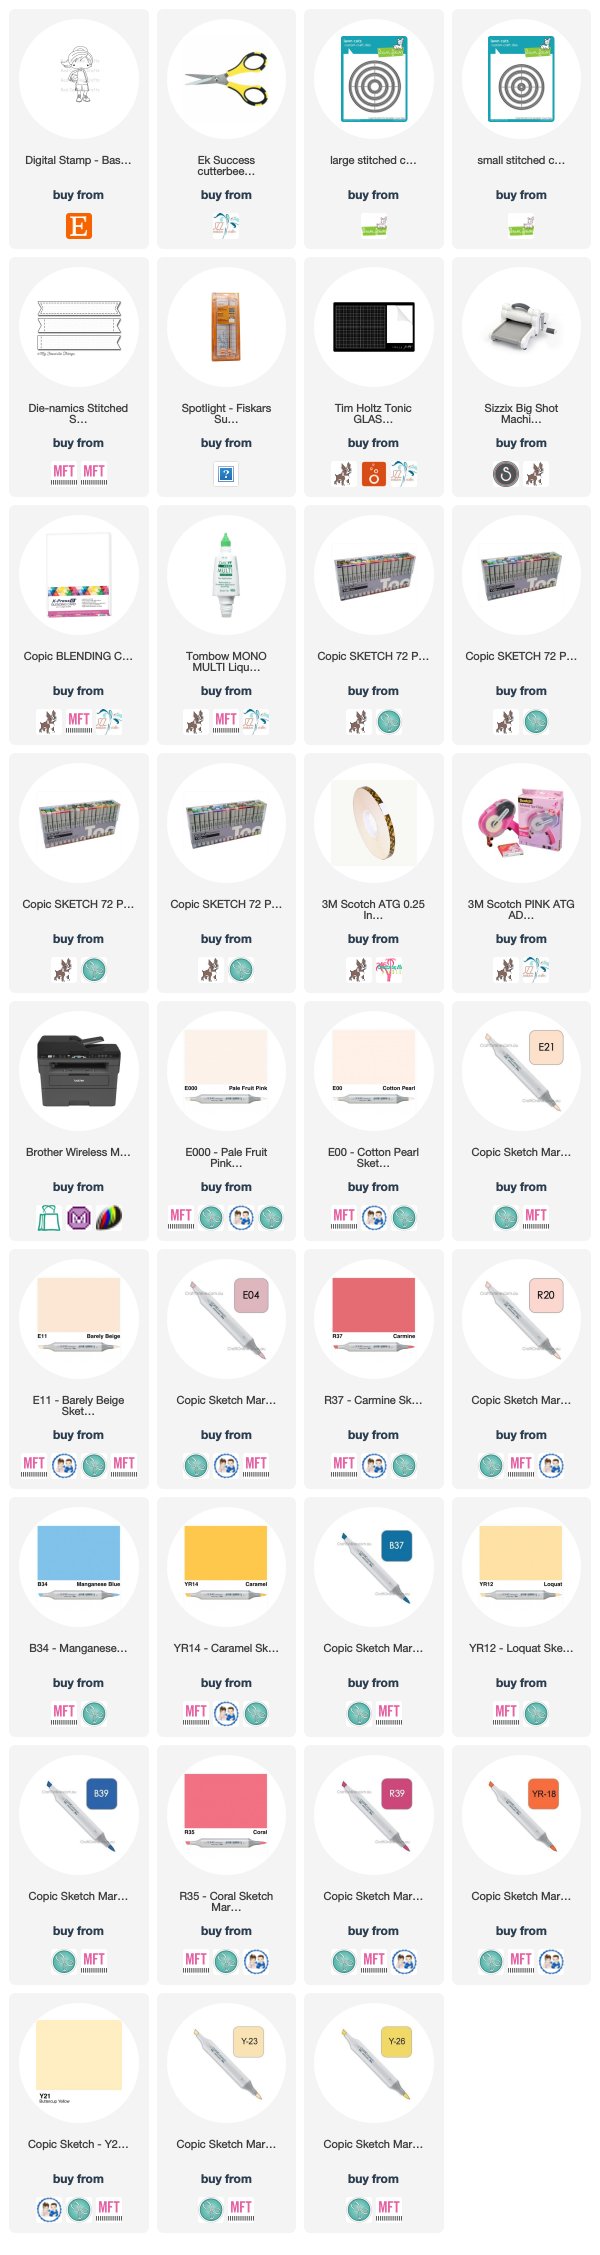
Products Used On My Card (Affiliate Links Used Where Possible)


Copic Markers Used


Thanks for stopping by, Deni

CAMERA SET UP - FOR YOU TUBE VIDEOS ONLY
Blue Yeti Microphone
Sony Handycam HDR CX4-05
Tripod – Manfrotto MKCompactaCN-BK

S O C I A L MEDIA 
B L O G : http://angelhandmadepapercraft.blogspot.com.au/
I N S T A G R A M : http://instagram.com/angelhandmadepapercraft
F A C E B O O K: http://www.facebook.com/angelhandmadepapercraft
PINTEREST: https://www.pinterest.com.au/angelhandmadepapercraft

PERSONAL BLOG 
ANGEL HANDMADE PAPERCRAFT: http://angelhandmadepapercraft.blogspot.com.au/

I am an Ambassador for Copic Marker Australia and NZ


Wednesday, 17 October 2018

Heartcraft Paper You are the Cat to My Witch

Good Morning my lovely followers,

Today is my Inspiration day over at Heartcraft Paper, I have decided to continue on my Halloween theme and I made this super cute card using Sarafina. (All links at bottom of blog post)


I decided to go with a simplistic design and only use a few layers and some washi tape.

I started by printing the image onto X-Press It Blending card using my Brother Laser Printer. I then jumped in and coloured the images up using Copic Markers.

I tried to carry the colours over from the Witch to the cat so I wasn't pulling in too many colours.


I cut a base layer using some black American Crafts Cardstock, I used my Fiskars Surecut Trimmer For this.

Once I had my base layer ready to go I grabbed one of my newer Halloween Paper Pads - DCWV Mat Stack Spooky Halloween. I love this paper pad because it has so many awesome designs, problem is deciding whether to use the front or back designs. Such a difficult decision when they are all so nice. sometimes if you won't see a lot of the patterned paper I will cut the centre out using a die cut so I can save it for another project.


I decided to go with the halloween lollipops, I also cut a smaller piece of the cross bones to use on the right hand side of my layout.. here is where I was playing around with what I was going to do.. I decided to stop myself there with the patterned papers. I added the image on which I had cut down to size. I adhered all these layers using Scotch ATG.

Once I had all these bits and pieces done my card still didn't feel complete, this is where I noticed my washi tape on my desk. I tore off a small piece and added it to the bottom of the image. My card was now finally complete.

Like I said at the start it was actually quite a simple design, but it worked perfectly and let the image be the main thing on my card.


I hope you have enjoyed my post today, if you have any questions feel free to send me a message or contact me via facebook (all links can be found below).


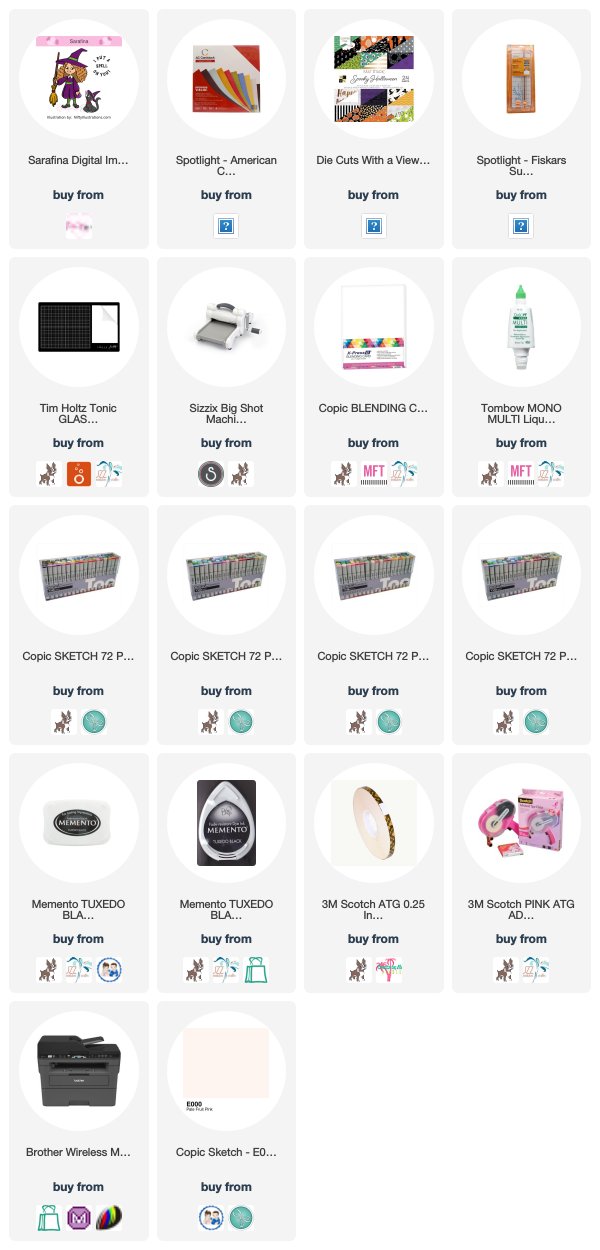
Products Used On My Card (Affiliate Links Used Where Possible)


Copic Markers Used

E000, E00, E21, E11, E04, R20
W6, W3, 0
YG01, YG07
E31, E34
YR21, YR24, E17
E37, E39
C6, C8, C10, 100

Thanks for stopping by, Deni

CAMERA SET UP - FOR YOU TUBE VIDEOS ONLY
Blue Yeti Microphone
Sony Handycam HDR CX4-05
Tripod – Manfrotto MKCompactaCN-BK

S O C I A L MEDIA 
B L O G : http://angelhandmadepapercraft.blogspot.com.au/
I N S T A G R A M : http://instagram.com/angelhandmadepapercraft
F A C E B O O K: http://www.facebook.com/angelhandmadepapercraft
PINTEREST: https://www.pinterest.com.au/angelhandmadepapercraft

PERSONAL BLOG 
ANGEL HANDMADE PAPERCRAFT: http://angelhandmadepapercraft.blogspot.com.au/

I am an Ambassador for Copic Marker Australia and NZ


Sunday, 14 October 2018

Time For Tea Designs - Frankencutie

Hi Everyone,

As the Month of Halloween continues I am having so much fun creating Halloween cards.


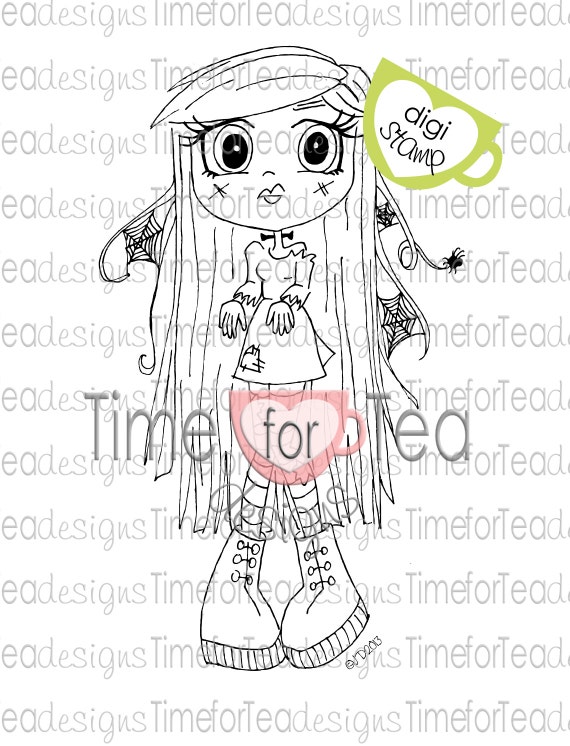
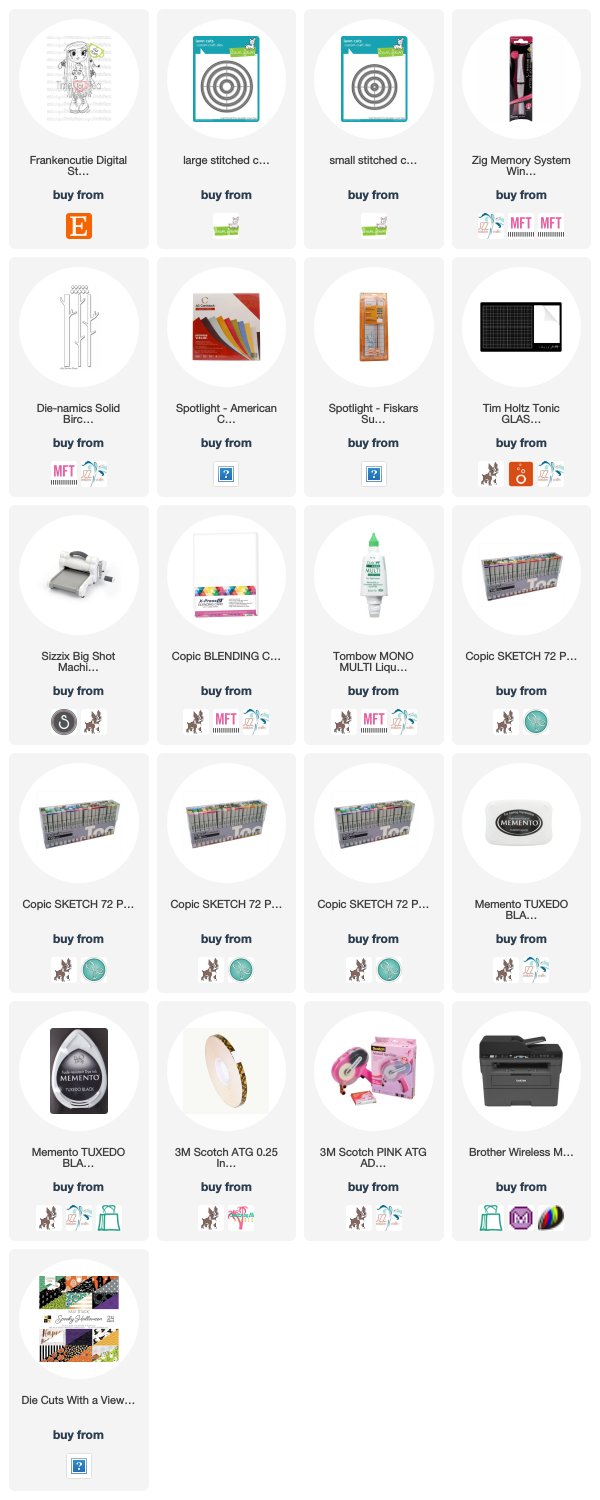
Today I have used Frankencutie from Time For Tea Designs on my card, she is a digital stamp and perfect for Halloween.                    

I have printed the image onto X-Press It Blending Cardstock then coloured her up using Copic Markers. I wanted to stick with the Frankenstein type of look for this image so I decided to colour her up using Green Copic Markers for her skin.

image 0

I also had this great idea to give her orange dipped black hair and it turned out exactly as I had expected and I love it :-)

I will have all the Copic Markers used at the end of my blog post incase you want to try out some new combos.

The image was cut out using a Lawn Fawn Stitched Circle (I have my large and small in one package so i'm not sure which size I used), I ran the die through my Sizzix Big Shot.

I used a paper pad from DCWV called Mat Stack Spooky Halloween, it is the smaller 6x6 Paper Pad as I love the smaller designs on the smaller sheets. All these pieces were adhered to a Twiddleybitz Card Base using American Tombow Mono Multi Liquid Adhesive.


I added a few different embellishment die cuts on my card, unfortunately a lot of the them are retired but they are my favourite Halloween bits and pieces so I continue to use them. 

I adhered all the bits and pieces using American Tombow Mono Multi liquid adhesive, this is my go to liquid adhesive. 

I hope you have enjoyed my post today, if you have any questions feel free to send me a message or contact me via facebook (all links can be found below).


Products Used On My Card (Affiliate Links Used Where Possible)

Other products used - Memory Box Dangling Spiders, Swooping Bats dies
                                   CC Designs - Witches Fence (All Retired Products)

Copic Markers Used
W6, W3, 0
YG21, YG13, YG07, YG01, R20
T10
YR16, YR07
V06, V09
RV55, RV66
C4, C6, C8
B02

Thanks for stopping by, Deni

CAMERA SET UP - FOR YOU TUBE VIDEOS ONLY
Blue Yeti Microphone
Sony Handycam HDR CX4-05
Tripod – Manfrotto MKCompactaCN-BK

S O C I A L MEDIA 
B L O G : http://angelhandmadepapercraft.blogspot.com.au/
I N S T A G R A M : http://instagram.com/angelhandmadepapercraft
F A C E B O O K: http://www.facebook.com/angelhandmadepapercraft
PINTEREST: https://www.pinterest.com.au/angelhandmadepapercraft

PERSONAL BLOG 
ANGEL HANDMADE PAPERCRAFT: http://angelhandmadepapercraft.blogspot.com.au/

I am an Ambassador for Copic Marker Australia and NZ


Saturday, 13 October 2018

Whimsy Stamps - Let the Candle Light The Way


Hi Everyone,


I have started learning how to use my distress inks a little bit more, this week I have been working on light, so candles fire etc..


I have used Whimsy Stamps Penguin Candle Light by Crissy Armstrong. You can purchase the image using the image links below. I love all of Crissy's Penguins I don't know how she does it every month but she is amazing as a designer.


I printed onto X-Press It Blending Card using my Brother Laser Printer and coloured the image up using Copic Markers.

I grabbed a Ranger Mini Ink Blending Tool and some Squeezed Lemonade Distress Ink and carefully blended into a circlish shape around the candle including over the face a little. I then grabbed my Wink Of Stella Clear Glitter brush and coated all the shine just to make it that little bit shinier.

I ran the image through my Sizzix Big Shot using a Stitched Circle Die from Lawn Fawn, I love the faux stitching look.

Once I had my image prepped I started putting my card together. I grabbed a Twiddleybitz Pre Made Card Base, added some mat layers from American Crafts Cardstock. The patterned papers are from Kaisercraft Mistletoe 6x6 Paper Pad. I cut them all to size using Cutterpillar Pro trimmer.


I adhered the pieces to my card base using Scotch ATG, I then grabbed a doily from my stash and glued that down using American Tombow Mono Multi Liquid Adhesive. (I use liquid Adhesive on my doilies otherwise I had a tendency to tear them because they are so thin)

Using my tape runner again I popped the image onto the doily. I used some smaller offcuts of the patterned papers to create some banners, they were then adhered.
Finally the sentiment which was also from the same patterned paper pad, I cut it down leaving just the red edge.

I had some leftover MFT Stamps snowflakes from another project so I cut once in half and slid it in behind the doily.

Once I was finished I used all the same bits and pieces to decorate the inside of my card.

Check out the You Tube Video Here  


I hope you have enjoyed my post today, if you have any questions feel free to send me a message or contact me via facebook (all links can be found below).


Products Used On My Card (Affiliate Links Used Where Possible)


Copic Markers Used

N2, N4, N6
W3, W5, R20, 0
Y04, YR07
YR21, YR07, YR27
C6, C8, C10, R20
E34, E35, E37
C2, C4, 0
B01, B02, B04, B06

Thanks for stopping by, Deni

CAMERA SET UP - FOR YOU TUBE VIDEOS ONLY
Blue Yeti Microphone
Sony Handycam HDR CX4-05
Tripod – Manfrotto MKCompactaCN-BK

S O C I A L MEDIA 
B L O G : http://angelhandmadepapercraft.blogspot.com.au/
I N S T A G R A M : http://instagram.com/angelhandmadepapercraft
F A C E B O O K: http://www.facebook.com/angelhandmadepapercraft
PINTEREST: https://www.pinterest.com.au/angelhandmadepapercraft


I am a 2018 Ambassador for Copic Marker Australia and NZ

A Rose With Sympathy - Heartcraft Paper

Sympathy cards are one of the hardest cards to make, I struggle with them all the time, so I try to get some made before I need them.


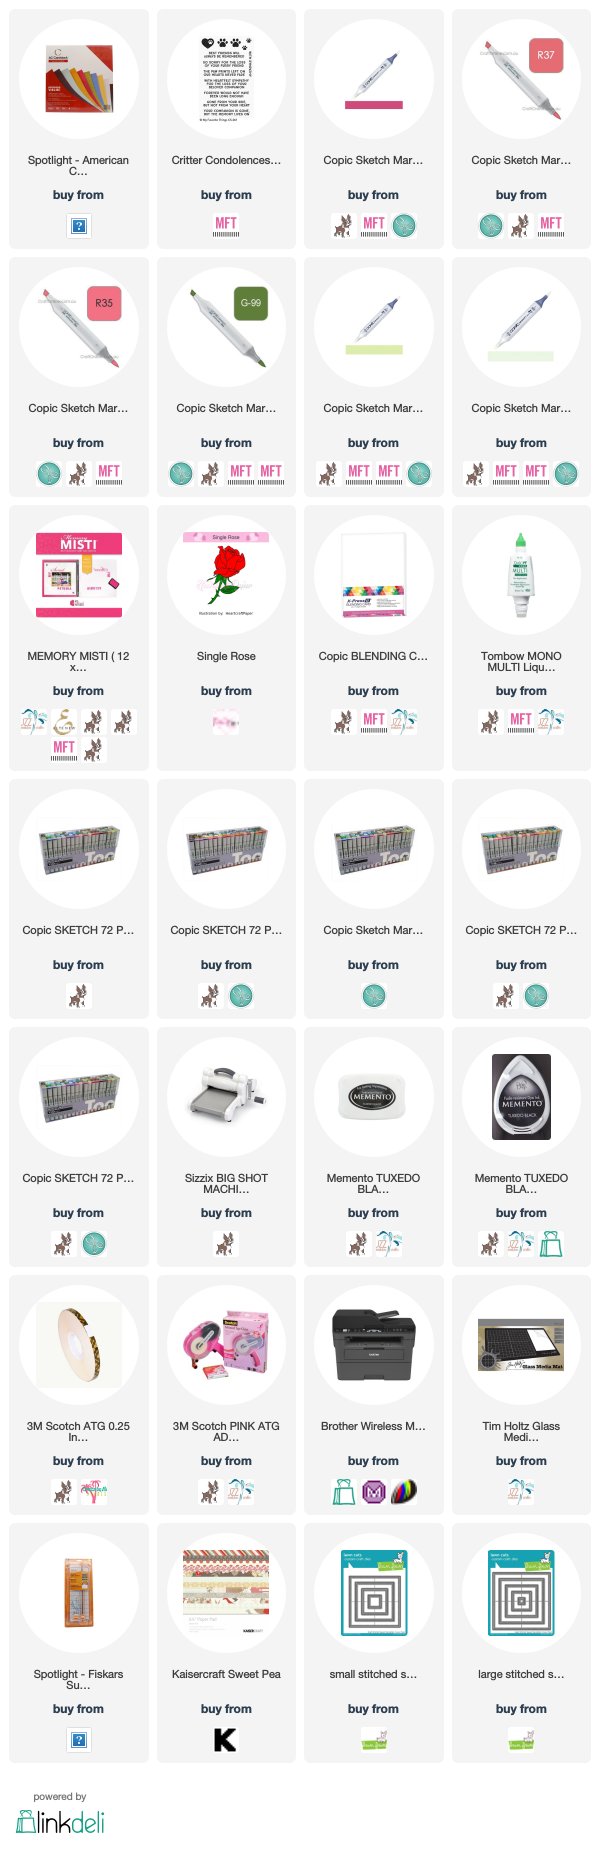
I love this Rose image from Heartcraft Paper, it is one of the prettiest roses i've seen in a long time. I actually coloured this one up a while ago and found it in my coloured up tray and thought it would be perfect for a Sympathy card. I wanted to show you can use an image for different occasions to give it different meaning.

I printed the image onto X-Press It Blending Cardstock using my Brother Laser Printer and coloured it using Copic Markers.

The sentiment came from MFT Stamps Critter Condolences, I put the image into my Misti Stamping Tool so I didn't accidentally bugger it up, and inked it up using Memento Tuxedo Black.


I cut some patterned paper layers from Kaisercraft Sweet Pea 6.5" Paper Pad using Fiskars Surecut Trimmer, which I then matted onto American Crafts Cardstocks using Scotch ATG. I glued a Doily on top of the patterned papers.

I ran the image through my Sizzix Big Shot using Lawn Fawn Stitched Squares die.

Products Used On My Card (Affiliate Links Used Where Possible)


Copic Markers Used

G40, G43, G99
R35, R37, R39

I hope you have enjoyed my post today, if you have any questions feel free to send me a message or contact me via facebook (all links can be found below).


Thanks for stopping by, Deni

You can find my cards for sale here
https://www.facebook.com/angelhandmadepapercraft

My You Tube Here
https://www.youtube.com/c/AngelHandmadePapercraft/

Instagram Here
http://instagram/angelhandmadepapercraft

Pinterest Here
https://www.pinterest.com.au/DeniAngelHandmade/