Friday, 12 October 2018

Penguin Spook - Whimsy Stamps

Good Morning Everyone,

Today I am sharing with you a rubber stamp from Whimsy Stamps called Penguin Spook Nite. I made some bookmarks using the stamp a few weeks ago which I hope you guys seen.


This image is such a pleasure to colour up with Copic Markers.

                                            
I grabbed some die cut elements from my desk that I had been using a lot of this week (I can't help it I love making Halloween cards). Most unfortunately are retired but I will link up what I can.

All the dies were run through my Sizzix Big Shot with American Crafts Cardstock. I also added a doily from my stash.

I ran a Lawn Fawn Stitched Circle die through also with some American Crafts Cardstock. I also added some Washi Tapes which I had been hoarding in my stash.

All the patterned papers used were from DCWV Mat Stack Spooky Halloween.

I hope you have enjoyed my post today, if you have any questions feel free to send me a message or contact me via facebook (all links can be found below).


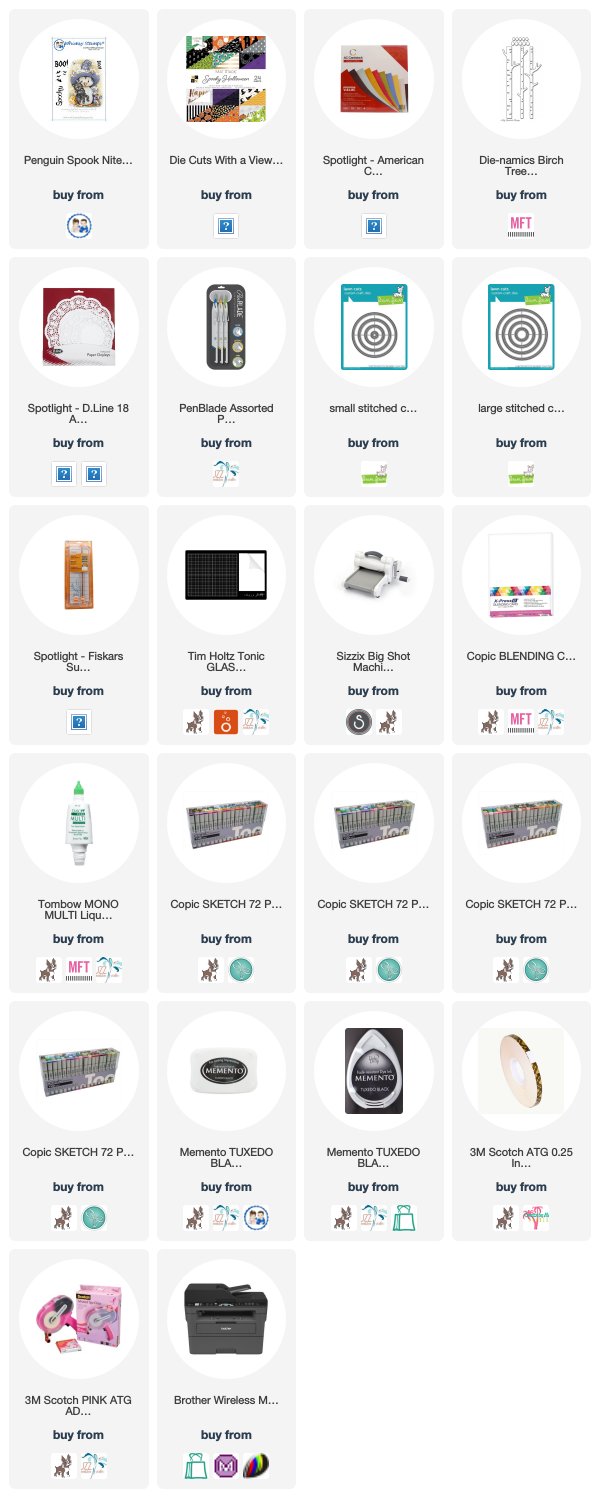
Products Used On My Card (Affiliate Links Used Where Possible)


Thanks for stopping by, Deni

CAMERA SET UP - FOR YOU TUBE VIDEOS ONLY
Blue Yeti Microphone
Sony Handycam HDR CX4-05
Tripod – Manfrotto MKCompactaCN-BK

S O C I A L MEDIA 
B L O G : http://angelhandmadepapercraft.blogspot.com.au/
I N S T A G R A M : http://instagram.com/angelhandmadepapercraft
F A C E B O O K: http://www.facebook.com/angelhandmadepapercraft
PINTEREST: https://www.pinterest.com.au/angelhandmadepapercraft

PERSONAL BLOG 
ANGEL HANDMADE PAPERCRAFT: http://angelhandmadepapercraft.blogspot.com.au/

I am an Ambassador for Copic Marker Australia and NZ


Sunday, 7 October 2018

Witchy Greetings with Time For Tea Designs

Hey everyone,

I am loving all the Halloween stamps from Time For Tea this month and have created another using the same image I used last week called Witchy Polly.


This time I was playing with giving her a bit of a glow effect using my Copic Markers. I coloured the image and then decided to give it some extra glow.


I printed her onto X-Press It Blending Cardstock using my Brother Laser Printer.

I cut a green layer and a black layer of American Crafts Cardstock to create mats using my Fiskars Surecut Trimmer and then I used some of the excess black cardstock to cut the fence. I used a die from La La Land Crafts called Frightful Fence which I ran through my Sizzix Big Shot.

Using some patterned paper from DCWV Mat Stack Spooky Halloween I cut a layer to lay on top, this is the only piece of patterned paper I used on the front of this card.

I ran the image through my Sizzix Big Shot machine using Stitched Circle die from Lawn Fawn Stamps.

I adhered all the mat layers using Scotch ATG. Once I had those done I started moving onto the embellishments and die cuts. As I said above I cut the fence using a La La Land Crafts, but I also cut the tombstone from a La La Land Crafts die (all links will be below).
I used American Tombow Mono Multi Liquid Adhesive on the fence to make sure it was all adhered nicely, I also used in the Tombstone but it was mainly just because it was still on my desk, it wasn't really necessary to use a liquid adhesive.

The stars are also from a La La Land Crafts die, the Filigree Stars die set. I used some excess American Crafts card stock to cut these out.

Lastly was the spider webs in the corners, I used Neat and Tangled Booed dies which I ran through my Sizzix Big Shot and more of the American Crafts Cardstock. (I keep two little tubs next to my Trimmer full of offcuts - one with white and one with black).

Once I had everything completed I adhered it to a Twiddleybitz Card Base using the Scotch ATG, I then used all the same bits and pieces to decorate the inside of the card.


I hope you have enjoyed my post today, if you have any questions feel free to send me a message or contact me via facebook (all links can be found below).


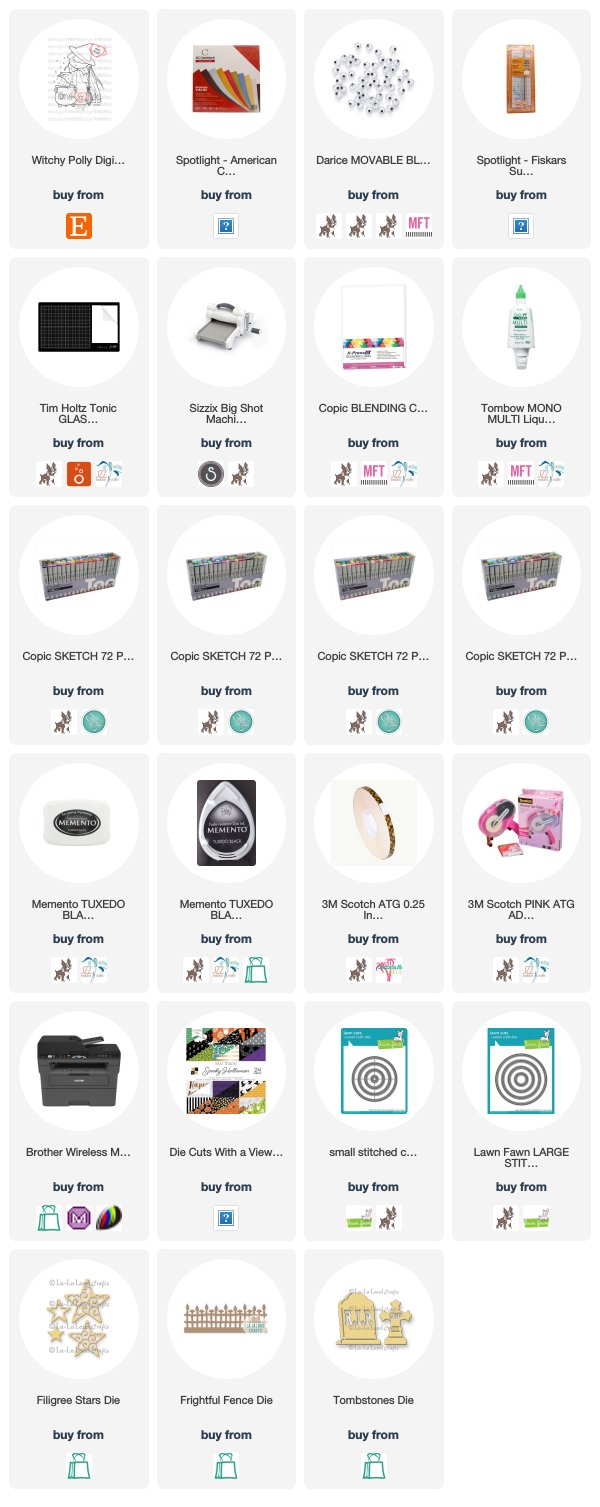
Products Used On My Card (Affiliate Links Used Where Possible)
**Witchy Polly link is currently broken, I am in process of having it fixed, please use this link to purchase the image Witchy Polly


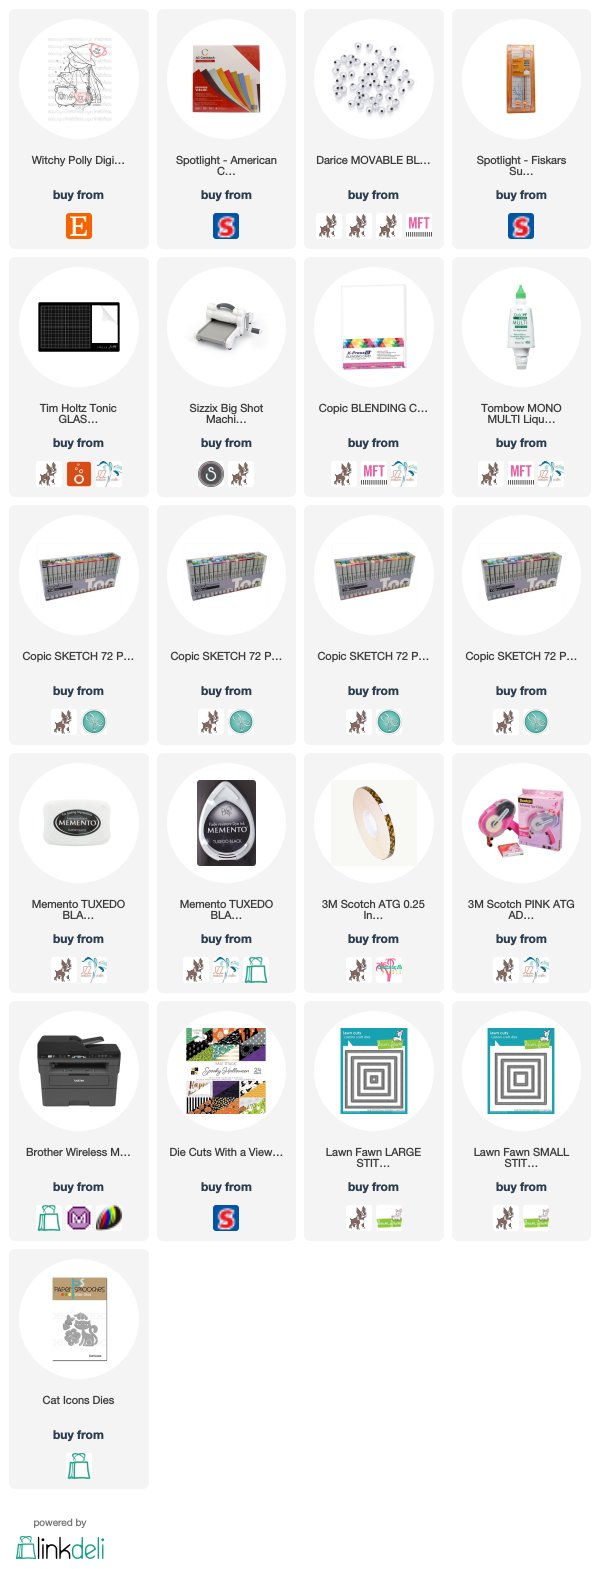
Copic Markers Used

E000, E00, E21, E11, E04, R20
W00, W1, W4, 0
E30, E35, E37, E39
YR20, YR21, YR24, YR27, E09
C6, C8, C10
V12, V15, V17
BG0000, BG000, BG15, V000
FYG1

Thanks for stopping by, Deni

You can find my cards for sale here
https://www.facebook.com/angelhandmadepapercraft

My You Tube Here
https://www.youtube.com/c/AngelHandmadePapercraft/

Instagram Here
http://instagram/angelhandmadepapercraft

Pinterest Here
https://www.pinterest.com.au/DeniAngelHandmade/

Saturday, 6 October 2018

Happy Holiday Mail with Whimsy Stamps

Who doesn't love getting happy mail in the letterbox? Well I do ofcourse, nothing makes you smile more that getting a little letter or a card in the mail. This is Pretty Girl Happy Mail & Penguin Christmas Sentiments from the October New Release of Whimsy Stamps

I printed the image using my Brother Laser Printer and X-Press It Blending Cardstock.


I actually done something totally not my style with this card, I actually wasn't sure what I wanted to do with this placement so I actually put the card together before I even coloured the image up haha. I don't know why it happened that way but whatever works.

I cut some layers from American Crafts Cardstock using my Fiskars Sure Cut Trimmer and adhered them to a Twiddleybitz Card Base using Scotch ATG.

Once I had those layers down I started working out what I was going to do with the patterned papers. I cut one square layer then cut some smaller strips to later cut into banners. I used my EK Success Cutterbee Scissors to banner the strips.

I then grabbed a doily from my stash and adhered that over top the patterned layers using American Tombow Mono Multi Liquid Adhesive.

I cut the snowflakes on my Sizzix Big Shot using MFT Stamps Stylish Snowflakes, I used an excess piece of the X-Press It Blending Card so the colours would match exactly.

This is now where I began colouring up my image using Copic Makers in colours to match my patterned papers. I then cut the image into a rectangle and cut some mat layers using excess from the larger prices that I cut earlier.

I decided to run the image through my Big Shot using the snowflake die so I could inlay one back in. It turned out great.

I grabbed some Nuvo Crystal Drops to add to the centre of the snowflakes.. this is where it all went wrong. I was busy doing a million things at the same time and some how messed up one of them.. it's bound to happen just happens to me more than others haha.

I grabbed some Kaisercraft Crystals to try and over it up, you can still see it but it doesn't bother me too much, we all make mistakes and boo boos... this was mine :-)


I hope you have enjoyed my post today, if you have any questions feel free to send me a message or contact me via facebook (all links can be found below).


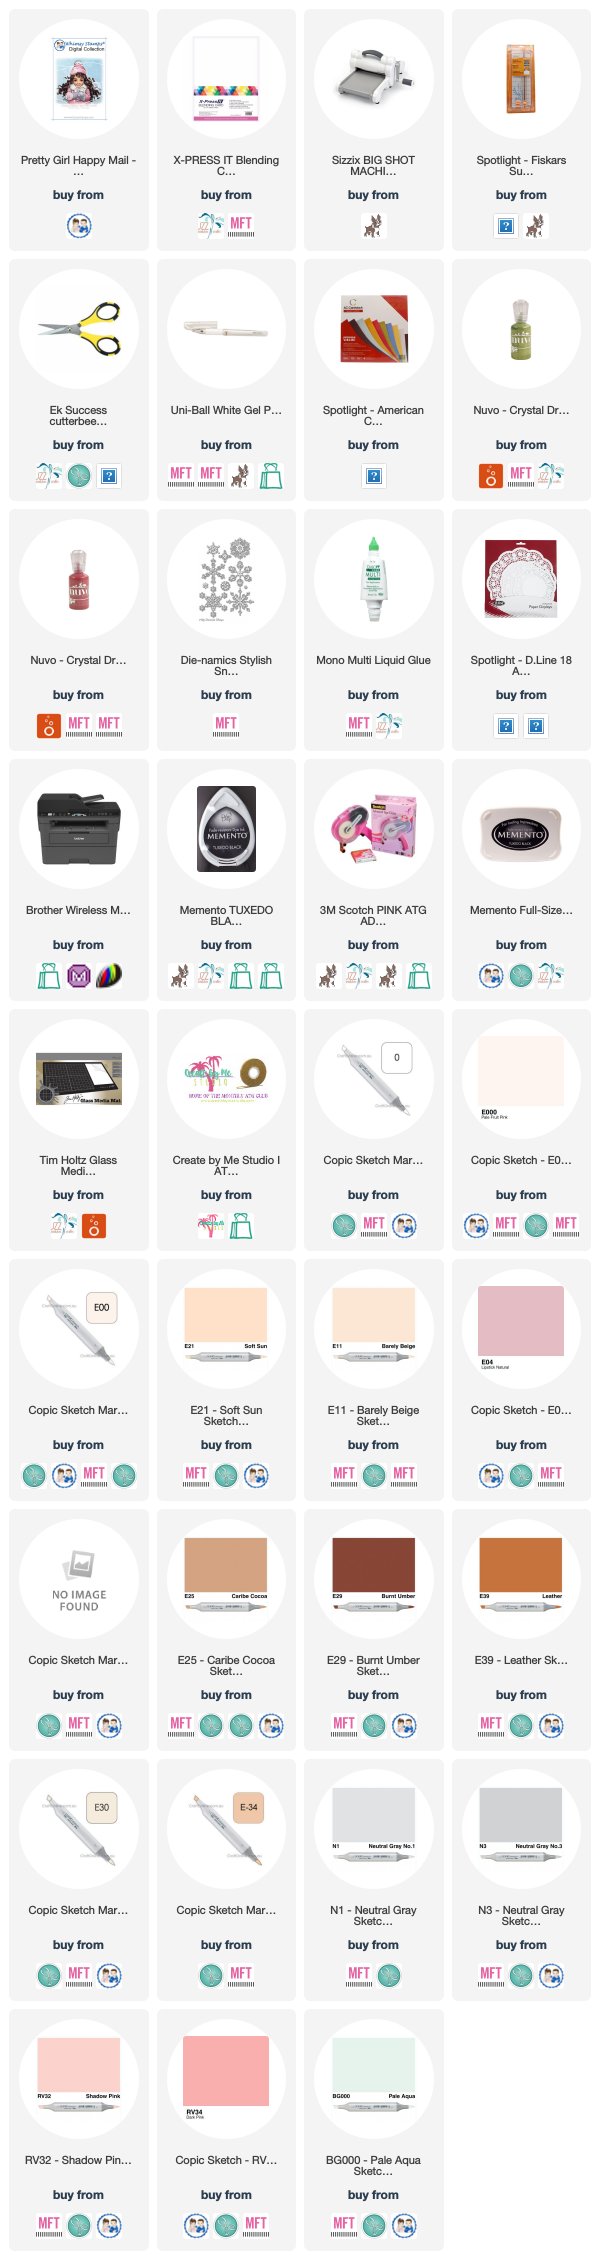
Products Used On My Card (Affiliate Links Used Where Possible)


Copic Markers Used

E000, E00, E21, E11, E04, R20
BG000
RV32, RV34
N1, N3, 0
E25, E27, E29
E30, E34, E39

Thanks for stopping by, Deni

You can find my cards for sale here
https://www.facebook.com/angelhandmadepapercraft

My You Tube Here
https://www.youtube.com/c/AngelHandmadePapercraft/

Instagram Here
http://instagram/angelhandmadepapercraft

Pinterest Here
https://www.pinterest.com.au/DeniAngelHandmade/

Wednesday, 3 October 2018

MFT Stamps - Get Straight To The Point

As the end of the year draws closer it is time to start working on Teacher Thank You cards, so before the kids start asking me for them a few days before the end of the school year I am trying to make a start on them now.. I cant even think about Christmas Cards just yet.

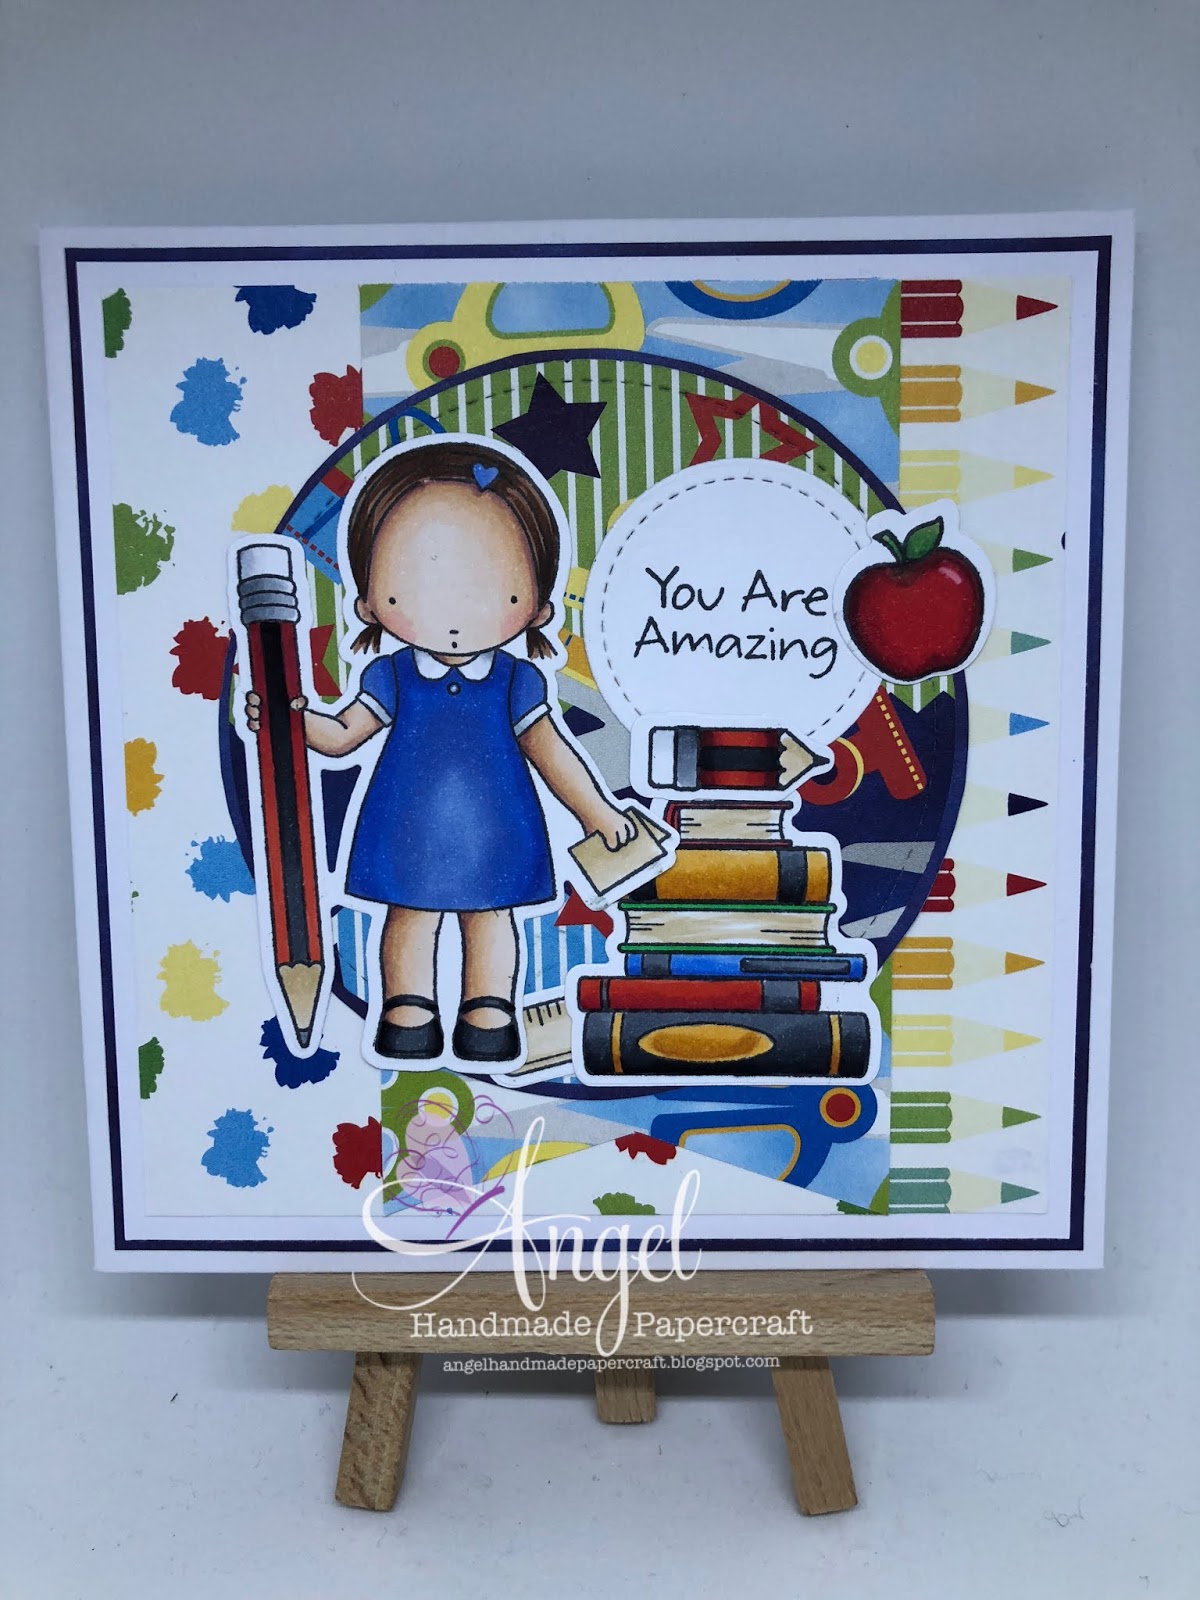
I used a retired stamp set from MFT Stamps called Straight To The Point, I also teamed it up with another of their retired stamp sets called Class Act.


I coloured them up using my go to medium Copic Markers after first stamping them onto Mondi Color Copy using Memento Tuxedo Black.


You can watch the You Tube Video Here


I used patterned papers from Sugar & Spice Studio - School Days, I have had this paper pad for what feels like forever and barely use it as I dont make many school cards, so I knew it needed to be pulled out for this card today.

I ran some through my Sizzix Big Shot using Lawn Fawn Stitched Circle dies and the bannerI actually did just using EK Success Cutterbee Scissors.


I ran the images through also just using the matching dies which I just taped down using Washi Tape just so that they didnt move.

I used some American Crafts Cardstock for the layers inbetween the patterned papers.

All the layers were then adhered to a Twiddleybitz Card Base (now retired) using Scotch ATG and all the bits and pieces I used American Tombow Mono Multi Liquid Adhesive.

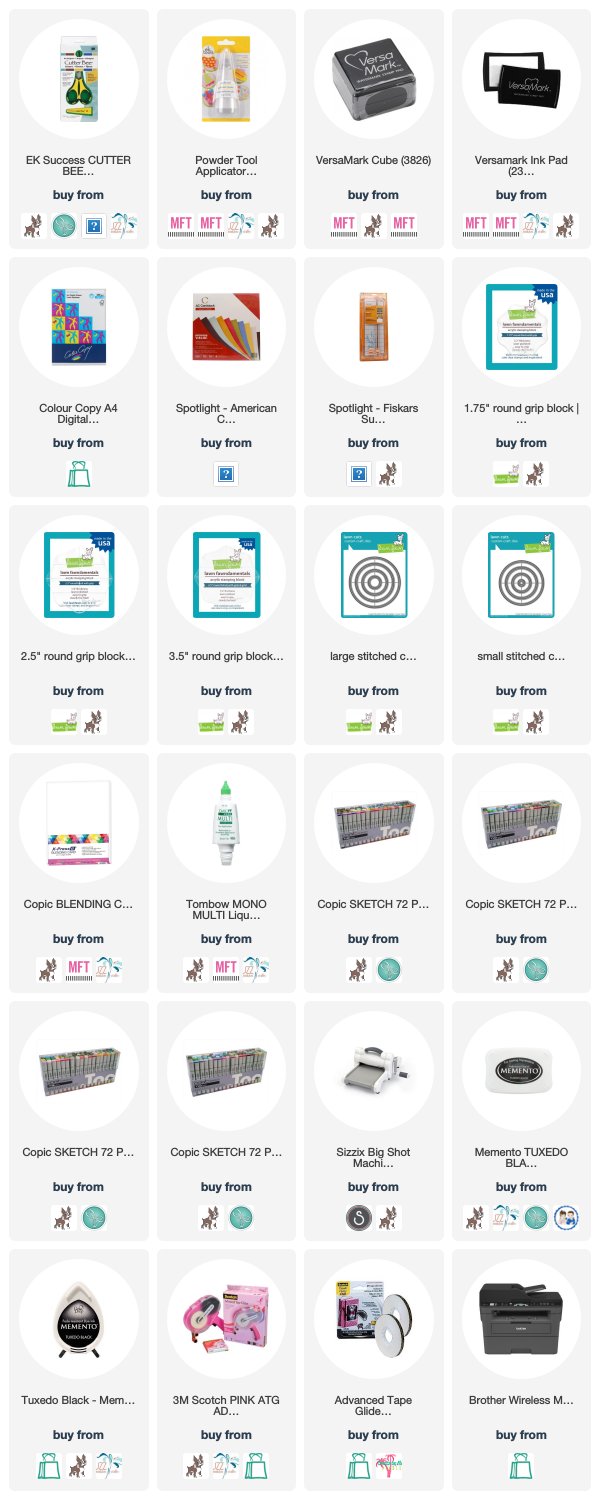
Products Used On My Card


I hope you have enjoyed my post today, if you have any questions feel free to send me a message or contact me via facebook (all links can be found below).


Thanks for stopping by, Deni

You can find my cards for sale here
https://www.facebook.com/angelhandmadepapercraft

My You Tube Here
https://www.youtube.com/c/AngelHandmadePapercraft/

Instagram Here
http://instagram/angelhandmadepapercraft

Pinterest Here
https://www.pinterest.com.au/DeniAngelHandmade/

Tuesday, 2 October 2018

Arrrrr It's A Pirate Bunny with Heartcraft Paper

Hey everyone,

Hope you are all well, I have had the pleasure of working with this little cutie from Heartcraft Paper called Pirate Bunny, isn't he just the cutest :-) He was designed as a Halloween image however I wanted to go for a boy birthday card type theme.


I printed the image on X-Press It Blending Cardstock then coloured it up using Copic Markers. I didn't use a lot of colours but I got a lot of definition with what I did use.

Once I had the image coloured up I used a Lawn Fawn Stitched Circle and ran it through my Sizzix Big Shot.


I used an excess piece of white cardstock to stamp my sentiment onto, I used a retired CC Designs Stamp Set for this called Pirate Sayings. I inked it up using Memento Tuxedo Black and a Lawn Fawn Fawn Acrylic Block.

I cut some mat layers from American Crafts Cardstock which I cut using my Fiskars Surecut Trimmer. I used a patterned paper pad from Crafter's Choice called Cheeky Pirate (unfortunately this is also retired I have had it for a very long time) to cut the top layer. I also found a sheet in this pad which was full of puzzle pieces, so I used my EK Success Cutterbee Scissors to fussy cut just one of them out.


I adhered all the layers to a Twiddleybitz Card Base (no longer available), I cut the wheel from some brown card stock that I had in my scraps bin using Kaisercraft Decorative Die - Lighthouse, this is actually a set of two dies. I ran the die through my Sizzix Big Shot.

Using American Tombow Mono Multi Liquid Adhesive I adhered the wheel and the puzzle piece.

This was my card complete.

I hope you have enjoyed my post today, if you have any questions feel free to send me a message or contact me via facebook (all links can be found below).


Products Used On My Card (Affiliate Links Used Where Possible)

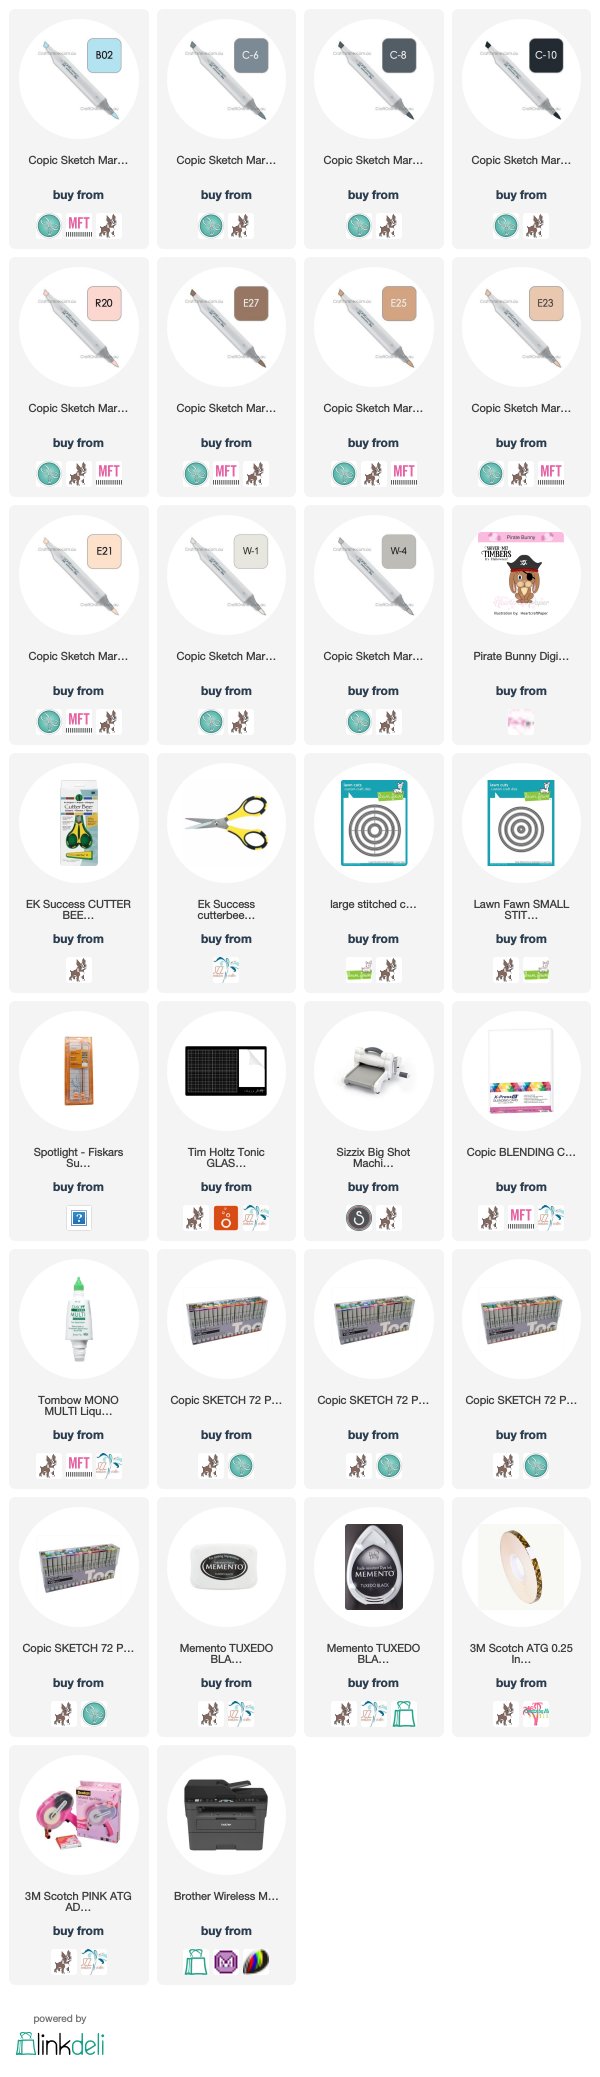
Copic Markers Used

W1, W4
E21, E23, E25, E27
R20
C6, C8, C10
B02

Thanks for stopping by, Deni

You can find my cards for sale here
https://www.facebook.com/angelhandmadepapercraft

My You Tube Here
https://www.youtube.com/c/AngelHandmadePapercraft/

Instagram Here
http://instagram/angelhandmadepapercraft

Pinterest Here
https://www.pinterest.com.au/DeniAngelHandmade/

Monday, 1 October 2018

Scruffy Christmas with Whimsy Stamps

Hooray it's New Release Time at Whimsy Stamps and I am super excited to share with you Scruffy Cat and Penguin Christmas Sentiments. I thought these paired up quite well.


I used my Brother Laser Printer and X-press it Blending Cardstock to print my image and sentiment out, I then coloured it up using Copic Markers.

I had this paper pad from last Christmas called Mistletoe - from Kaisercraft, I think I actually got it on clearance just after Christmas so I wasn't able to use much of it, it is such a lovely paper pad.


I cut a layer using my Fiskars Surecut Trimmer then cut some layers from American Crafts Cardstock to mat my patterned paper square onto.

I grabbed a punch out from the same paper pad and ran it down the right hand side of my card. I adhered all those layers using Scotch ATG. I then grabbed a doily and using American Tombow Mono Multi Liquid Adhesive layered it on top of the patterned paper square.


I trimmed my image down a little more that I had originally planner because I wanted to be able to see a bit more of the patterned paper.

I had some tiny stars on my desk try from another project so I squeezed a little Tombow adhesive onto my Ranger Glass Media Mat and using a Pick up Tool I carefully dabbed them in then adhered them to my card. Once I was done I grabbed a wet baby wipe and cleaned my mat off before it dried.

I grabbed the Number 25 pop out from the same paper pad and I adhered that to the right hand side of my card using Scotch ATG.

When I was finished I grabbed the sentiment I printed earlier and cut it down a little using my Fiskars Sure Cut Trimmer and EK success Cutterbee scissors to banner the end of it. I adhered it using Scotch ATG. I trimmed the excess from the side using my scissors.

Once I had everything all complete I adhered them to a Twiddleybitz Pre Made Card Base (no longer available to purchase).

Products Used On My Card

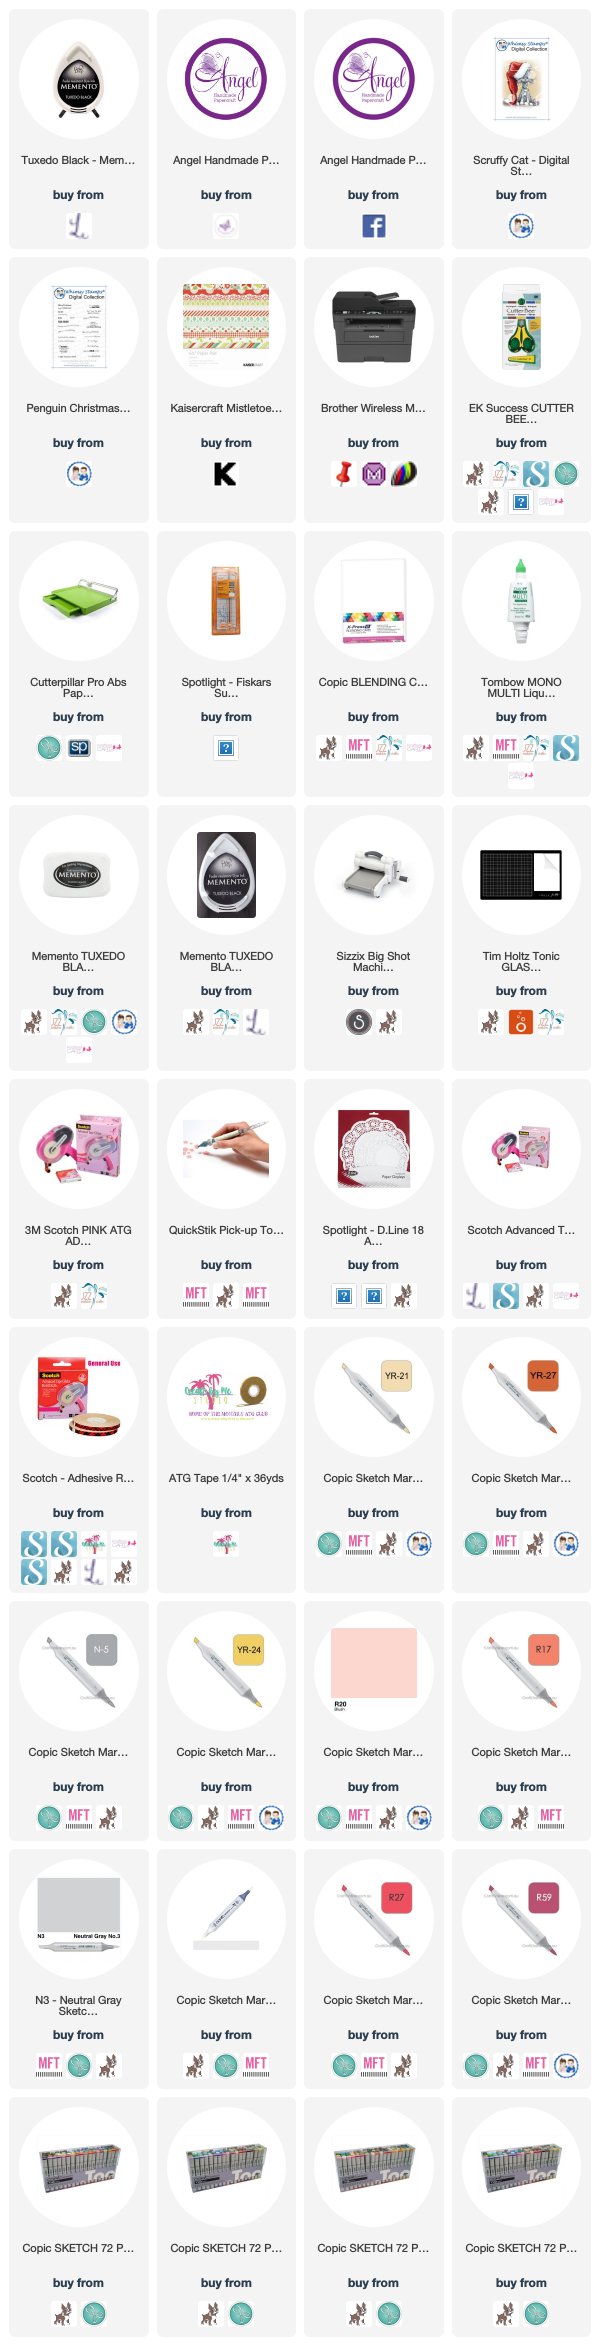
Copic Markers Used

YR21, YR24, YR27
R17, R27, R59
N1, N3, N5, R20


I hope you have enjoyed my post today, if you have any questions feel free to send me a message or contact me via facebook (all links can be found below).


Thanks for stopping by, Deni

You can find my cards for sale here
https://www.facebook.com/angelhandmadepapercraft

My You Tube Here
https://www.youtube.com/c/AngelHandmadePapercraft/

Instagram Here
http://instagram/angelhandmadepapercraft

Pinterest Here
https://www.pinterest.com.au/DeniAngelHandmade/

Witchy Polly - Time For Tea Designs

A new month begins, that means October is here and Halloween is not far away. I am not a Halloween Celebrater but absolutely love making Halloween Cards.


Watch The You Tube Video Here


It is also a new Challenge Month and the theme is ANYTHING GOES, as long as you have used an image from Time For Tea Designs. Pop over to the Facebook page or you can enter on the blog. Don't forget to share with us in the Community Page all your awesome creations.


I used a Stamp called Witchy Polly from Time For Tea Designs, she is super sweet and spooky.


I printed the image onto X-Press It Blending Cardstock using my Brother Laser Printer, I had so much fun colouring this image up with Copic Markers that I coloured a second one at the same time ready for another card this month.


I hope you have enjoyed my post today, if you have any questions feel free to send me a message or contact me via facebook (all links can be found below).


Products Used On My Card (Affiliate Links Used Where Possible)

**Witchy Polly link is currently broken, I am in process of having it fixed, please use this link to purchase the image https://www.etsy.com/au/listing/161361505/witchy-polly-digital-stamp?ga_search_query=witchy&ref=shop_items_search_2


Copic Markers Used

E000, E00, E21, E11, E04, R20
YR20, YR21, YR24, YR27, E09
E30, E35, E37, E39
V12, V15, V17
W00, W1, W4
B0000, N0
C6, C8, C10

Thanks for stopping by, Deni

You can find my cards for sale here
https://www.facebook.com/angelhandmadepapercraft

My You Tube Here
https://www.youtube.com/c/AngelHandmadePapercraft/

Instagram Here
http://instagram/angelhandmadepapercraft

Pinterest Here
https://www.pinterest.com.au/DeniAngelHandmade/