Thursday, 30 September 2021

BCF Breast Cancer Awareness Bear

Hope Everyone is well :-)

Today I have a card to share with you that I created a while back but haven't had a chance to share on here with you guys. 


I printed the image onto X-Press It Blending Cardstock using my Brother Laser Printer.

I coloured the image using Copic Markers, added extra details using a white gel pen and Derivan Kindy Glitz. I love the final details you can add to an image and how it can finalise a card.


I fussy cut the image using EK Success Cutterbee Scissors, leaving just a small border around the outside. 


The patterned papers I am using are from Pebbles Ever After Collection, I trimmed them down using my Cutterpillar Pro and matted them onto some pink cardstock from my stash (they may possibly be from American Crafts). 


Using Tonic Studios Nuvo Crystal Drops in Dark Walnut.

The sentiment is from Whimsy Stamps Everyday Banner Digital Sentiments, I also printed them onto X-Press It Blending Card and trimmed down using my Cutterbee Scissors.


I adhered all the layers to a Couture Creations Card Base and decorated the inside of the card using leftovers of the patterned papers.


I hope you have enjoyed my post today, if you have any questions feel free to send me a message or contact me via facebook (all links can be found below).

Watch the You Tube Video Here


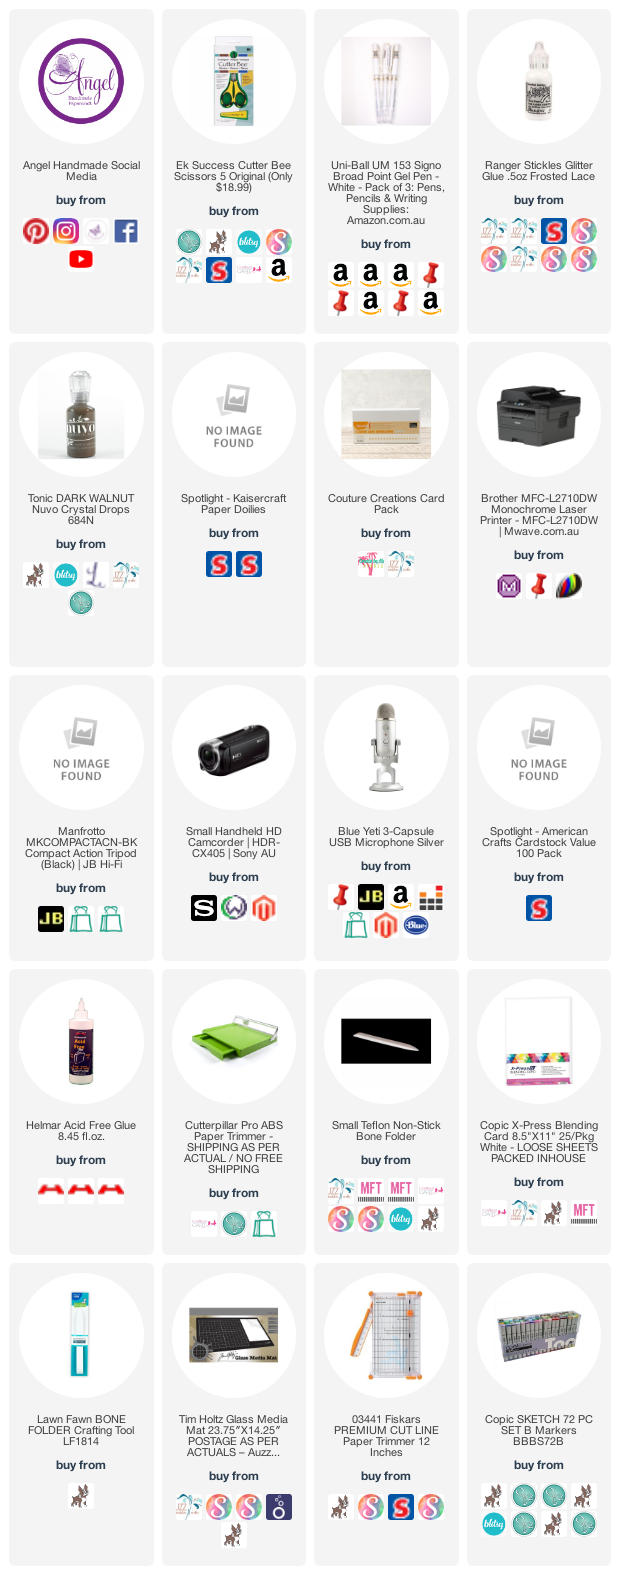
Products Used On My Card (Affiliate Links Used Where Possible)


Copic Markers Used
 
NO LIST FOR THIS PROJECT SORRY

Thanks for stopping by, Deni

CAMERA SET UP - FOR YOU TUBE VIDEOS ONLY
Blue Yeti Microphone
Sony Handycam HDR CX4-05
Tripod – Manfrotto MKCompactaCN-BK

S O C I A L MEDIA 
B L O G : https://ldli.co/e/3xky6x 
I N S T A G R A M : https://ldli.co/e/5dn20x
YOU TUBE: https://ldli.co/e/ej5l90 
F A C E B O O K: https://ldli.co/e/mjxn2r
PINTEREST: https://ldli.co/e/2l9zom


I was a 2018 Ambassador for Copic Marker Australia and NZ


Wednesday, 29 September 2021

MFT Stamps - Unicorns and Glitter

Hi Everyone,

I had an order for a 1st Birthday Card to go with some of my cupcakes last week, and the Unicorns and Glitter stamp set from MFT Stamps was perfect. 


I inked up the stamp using Memento Tuxedo Black and an acrylic block then stamped the images onto X-Press It Blending Cardstock. 

I coloured the image up using Copic Markers and added extra details using Uni-Ball Signo Broad Gold Pen, I will link up a few different brands of gold pens. 


I ended up stamping and colouring the little puppy out also.

Using my EK Success Cutterbee Scissors I fussy cut the image leaving just a small border, there is a die set that goes with this stamp set however I don't own it. I have linked it up for you in the picture links below. 


The patterned papers I have used are from Kmarts Anko - Blue Blossom Mini Stack, I matted it using some pink cardstock that I had in my stash. I added a doily from my kitchen using Helmar Acid Free. 


I adhered the image onto a MFT Stamps Stitched Circle that I had die cut from some leftover X-Press It cardstock. 


The gorgeous balloons was also cut from patterned papers from the paper pad, the tail was a leftover from another project. I cut the number 1 using an older die set from MFT Stamps called Little Numbers and some leftover white cardstock. 


I added some stars using EK Success Star Confetti punch. 


I love the way the card turned out and the recipient also loved it :-)


I hope you have enjoyed my post today, if you have any questions feel free to send me a message or contact me via facebook (all links can be found below).


Products Used On My Card (Affiliate Links Used Where Possible)


Copic Markers Used

N6, N8, N10
Y17, YR18
E000, E00, E21, E11, E04, R20
R81, R83, R85

Thanks for stopping by, Deni

CAMERA SET UP - FOR YOU TUBE VIDEOS ONLY
Blue Yeti Microphone
Sony Handycam HDR CX4-05
Tripod – Manfrotto MKCompactaCN-BK

S O C I A L MEDIA 
B L O G : https://ldli.co/e/3xky6x 
I N S T A G R A M : https://ldli.co/e/5dn20x
YOU TUBE: https://ldli.co/e/ej5l90 
F A C E B O O K: https://ldli.co/e/mjxn2r
PINTEREST: https://ldli.co/e/2l9zom


I was a 2018 Ambassador for Copic Marker Australia and NZ


Tuesday, 28 September 2021

Whimsy Stamps - Gnome Trick Or Treat

Good Morning Everyone :-)

Today I am sharing with you the first of many Halloween Cards I will be creating.


This is Gnome Trick or Treat from Whimsy Stamps Digital Collection.


I printed the image onto X-Press It Blending Cardstock using my Brother Laser Printer.

Using a Cross Stitch Circle die from another brand a ran the image through my Sizzix Big Shot.


I coloured the image up using Copic Markers which I will have a full list of down below.

I pulled out my Tim Holtz Ranger Distress Inks (I have the minis however the big ones are the same if you have those). I used Seedless Preserves and a Mini Ink Blending Tool making sure I started blending off the image so I wouldn't get those horrible lines, make sure you are blending in nice smooth circles and keep the same pressure. 


I used Ink On 3 Liquid Pixie Dust to carefully drip all around my image and soak up using some Kitchen Paper Towel, it has an awesome effect on the Distress Ink. 


I printed papers from Whimsy Stamps Digital Paper Collections - Autumn Beauty and Wonky Circles, I used more distress ink to give them that Halloween look. I used Seedless Preserves and Black Soot. I matted the patterned papers on some old cardstock and some American Crafts Black Cardstock.


I wrapped some twine around the bottom two layers and adhered it using Scotch ATG. Finally I adhered all those layers to a Couture Creations Card Base. I found this old spider die from Memory Box called dangling spider, so glad I sorted some of my stamps and dies into theme draws :-)


I used some Foam dots to adhered the image on top of that layer and the twine. I then had this cool idea to add some spooky eyes to the background and remembered I had a big tub of googly eyes :-)


I used leftovers of the papers to decorate the inside of the card and finally we were complete. 


I hope you have enjoyed my post today, if you have any questions feel free to send me a message or contact me via facebook (all links can be found below).

Watch the You Tube Video Here


Products Used On My Card (Affiliate Links Used Where Possible)


Copic Markers Used

YR20, YR24, YR07
W1, W5, 0 Colorless Blender
N6, N8, N10
V04, V06, V09
E25, E27, E29
E55, E25, E59

Thanks for stopping by, Deni

CAMERA SET UP - FOR YOU TUBE VIDEOS ONLY
Blue Yeti Microphone
Sony Handycam HDR CX4-05
Tripod – Manfrotto MKCompactaCN-BK

S O C I A L MEDIA 
B L O G : https://ldli.co/e/3xky6x 
I N S T A G R A M : https://ldli.co/e/5dn20x
YOU TUBE: https://ldli.co/e/ej5l90 
F A C E B O O K: https://ldli.co/e/mjxn2r
PINTEREST: https://ldli.co/e/2l9zom


I was a 2018 Ambassador for Copic Marker Australia and NZ


Saturday, 25 September 2021

Whimsy Stamps - Big Friends by Sylvia Zet

Hi Everyone, 

Hope you are all well, I apologise for my delay in posts I've been in a serious creative slump lately. 

I managed to put together this card using Bug Friends by Sylvia Zet for Whimsy Stamps


I printed the image onto X-Press It Blending Cardstock using my Brother Laser Printer, this makes the image completely Copic Safe. I coloured the image up using Copic Markers, added extra details using a Uni-Ball Signo white gel pen. 


I cut down a mat layer of orange cardstock from some of my old cardstock collection, then some patterned papers from Pebbles Inc Everyday Paper Pad.


I printed Everyday Sentiments Digital Sentiments from Whimsy Stamps, trimmed down the Happy Birthday one, I used my EK Success Cutter bee to banner up the left side.


I ran the image through my Sizzix Big Shot using a Lawn Fawn Stitched Circle die, I will link up a few different options for you. 


I added some stars from EK Success Star Confetti punch, I cut them from the layers of cardstock and patterned papers. 


I coated some parts of the image and the stars using Derivan Kindyglitz, a very similar product to Stickles. 


I coloured up the sentiment and flowers also using Copic Markers and used that on the inside of my card, I think it finished it off perfectly.


I am really happy with the way that the card turned out and hope you guys like it too :-)


I hope you have enjoyed my post today, if you have any questions feel free to send me a message or contact me via facebook (all links can be found below).

Watch the You Tube Video Here


Products Used On My Card (Affiliate Links Used Where Possible)


Copic Markers Used

YR15
YR04
YR27
Y13, Y18
E74, E77, E79
E49
R20, 0 Colorless Blender
YG07, YG99
RV14, RV09, RV17

Thanks for stopping by, Deni

CAMERA SET UP - FOR YOU TUBE VIDEOS ONLY
Blue Yeti Microphone
Sony Handycam HDR CX4-05
Tripod – Manfrotto MKCompactaCN-BK

S O C I A L MEDIA 
B L O G : https://ldli.co/e/3xky6x 
I N S T A G R A M : https://ldli.co/e/5dn20x
YOU TUBE: https://ldli.co/e/ej5l90 
F A C E B O O K: https://ldli.co/e/mjxn2r
PINTEREST: https://ldli.co/e/2l9zom


I was a 2018 Ambassador for Copic Marker Australia and NZ


Friday, 3 September 2021

Come meet Bumble Stamps

Hi Everyone, 


I want to share with you a new to me Stamp Company - Bumble Stamps. The Owner and Designer Caroline is from Toronto, Canada and is such a lovely lady. I will have a link to her shop below in the picture links or you can click here


She kindly gifted this stamp set - Floral for me to do some colouring creating to showcase her images. 


I printed the image onto X-Press It Blending Cardstock, ran the image through my Sizzix Big Shot using a stitched square die. I have linked up a few different options for you in the picture links below. 

I coloured the image up using Copic Markers, I will have those in a list below also :-)


Once I had the image all coloured up I went in and add some details using a white gel pen, not heaps noticeable but just enough to finish the colouring off. 


I am super happy with the way that the card turned out, I love this image and the sentiment sets it off perfectly. 


I hope you have enjoyed my post today, if you have any questions feel free to send me a message or contact me via facebook (all links can be found below).

Watch the You Tube Video Here


Products Used On My Card (Affiliate Links Used Where Possible)


Copic Markers Used

YR23, YR27, YR09
R83, R85, R89
YG21, YG17, G28

Thanks for stopping by, Deni

CAMERA SET UP - FOR YOU TUBE VIDEOS ONLY
Blue Yeti Microphone
Sony Handycam HDR CX4-05
Tripod – Manfrotto MKCompactaCN-BK

S O C I A L MEDIA 
B L O G : https://ldli.co/e/3xky6x 
I N S T A G R A M : https://ldli.co/e/5dn20x
YOU TUBE: https://ldli.co/e/ej5l90 
F A C E B O O K: https://ldli.co/e/mjxn2r
PINTEREST: https://ldli.co/e/2l9zom


I was a 2018 Ambassador for Copic Marker Australia and NZ


Whimsy Stamps - Father's Day Rusty

Hi Everyone, 


This Sunday in Australia is Father's Day and I couldn't help but pull out and colour up PC Rusty from Whimsy Stamps. 


I had fun colouring this image up using Copic Markers and making a clean and simple background. 


I began by printing up the image onto X-Press It Blending Cardstock, this is completely Copic safe and will not ruin your markers. I then coloured him up, I will have a full list of Copic Markers used at the bottom of my blog post. I fussy cut the image using EK Success Cutterbee Scissors, theses are my go to scissors for fussy cutting.


I even pulled out one of my Florescent Copic Markers to colour the lit up areas in my image and I love the way it turned out, and the rusty look was perfect. 


I pulled out some American Crafts Black cardstock and some Franchevill Kraft Cardstock to create some matte layers, I couldn't find any papers that caught my eye so decided to make my own. I had already cut and ended up cutting some more stars out of the extra black cardstock and had this great idea to use the negative as a stencil.


I pulled out some Tim Holtz Distress Ink in Tea Dye, a mini ink blending tool and began inking up the background. 


I had some leftover sentiments from another project - this is from the Everyday Banner Sentiment Set, trimmed it down using my EK Success Cutterbee Scissors. I adhered the sentiment to the underside of ny image so I could make sure to have it perfect before I adhered anything to my patterned paper. 


I then adhered the image and sentiment down to my patterned paper using Helmar Acid Free Liquid Adhesive. Using all the stars that I had already punched out using a EK Success Star Confetti Punch I adhered them all around my image to finish it off. 


I used leftovers of the same papers and cardstocks to decorate the inside of the card.


I hope you have enjoyed my post today, if you have any questions feel free to send me a message or contact me via facebook (all links can be found below).

Watch the You Tube Video Here


Products Used On My Card (Affiliate Links Used Where Possible)


Copic Markers Used

W0, W2, W4
C1, C3, C6
T7, T10
FYG1
0 Colorless Blender

Thanks for stopping by, Deni

CAMERA SET UP - FOR YOU TUBE VIDEOS ONLY
Blue Yeti Microphone
Sony Handycam HDR CX4-05
Tripod – Manfrotto MKCompactaCN-BK

S O C I A L MEDIA 
B L O G : https://ldli.co/e/3xky6x 
I N S T A G R A M : https://ldli.co/e/5dn20x
YOU TUBE: https://ldli.co/e/ej5l90 
F A C E B O O K: https://ldli.co/e/mjxn2r
PINTEREST: https://ldli.co/e/2l9zom


I was a 2018 Ambassador for Copic Marker Australia and NZ