Showing posts with label Tombow. Show all posts

Saturday, 7 December 2019

Whimsy Stamps PC Frosty

Hi Everyone,

I am back and super excited to be creating again!


Some of you may know I have been away after having ankle surgery done last week, it has been a long road to recovery but I determined to be back on my feet.

I printed the image out onto X-Press It Blending Cardstock using my Brother Laser Printer. I then moved on to colouring the image using Copic Markers.

 
Using a white gel pen I added some details to the little snowman to finish him off.

I used patterned papers from Kaisercraft Silly Season 6.5" Paper Pad, I also used one of the punch outs.


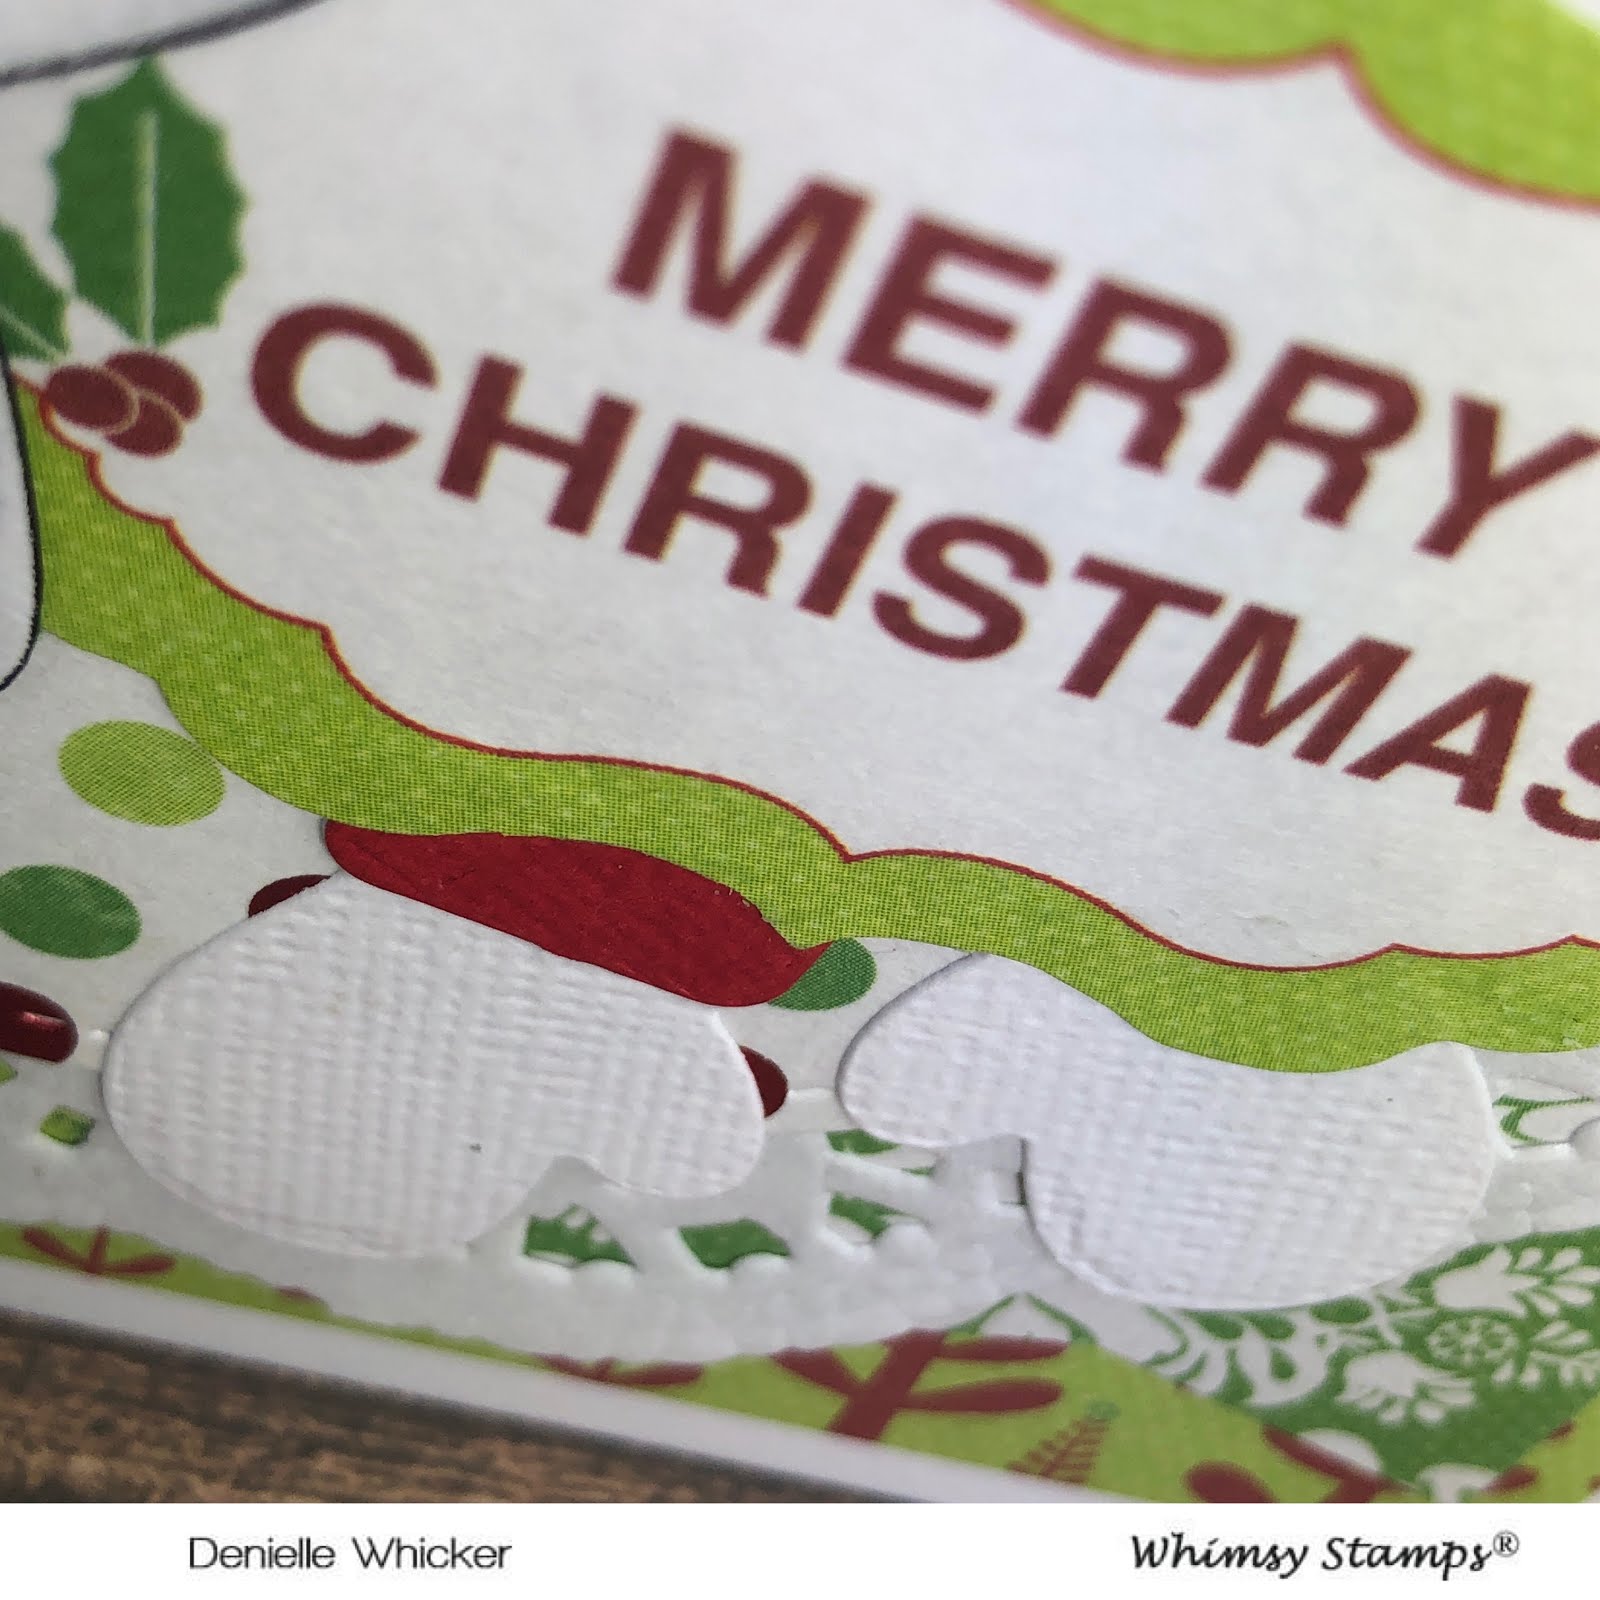
I used Memory Box Precious Mittens die and ran it through my Big Shot twice, first with American Crafts white card and then again using red card.

I used some leftover stars from other projects in the right hand corner to finish my card off. 


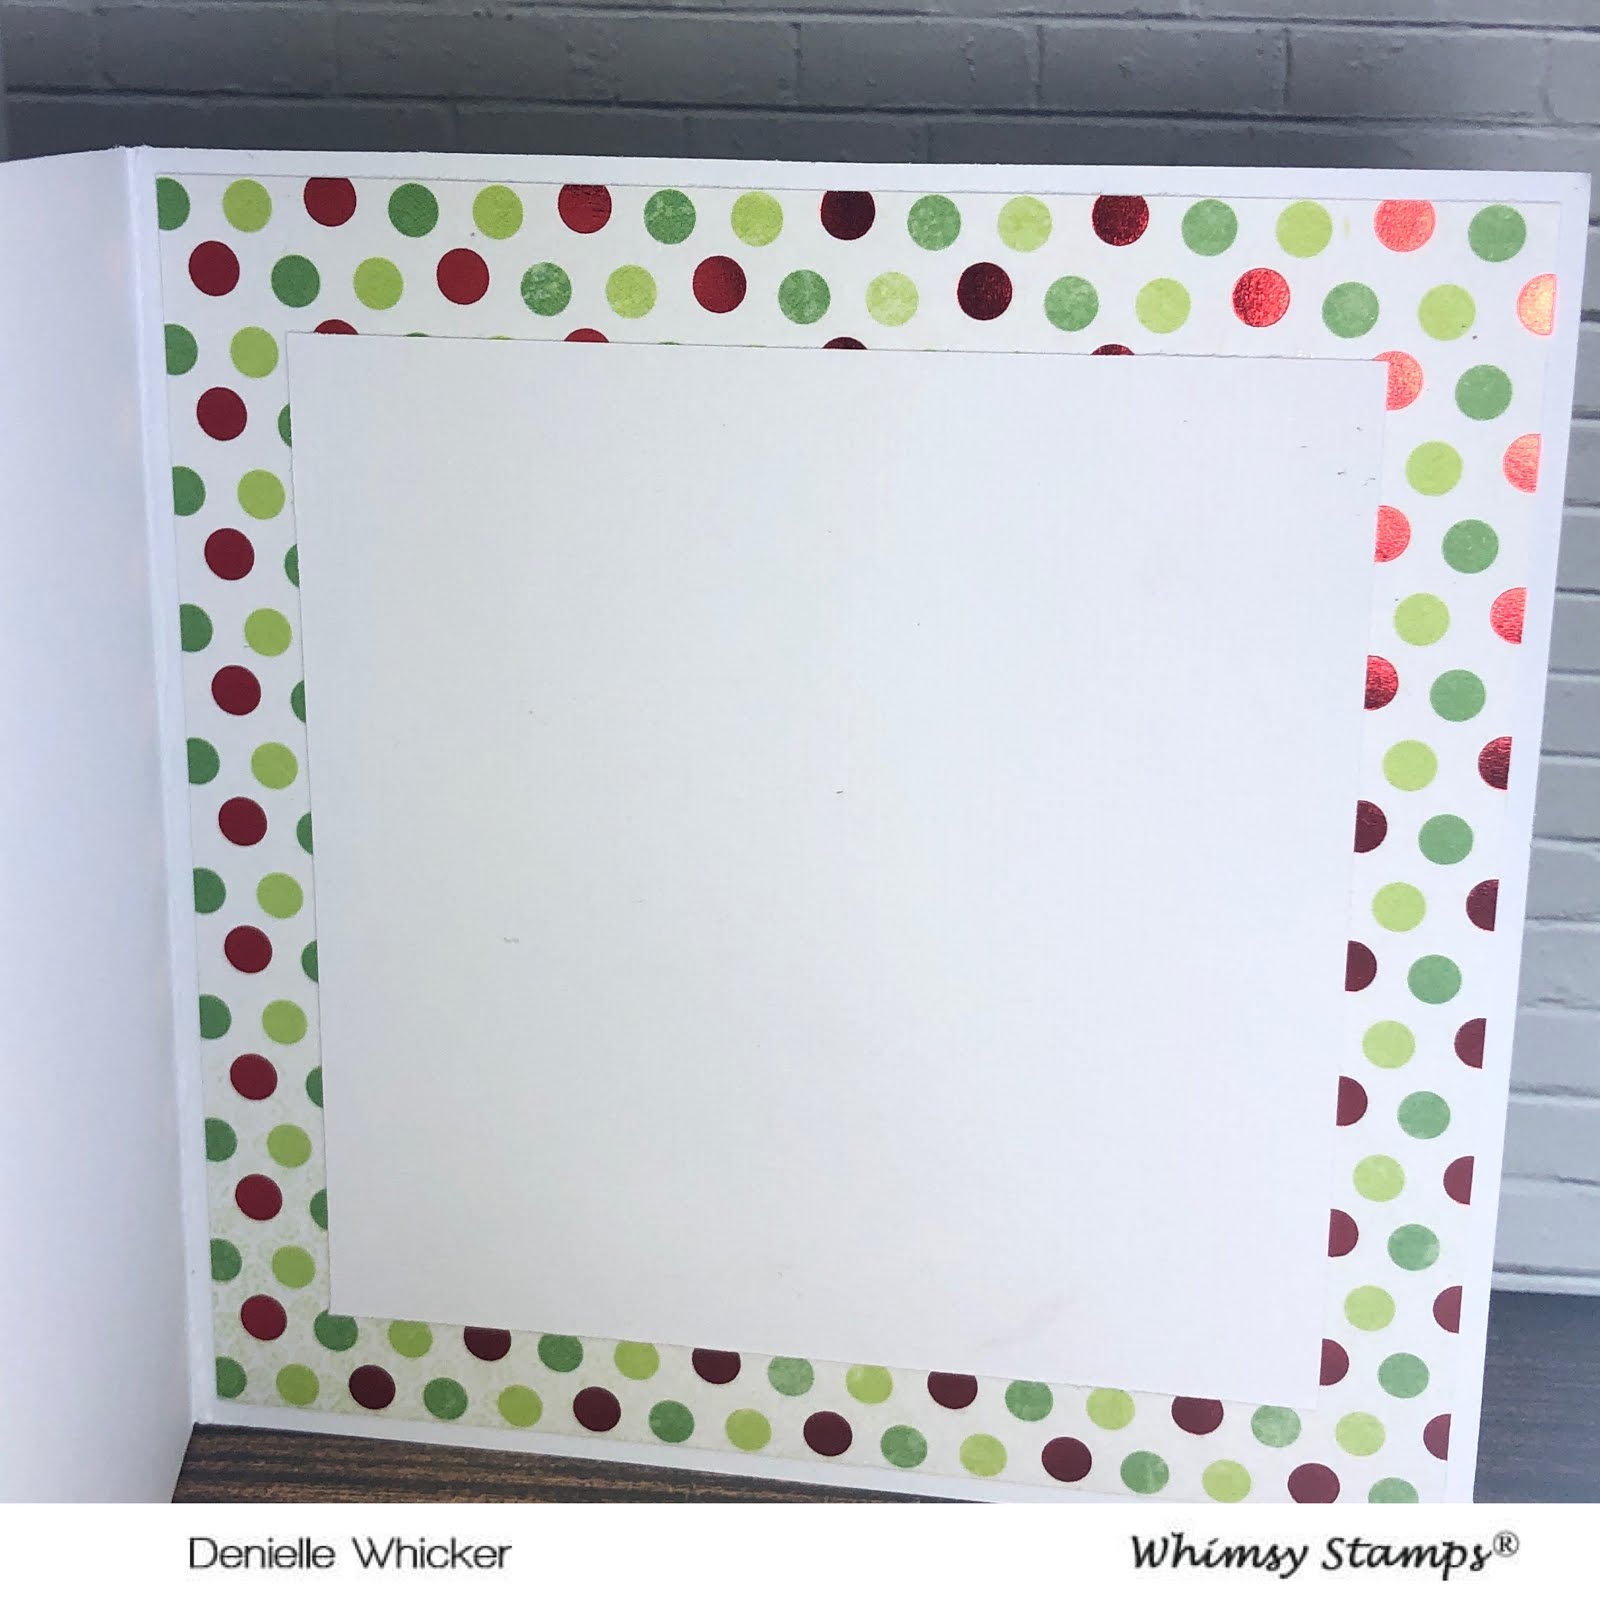
I used leftover patterned papers from the front to decorate the inside of the card. 

I used Helmar Acid Free Adhesive to adhere all my layers to my card.


My card is now finished :-)


I hope you have enjoyed my post today, if you have any questions feel free to send me a message or contact me via facebook (all links can be found below).

Watch the You Tube Video Here


Products Used On My Card (Affiliate Links Used Where Possible)



Copic Markers Used

0 Colorless Blender, N1, N3, N4
E000, E00, E21, E11, E04, R20
YR02, YR04, E97
R17, R37, R39
N6, N8, N10
E37, E39

Thanks for stopping by, Deni

CAMERA SET UP - FOR YOU TUBE VIDEOS ONLY
Blue Yeti Microphone
Sony Handycam HDR CX4-05
Tripod – Manfrotto MKCompactaCN-BK

S O C I A L MEDIA 
B L O G : https://ldli.co/e/3xky6x
I N S T A G R A M : https://ldli.co/e/5dn20x
YOU TUBE: https://ldli.co/e/ej5l90 
F A C E B O O K: https://ldli.co/e/mjxn2r
PINTEREST: https://ldli.co/e/2l9zom


I was a 2018 Ambassador for Copic Marker Australia and NZ


Thursday, 31 October 2019

Picket Fence Studios - You are a Hoot

Hi Everyone,

I made this card a little while ago however I forgot to post it.. so here we go :-)


I stamped this little guy out onto X-Press It Blending Card stock using Memento Tuxedo Black in my Misti Stamping Tool.

Once I stamped the images out I popped them onto an acrylic block and used my Hero Arts Scrubber Pad to clean my stamps.

I coloured the images up using Copic Markers, it is only a small image so it didn't take too many markers to colour.. although I did try to squeeze in as many as I could :-)


I used my EK Success Cutterbee Scissors to fussy cut the images out, I did stamp and colour 2 as I was planning on making multiple cards but you will only see the one card I ended up making.


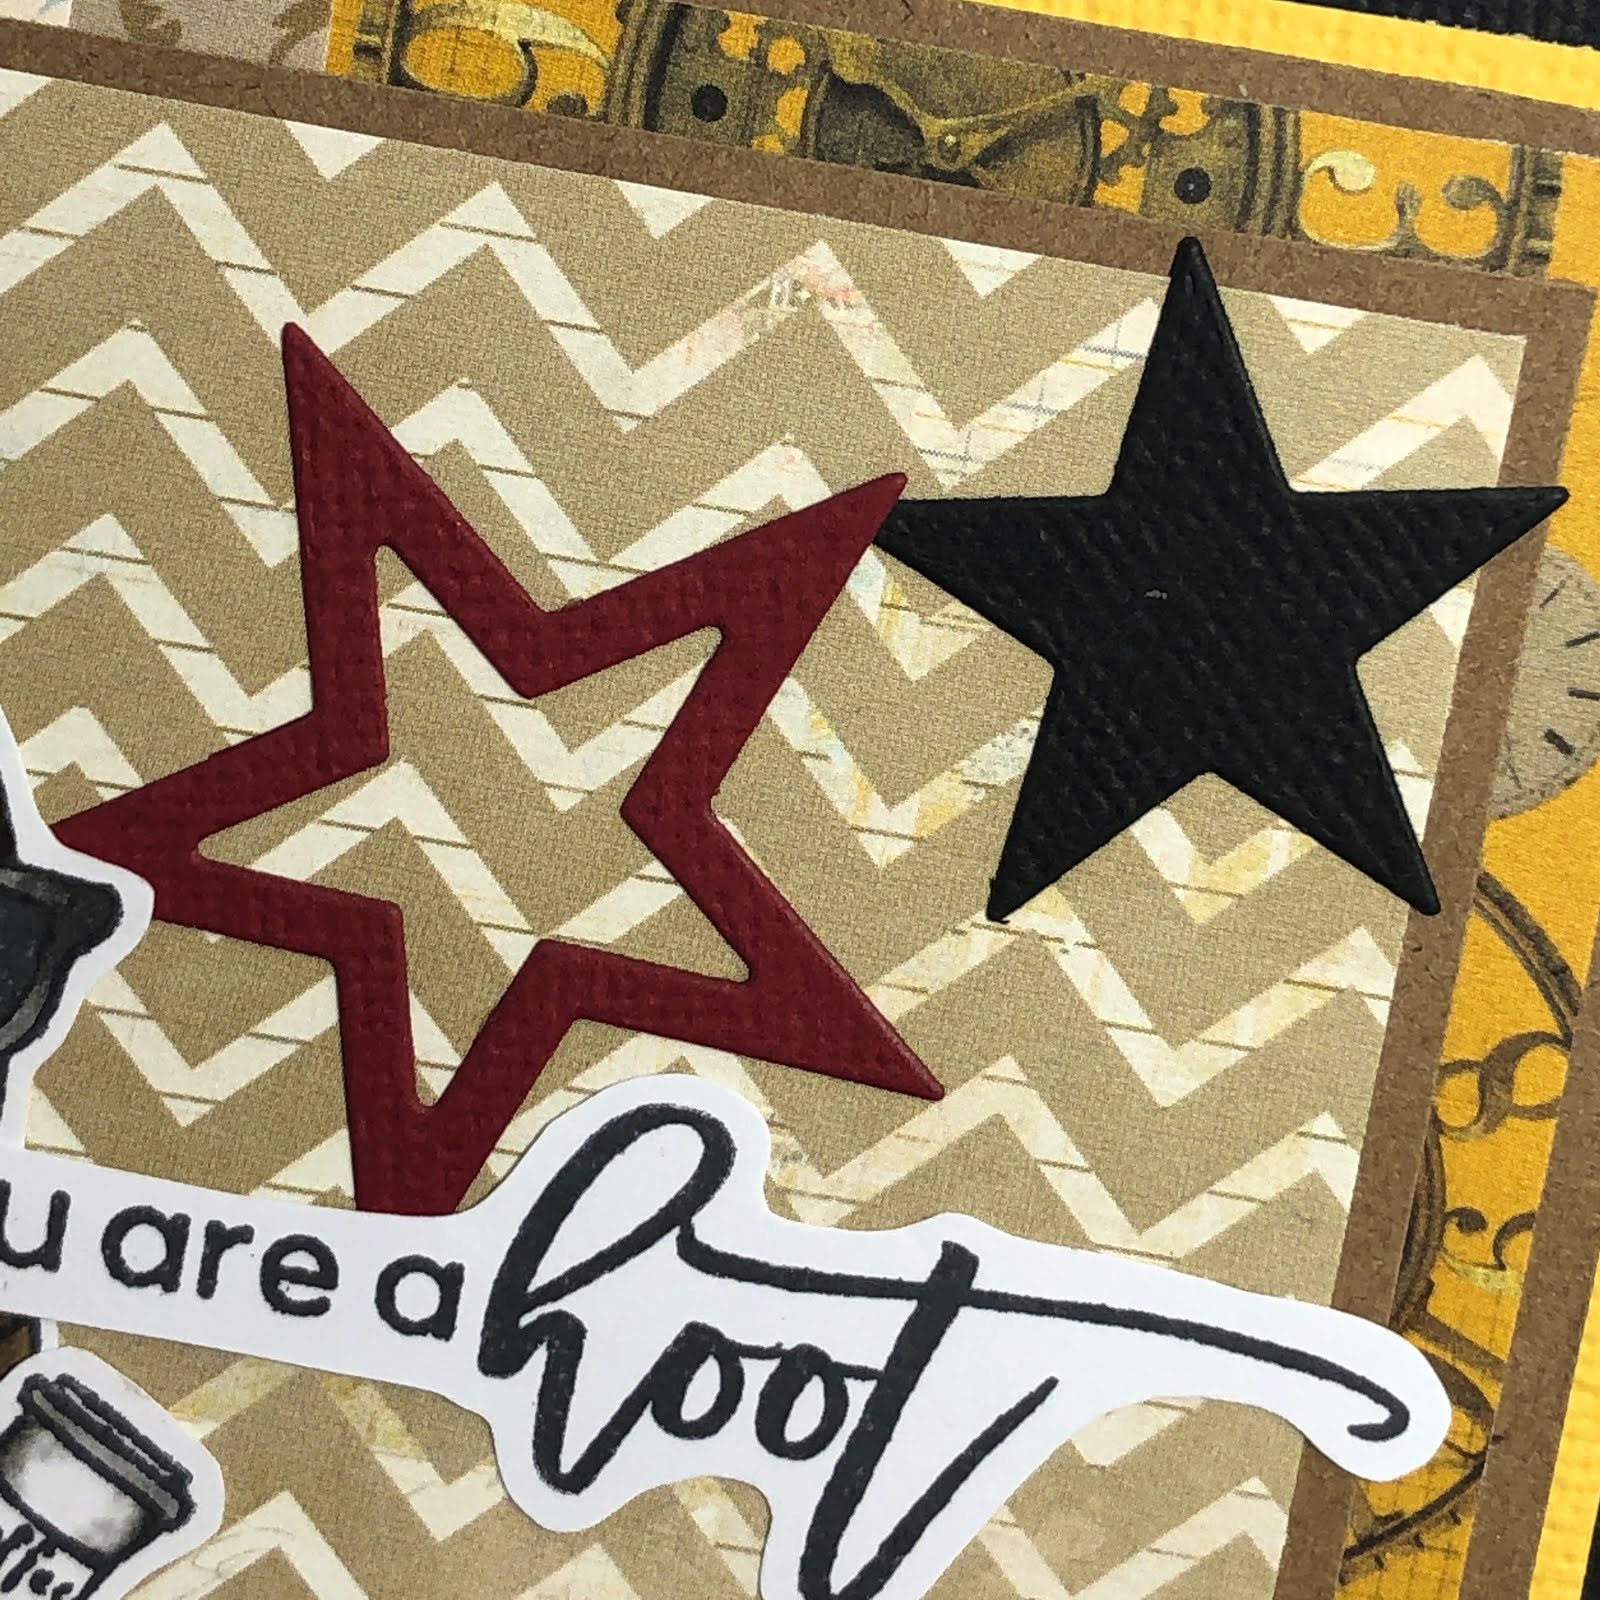
I used MFT Stamps Stacking Stars and ran it through my Sizzix Big Shot using some leftover card stock. 


There was some leftover scraps so I used my Martha Stewart Heart Confetti punch to punch out some hearts (you will see this in the video but I didn't end up using any).


I used patterned paper from Bo Bunny The Avenues Collection 6x6 Paper Pad and matted them using some American Crafts card stock. 

I stamped out the sentiment onto some leftover X-Press It Blending Card using the same Memento Tuxedo Black and fussy cut it using my Cutterbee Scissors.

I decorated the inside of the card with the same papers to match the front of the card. 


I hope you have enjoyed my post today, if you have any questions feel free to send me a message or contact me via facebook (all links can be found below).

Watch the You Tube Video Here


Products Used On My Card (Affiliate Links Used Where Possible)


Copic Markers Used

T4, T6, 0 Colorless Blender
T6, T8, T10
E44, E47, E49
R17, R37, R39

Thanks for stopping by, Deni

CAMERA SET UP - FOR YOU TUBE VIDEOS ONLY
Blue Yeti Microphone
Sony Handycam HDR CX4-05
Tripod – Manfrotto MKCompactaCN-BK

S O C I A L MEDIA 
B L O G : https://ldli.co/e/3xky6x
I N S T A G R A M : https://ldli.co/e/5dn20x
YOU TUBE: https://ldli.co/e/ej5l90 
F A C E B O O K: https://ldli.co/e/mjxn2r
PINTEREST: https://ldli.co/e/2l9zom


I was a 2018 Ambassador for Copic Marker Australia and NZ


Saturday, 15 June 2019

Whimsy Stamps - PC Dude

Welcome to my Blog,

Today I am sharing with you PC Dude from Whimsy Stamps Digital Collection.

I printed the image onto X-Press It Blending Cardstock using my Brother Laser Printer then coloured him up using Copic Markers.


I fussy cut the image using my EK Success Cutterbee Scissors then ran around the outside of the image using a dual ended Tombow black marker. This finishes off the images and makes sure there is no white edge showing.

I ran through 2 dies in my Sizzix Big Shot - MFT Puffy Clouds and Lawn Fawn Stitched Circle. For the clouds I used some leftover X-Press It Card and for the circle I used American Crafts card stock.


I then cut a few layers of coloured card stock and some patterned paper using my Cutterpillar Pro, all the layers were adhered using Scotch ATG. I cut the heat wave and the ice cream cone from the same patterned papers I used earlier. This is the American Crafts #Summer paper pad. I used some Uni-ball gel pen to add details to the image and I added glossy accents to the glasses.

I used some leftover papers to create some banners for the top of the card. I also used the same paper pad to decorate the inside of the card.


I seriously love the way my card turned out :-) One of my favourite cards I have made.


I hope you have enjoyed my post today, if you have any questions feel free to send me a message or contact me via facebook (all links can be found below).

Watch the You Tube Video Here


Products Used On My Card (Affiliate Links Used Where Possible)


Copic Markers Used

E000, E00, E21, E11, E04, R20
E44, E47, E49
R24, R27, R29
YG21, YG23, YG25
Y04, Y06, Y08
YR14, YR16
B12, B14, B16
V04, V06, V09
RV14, RV17, RV19
G03, G07
B32, B34, B37
N3, N5, N7

Thanks for stopping by, Deni

CAMERA SET UP - FOR YOU TUBE VIDEOS ONLY
Blue Yeti Microphone
Sony Handycam HDR CX4-05
Tripod – Manfrotto MKCompactaCN-BK

S O C I A L MEDIA 
B L O G : http://angelhandmadepapercraft.blogspot.com.au/
I N S T A G R A M : http://instagram.com/angelhandmadepapercraft
YOU TUBE: http://www.youtube.com/c/AngelHandmadePapercraft
F A C E B O O K: http://www.facebook.com/angelhandmadepapercraft
PINTEREST: https://www.pinterest.com.au/angelhandmadepapercraft


I was a 2018 Ambassador for Copic Marker Australia and NZ


Saturday, 8 June 2019

Whimsy Stamps - Bee Happy - Flower

Hey Everyone,

Today I am super excited to be sharing with you my card #3 for Whimsy Stamps June Release using the Bee Happy Digital Stamp Set.  This is Bee With Flower.

I started by printing my image onto X-Press It Blending Cardstock using my Brother Laser Printer. This is my go to steps for Digital Stamps. I don't have any fancy editing programs etc so I just pop the images into MS Word Document and resized it simple as that. I then coloured the image up using Copic Markers.


I wanted to cut my image out into a Circle Shape, I grabbed a Lawn Fawn Stitched Circle Die and traced the inside of it using a Mechanical Pencil so I could see exactly where it was going to cut.

I then used my EK Success Cutterbee Scissors to fussy cut the petals part of the flower so I was able to slide the die underneath them, putting the die underneath that section means when I run it through my Sizzix Big Shot it would not cut that section off (because it is not under the cutting part of the die). I ran it through my Big Shot and it was perfect.

I used a dual ended Tombow black marker to go around the outside of the flower to make sure there was no white showing from doing the fussy cutting and used my white gel pen to add some detail to the flower and the cheeks of the bee.


I grabbed some American Crafts plain coloured cardstocks and cut them down to size using my Cutterpillar Pro. The patterned papers are from Pebbles Inc Spring Fling 6x6 Paper Pad, this is the same paper pad I had used on the other two cards from this stamp set.

I adhered all the papers using Scotch ATG onto a Couture Creations Card Base.

Next I had a leftover sentiment from an old Love From Lizi kit sitting on my desk so I adhered that to the bottom right of the card.

Final steps - I added Wink Of Stella Clear to the flower and the wings and I added Nuvo Crystal Drops and allowed them to dry overnight.

I hope you have enjoyed my post today, if you have any questions feel free to send me a message or contact me via facebook (all links can be found below).

Watch the You Tube Video Here


Products Used On My Card (Affiliate Links Used Where Possible)


Copic Markers Used

Y02, Y06, Y08, R20
G14, G03, G07
BG10, 0
N4, N6, N8
R35, R37, R39

Thanks for stopping by, Deni

CAMERA SET UP - FOR YOU TUBE VIDEOS ONLY
Blue Yeti Microphone
Sony Handycam HDR CX4-05
Tripod – Manfrotto MKCompactaCN-BK

S O C I A L MEDIA 
B L O G : http://angelhandmadepapercraft.blogspot.com.au/
I N S T A G R A M : http://instagram.com/angelhandmadepapercraft
YOU TUBE: http://www.youtube.com/c/AngelHandmadePapercraft
F A C E B O O K: http://www.facebook.com/angelhandmadepapercraft
PINTEREST: https://www.pinterest.com.au/angelhandmadepapercraft


I was a 2018 Ambassador for Copic Marker Australia and NZ

Monday, 15 April 2019

La La Land Crafts - Singing Marci

Good Evening all,
Today I have something fun to share with you, a little fun crafting for a change.

I was contacted by someone asking if I could make them some cards, so this is one of those.

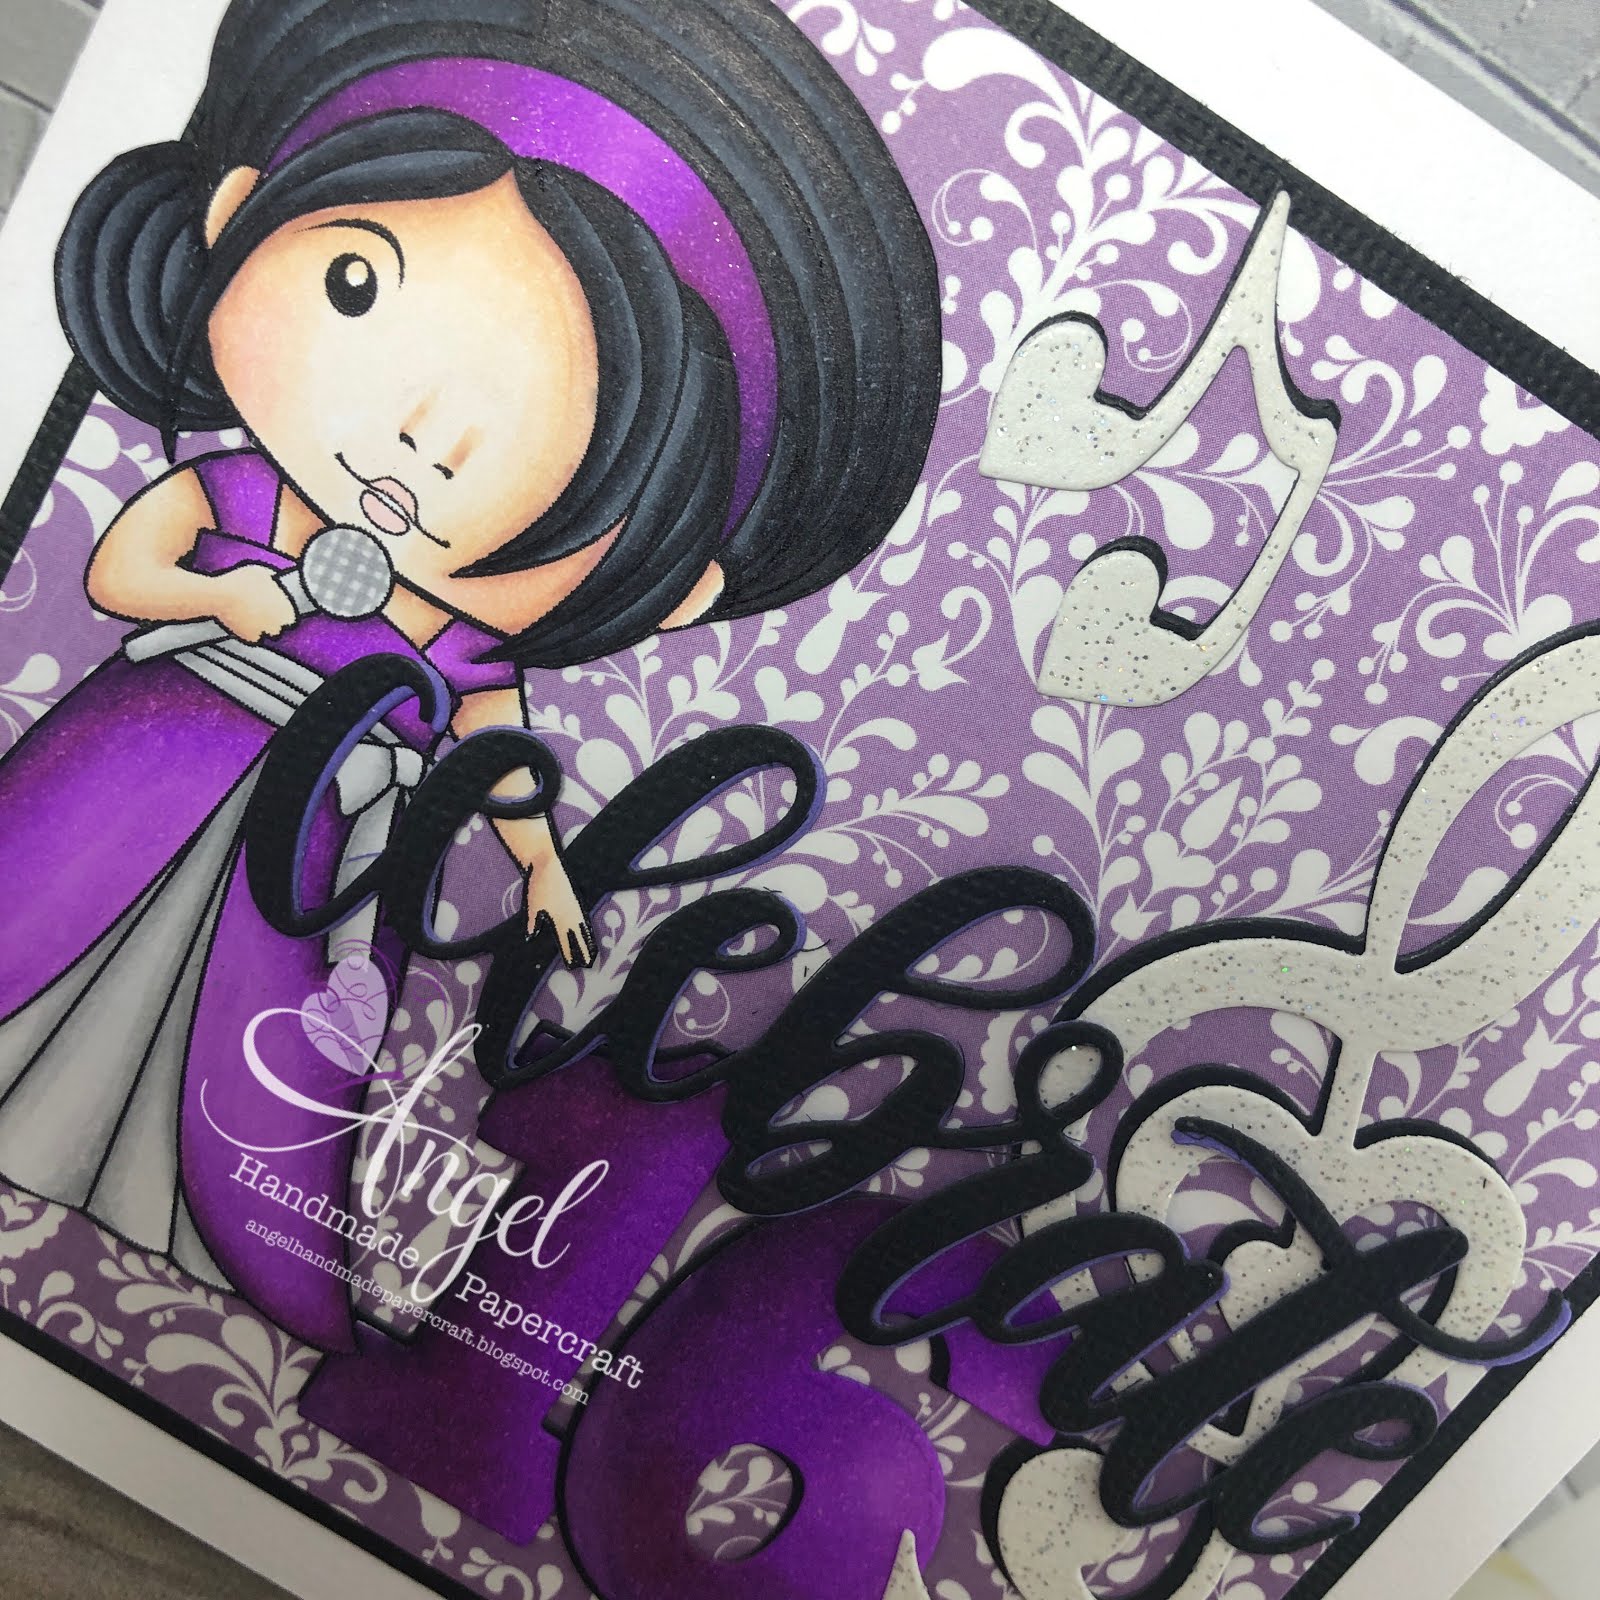
It needed to be a 16th Birthday Card for a little Sister, apparently she likes to sing so I knew I wanted to use this stamp from La La Land Crafts called Singing Marci.


She is no longer available to purchase in Digital Form which is how I have her although I have found a few shops that still have in Rubber form so have linked those up.

I printed her up onto X-Press It Blending Card using my Brother Laser Printer so I was able to Copic colour her, I will have all the colours listed below.

Once I had her all coloured up I decided to fussy cut her using my EK Success Cutterbee Scissors, I then ran around the edge using my Tombow Dual Ended Marker. I always run from the back so I don't accidentally get marker on the front of my image.


I added some Clear Wink of Stella to her dress and her head band.

I ran my favourite numbers dies - MFT Big Numbers through my Sizzix Big Shot just using some leftover X-Press Card (because I wanted to Copic Marker it so It would be the same purple. Unfortunately I have somehow lost some of the numbers .. totally disappointed and of course they are now retired.. oh well what can you do.

I cut the treble clef and the notes using dies from La La Land Crafts Heart Treble Die Set, I used some glitter card stock that I had.  I ran the music and the numbers through again with some American Crafts Black Cardstock so I could bring them up off the cardstock a little.
Patterned papers are from my stash.


I cut a large piece of the American Crafts Black Cardstock to use as a matting under the patterned paper.

Using my Scotch ATG I adhered all the big layers to a Couture Creations Card Base and American Tombow Mono Multi Liquid Adhesive to the smaller sections. I decorated the inside of the card to match.

I hope you have enjoyed my post today, if you have any questions feel free to send me a message or contact me via facebook (all links can be found below).

Watch the You Tube Video Here


Products Used On My Card (Affiliate Links Used Where Possible)


Copic Markers Used

E000, E00, E21, E11, E04, R20
V04, V06, V09
N0, N2, N4
C6, C8, C10

Thanks for stopping by, Deni

CAMERA SET UP - FOR YOU TUBE VIDEOS ONLY
Blue Yeti Microphone
Sony Handycam HDR CX4-05
Tripod – Manfrotto MKCompactaCN-BK

S O C I A L MEDIA 
B L O G : http://angelhandmadepapercraft.blogspot.com.au/
I N S T A G R A M : http://instagram.com/angelhandmadepapercraft
YOU TUBE: http://www.youtube.com/c/AngelHandmadePapercraft
F A C E B O O K: http://www.facebook.com/angelhandmadepapercraft
PINTEREST: https://www.pinterest.com.au/angelhandmadepapercraft


I was a 2018 Ambassador for Copic Marker Australia and NZ


Saturday, 6 April 2019

Whimsy Stamps - Pig's Fly

Today I am here to share with you When Pig's Fly from Whimsy Stamps. I was totally in love with this image as soon as I had seen it and knew I wanted to use it as a Sympathy Card.


I printed the image onto Brother Laser Printer using X-Press It Blending Cardstock and then coloured the image up in blue combinations of Copic Markers.

I used patterned paper from The Craft Stall Mini Stack and plain cardstock from American Crafts as the matting layers. I added all the layers to a Couture Creations Card Base.


I ran a Puffy Clouds die from MFT Stamps die through Sizzix Big Shot, and I also ran the image through using Lawn Fawn Stitched Circle Die. I used my EK Success Cutterbee Scissors to carefully cut the edge of the bird wings so that I could pop them outside the die and didn't cut them off.

I added Wink Of Stella Clear to the Pig's Wings.

Finally I used some vellum to stamp onto using a sentiment from MFT Stamps All Occasion Sentiments, I used Ink On 3 Embossing Ink and my Fiskars Stamp Press (because the sentiment was so big I didn't have an acrylic block big enough). I used Ranger Super Fine White Embossing Powder and heated it using my heat tool. I adhered the sentiment strip to my card using some Tombow mono multi liquid adhesive.


I hope you have enjoyed my post today, if you have any questions feel free to send me a message or contact me via facebook (all links can be found below).

Watch the You Tube Video Here


Products Used On My Card (Affiliate Links Used Where Possible)


Copic Markers Used

YR20, YR16
R00, R01, R12, R32
B0000, B000, B00
B12, B14, B16

Thanks for stopping by, Deni

CAMERA SET UP - FOR YOU TUBE VIDEOS ONLY
Blue Yeti Microphone
Sony Handycam HDR CX4-05
Tripod – Manfrotto MKCompactaCN-BK

S O C I A L MEDIA 
B L O G : http://angelhandmadepapercraft.blogspot.com.au/
I N S T A G R A M : http://instagram.com/angelhandmadepapercraft
YOU TUBE: http://www.youtube.com/c/AngelHandmadePapercraft
F A C E B O O K: http://www.facebook.com/angelhandmadepapercraft
PINTEREST: https://www.pinterest.com.au/angelhandmadepapercraft


I was a 2018 Ambassador for Copic Marker Australia and NZ


Monday, 1 April 2019

Whimsy Stamps - Lady Marieta

Good Morning Everyone,

It is New Release week over at Whimsy Stamps and I have been lucky enough to work with PC Marieta for my post today.

I printed her out onto X-Press It Blending Cardstock using my Brother Laser Printer, Laser Printers are Copic safe which means you will have no bleeding through the ink.


I coloured her up using my Copic Markers which I will have all listed below, I then used my EK Success Cutterbee Scissors to fussy cut her out, finally to finish her off I used a Tombow Dual ended black marker to go around the outside and give her a gently black outline.

Using Uni-ball Signo White Angelic gel pen I added a few little details to her outfit, shoes and to the lady bug she is holding, I then went in and added some Wink Of Stella to the ladybug.


I used patterned papers from Crafter's Clearance Primary Basic, and American Crafts plain card stocks, I trimmed them down to size on my Cutterpillar Pro then adhered them to a Couture Creations Card base using Scotch ATG.

I ran a left over piece of the X-Press It Blending Card stock through my Sizzix Big Shot using a Lawn Fawn Stitched Circle die, I then used a sentiment from Studio Katia Birthday Greetings Stamp Set and stamped it out onto the circle using a Lawn Fawn Acrylic Block and some Memento Tuxedo Black.

I adhered the little lady and the sentiment down to the patterned paper using American Tombow Mono Multi Liquid Adhesive.

Lucky last I added some Tonic Studios Nuvo Crystal Does in Red Berry and Ebony Black to the middle of the stars on the patterned paper. Whilst the black was still wet I added the red to the centre. Most of them worked out perfect others not so perfect but I went with it anyway.

That is my card complete.


I hope you have enjoyed my post today, if you have any questions feel free to send me a message or contact me via facebook (all links can be found below).

Watch the You Tube Video Here


  Products Used On My Card (Affiliate Links Used Where Possible)


Copic Markers Used

E000, E00, E21, E11, E04, R20
R35, R37, R39
T6, T8, T10
E25, E27, E29
E30, E31

Thanks for stopping by, Deni

CAMERA SET UP - FOR YOU TUBE VIDEOS ONLY
Blue Yeti Microphone
Sony Handycam HDR CX4-05
Tripod – Manfrotto MKCompactaCN-BK

S O C I A L MEDIA 
B L O G : http://angelhandmadepapercraft.blogspot.com.au/
I N S T A G R A M : http://instagram.com/angelhandmadepapercraft
YOU TUBE: http://www.youtube.com/c/AngelHandmadePapercraft
F A C E B O O K: http://www.facebook.com/angelhandmadepapercraft
PINTEREST: https://www.pinterest.com.au/angelhandmadepapercraft


I was a 2018 Ambassador for Copic Marker Australia and NZ

Sunday, 20 January 2019

Time For Tea Designs - Celebrate You Princess

Hi Everyone,

Last week I posted a card I had made for Time For Tea Designs using the "Princess"Digital Stamp, I loved it so much I printed another one and made another card using her.

Still going with the wedding theme I made a Bridal Shower card.


I printed the image onto X-Press It Blending Cardstock using my Brother Laser Printer and coloured it up using Copic Markers, I will have all these listed at the end of my blog post.

After I coloured the image up I used my EK Success Cutterbee scissors to fussy cut the image out, I did cut right on the edge of the image as I did not want the white outline, I then ran around the outside using a Tombow marker to cover any leftover white areas, It also finishes off the image.


I grabbed some patterned paper from The Craft Stall -Mini Stack which I purchased from Kmart and cut it to size on my Cutterpillar Pro.

My card base is a Couture Creations card base which I purchase in bulk, I use my bone folder to crease the centre as they come to me flat. I used some Scotch ATG to adhere the patterned paper. I added a doily from my stash using American Tombow Mono Multi Liquid Adhesive.

I ran some dies through my Sizzix Big Shot - all of these are from MFT Stamps. I have used Love You word die, Stitched Heart Stax and Celebrate word die. I placed them back into the negative space so that I could blend some ink onto them.

I grabbed Ranger Mini Distress Inks and Mini Ink Blending Tool and blended Picked Raspberry to the bottom of all the die cuts and then Spun Sugar to the top half blending the two together.


I layed out my image onto the patterned paper and started to work out how I wanted the die cuts to look then carefully adhered them all slightly tilted. I added some Wink Of Stella to the centre heart and I was done.

I decorated the inside of the card to match.

Watch the colouring and process video here


I hope you have enjoyed my post today, if you have any questions feel free to send me a message or contact me via facebook (all links can be found below).


Products Used On My Card (Affiliate Links Used Where Possible)


Copic Markers Used

E50, E51, E53, E55, R20
Y21, Y23, Y26
C2, C0, 0
YR21, YR24, YR27
B02

Thanks for stopping by, Deni

CAMERA SET UP - FOR YOU TUBE VIDEOS ONLY
Blue Yeti Microphone
Sony Handycam HDR CX4-05
Tripod – Manfrotto MKCompactaCN-BK

S O C I A L MEDIA 
B L O G : http://angelhandmadepapercraft.blogspot.com.au/
I N S T A G R A M : http://instagram.com/angelhandmadepapercraft
YOU TUBE: http://www.youtube.com/c/AngelHandmadePapercraft
F A C E B O O K: http://www.facebook.com/angelhandmadepapercraft
PINTEREST: https://www.pinterest.com.au/angelhandmadepapercraft

PERSONAL BLOG 
ANGEL HANDMADE PAPERCRAFT: http://angelhandmadepapercraft.blogspot.com.au/

I am an Ambassador for Copic Marker Australia and NZ


Sunday, 4 November 2018

You Furrr-Reak Me Out - Time For Tea Designs

Good Morning all,

A few days ago I shared another card for Time For Tea Designs, I have used the same Digital Image because I totally love it, this is Furr-reaking Halloween Full Collection (you can find the affiliate link below) I have used the little kitty cat and the broom on my card.


I printed the images onto X-press It Blending Cardstock then coloured them using Copic Markers.

Patterned papers came from DCWV Spooky Halloween, I used one sheet for the background layer and another for the circle, I also used some leftover pieces for the inside decoration of my card. I ran one piece through my Sizzix Big Shot using a Lawn Fawn Stitched Circle Die.

I cut some black cardstock from American Crafts to use as the bottom layer, which I adhered to a Twiddleybitz Card Base using Scotch ATG. I fussy cut the images using EK Success Cutterbee Scissors, I then carefully went around the edges using a Tombow ABY N15 Dual end marker, and adhered them to the circle using American Tombow Mono Multi liquid adhesive.

I cut some little banners using some excess pieces of the patterned paper, I used Scotch ATG to adhere them.

I adhered all the layers to a Couture Creations card base.

Finally to finish my card off I grabbed some Nuvo Crystal Drops Glow In The Dark - in the Apple Sour and Banana Split and added some drops to my card. They finished it perfectly and look awesome, can't believe I hadn't used them yet :-)

Products Used On My Card (Affiliate Links Used Where Possible)


Copic Markers Used

N6, N8, N10
E43, E47
N6, N8, N10
YR15, YR68, E07
E71, E74, E77, E79
Y13, Y18, Y19
V04, V06, V09

Thanks for stopping by, Deni

CAMERA SET UP - FOR YOU TUBE VIDEOS ONLY
Blue Yeti Microphone
Sony Handycam HDR CX4-05
Tripod – Manfrotto MKCompactaCN-BK

S O C I A L MEDIA 
B L O G : http://angelhandmadepapercraft.blogspot.com.au/
I N S T A G R A M : http://instagram.com/angelhandmadepapercraft
F A C E B O O K: http://www.facebook.com/angelhandmadepapercraft
PINTEREST: https://www.pinterest.com.au/angelhandmadepapercraft

PERSONAL BLOG 
ANGEL HANDMADE PAPERCRAFT: http://angelhandmadepapercraft.blogspot.com.au/

I am an Ambassador for Copic Marker Australia and NZ


Saturday, 22 September 2018

Whimsy Stamps Digi DT - Wishing You Love and Wellness

Today I am sharing a card that I made using a Digital Stamp from Whimsy Stamps called Wishing Well Sentiments.


I tried to go with a monotone type colouring on my card, I printed the Wishing Well Sentiments page onto an a4 sheet of Mondi Color Copy 250GSM through my Brother Laser printer.

I then started colouring all the wishing well and bucket and then decided to give it a pop of colour with the purple flowers. Once I started colouring the flowers I knew that I made the correct decision. The purple just seemed to finish it up, I was imaging Lavender as I was colouring.

The Sentiment I had on my desk from January's new release, I thought it was a lovely sentiment for this card as I only wanted to add something small.

I cut the image out using Lawn Fawn Stitched Rectangle Die set - running it through my Sizzix Big Shot using the magnetic base plate.

I then wanted to try and use my Spellbinders Labels Eighteen on my card, but the die cut just wasn't working for me so I ended up actually using the negative space piece. Once again it worked perfectly.

I cut the sentiment using My Favorite Things Stitched Fishtail Flags, I then ran it back through again with the end of the die in place to give the stitching across the straight edge. It was adhered to the image using Tombow Mono Multi Liquid Adhesive.

The papers are actually adhesive papers from my stash, it makes it so much quicker when you use adhesive paper. All the matting is from American Crafts, and Francheville for the Kraft Cardstock.
I hade added all the layers to a Twiddleybitz Card Base using Scotch ATG and refills from Create By Me Tape Club.

When the card was complete I added some Nuvo Crystal Drops in Antique Rose. (actually truth be told I added them all before I finished the card and stuck my hand in them haha so then had to carefully scrape them off and try again when I was actually done with the card before I ruined them again.

Products Used On This Card (linkable images)

 Tombow Mono Multi Liquid Adhesive Scotch ATG Gun Sizzix Big Shot Nuvo Crystal Drops - Antique Roselawn fawn large stitched rectangles  Image result for spellbinders labels eighteen Image result for my favorite things fishtail flag stitched

Colour Copy A4 Digital Paper 250gsm 125 Sheet Ream
Copic Markers Used

E25, E27, E29
N4, N6
E71, E74
E97, E99, E39
E53
RV55
W1, 0
V04, V17
YG09

I hope you have enjoyed my post today, if you have any questions feel free to send me a message or contact me via facebook (all links can be found below).


Thanks for stopping by, Deni

You can find my cards for sale here
https://www.facebook.com/angelhandmadepapercraft

My You Tube Here
https://www.youtube.com/user/Denielle1983/

My Blogs Here
Angel Handmade Papercraft http://angelhandmadepapercraft.blogspot.com.au/

Auzz Trinklets N Crafts http://auzztrinkletsnkrafts.blogspot.com.au/

Whimsy Stamps https://whimsystamps.blogspot.com.au/