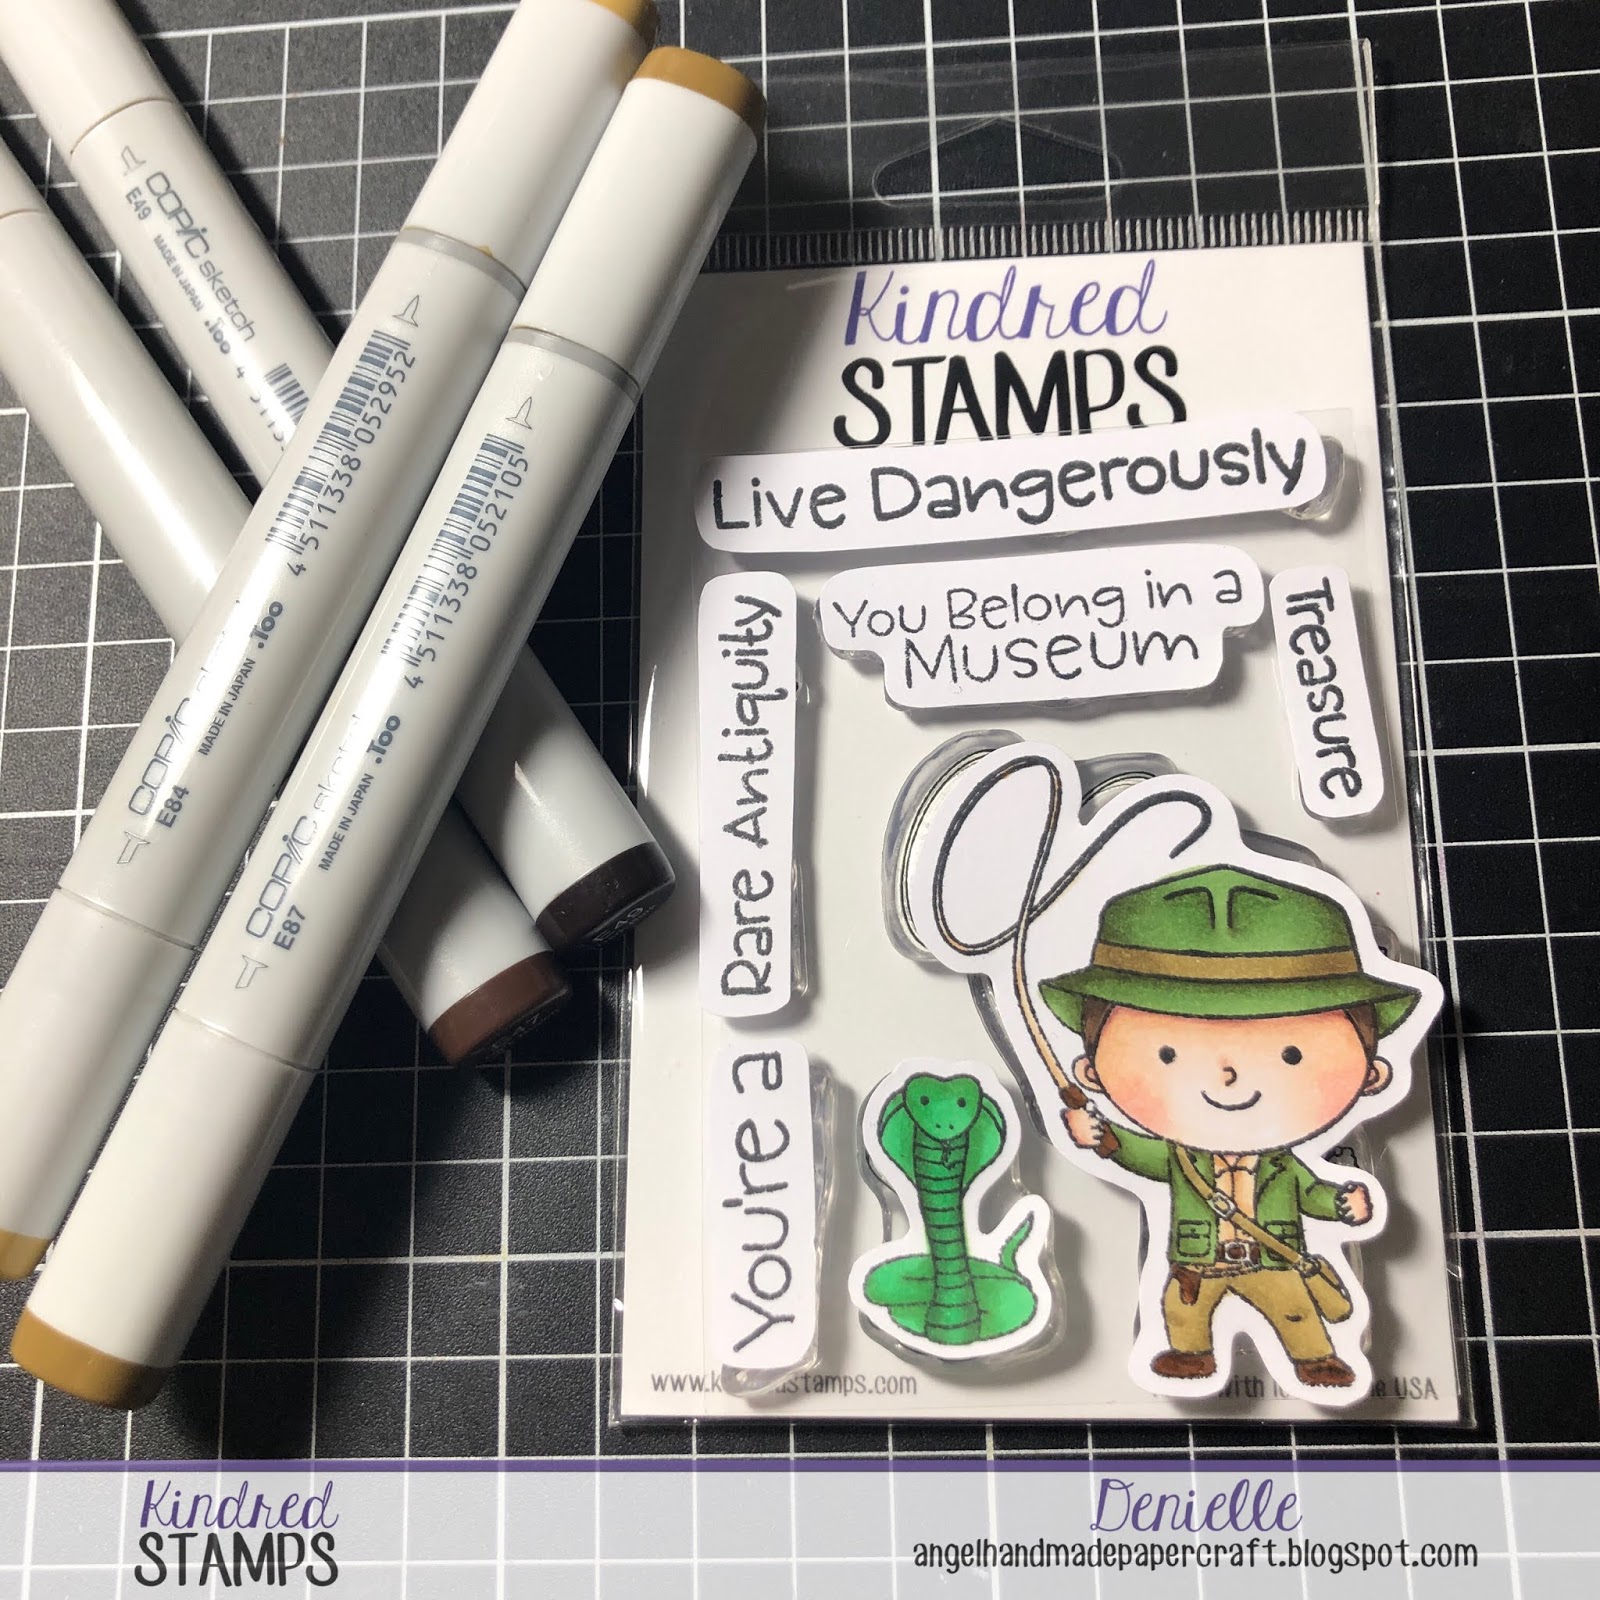
Today I have a quick Copic Colouring Video for you, this is an old file that has been sitting on my computer and my computer has decided it is full so I am trying to publish a few of my older videos before I delete them.
Unfortunately I have just found out that this stamp set is retired so you won't be able to purchase it if you don't already own it, I apologise for that I usually try not to post when the items are not available.
I hope you have enjoyed my post today, if you have any questions feel free to send me a message or contact me via facebook (all links can be found below).
Watch the You Tube Video Here
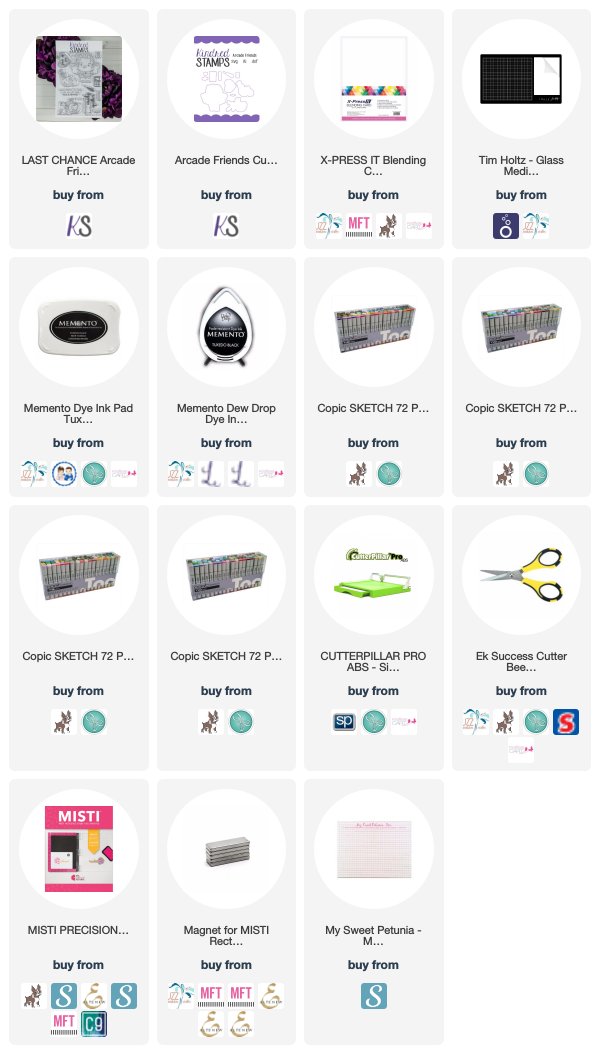
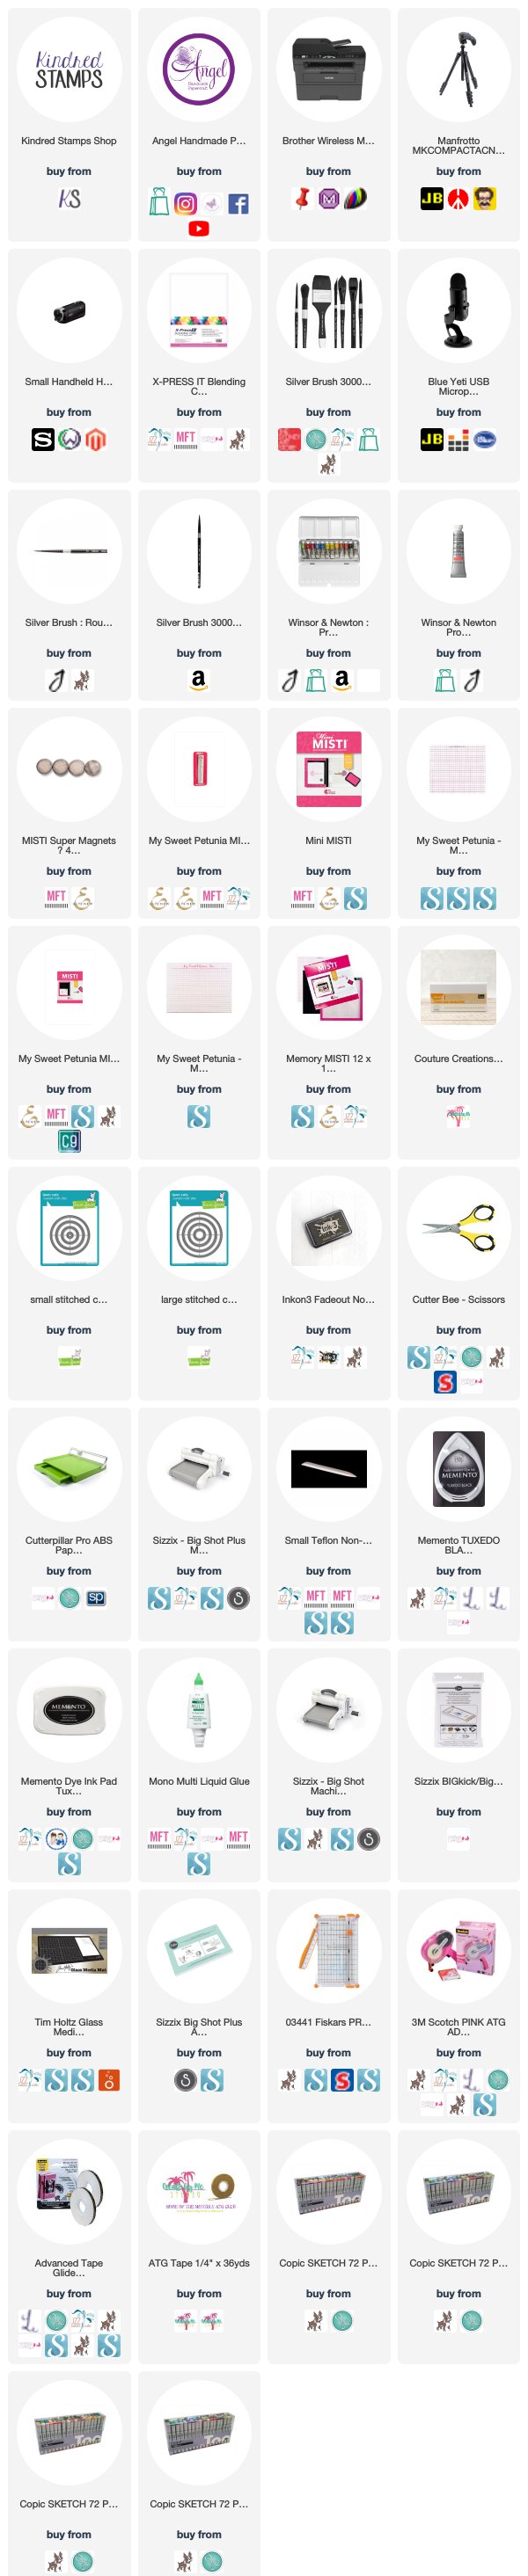
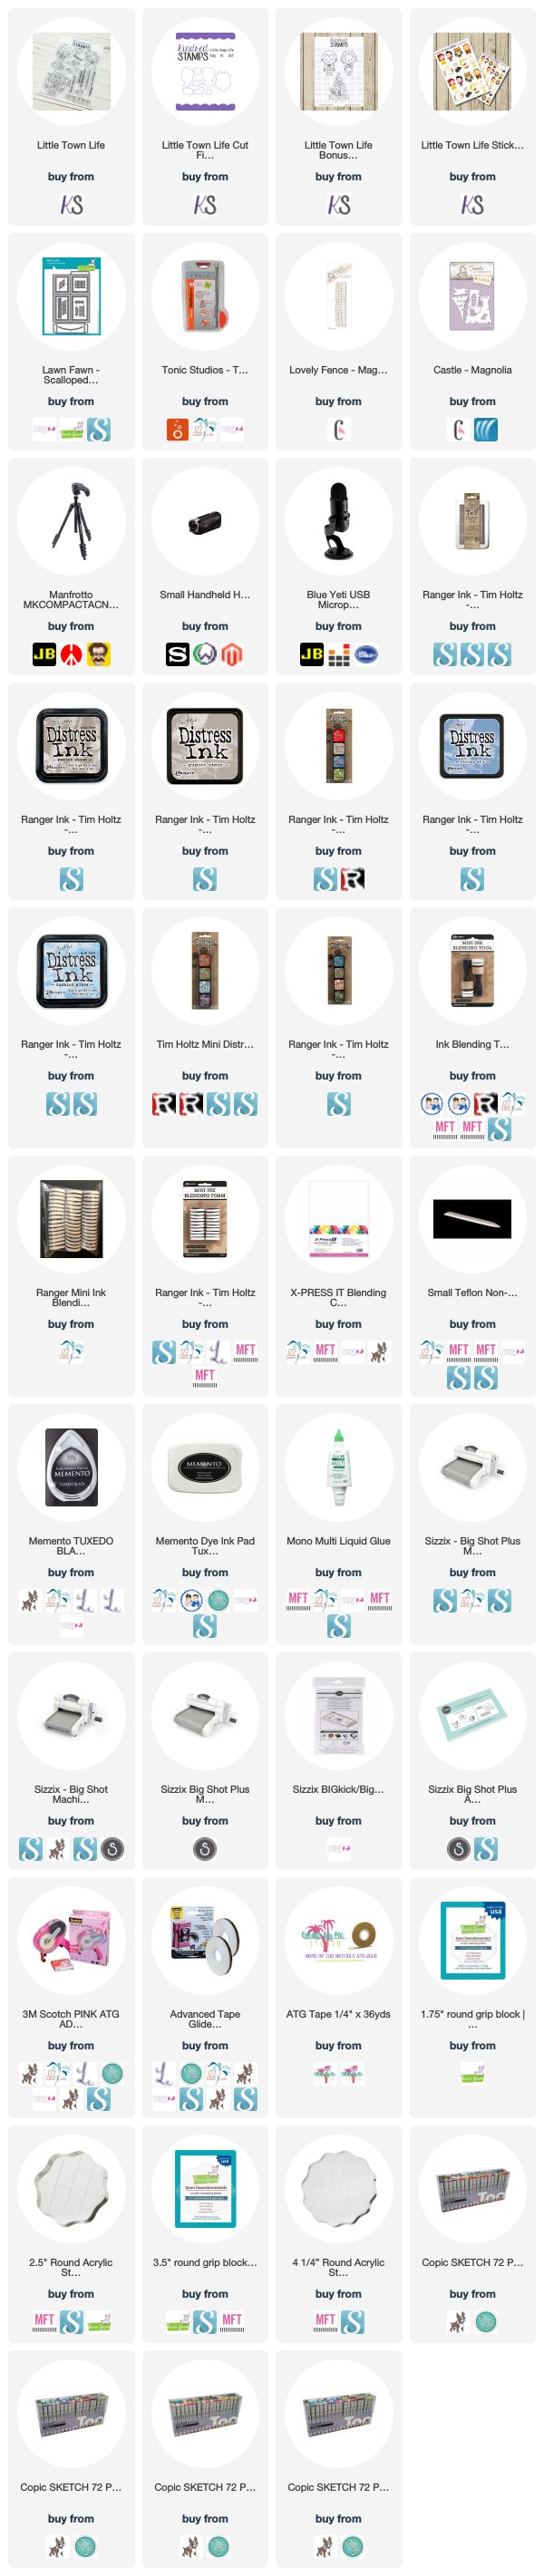
Products Used On My Card (Affiliate Links Used Where Possible)
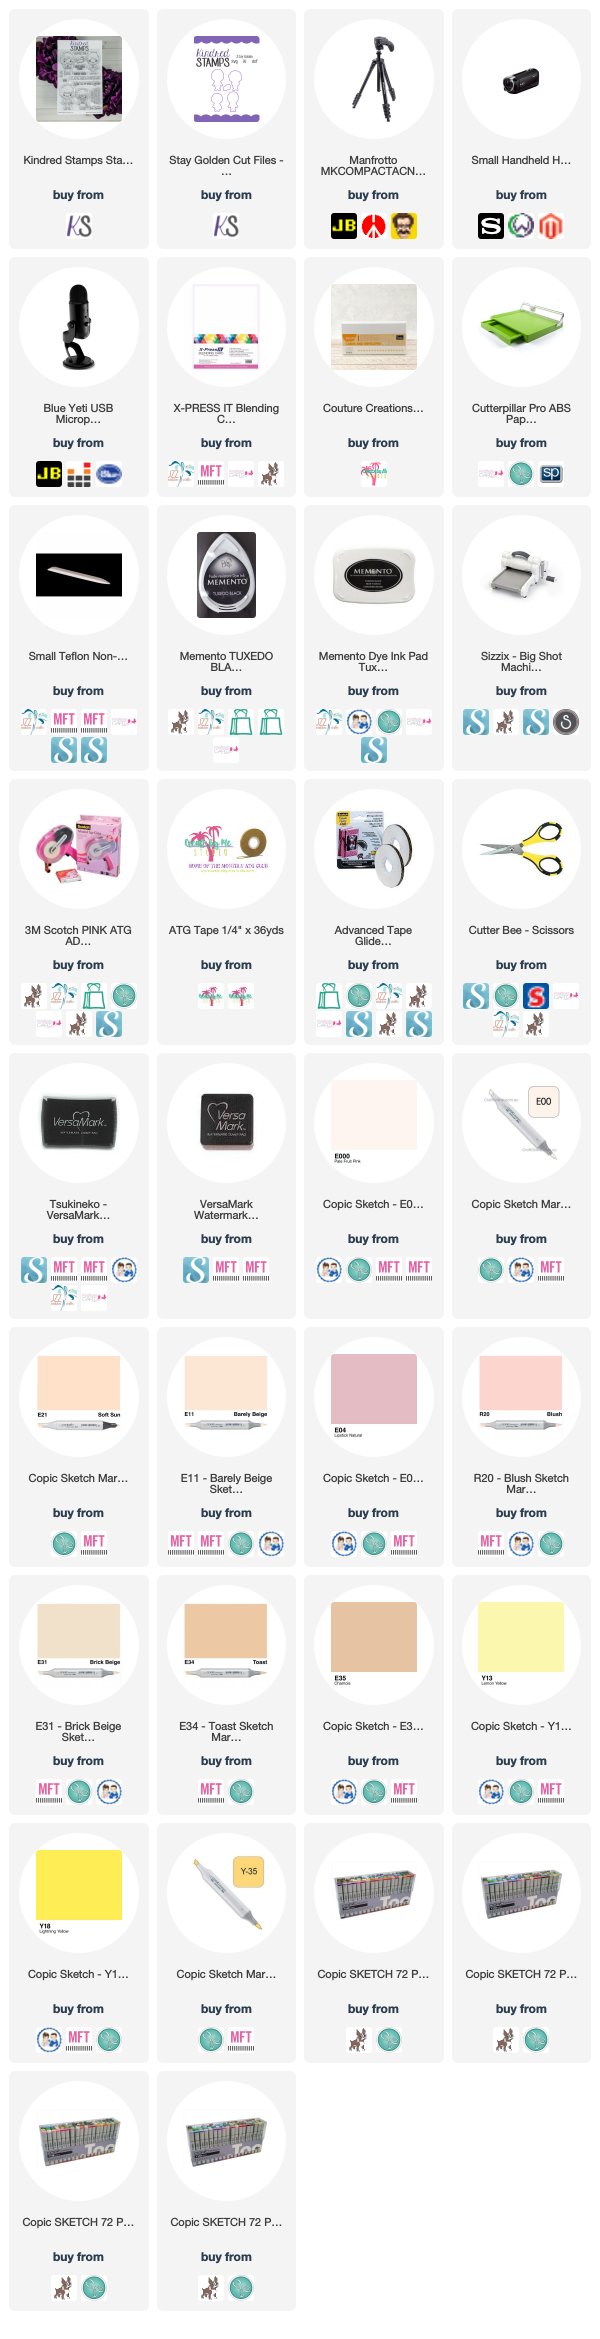
Copic Markers Used
Thanks for stopping by, Deni
CAMERA SET UP - FOR YOU TUBE VIDEOS ONLY
Blue Yeti Microphone
Sony Handycam HDR CX4-05
Tripod – Manfrotto MKCompactaCN-BK
S O C I A L MEDIA
B L O G : http://angelhandmadepapercraft.blogspot.com.au/
I N S T A G R A M : http://instagram.com/angelhandmadepapercraft
YOU TUBE: http://www.youtube.com/c/AngelHandmadePapercraft
F A C E B O O K: http://www.facebook.com/angelhandmadepapercraft
PINTEREST: https://www.pinterest.com.au/angelhandmadepapercraft
I was a 2018 Ambassador for Copic Marker Australia and NZ
Well this is my last Video Design Team post as my term finishes with them at the end of this month, I have had an awesome experience with this team and have loved all the stamps I have had the opportunity to work with.
For my post today I am using Day Of The Dead, such a funny stamp set to use.
I started by laying the images I wanted to use together in my Misti Stamping Tool, I wanted to try and create a scene and was thinking I may need to do some masking but I didn't end up needing to.
I wanted to make a golden walk way, so I stamped all my images out using Memento Tuxedo Black onto X-Press It Blending Cardstock. I left them in my Misti incase I screwed up my colouring and needed to stamp them again lol.
I used a Mechanical Pencil to sketch out the walkway, erasing bits and pieces and tidying up as I went. I then used my Copic Markers to start colouring and blending out the background, making sure not to colour over the pencil as it would become "trapped" under the Copic Markers. I used an eraser as I got to the second layer so I knew everything was okay.
Once I had the background done I coloured the walkway blending from the outside in. I am pretty happy with the way it turned out.
I now knew that I hadn't screwed up the background so was ready to begin colouring all the images up. I have all the Copic Markers linked up below and listed underneath the picture links.
I cut the colouring piece down to size using my Cutterpillar Pro. I cut a piece of American Crafts black cardstock down so it was a little bigger than the picture piece.
I turned the black cardstock over so I was using the reverse side with no pattern indented in it. I used the skull stamp from the stamp set and some Archival Brilliance Moonlight White ink with a Lawn Fawn Acrylic block and all the way around the outside of the cardstock. I wasn't worried about the centre as I knew it would all be covered up. I allowed this piece to dry (it didn't take long as it is warm here at the moment) If you are worried you can hit it quickly with a heat gun.
I then adhered my colouring to the black skull stamped piece using Scotch ATG.
I am super happy with the way my card turned out, I thank you for coming and joining me on my Kindred Stamps journey.
I hope you have enjoyed my post today, if you have any questions feel free to send me a message or contact me via facebook (all links can be found below).
Watch the You Tube Video Here
Products Used On My Card (Affiliate Links Used Where Possible)
CAMERA SET UP - FOR YOU TUBE VIDEOS ONLY
Blue Yeti Microphone
Sony Handycam HDR CX4-05
Tripod – Manfrotto MKCompactaCN-BK
S O C I A L MEDIA
B L O G : http://angelhandmadepapercraft.blogspot.com.au/
I N S T A G R A M : http://instagram.com/angelhandmadepapercraft
YOU TUBE: http://www.youtube.com/c/AngelHandmadePapercraft
F A C E B O O K: http://www.facebook.com/angelhandmadepapercraft
PINTEREST: https://www.pinterest.com.au/angelhandmadepapercraft
I was a 2018 Ambassador for Copic Marker Australia and NZ
Today I am sharing with you my last New Release week card for Kindred Stamps, I have one more weekly card and that is my term finished. I have thoroughly enjoyed working with the team at Kindred Stamps and hope to work with them again.
The entire Kindred Stamps April release will be available Friday, April 26th at 8am PST/11am EST. Be sure to subscribe to the Kindred Stamps blog to see a daily line up of sneak peeks from our amazing Design Team and see the full product release on Friday! Come join the Fan Club and release event to be part of the release fun, and you may just win some Kindred Stamps credit!!
The New Release Stamp Set I am working with today is Ocean Royalty, such an adorable set to play with. Stamp set will be available in a couple of days, you can check it out here on the Kindred Stamps Shop when it releases
I stamped the images onto X-Press It Blending Cardstock using Memento Tuxedo Black and my Misti Stamping Tool, I then coloured the images up using Copic Markers.
I fussy cut the stamped images using EK Success Cutterbee Scissors, these are my go to fussy cutting scissors because they have a nice sharp point to them which makes it so much easier.
I used a Mama Elephant 3D Pop Up Card die and some American Crafts Cardstock, I ran this through my Sizzix Big Shot twice and adhered the two together using Scotch ATG.
I also ran the insert piece through twice using the same cardstock.
I firstly adhered all the images to the box using Glue Dots temporary adhesive dots, I did this to make sure I had my layout exactly as I wanted, I then went back in with American Tombow Mono Multi Liquid adhesive.
I ran La La Land Crafts Castle Border die through using some Kraft cardstock and the Sea Bubbles border using the same blue cardstock from the box.
I ran the bubbles border through a few times and added those to the outside flaps.
The sentiment I cut down using my Tim Holtz Guillotine.
I hope you have enjoyed my post today, if you have any questions feel free to send me a message or contact me via facebook (all links can be found below).
Watch the You Tube Video Here
Products Used On My Card (Affiliate Links Used Where Possible)
CAMERA SET UP - FOR YOU TUBE VIDEOS ONLY
Blue Yeti Microphone
Sony Handycam HDR CX4-05
Tripod – Manfrotto MKCompactaCN-BK
S O C I A L MEDIA
B L O G : http://angelhandmadepapercraft.blogspot.com.au/
I N S T A G R A M : http://instagram.com/angelhandmadepapercraft
YOU TUBE: http://www.youtube.com/c/AngelHandmadePapercraft
F A C E B O O K: http://www.facebook.com/angelhandmadepapercraft
PINTEREST: https://www.pinterest.com.au/angelhandmadepapercraft
I was a 2018 Ambassador for Copic Marker Australia and NZ
Today I am working with Kindred Stamps "Midnight Movie" Stamp Set, I loved this little lady in the stamp set and thought it would be cute to make a card and a bookmark to match.
I stamped the image out onto some X-Press It Blending Cardstock using Memento Tuxedo Black and a Lawn Fawn Acrylic Block.
I coloured the image using Copic Markers, I will have all these listed below.
Patterned Papers are from Authentique Gathering Collection, I cut them using my Cutterpillar Pro then I created some of the off cuts into banners using EK Success Cutterbee Scissors. I then adhered all the layers to a Couture Creations Card Base.
I finally added some Nuvo Crystal Drops and some flowers and a button and my card was complete.
I then decided to create a bookmark to go with it, I coloured it pretty much exactly the same colours. I ran an MFT Tall Tag through my Sizzix Big Shot, added a heart sticker and some Nuvo Crystal Drops and created my own tassel.
I then added a sentiment using Memento Tuxedo Black, finally I adhered a second bookmark die cut to the back so that you cannot see the ink.
I hope you have enjoyed my post today, if you have any questions feel free to send me a message or contact me via facebook (all links can be found below).
Watch the You Tube Video Here
Products Used On My Card (Affiliate Links Used Where Possible)
CAMERA SET UP - FOR YOU TUBE VIDEOS ONLY
Blue Yeti Microphone
Sony Handycam HDR CX4-05
Tripod – Manfrotto MKCompactaCN-BK
S O C I A L MEDIA
B L O G : http://angelhandmadepapercraft.blogspot.com.au/
I N S T A G R A M : http://instagram.com/angelhandmadepapercraft
YOU TUBE: http://www.youtube.com/c/AngelHandmadePapercraft
F A C E B O O K: http://www.facebook.com/angelhandmadepapercraft
PINTEREST: https://www.pinterest.com.au/angelhandmadepapercraft
I was a 2018 Ambassador for Copic Marker Australia and NZ
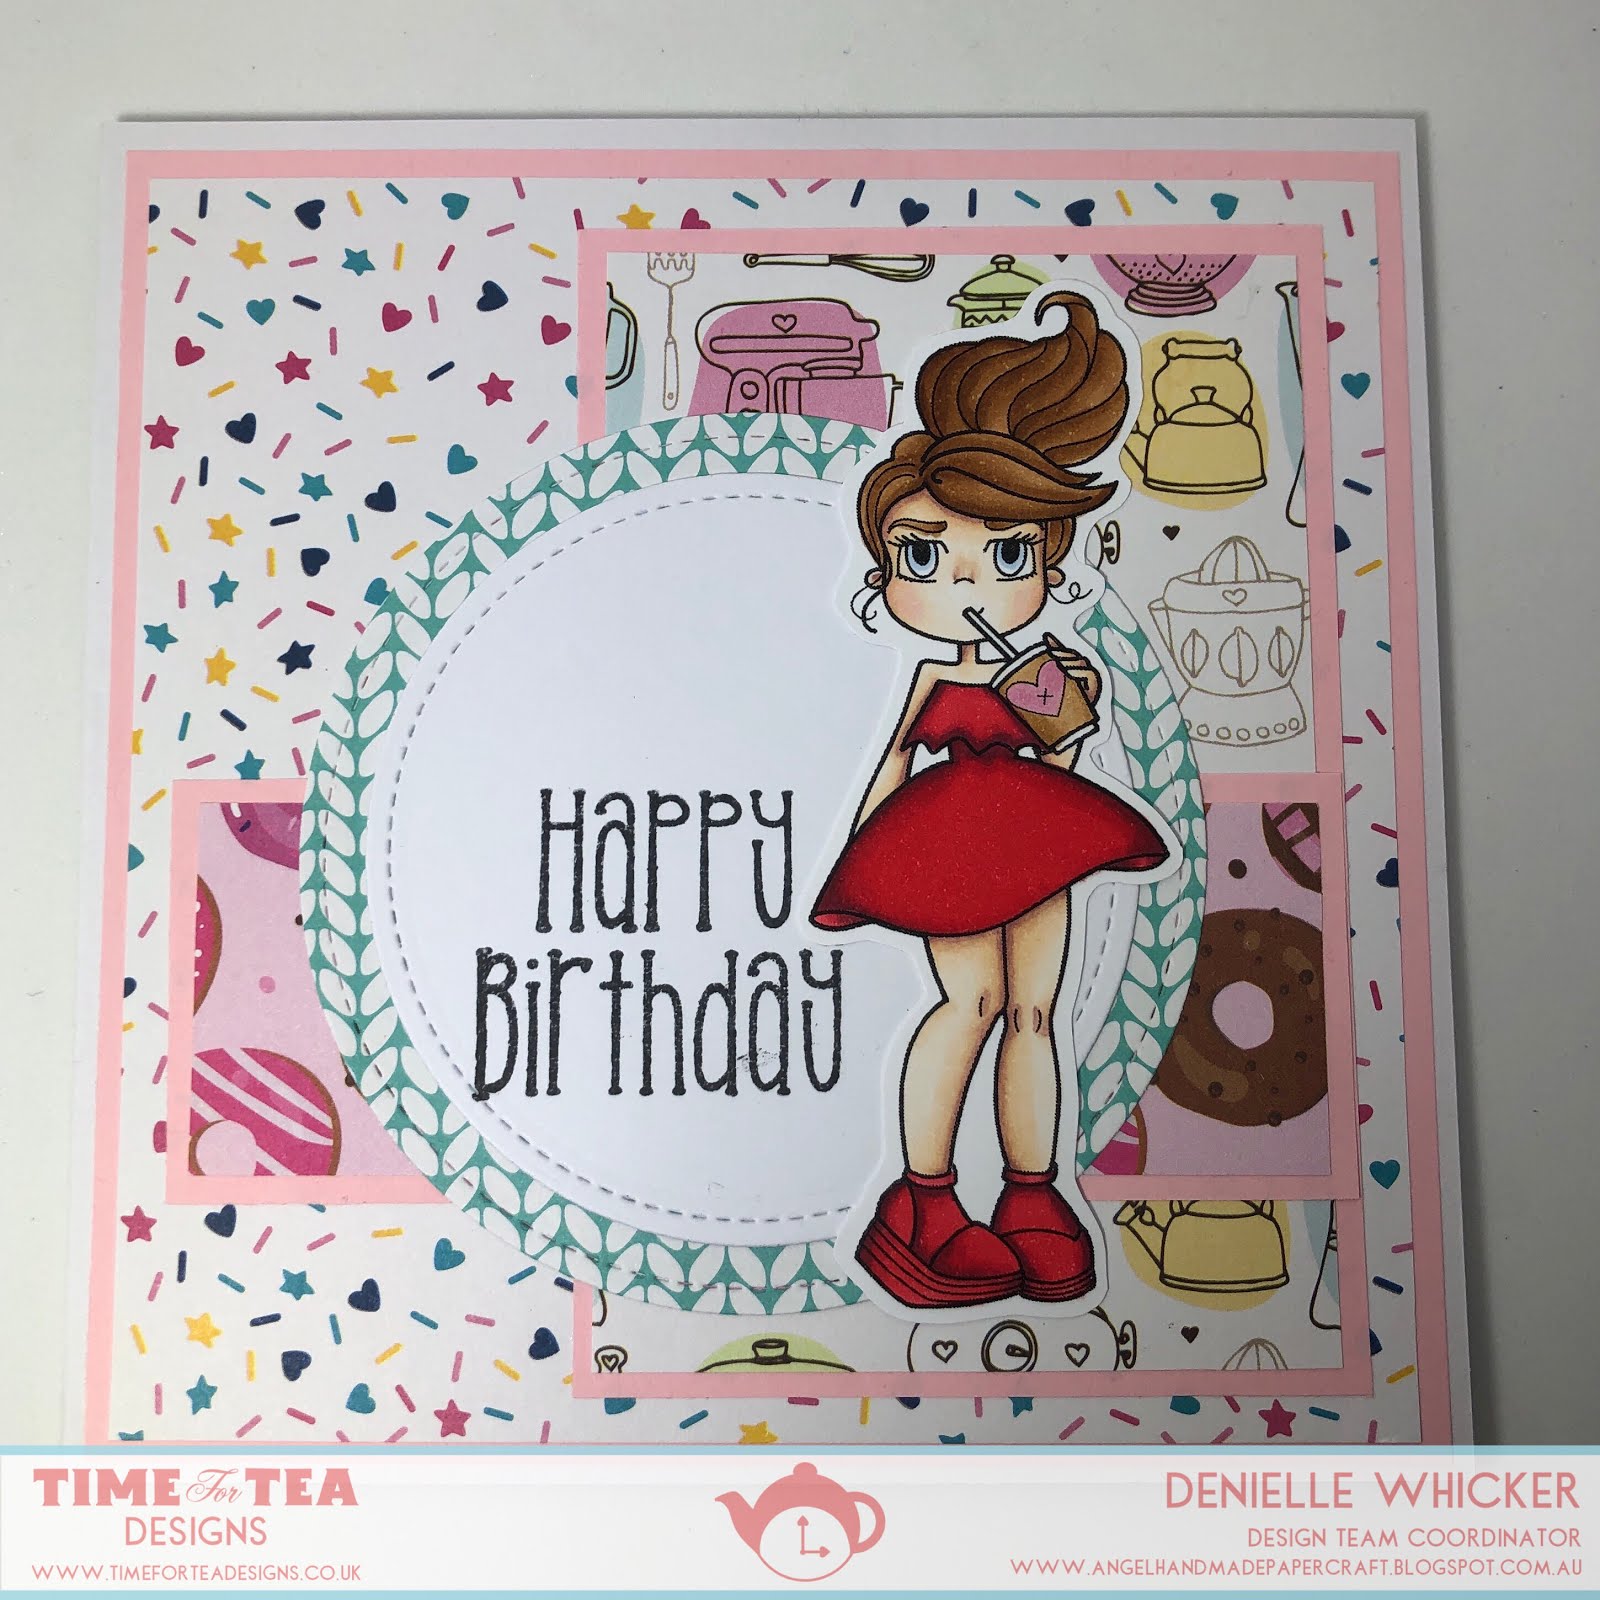
I printed the image out onto X-Press It Blending Cardstock, coloured her up using Copic Markers then fussy cut her using EK Success Cutterbee Scissors.
Patterned papers were from a paper pad from The Craft Stall - one of the mini stacks. I used some Reflex Colour Paper in the pink to mat it as it was the closest colour I could find in my stash.
I cut everything to size using Fiskars Surecut Trimmer and adhered them using Scotch ATG.
Using a Stitched Circle die from Lawn Fawn I cut on piece of the patterned paper then ran a smaller one through using some Mondi Color Copy white cardstock.
I was in the middle of another project using the Kindred Stamps Gday stamp set so used the Happy Birthday from that and a Lawn Fawn Acrylic Block to stamp the sentiment out with Memento Tuxedo Black.
Finally I adhered all the layers onto a Couture Creations card base which I had creased using a bone folder.
I hope you have enjoyed my post today, if you have any questions feel free to send me a message or contact me via facebook (all links can be found below).
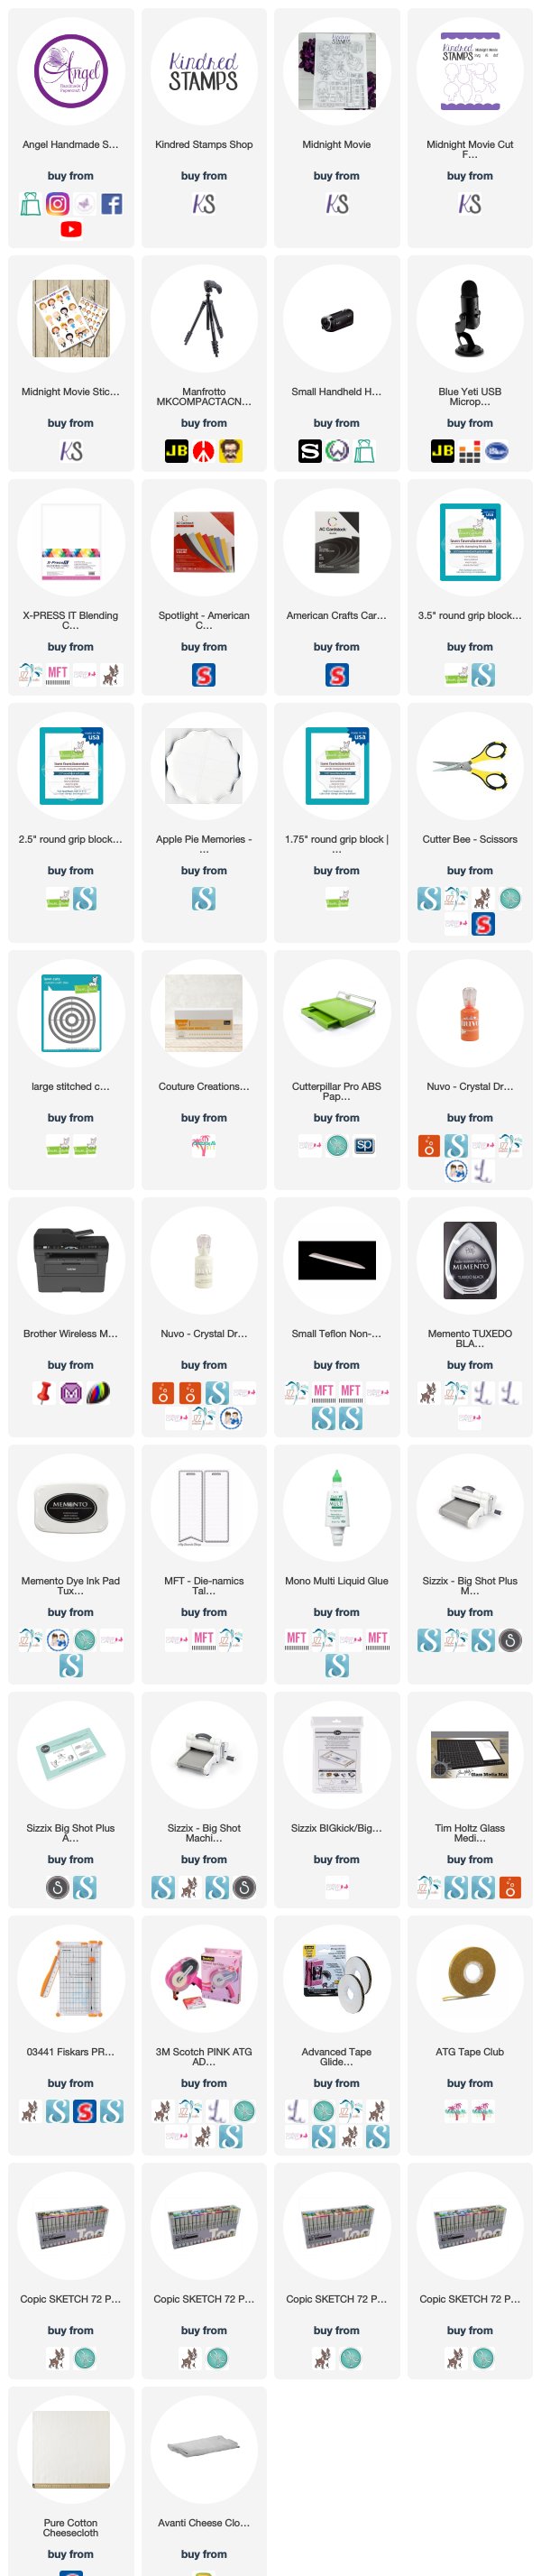
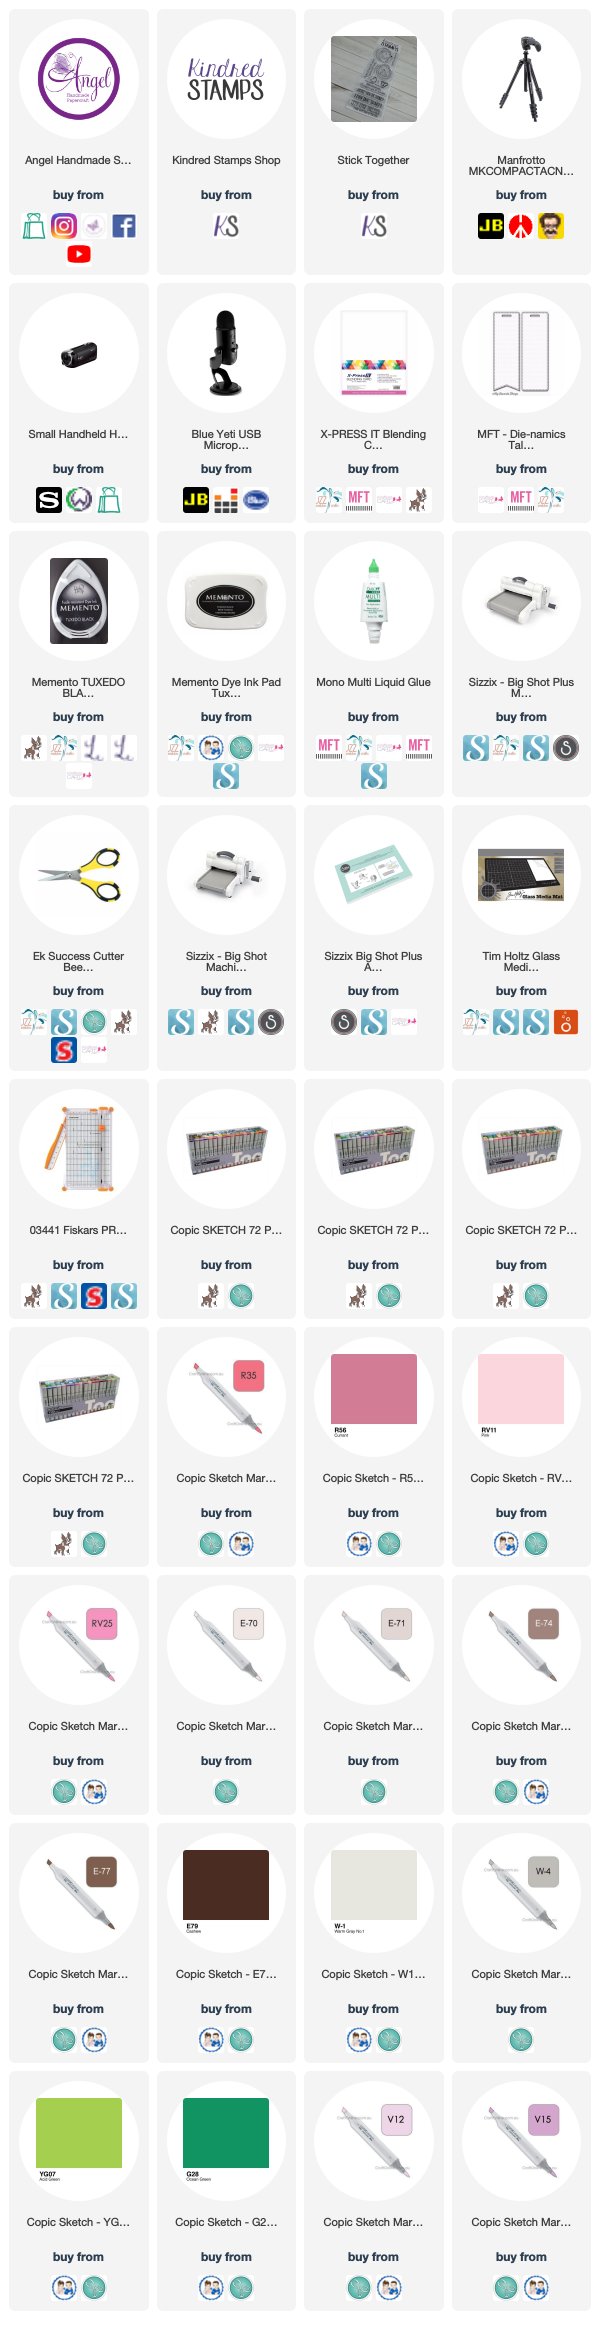
Products Used On My Card (Affiliate Links Used Where Possible)
CAMERA SET UP - FOR YOU TUBE VIDEOS ONLY
Blue Yeti Microphone
Sony Handycam HDR CX4-05
Tripod – Manfrotto MKCompactaCN-BK
S O C I A L MEDIA
B L O G : http://angelhandmadepapercraft.blogspot.com.au/
I N S T A G R A M : http://instagram.com/angelhandmadepapercraft
YOU TUBE: http://www.youtube.com/c/AngelHandmadePapercraft
F A C E B O O K: http://www.facebook.com/angelhandmadepapercraft
PINTEREST: https://www.pinterest.com.au/angelhandmadepapercraft
I was a 2018 Ambassador for Copic Marker Australia and NZ
Today I am sharing with you a bookmark I created for Kindred Stamps using Stick Together.
The entire Kindred Stamps March release will be available Friday, March 22nd at 8am PST/11am EST. Be sure to check out the Kindred Stamps blog on Friday for the full product release as well as the complete line up of all the Kindred Stamps Design Team projects from release week! If you visit and comment on all of the designers' blogs this week, you could win $15 in Kindred Stamps shop credit! So join the Fan Club and release event, show the design team some love, and get ready to empty those wallets this Friday!
I have a video for you showing how I created the bookmark and also a bonus how to at the end of the video showing you step by step how I created my own Tassel for my bookmark.
I used a die from MFT Stamps called Tall Tag Duo which I ran through my Sizzix Big Shot sing X-Press It Blending Card to create my bookmark shapes.
I then used Lawn Fawn Round Acrylic Blocks and Memento Tuxedo Black and stamped the images out onto the bookmark shapes. I coloured the images using Copic Markers then added some white detail using Uni-Ball Signo White Gel Pen.
I cut a second bookmark and adhered that to the back of the coloured one using American Tombow Mono Multi to cover all the Copic Colouring that bled through the back of the card stock.
Finally using some crochet twine I created my own tassel and attached it to my bookmark.
I hope you have enjoyed my post today, if you have any questions feel free to send me a message or contact me via facebook (all links can be found below).
Watch the You Tube Video Here
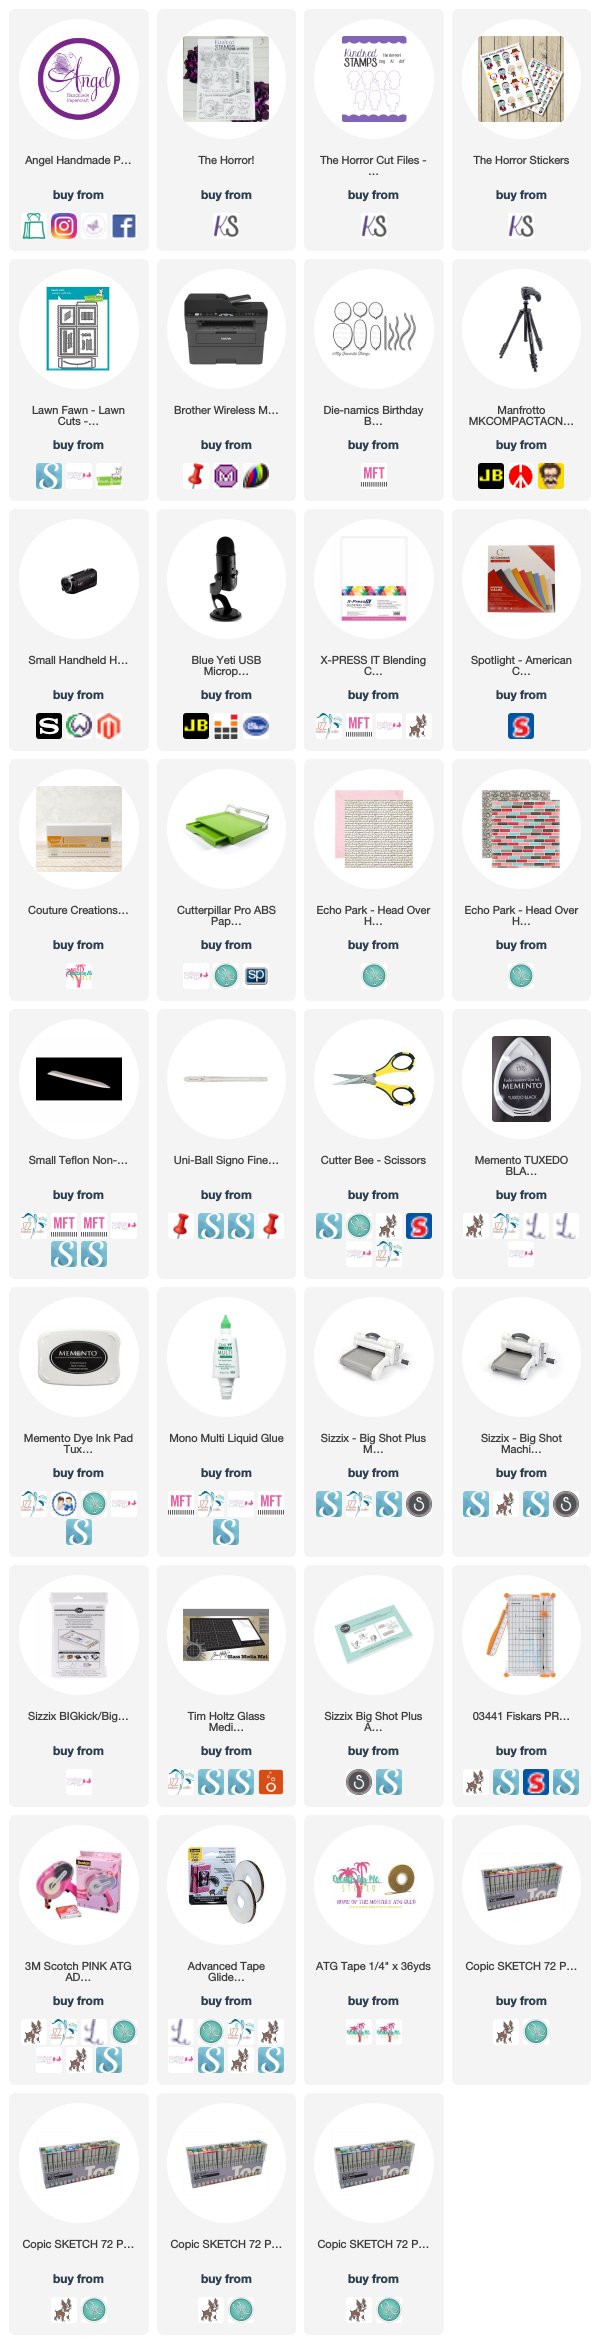
Products Used On My Card (Affiliate Links Used Where Possible)
CAMERA SET UP - FOR YOU TUBE VIDEOS ONLY
Blue Yeti Microphone
Sony Handycam HDR CX4-05
Tripod – Manfrotto MKCompactaCN-BK
S O C I A L MEDIA
B L O G : http://angelhandmadepapercraft.blogspot.com.au/
I N S T A G R A M : http://instagram.com/angelhandmadepapercraft
YOU TUBE: http://www.youtube.com/c/AngelHandmadePapercraft
F A C E B O O K: http://www.facebook.com/angelhandmadepapercraft
PINTEREST: https://www.pinterest.com.au/angelhandmadepapercraft
I was a 2018 Ambassador for Copic Marker Australia and NZ
Today I am super excited not only to be sharing with you the March New Release for Kindred Stamps, but I also want to share with you my first colouring with my Winsor and Newton Professional Water Colours.
The entire Kindred Stamps March release will be available Friday, March 22nd at 8am PST/11am EST. Be sure to check out the Kindred Stamps blog on Friday for the full product release as well as the complete line up of all the Kindred Stamps Design Team projects from release week! If you visit and comment on all of the designers' blogs this week, you could win $15 in Kindred Stamps shop credit! So join the Fan Club and release event, show the design team some love, and get ready to empty those wallets this Friday!
So here is a few notes before I get started, as stated this is my first time (seriously fresh out of the box for this card) so please be nice hehe, also I did not use the paints on watercolour paper, this is my usual X-Press It Blending Cardstock. I couldn't find my watercolour paper but really wanted to try out my new goodies. I may have been a little excited :-)
I started by using my new Ink on 3 Fadeout Ink, this ink is seriously amazing. I also used Memento Tuxedo Black ink to stamp the sentiments out in my Misti Stamping Tool. I used my Silver Brush Company Black Velvet Number 2 Round Brush to paint my images. (Another thing I have been hoarding.. I think I ordered these when we were on our honeymoon almost 12 months ago).
I used my Uni-ball Signo white gel pen to add some details to the images, then used my EK Success Cutterbee Scissors to fussy cut the images.
The patterned papers are from Echo Park Head Over Heels 6x6 Paper Pad. I used my ATG to adhere all the bigger pieces using Scotch ATG and the smaller pieces using American Tombow Mono Multi.
Everything was then adhered to a Couture Creations Card Base.
I hope you have enjoyed my post today, if you have any questions feel free to send me a message or contact me via facebook (all links can be found below).
Watch the You Tube Video Here
Products Used On My Card (Affiliate Links Used Where Possible)
Winsor and Newton Water Colours Used
Yellow Ocre
Burnt Umber
Ivory Black
Vandyke Brown
Alizarin Crimson
Thanks for stopping by, Deni
CAMERA SET UP - FOR YOU TUBE VIDEOS ONLY
Blue Yeti Microphone
Sony Handycam HDR CX4-05
Tripod – Manfrotto MKCompactaCN-BK
S O C I A L MEDIA
B L O G : http://angelhandmadepapercraft.blogspot.com.au/
I N S T A G R A M : http://instagram.com/angelhandmadepapercraft
YOU TUBE: http://www.youtube.com/c/AngelHandmadePapercraft
F A C E B O O K: http://www.facebook.com/angelhandmadepapercraft
PINTEREST: https://www.pinterest.com.au/angelhandmadepapercraft
I was a 2018 Ambassador for Copic Marker Australia and NZ
I would like to share with you a card I created using The Horror stamp set from Kindred Stamps. I will have a clickable image link below the blog post for you to purchase the stamp set and any other products I have used
I started by stamping down my sentiment using Memento Tuxedo Black onto X-Press It Blending Cardstock, I then stamped the same sentiment onto some full adhesive post it notes (this is what I use for my masking technique) I used my EK Success Cutterbee Scissors to cut the sentiment out of the post it note.
I popped the mask of the sentiment down over the one I had stamped then stamped both my images over the top, it did mean the sides of the two images you could not see because they are masked off but It's exactly what I wanted.
Once I had the images stamped out I coloured them using Copic Markers.
I cut a smaller piece of white cardstock and repeat stamped "The Horror" sentiment to create my own patterned paper, so easy to do and I just did it by sight rather than ruling it up.
I ran the image through my Sizzix Big Shot using a Stitched Circle die, I actually carefully cut around the knife first and popped it to the outside of the die so it did not get cut off when I ran it through.
I used Ranger Tea Dye Distress Ink, just the normal ink not the Oxide and a mini ink blending tool to carefully ink around the outside of the image piece and the hand made patterned paper. I also had this black patterned piece in my leftovers tray which I had cut to size and I inked the edge of that also.
I cut a piece of American Crafts Black Cardstock to use as my bottom mat layer.
Once I was done I folded down a Couture Creations Card Base using a bone folder. I wrapped a piece of black ribbon around the patterned papers using Scotch ATG, then adhered those layers to the black and then adhered them all to the card base. This is my Card complete. I did decorate the inside to match but I don't film all that :-)
I hope you have enjoyed my post today, if you have any questions feel free to send me a message or contact me via facebook (all links can be found below).
Watch the You Tube Video Here
Products Used On My Card (Affiliate Links Used Where Possible)
CAMERA SET UP - FOR YOU TUBE VIDEOS ONLY
Blue Yeti Microphone
Sony Handycam HDR CX4-05
Tripod – Manfrotto MKCompactaCN-BK
S O C I A L MEDIA
B L O G : http://angelhandmadepapercraft.blogspot.com.au/
I N S T A G R A M : http://instagram.com/angelhandmadepapercraft
YOU TUBE: http://www.youtube.com/c/AngelHandmadePapercraft
F A C E B O O K: http://www.facebook.com/angelhandmadepapercraft
PINTEREST: https://www.pinterest.com.au/angelhandmadepapercraft
I was a 2018 Ambassador for Copic Marker Australia and NZ
Today I am sharing with you a Box Card I made using Kindred Stamps The Horror Stamp Set.
I stamped the image and sentiments I had chosen onto X-Press It Blending Card using Memento Tuxedo Black and a Lawn Fawn acrylic block.
I used a Box Card die from Lawn Fawn Stamps to create my base project, I ran the die through my Sizzix Big Shot twice to be able to create the box.
Once I had my box done I cut the side pieces from some patterned paper and popped the sentiments onto some banner sticks that came with the box die.
The sentiment on the front I bannered using my scissors and then adhered all the pieces using American Tombow Mono Multi liquid Adhesive. I added some balloons and my card was done, super easy and super fun :-) My husband will love it hehe.
I hope you have enjoyed my post today, if you have any questions feel free to send me a message or contact me via facebook (all links can be found below).
Watch the You Tube Video Here
Products Used On My Card (Affiliate Links Used Where Possible)
CAMERA SET UP - FOR YOU TUBE VIDEOS ONLY
Blue Yeti Microphone
Sony Handycam HDR CX4-05
Tripod – Manfrotto MKCompactaCN-BK
S O C I A L MEDIA
B L O G : http://angelhandmadepapercraft.blogspot.com.au/
I N S T A G R A M : http://instagram.com/angelhandmadepapercraft
YOU TUBE: http://www.youtube.com/c/AngelHandmadePapercraft
F A C E B O O K: http://www.facebook.com/angelhandmadepapercraft
PINTEREST: https://www.pinterest.com.au/angelhandmadepapercraft
I was a 2018 Ambassador for Copic Marker Australia and NZ
New Release week previews for Kindred Stamps have begun.
I was lucky enough to work with Bon Appetit, how super cute is this stamp set :-)
I stamped the images onto PPS Sticker Paper using Memento Tuxedo Black and a Lawn Fawn Acrylic Block. I then fussy cut the images out using EK Success Cutterbee Scissors
I am using my Erin Condren Vertical Planner my planner layout today, If you are interested in purchasing one please use my Affiliate Link here https://www.erincondren.com/referral/invite/deniellewhicker0324
Using an MFT Stamps die I ran it through my Sizzix Big Shot with some full adhesive post it notes, so i could use the pattern to create some cheese looking backgrounds. I used Fossilized Amber Distress Oxide Ink and a mini ink blending tool to create this.
I ran some white cardstock through my Big Shot with a Lawn Fawn Stitched circle die, I did this twice then on one of them I ran it through again with some of the smaller circles.
I added some patterned papers and a doily to the corner.
Please check out my blog post where you can see my planner layout come to life.
I hope you have enjoyed my post today, if you have any questions feel free to send me a message or contact me via facebook (all links can be found below).
Watch the You Tube Video Here
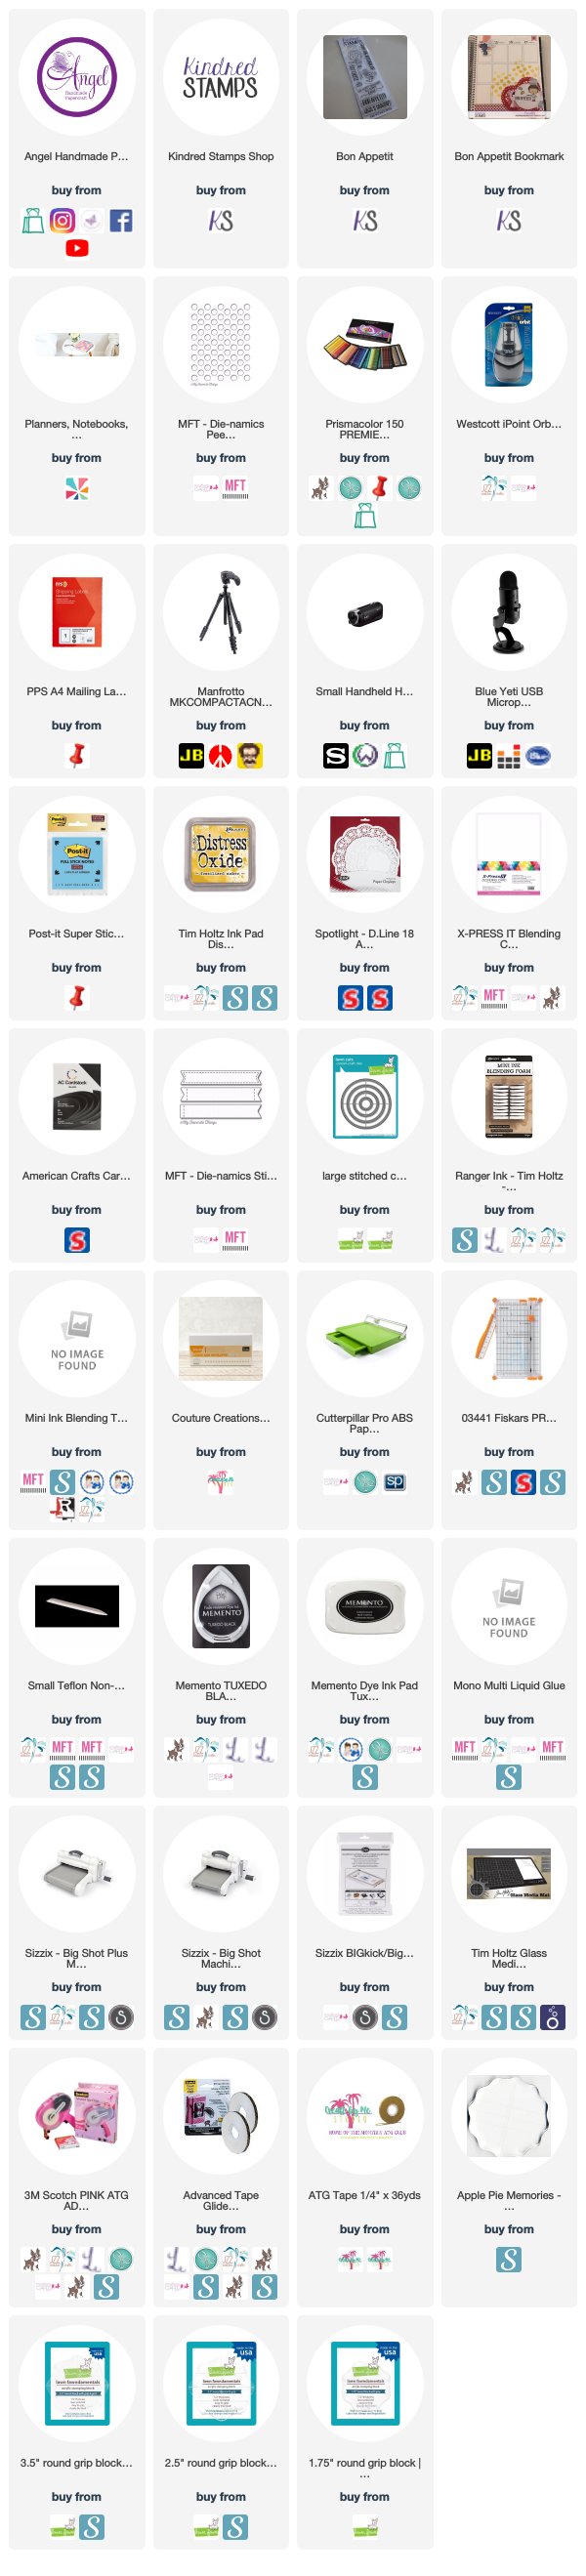
Products Used On My Card (Affiliate Links Used Where Possible)
Thanks for stopping by, Deni
CAMERA SET UP - FOR YOU TUBE VIDEOS ONLY
Blue Yeti Microphone
Sony Handycam HDR CX4-05
Tripod – Manfrotto MKCompactaCN-BK
S O C I A L MEDIA
B L O G : http://angelhandmadepapercraft.blogspot.com.au/
I N S T A G R A M : http://instagram.com/angelhandmadepapercraft
YOU TUBE: http://www.youtube.com/c/AngelHandmadePapercraft
F A C E B O O K: http://www.facebook.com/angelhandmadepapercraft
PINTEREST: https://www.pinterest.com.au/angelhandmadepapercraft
I was a 2018 Ambassador for Copic Marker Australia and NZ
Today I am sharing a project with you for Kindred Stamps, this is one of the young ladies from the Stay Golden stamp set, I really love the brightness in the papers on my card.
I stamped my images out onto X-Press It Blending Card using Memento Tuxedo Black and a Lawn Fawn Acrylic Block.
I coloured all the images up using Copic Markers which you will find listed at the bottom of the blog post, I then fussy cut the image using EK Success Cutterbee Scissors.
Patterned papers used are from American Crafts #Summer 6x6 Paper Pad and the aqua cardstock used is also from American Crafts. I added a little doily from my stash.
The Sentiment was stamped using Versamark Watermark ink, added Ranger Ink Super Fine white embossing powder and melted using heat gun.
Everything was adhered using Scotch ATG.
Watch The You Tube Video here
I hope you have enjoyed my post today, if you have any questions feel free to send me a message or contact me via facebook (all links can be found below).
Products Used On My Card (Affiliate Links Used Where Possible)
CAMERA SET UP - FOR YOU TUBE VIDEOS ONLY
Blue Yeti Microphone
Sony Handycam HDR CX4-05
Tripod – Manfrotto MKCompactaCN-BK
S O C I A L MEDIA
B L O G : http://angelhandmadepapercraft.blogspot.com.au/
I N S T A G R A M : http://instagram.com/angelhandmadepapercraft
YOU TUBE: http://www.youtube.com/c/AngelHandmadePapercraft
F A C E B O O K: http://www.facebook.com/angelhandmadepapercraft
PINTEREST: https://www.pinterest.com.au/angelhandmadepapercraft
PERSONAL BLOG
ANGEL HANDMADE PAPERCRAFT: http://angelhandmadepapercraft.blogspot.com.au/
I am an Ambassador for Copic Marker Australia and NZ
VDT Deni with you today, I would love to share with you another project I created using Little Town Life. I made a bookmark using Masking Techniques.
I started by running a bookmark die through my Sizzix Big Shot using some X-Press It Blending Cardstock.
I had a little bit of an idea of the scene I wanted to create so I started by kind of laying out my stamps over the top of the die.
I grabbed some post it notes, just your standard ones as I wasn't sure where I had put my full sticky ones (which is what I normally use). I used some acrylic blocks and Memento Tuxedo Black and stamped all my images out onto the post it notes, making sure I cleaned my stamps off as I went.. I seem to have a habit of bumping things or getting ink on thinks lately haha.
I layed all my masks down on the second bookmark die I had cut out so I could work out exactly what was going where before I started stamping. I then stamped out everything.. remember you need to stamp out the "front" images before the things that will be in the background. So I began by stamping out my candle, the little girl, then the other character, masking each one off after I stamped.
Watch The Colouring and Process Video Here
Leaving all the masks in place I used a Mini Ink blending tool and some distress inks and blending some ink around them.
Using a sentiment that was left over from my last project, I flagged the ends using my scissors and adhered it using some Scotch ATG.
Once all my colouring and inking was done I adhered a second bookmark to the back to cover and of the ink that was showing through.
I then used some cotton crochet twine to create a tassel which I tied to the top of my bookmark.
I hope you have enjoyed my post today, if you have any questions feel free to send me a message or contact me via facebook (all links can be found below).
Products Used On My Card (Affiliate Links Used Where Possible)
CAMERA SET UP - FOR YOU TUBE VIDEOS ONLY
Blue Yeti Microphone
Sony Handycam HDR CX4-05
Tripod – Manfrotto MKCompactaCN-BK
S O C I A L MEDIA
B L O G : http://angelhandmadepapercraft.blogspot.com.au/
I N S T A G R A M : http://instagram.com/angelhandmadepapercraft
YOU TUBE: http://www.youtube.com/c/AngelHandmadePapercraft
F A C E B O O K: http://www.facebook.com/angelhandmadepapercraft
PINTEREST: https://www.pinterest.com.au/angelhandmadepapercraft
I was a 2018 Ambassador for Copic Marker Australia and NZ
I am super excited to share with you my post this week for Kindred Stamps Video Team.
It has got to be one of my most favourite stamp sets yet.
This is Little Town Life, it is the sweetest most gorgeous stamp set. ** Products will be released soon and links will be updated.
I stamped the images out onto X-Press It Blending Cardstock using Memento Tuxedo Black and Lawn Fawn Acrylic Blocks. I then coloured the images up using Copic Markers and fussy cut them using EK Success Cutterbee Scissors.
I always love seeing the pile of all the markers I used in a project, makes me laugh actually.
I decided I wanted to create a Pop up card with the images. I grabbed my Lawn Fawn Pop up box die that I still hadn't used yet. Can I just say how much I actually love making Pop up cards hehe. This is my very first one, no trials or anything.
I used some old Magnolia Doohickey dies that i've had in my stash since forever, I used the Castle and the fence dies, I will have them all linked up below.
I ran the die box die through my Sizzix Big Shot first using some yellow Canson Cardstock, I ran the die through twice as you need to join two of them together. I used some ATG to adhere the two together creating the box. I then ran through the next piece (the one that goes inside the box to hold the images) through twice once again, I then added some ATG to the tabs and carefully added them to the inside of the box.
I ran the Magnolia dies through using some leftover American Crafts Cardstock, making sure the patterned side was to the front.
Next I ran the square and rectangle pieces through my Big Shot using some leftover X-Press It Blending card, I just wanted them to match up with the images. On the front piece I stamped the sentiment directly on, on the sides I used the sentiments I had stamped and fussy cut out already.
On the back rectangle I used some Ranger Distress Inks to blend a sky.
I then adhered a few images around and popped the others inside with the fence and the castle.
I really love this card and am so glad that I finally took the plunge and got myself a pop up box die.
I hope you have enjoyed my post today, if you have any questions feel free to send me a message or contact me via facebook (all links can be found below). Watch the You Tube Video Here
Products Used On My Card (Affiliate Links Used Where Possible)
CAMERA SET UP - FOR YOU TUBE VIDEOS ONLY
Blue Yeti Microphone
Sony Handycam HDR CX4-05
Tripod – Manfrotto MKCompactaCN-BK
S O C I A L MEDIA
B L O G : http://angelhandmadepapercraft.blogspot.com.au/
I N S T A G R A M : http://instagram.com/angelhandmadepapercraft
YOU TUBE: http://www.youtube.com/c/AngelHandmadePapercraft
F A C E B O O K: http://www.facebook.com/angelhandmadepapercraft
PINTEREST: https://www.pinterest.com.au/angelhandmadepapercraft
PERSONAL BLOG
ANGEL HANDMADE PAPERCRAFT: http://angelhandmadepapercraft.blogspot.com.au/
I am an Ambassador for Copic Marker Australia and NZ
Today I am sharing with you all a Planner Layout I created using "Treasure Hunter" from Kindred Stamps. You can find a picture Link below :-)
I stamped all the images out using Misti Stamping Tool onto X-Press It Blending Cardstock using Memento Tuxedo Black.
Using Copic Markers I coloured the images up then used my EK Success Cutterbee Scissors to fussy cut the images. There is a cut file for this stamp set which I have also added in the linkups below. I find it soothing to fussy cut so that's what I do.
Watch the You Tube Video Here
I hope you have enjoyed my post today, if you have any questions feel free to send me a message or contact me via facebook (all links can be found below).
Products Used On My Card (Affiliate Links Used Where Possible)
CAMERA SET UP - FOR YOU TUBE VIDEOS ONLY
Blue Yeti Microphone
Sony Handycam HDR CX4-05
Tripod – Manfrotto MKCompactaCN-BK
S O C I A L MEDIA
B L O G : http://angelhandmadepapercraft.blogspot.com.au/
I N S T A G R A M : http://instagram.com/angelhandmadepapercraft
YOU TUBE: http://www.youtube.com/c/AngelHandmadePapercraft
F A C E B O O K: http://www.facebook.com/angelhandmadepapercraft
PINTEREST: https://www.pinterest.com.au/angelhandmadepapercraft
PERSONAL BLOG
ANGEL HANDMADE PAPERCRAFT: http://angelhandmadepapercraft.blogspot.com.au/
I am an Ambassador for Copic Marker Australia and NZ 2018