Showing posts with label Taylored Expressions. Show all posts

Tuesday, 25 January 2022

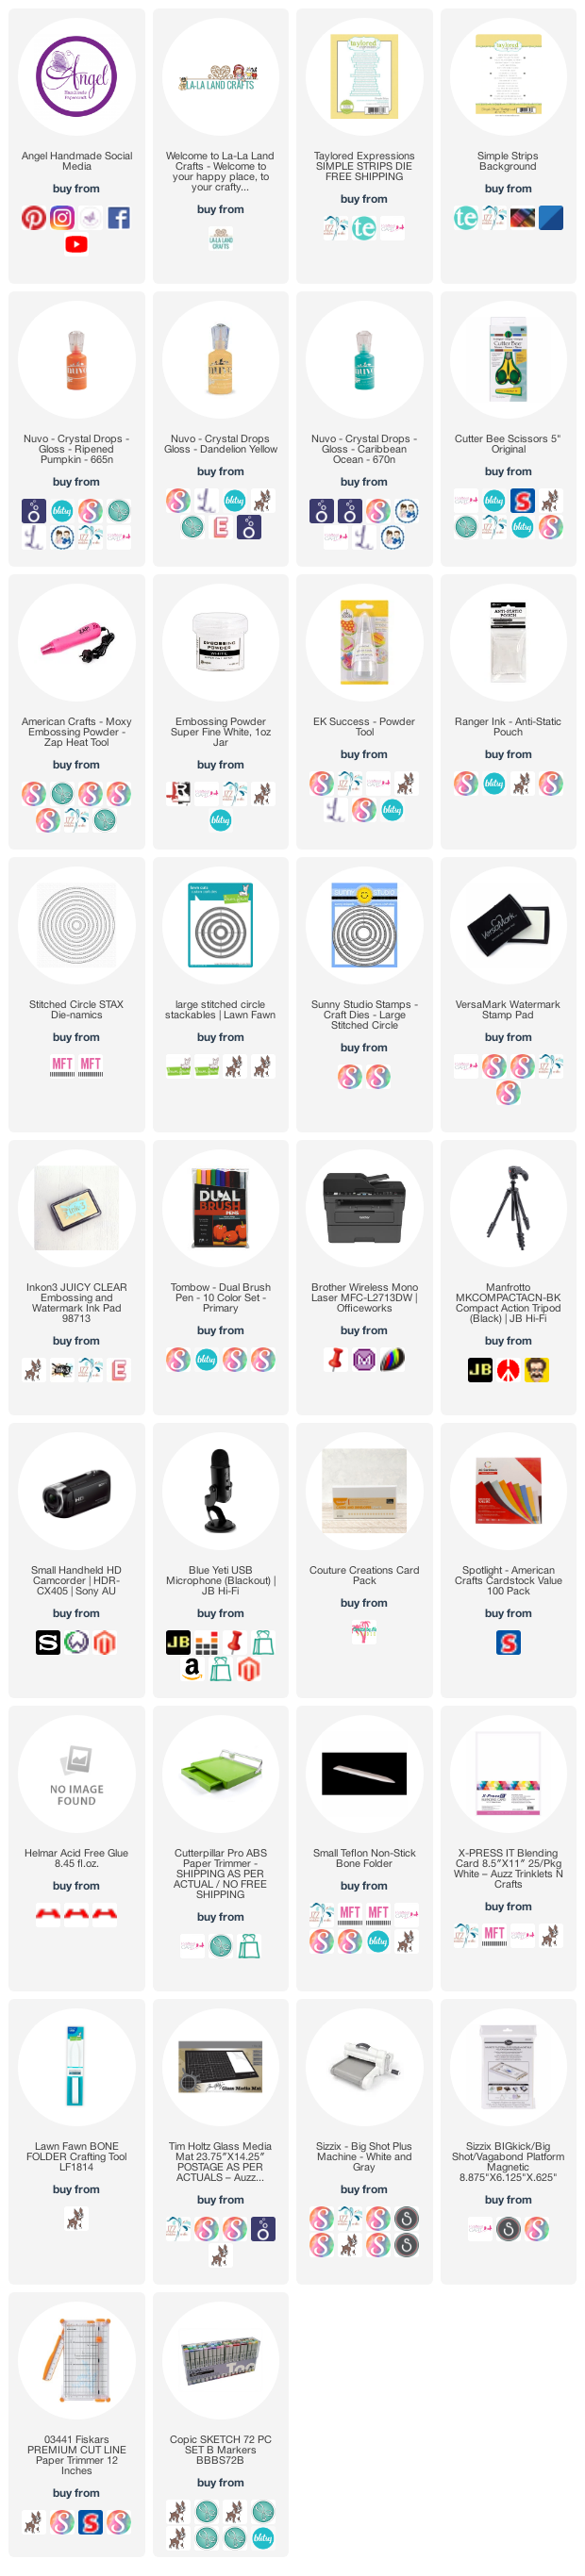
La La Land Crafts Diabetes Awareness

Good Morning Everyone 


Today I have a card to share with you that I created in honour of a little girl with Type 2 Diabetes. 

I have used a stamp from Club La La Land Crafts December 2019 Kit, this stamp is now available to purchase on it's own and Digital Version so I will link those up for you.

I actually used the Digital Version only because I had some already printed out (there was a manufacturing fault in my original rubber so I purchased the Digital whilst I was waiting for my replacement stamp to be sent out). I now own the rubber version also. 


The image was printed onto X-Press It Blending Cardstock using my Brother Laser Printer, I use a laser printer as I know that I will never have an issue with bleeding from my Copic Markers. I added some extra details to the image using a white Gelly Roll pen which I will link up a few options for you.


I used patterned papers from Kaisercraft Little One Collection, this is an old paper collection so I do apologise if you have trouble tracking it down. I love the aqua colours in this paper pad and it was exactly the colour I was after for this card. 

I fussy cut the image using my EK Success Cutterbee Scissors, I recommend these all the time because they are perfect for fussy cutting, they have a nice sharp point on them and allow a nice roll around cut of the image. 

I cut the layers of patterned paper down using my Cutterpillar Pro and adhered them to a Couture Creations Pre Made Card Base, then adhered the image. 

The card needed more to finish it off before I added the sentiment so I punched out some Stars using EK Success Star Confetti Punch and some leftover white cardstock (I keep two small boxes next to my desk with offcuts of white and black card stocks for these things). 


The sentiment is from Taylored Expressions Simple Strips, I stamped them out using Memento Tuxedo Black ink then ran them through my Sizzix Big Shot.


I decorated the inside of the card using matching papers, sorry I forgot photos before I sent it out.

Everything was adhered using Helmar Acid Free liquid Adhesive. 


I hope you have enjoyed my post today, if you have any questions feel free to send me a message or contact me via facebook (all links can be found below).

Watch the You Tube Video Here

No Video today sorry

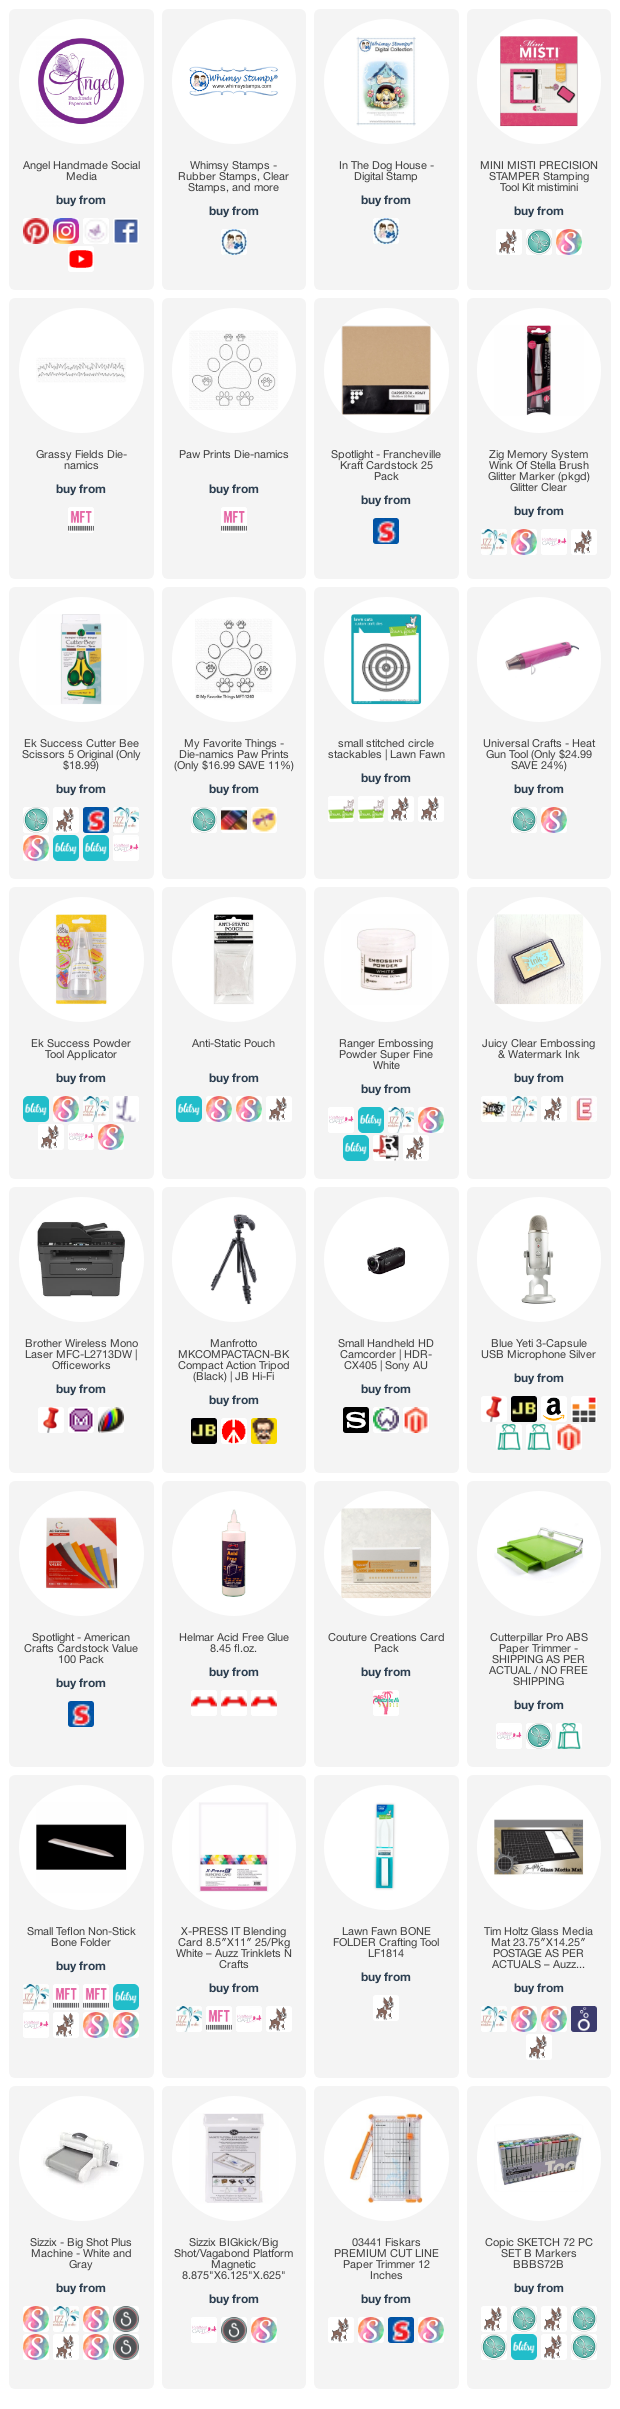
Products Used On My Card (Affiliate Links Used Where Possible)


Copic Markers Used

Sorry no Copic List today

Thanks for stopping by, Deni

CAMERA SET UP - FOR YOU TUBE VIDEOS ONLY
Blue Yeti Microphone
Sony Handycam HDR CX4-05
Tripod – Manfrotto MKCompactaCN-BK

S O C I A L MEDIA 
B L O G : https://ldli.co/e/3xky6x 
I N S T A G R A M : https://ldli.co/e/5dn20x
YOU TUBE: https://ldli.co/e/ej5l90 
F A C E B O O K: https://ldli.co/e/mjxn2r
PINTEREST: https://ldli.co/e/2l9zom


I was a 2018 Ambassador for Copic Marker Australia and NZ


Thursday, 27 May 2021

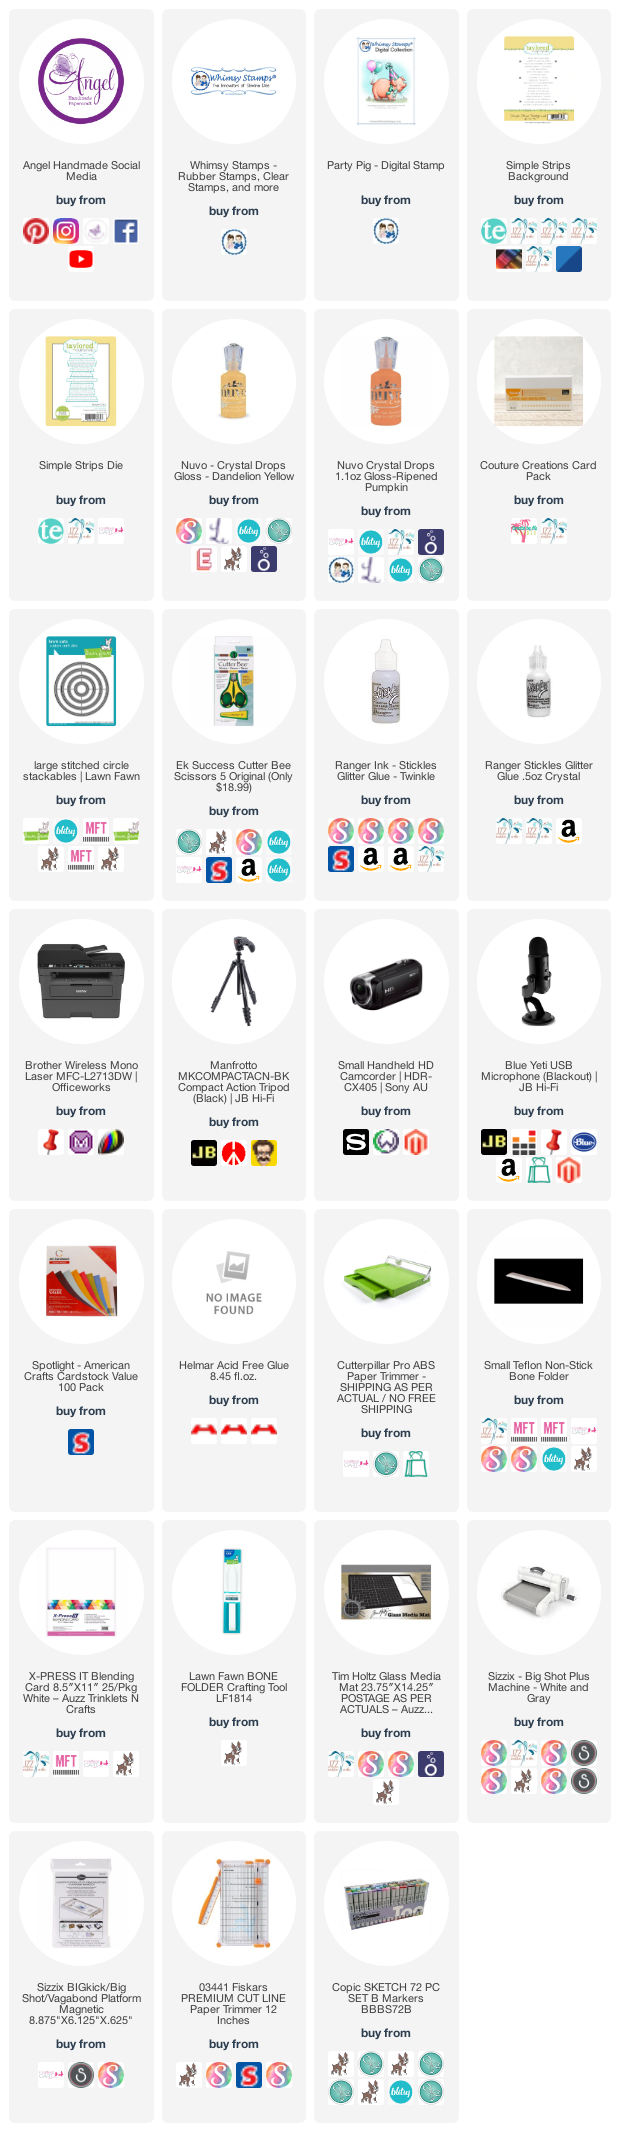
Whimsy Stamps - Simply Fabulous Party Pig

Hope everyone is having a lovely day, 


Today I am sharing a card with you created for Whimsy Stamps using Party Pig.


I printed the image onto X-Press It Blending Cardstock using my Brother Laser Printer, then coloured him up using Copic Markers. 


I ran him through my Sizzix Big Shot using a Stitched Circle die.


Using Scraps of patterned papers from other projects I put together this gorgeous little card. 


I added a sentiment from Taylored Expressions Simple Strips Background which I ran through my Big Shot using the matching dies. 


I coated my image with Derivan Kindy Glitz, I can't find any links for this so I have linked some other products up.


I adhered all the layers to a Couture Creations Card Base. 


I used leftovers of the patterned papers to decorate the inside of the card. 


I hope you have enjoyed my post today, if you have any questions feel free to send me a message or contact me via facebook (all links can be found below).

Watch the You Tube Video Here


Products Used On My Card (Affiliate Links Used Where Possible)


Copic Markers Used

R30, R22, R32
YR12, YR16
BG05, BG15, BG75
YG13, YG17
Y04, Y18
V04, V06, V09

Thanks for stopping by, Deni

CAMERA SET UP - FOR YOU TUBE VIDEOS ONLY
Blue Yeti Microphone
Sony Handycam HDR CX4-05
Tripod – Manfrotto MKCompactaCN-BK

S O C I A L MEDIA 
B L O G : https://ldli.co/e/3xky6x 
I N S T A G R A M : https://ldli.co/e/5dn20x
YOU TUBE: https://ldli.co/e/ej5l90 
F A C E B O O K: https://ldli.co/e/mjxn2r
PINTEREST: https://ldli.co/e/2l9zom


I was a 2018 Ambassador for Copic Marker Australia and NZ


Monday, 22 February 2021

La La Land Crafts - Snorkelling Luka with BIG OOPS at the end :-)

Hi Everyone, 

Today I am sharing with you a card I created using an old retired image from La La Land Crafts, I believe it is called Snorkelling Luka, I coloured him up quite a while ago so I don't have any Copic Marker lists. 


I do know I printed him onto X-Press It Blending Cardstock using my Brother Laser Printer. 

I fussy cut the image down using EK Success Cutterbee Scissors, I did cut right down to the line on this one as I didn't want the white border. I did run around the outside of the image using a Dual Tombow Black marker.


I stamped the Celebrating with you sentiment using Taylored Expressions Simple Strips Background, I stamped it onto American Crafts Cardstock using Ink On 3 Watermark Embossing Ink, then used Ranger Ink Super Fine White Embossing Powder. I melted the embossing powder using a Heat Gun. I then ran all the stamps through my Sizzix Big Shot using the matching die set.


The papers are all leftovers from other projects - the blue piece I ran through my Big Shot using a Lawn Fawn Stitched Circle die - I have linked up a few options for you.


I adhered all the layers to a Couture Creations Card Base Using Helmar Acid Free liquid adhesive.

Finally I went in with Tonic Studios Nuvo Crystal Drops in Ripened Pumpkin, Caribbean Ocean and Dandelion Yellow... here's where the oops comes in.. the Caribbean Ocean burst out onto my card spraying Nuvo Drops everywhere.. all over our floors, my desk my card and my shirt!


I couldn't save the card or my shirt I was just glad I could get it off our floor boards and my desk. 


I hope you have enjoyed my post today, if you have any questions feel free to send me a message or contact me via facebook (all links can be found below).

Watch the You Tube Video Here


Products Used On My Card (Affiliate Links Used Where Possible)


Copic Markers Used
no list today


Thanks for stopping by, Deni

CAMERA SET UP - FOR YOU TUBE VIDEOS ONLY
Blue Yeti Microphone
Sony Handycam HDR CX4-05
Tripod – Manfrotto MKCompactaCN-BK

S O C I A L MEDIA 
B L O G : https://ldli.co/e/3xky6x 
I N S T A G R A M : https://ldli.co/e/5dn20x
YOU TUBE: https://ldli.co/e/ej5l90 
F A C E B O O K: https://ldli.co/e/mjxn2r
PINTEREST: https://ldli.co/e/2l9zom


I was a 2018 Ambassador for Copic Marker Australia and NZ


Saturday, 30 May 2020

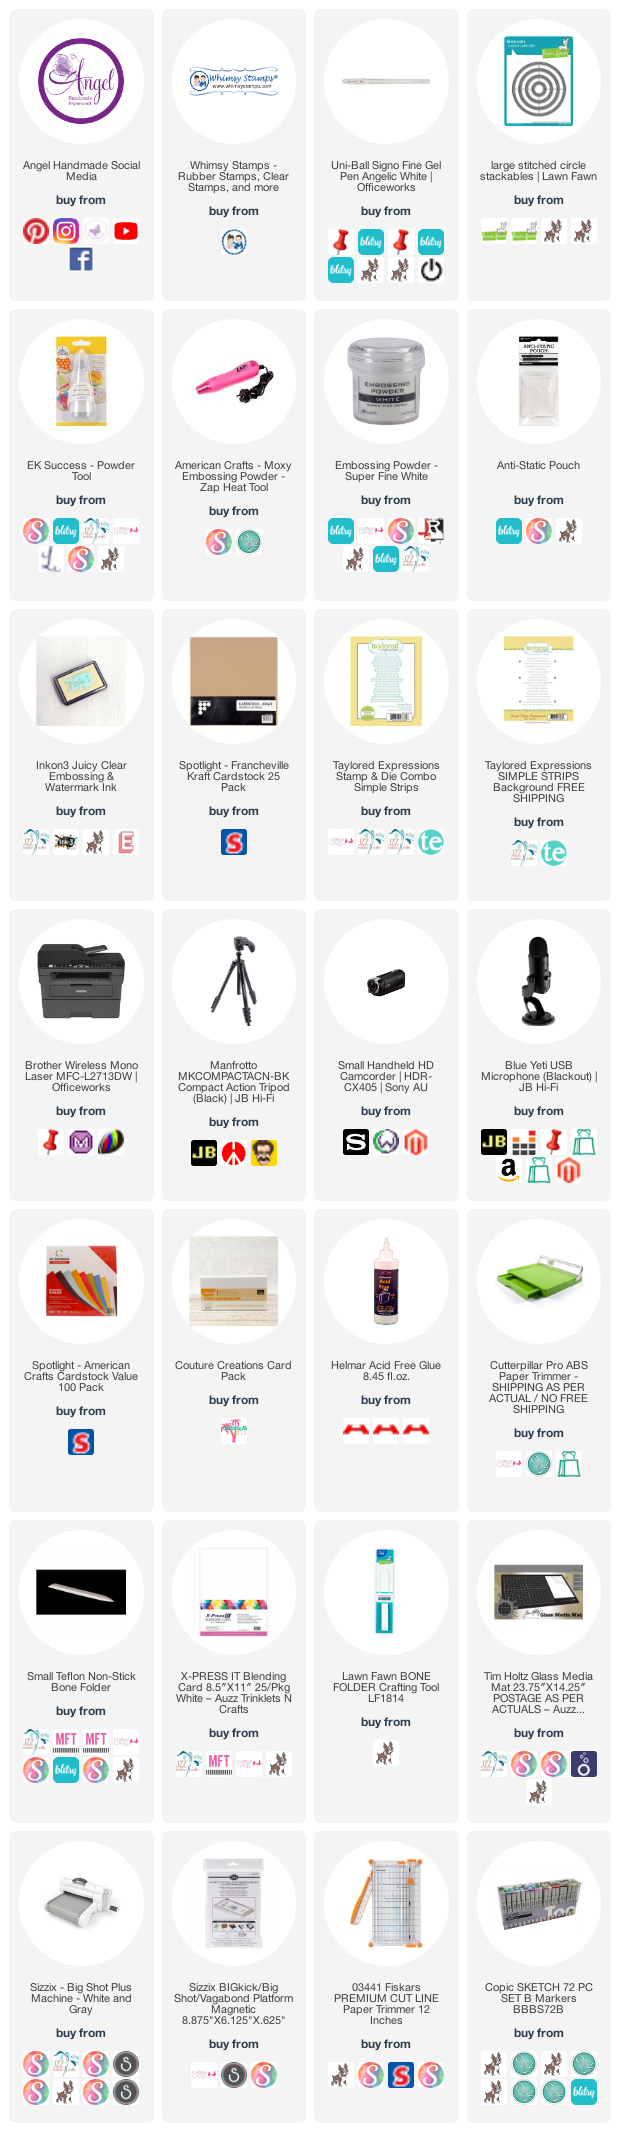
Whimsy Stamps - Welcome to the Neighborhood Little Guy

Hey Everyone,

Today I would like to share with you a card I made using an image from Whimsy Stamps May Release called In The Doghouse.


This is a Digital Stamp so I printed it onto X-Press It Blending Card using my Brother Laser Printer, I then coloured the image up using Copic Markers.


I used some patterned papers from my stash that I have been hoarding for many many years - since my old scrapbooking days. I remembered I had this patterned paper and began searching for it when I seen this cute little image.

I also used some other patterned papers from my stash, also unknown brands as I've had them for a while.


I matted the patterned papers using Francheville Kraft Cardstock and some American Crafts Cardstock.

I ran the image through my Sizzix Big Shot using a Lawn Fawn Stitched Circle Die.


The sentiment is from Taylored Expressions Simple Strips, I stamped it onto American Crafts Black Cardstock (that I had already prepped using a Powder Tool) using Ink On 3 Embossing Ink, I then applied Ranger Ink Super Fine White Embossing Powder and melted it using my Heat Tool. I ran the sentiments through my Big Shot using the matching dies.


I adhered all the layers to a Couture Creations Card Base using Helmar Acid Free liquid Adhesive, this is my go to for liquid adhesives.


I used leftovers of the same patterned papers to decorate the inside of the card.


I hope you have enjoyed my post today, if you have any questions feel free to send me a message or contact me via facebook (all links can be found below).

Watch the You Tube Video Here


Products Used On My Card (Affiliate Links Used Where Possible)


Copic Markers Used

E11, E13, E17, E18
E31, E33, E35
YG13, YG17
YR02, YR04, YR16
E81, W4, 0 Colorless Blender
C4
BG15, BG05, BG75
RV14, RV17, RV19
E49

Thanks for stopping by, Deni

CAMERA SET UP - FOR YOU TUBE VIDEOS ONLY
Blue Yeti Microphone
Sony Handycam HDR CX4-05
Tripod – Manfrotto MKCompactaCN-BK

S O C I A L MEDIA 
B L O G : https://ldli.co/e/3xky6x
I N S T A G R A M : https://ldli.co/e/5dn20x
YOU TUBE: https://ldli.co/e/ej5l90 
F A C E B O O K: https://ldli.co/e/mjxn2r
PINTEREST: https://ldli.co/e/2l9zom


I was a 2018 Ambassador for Copic Marker Australia and NZ


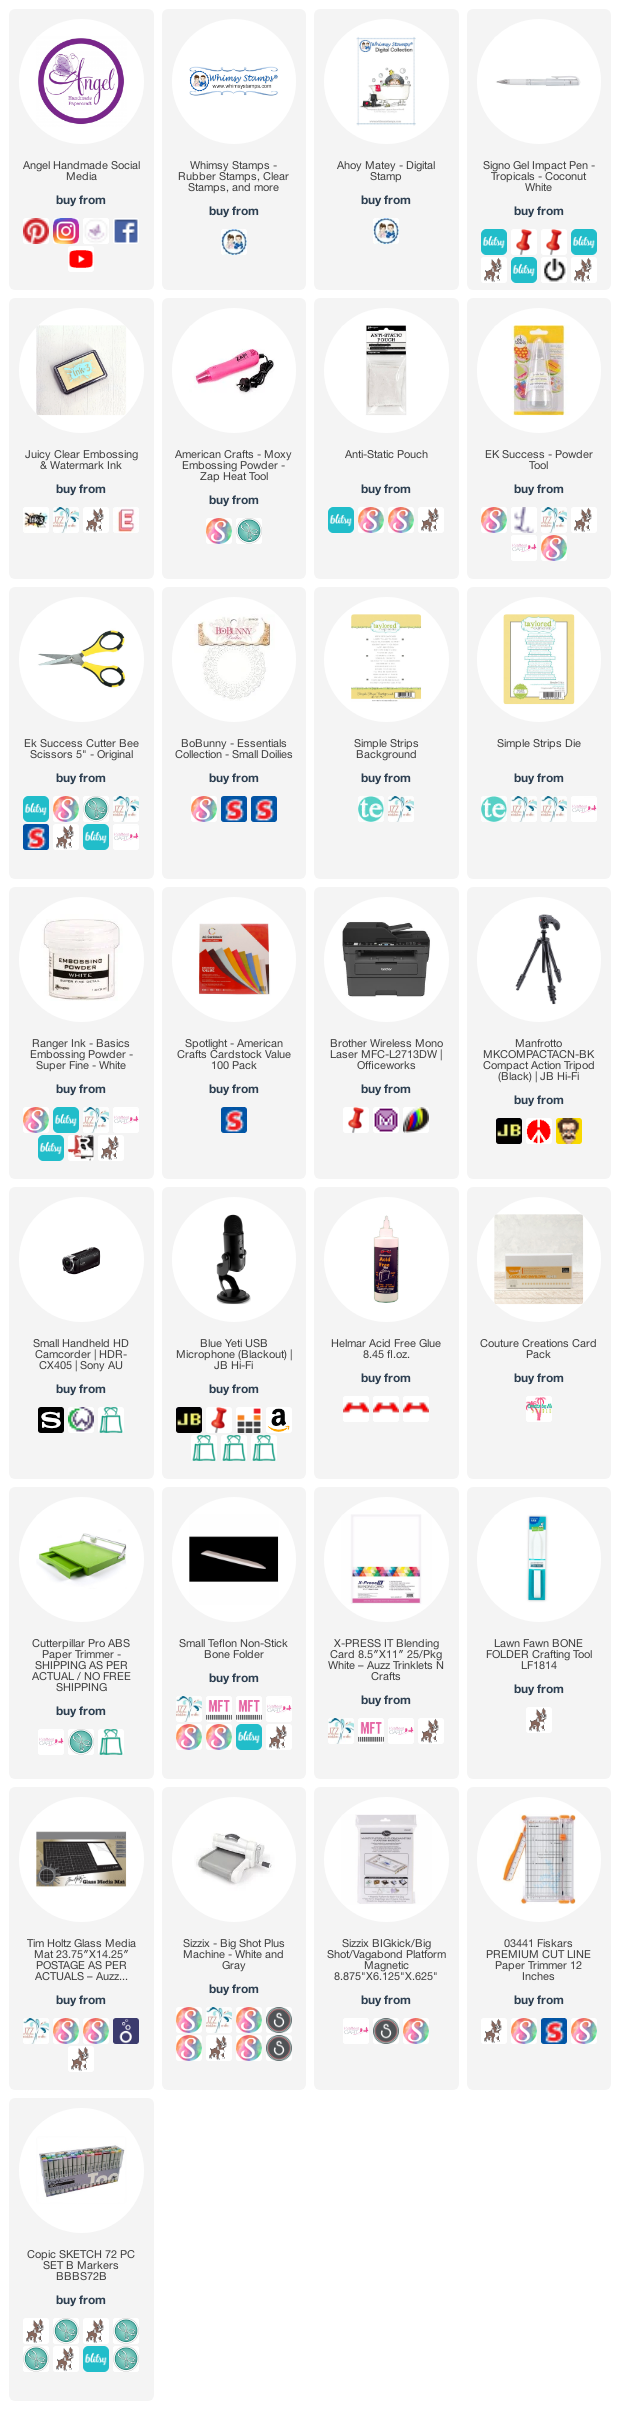
Whimsy Stamps - Ahoy Neighbour

Good Morning Everyone,

It's a new month which means New Release time over at Whimsy Stamps, the girls started us off yesterday and today I am sharing with you Ahoy Matey from the Digital Stamps New Release.


I printed the image onto X-Press It  Blending Cardstock using my Brother Laser Printer, then coloured the image up using Copic Markers.


I went with simplicity on my card today, because I actually ended up colouring 3 of the images as I couldn't stop :-) I will share those with you later in the month.

I used some patterned papers from Little Boy Blue from Crate Paper, I used all leftovers on the front of my card which is always awesome. I like to use up as much of my paper pad as I can, there's no wastage here.


I trimmed down the little D block from the same paper pad using my EK Success Cutterbee Scissors then bannered it up.


The sentiment is from Taylored Expression Simple Strips, I stamped it out on American Crafts Black Cardstock which I had already prepared using a Powder Tool using Ink On 3 Embossing Ink. I then added some Ranger Ink Super Fine White Embossing Powder. I then melted the embossing powder using my Heat Tool. I ran the sentiments through my Sizzix Big Shot using the matching dies. I trimmed the little one down using my Ek Success Scissors so I was able to match the sentiments up.


I added a doily from my stash using Helmar Acid Free liquid adhesive.

I adhered all the layers to a Couture Creations Card Base using the same liquid adhesive.


Once the front of my card was complete I moved onto decorating the inside of my card using the same patterned papers.


I hope you have enjoyed my post today, if you have any questions feel free to send me a message or contact me via facebook (all links can be found below).

Watch the You Tube Video Here


Products Used On My Card (Affiliate Links Used Where Possible)


Copic Markers Used

E000, E00, E21, E11, E04
Y04, Y15, YR04
R14, R27
E74, E77, E79
E31, E33, E35, E37
BG10, BG11
N0, N2, N4, 0 Colorless Blender
N6, N8, N10
BG02, BG05
YG17

Thanks for stopping by, Deni

CAMERA SET UP - FOR YOU TUBE VIDEOS ONLY
Blue Yeti Microphone
Sony Handycam HDR CX4-05
Tripod – Manfrotto MKCompactaCN-BK

S O C I A L MEDIA 
B L O G : https://ldli.co/e/3xky6x
I N S T A G R A M : https://ldli.co/e/5dn20x
YOU TUBE: https://ldli.co/e/ej5l90 
F A C E B O O K: https://ldli.co/e/mjxn2r
PINTEREST: https://ldli.co/e/2l9zom


I was a 2018 Ambassador for Copic Marker Australia and NZ


Thursday, 21 May 2020

Whimsy Stamps Welcome Neighbour

Hi Everyone,

Last weekend I shared with you a card I made using Whimsy Stamps In The Doghouse, today I am using the same stamp, I don't have the colouring on today's video so refer back to that one if you are interested.


I printed the image onto X-Press It Blending Cardstock using my Brother Laser Printer.


I ran the image through my Sizzix Big Shot using a Lawn Fawn Stitched Circle die.


I cut some layers down from this doggy paper that I've had in my stash since forever ago, I matted them using American Crafts Chocolate Brown Cardstock and some Francheville Kraft Cardstock.


I used an old die set from MFT Stamps called Paw Prints, ran it through my Big Shot twice, using Kraft and Red Cardstocks then layered them up on my card.


Using Taylored Expressions Simple Strips I inked up the stamp set using Ink On 3 Embossing Ink, Ranger Ink Super Fine White Embossing Powder, I melted it using my Heat Tool, then ran it through my Big Shot using the matching dies.


I added some grass from MFT Stamps Grassy Fields die.


I used matching papers to decorate the inside of the card.


I hope you have enjoyed my post today, if you have any questions feel free to send me a message or contact me via facebook (all links can be found below).

Watch the You Tube Video Here


Products Used On My Card (Affiliate Links Used Where Possible)


Copic Markers Used

E11, E13, E17, E18
E31, E33, E35
YG13, YG17
YR02, YR04, YR16
E81, W4, 0 Colorless Blender
C4
BG15, BG05, BG75
RV14, RV17, RV19
E49
Thanks for stopping by, Deni

CAMERA SET UP - FOR YOU TUBE VIDEOS ONLY
Blue Yeti Microphone
Sony Handycam HDR CX4-05
Tripod – Manfrotto MKCompactaCN-BK

S O C I A L MEDIA 
B L O G : https://ldli.co/e/3xky6x
I N S T A G R A M : https://ldli.co/e/5dn20x
YOU TUBE: https://ldli.co/e/ej5l90 
F A C E B O O K: https://ldli.co/e/mjxn2r
PINTEREST: https://ldli.co/e/2l9zom


I was a 2018 Ambassador for Copic Marker Australia and NZ