Showing posts with label Canson. Show all posts

Saturday, 17 July 2021

Whimsy Stamps - Dolphin Time

Hi Everyone,

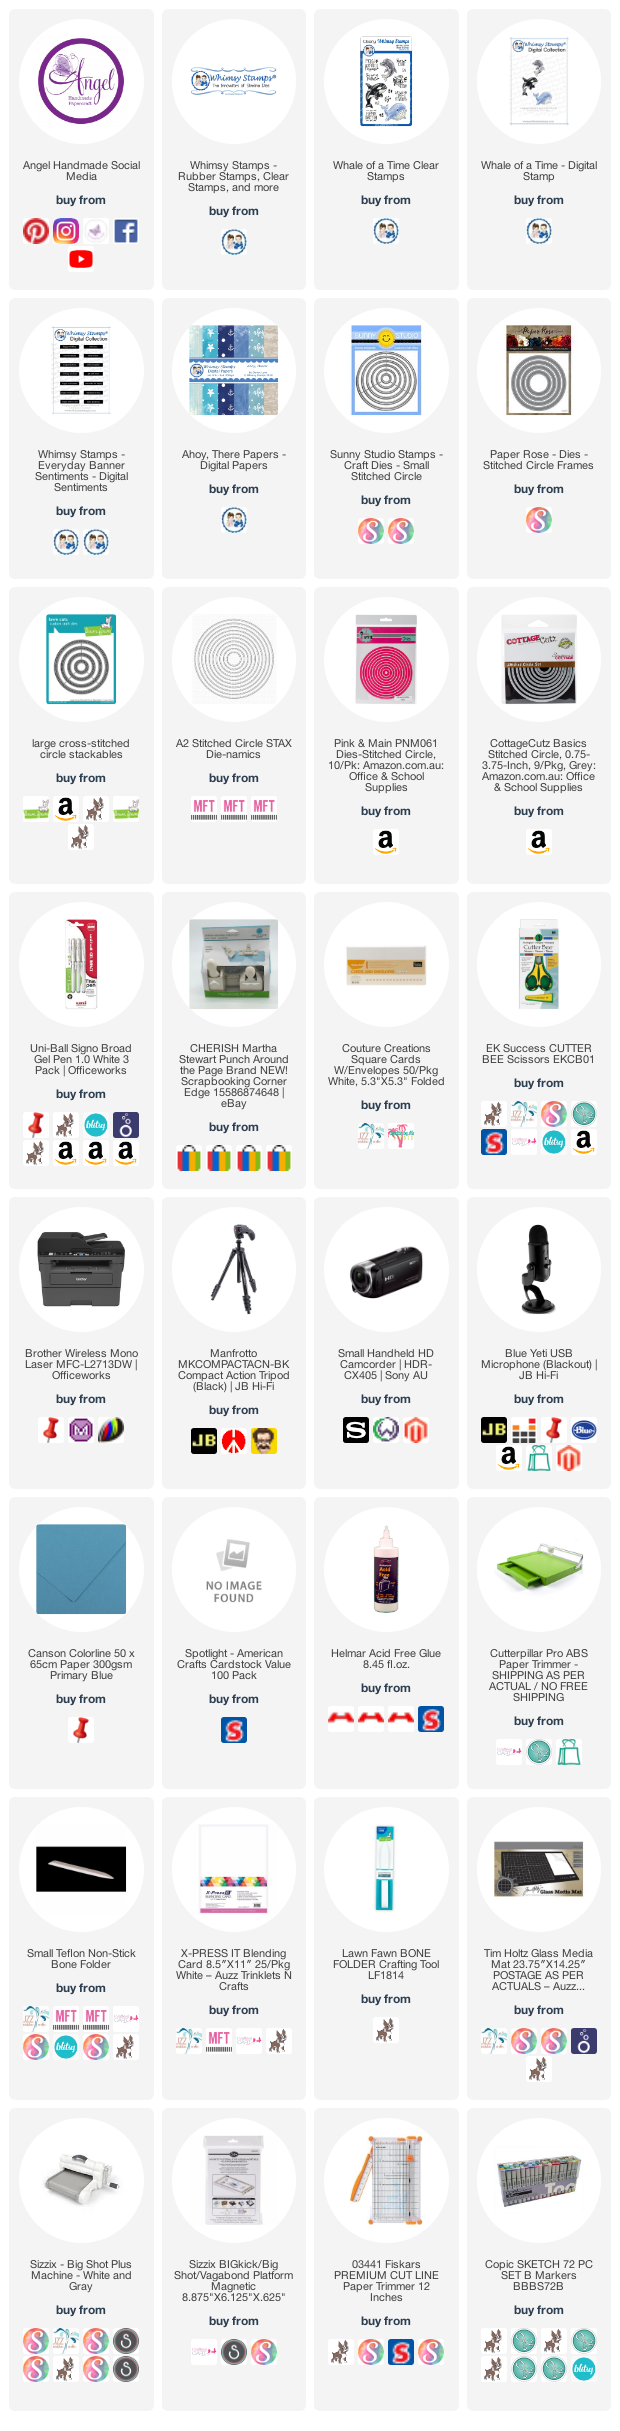
Today I am sharing with you a card I have created using a Digital Stamp from Whimsy Stamps, part of Crissy Armstrong's Designs, this is the Dolphin from Whale Of A Time - this stamp set is available as both a rubber and a Digital Stamp so I will have both of them linked up in the picture links below. 


I printed the image onto X-Press It Blending Cardstock, I added some details using a white gel pen then ran it through my Sizzix Big Shot using a Lawn Fawn Stitched Circle die. I have linked up a few different brands incase you can't track this one down. 


I printed papers from Ahoy There Digital Paper set, also from Whimsy Stamps. I just printed them onto Copy paper, I knew I would be adding a few layers so it didn't matter too much that it was such thin paper. I had some bits and pieces from other projects also left over so I have also used some of those.


I cut down a layer of Canson blue cardstock to use as my mat layer, then adhered that to a Couture Creations Card Base using Helmar Acid Free liquid adhesive, then adding the star fish patterned paper piece.


Using an old punch from Martha Stewart - this is the Cherish Edge Punch, I just grabbed some leftover white card from another project a punched a strip, I then used my trimmer to cut down the top part because I had already adhered the patterned paper and it needed something else to finish it off. 


I used a sentiment from Whimsy Stamps Everyday Banner Sentiment Digital Collection which I had previously printed for other projects. 


I'm super happy with the way the card turned out, simple but effective. 


I used more of the patterned papers to decorate the inside of the card. 


I hope you have enjoyed my post today, if you have any questions feel free to send me a message or contact me via facebook (all links can be found below).


Products Used On My Card (Affiliate Links Used Where Possible)


Copic Markers Used

T1, T3, T4, T6

Thanks for stopping by, Deni

CAMERA SET UP - FOR YOU TUBE VIDEOS ONLY
Blue Yeti Microphone
Sony Handycam HDR CX4-05
Tripod – Manfrotto MKCompactaCN-BK

S O C I A L MEDIA 
B L O G : https://ldli.co/e/3xky6x 
I N S T A G R A M : https://ldli.co/e/5dn20x
YOU TUBE: https://ldli.co/e/ej5l90 
F A C E B O O K: https://ldli.co/e/mjxn2r
PINTEREST: https://ldli.co/e/2l9zom


I was a 2018 Ambassador for Copic Marker Australia and NZ


Tuesday, 13 July 2021

Whimsy Stamps SOG Fairy Magic

Good Morning Everyone,

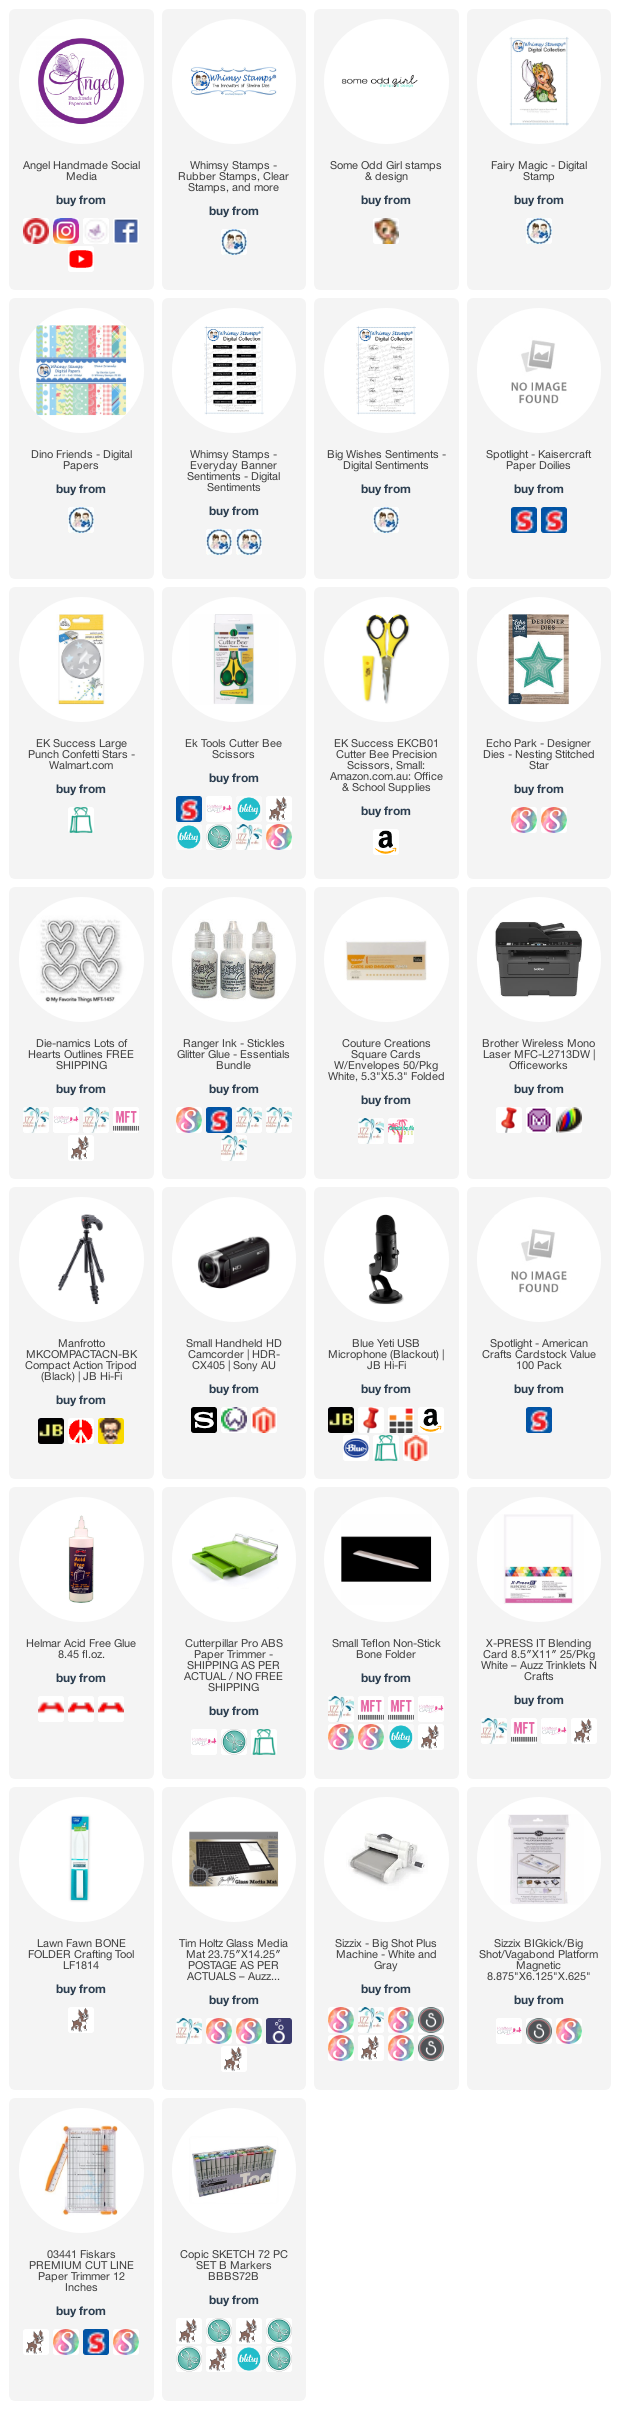
Today I am sharing with you all a card I have created for Whimsy Stamps using an image from Some Odd Girl Stamps. This is a Digital Image that I have printed onto X-Press It Blending Card. I have also used some papers from Whimsy Stamps Dino Friends Collection. 


I began by printing the image then fussy cutting her using my EK Success Cutterbee Scissors, these are my go to scissor for fussy cutting and I cannot talk them up enough. 


Once my image was trimmed out I began colouring using Copic Markers, you will see lots of step by step pics on my You Tube Video (the video and a full Copic list will be linked up below).


I grabbed a Couture Creations Card Base from my stash, cut down some layers of pink cardstock and used that to mat the layers of patterned paper I had printed from the Whimsy Stamps Dino Friends Digital Paper Collection


I used a star die to cut down some stars (from another brand however I will link up a few different ones, I also cut a heart from another brand also.


The Sentiments are both from Whimsy Stamps Digital Sentiment sets. I used the Big Wishes set and the Everyday Sentiments set. 


I hope you have enjoyed my post today, if you have any questions feel free to
send me a message or contact me via facebook (all links can be found below).

Watch the You Tube Video Here


Products Used On My Card (Affiliate Links Used Where Possible)


Copic Markers Used

E00, E21, E11, E04, R20
RV0000, RV00, BG0000
YR20, Y35, YR14
G43, G14
BG32, BG13, 0 Colorless Blender
E71, E74, E77, E79
RV10, RV10, RV14

Thanks for stopping by, Deni

CAMERA SET UP - FOR YOU TUBE VIDEOS ONLY
Blue Yeti Microphone
Sony Handycam HDR CX4-05
Tripod – Manfrotto MKCompactaCN-BK

S O C I A L MEDIA 
B L O G : https://ldli.co/e/3xky6x 
I N S T A G R A M : https://ldli.co/e/5dn20x
YOU TUBE: https://ldli.co/e/ej5l90 
F A C E B O O K: https://ldli.co/e/mjxn2r
PINTEREST: https://ldli.co/e/2l9zom


I was a 2018 Ambassador for Copic Marker Australia and NZ


Wednesday, 10 March 2021

You Rock Harry, Happy Birthday

Hi Everyone,

Today I am sharing with you a card I created last week for a friend, she needed a card to give to her Nephew Harry for his 13th Birthday. 


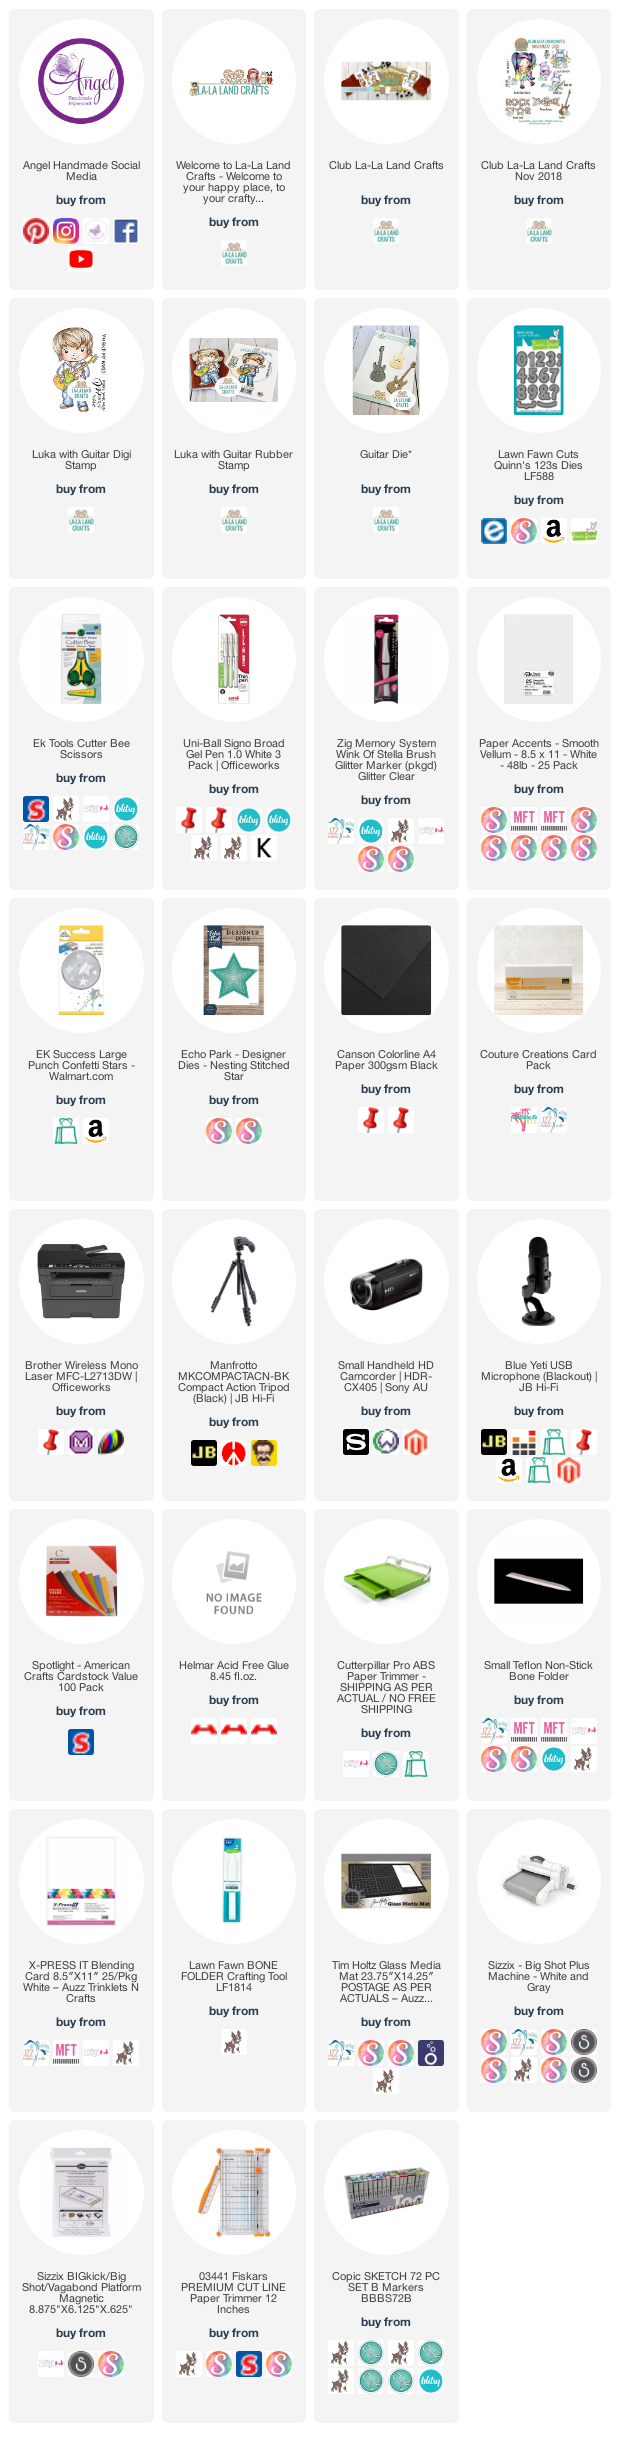
Harry has started playing guitar and I knew this image would be perfect for him. This is Luka with Guitar from La La Land Crafts, he is available as a Digital Stamp and a Rubber Stamp. I love when companies do this as everyone's needs are met. 


I used the Digital Version of the stamp as I needed it straight away. I sized it up using the Pages app on my MacBook Air, then printed it onto X-Press It Blending Cardstock using my Brother Laser Printer. 


I trimmed the stamp down from the A4 page I printed (I always print a full page of images when printing Digital Stamps), I then fussy cut him using my EK Success Cutterbee Scissors, I know I probably sound like I'm on repeat but these scissors are my go to for fussy cutting as they are super sharp and pointy which is exactly what you need for fussy cutting. 


I began by colouring his skin, I used E000, E00, E21, E11, E04 and R20, this is usually my go to blend for skin although I do have a few others up my sleeve. 


I added a light coating to his hair, I didn't go any further at this stage because I was waiting for my friend to let me know what colour hair Harry has. 


I moved on to colouring his jeans, I used B95, B97, B99 for his jeans and used his skin tones on the patch I created (Irina from La La Land Crafts did a video on this last week, ill see if I can link it up). I then coloured up the rest of the jeans. I added some details to them using a Uni-Ball White Gel Pen. 


Next we move on to his jumper, I used R14, R37 and R39 to do this.


My friend has now sent through the colours of Harry's Hair so I will go back and complete this. 


Now let's put the card together. 


I apologise I lost some of my footage off my camera - apparently it was corrupted.. grrr. 

What you missed on the video - I used dies from MFT Stamps Rock and Roll die set and cut out the flames, the numbers are from Lawn Fawn Quinn's 123's I ran them through my Big Shot using Canson Card Stock. 


The sentiment I printed from my computer because I needed it personalised and it was the easiest way to do it - I used some X-Press It Blending Card for this as I like all my white's to be the same. 


The little stars were punched out using an EK Success Star Confetti Punch and American Crafts Black Cardstock. 


Harry's name was a challenging one - I had this great idea to print it out. I printed it onto a scrap piece of paper first, then trimmed down some vellum and adhered it directly over what I had already printed and attached it using Washi Tape. I ran it back through my printer, it looked great... however it just wasn't doing.. aah. I was doing something else on the card and ended up with black ink on my hand - lucky I didn't mess my card up.. I tried to dry it using my Heat Gun but it just wasn't making any difference so I grabbed a permanent marker and carefully went over it, I hit it with the heat gun again really carefully and finally it was dry! 


The big Star on the card was from another MFT die set but now I can't find it to link it haha. It will show up once this goes live im sure, 


I cut the guitar from Canson Cardstock using Guitar die from La La Land Crafts - this item is for sale as a separate die now, however I received as part of the November 2018 Club La La Land Crafts


I used leftovers of dies etc to decorate the inside of the card.


I hope you have enjoyed my post today, if you have any questions feel free to send me a message or contact me via facebook (all links can be found below).

Watch the You Tube Video Here


Products Used On My Card (Affiliate Links Used Where Possible)


Copic Markers Used

E000, E00, E21, E11, E04, R20
E51, E31, Y21, E35
Y15, Y38
B95, B97, B99
R14, R37, R39
C4, C7, C10

Thanks for stopping by, Deni

CAMERA SET UP - FOR YOU TUBE VIDEOS ONLY
Blue Yeti Microphone
Sony Handycam HDR CX4-05
Tripod – Manfrotto MKCompactaCN-BK

S O C I A L MEDIA 
B L O G : https://ldli.co/e/3xky6x 
I N S T A G R A M : https://ldli.co/e/5dn20x
YOU TUBE: https://ldli.co/e/ej5l90 
F A C E B O O K: https://ldli.co/e/mjxn2r
PINTEREST: https://ldli.co/e/2l9zom


I was a 2018 Ambassador for Copic Marker Australia and NZ


Wednesday, 29 July 2020

Helmar Worldwide, MFT Stamps - Freshly Picked For You


Today I am sharing a project I have created for Helmar Worldwide. 


I had fun playing with my Altenew Watercolour pans today, I love the vibrancy of them. 


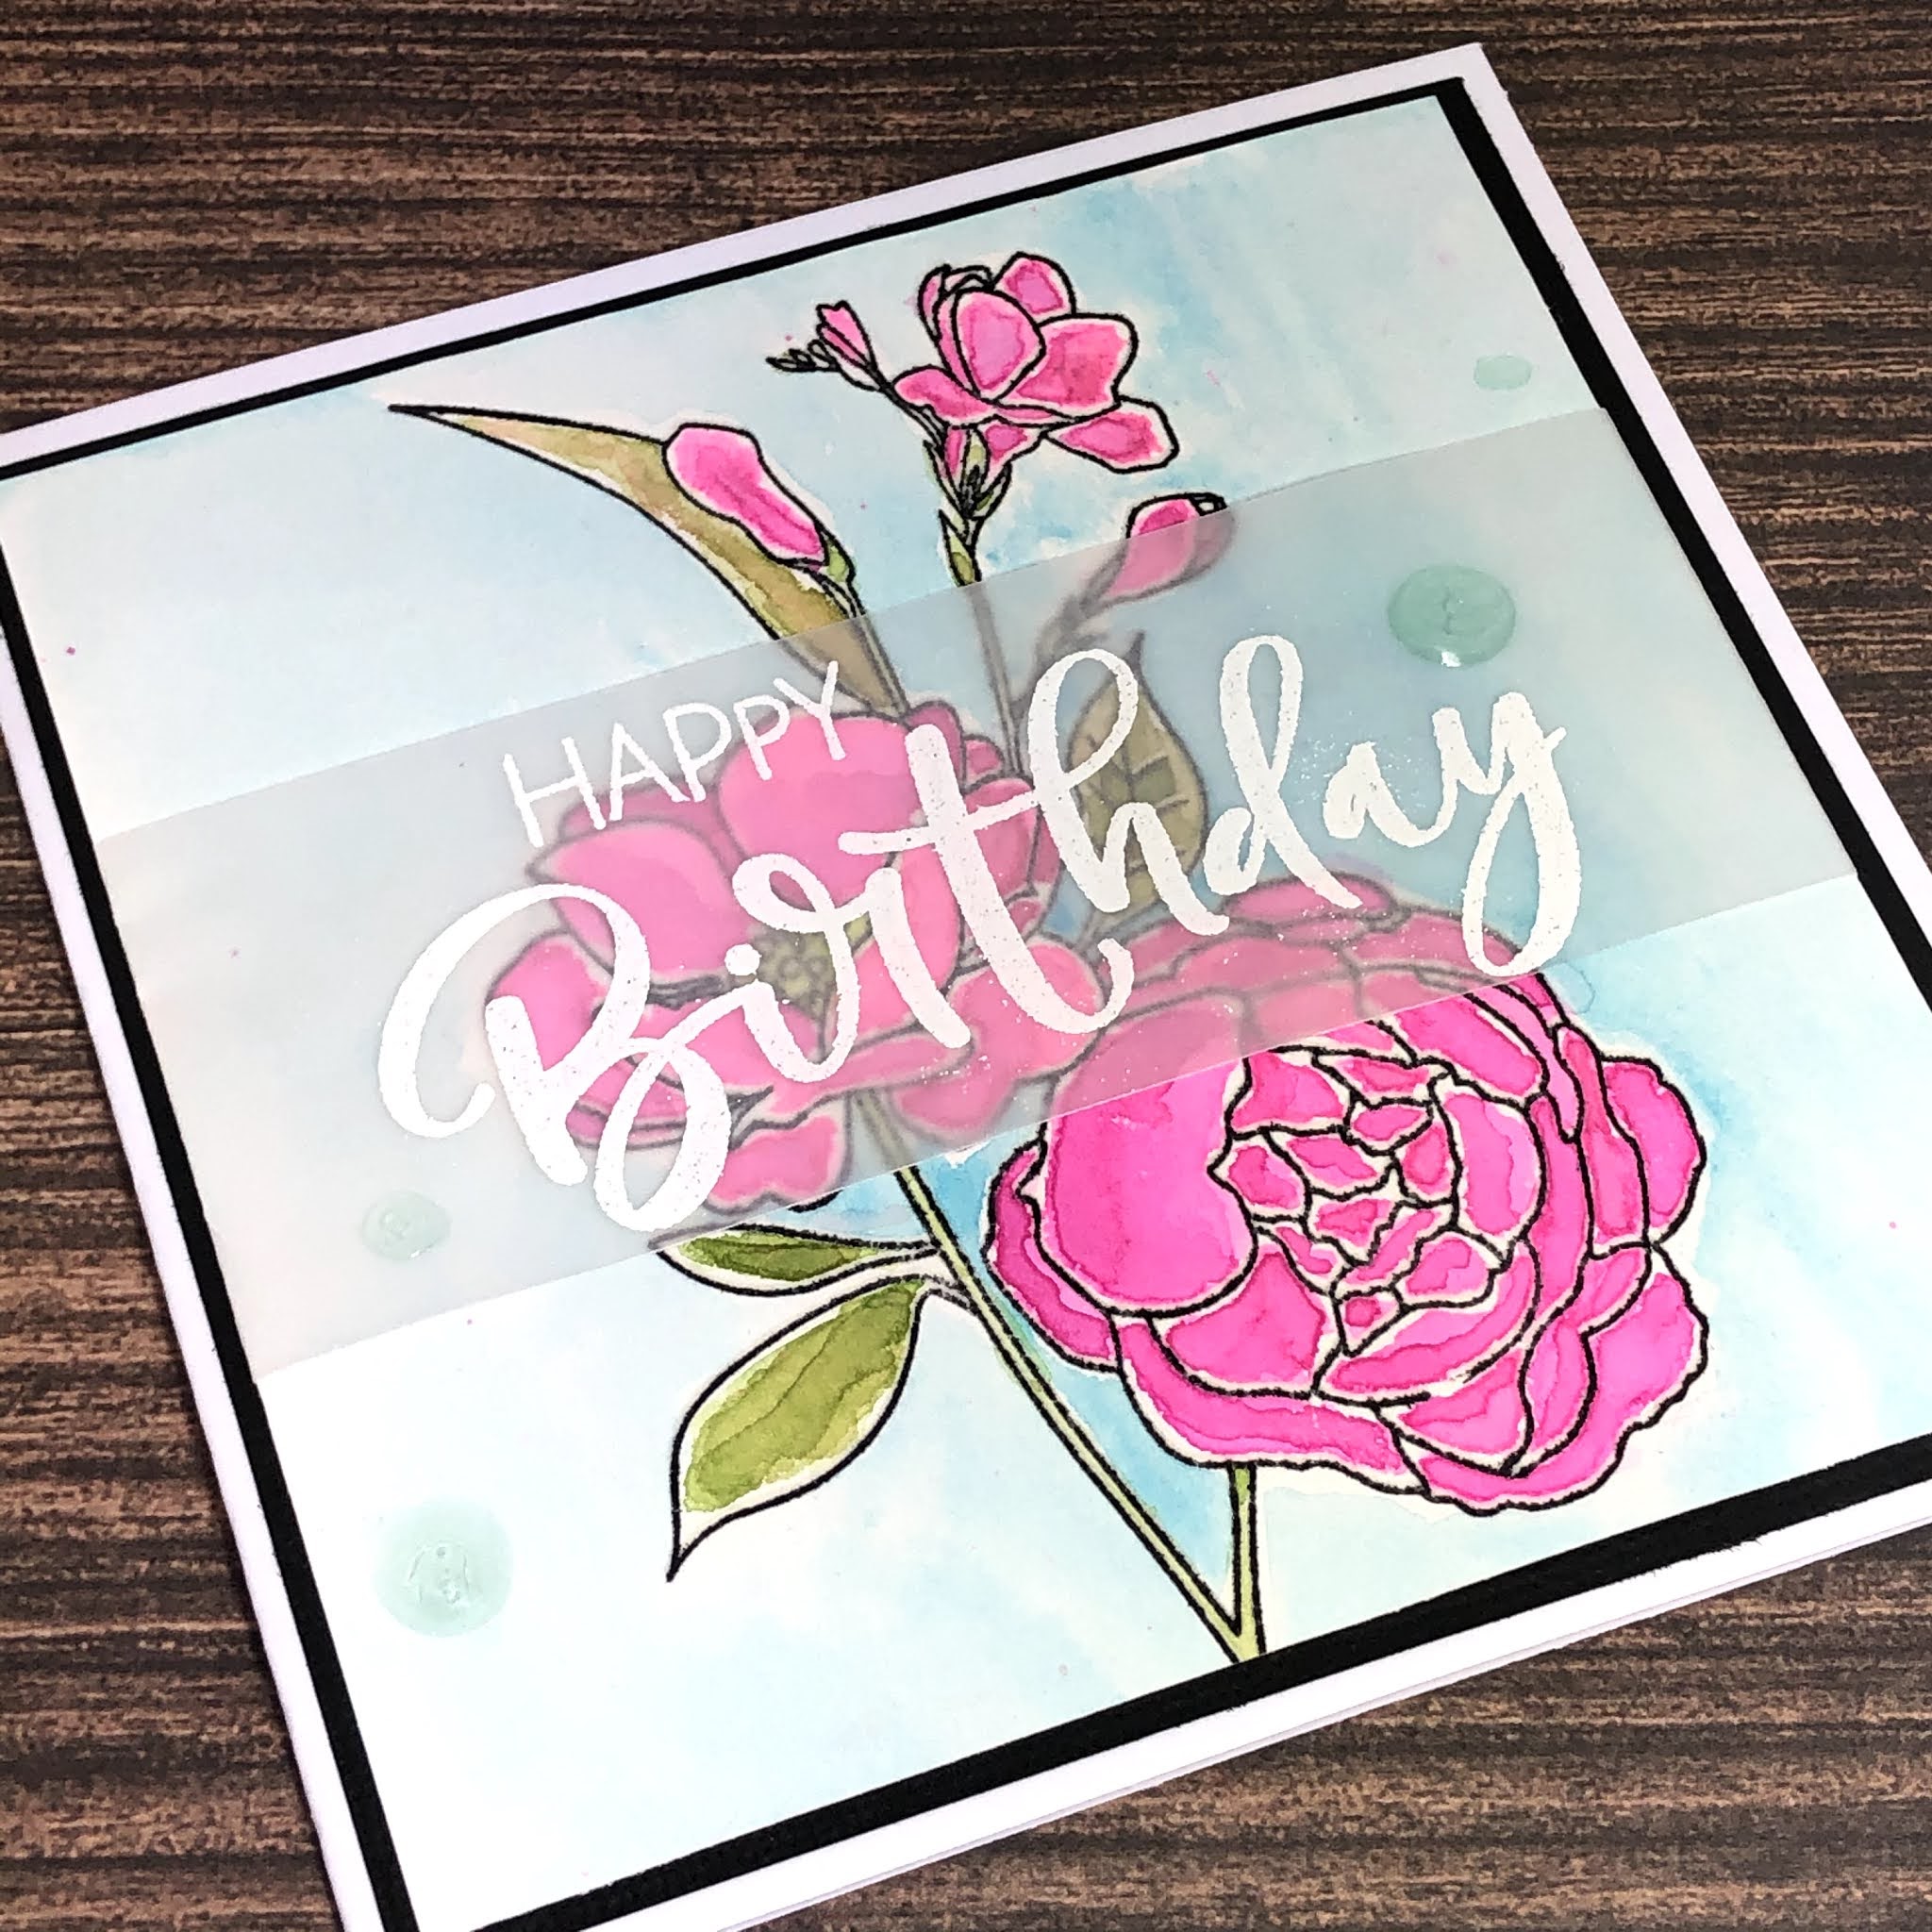
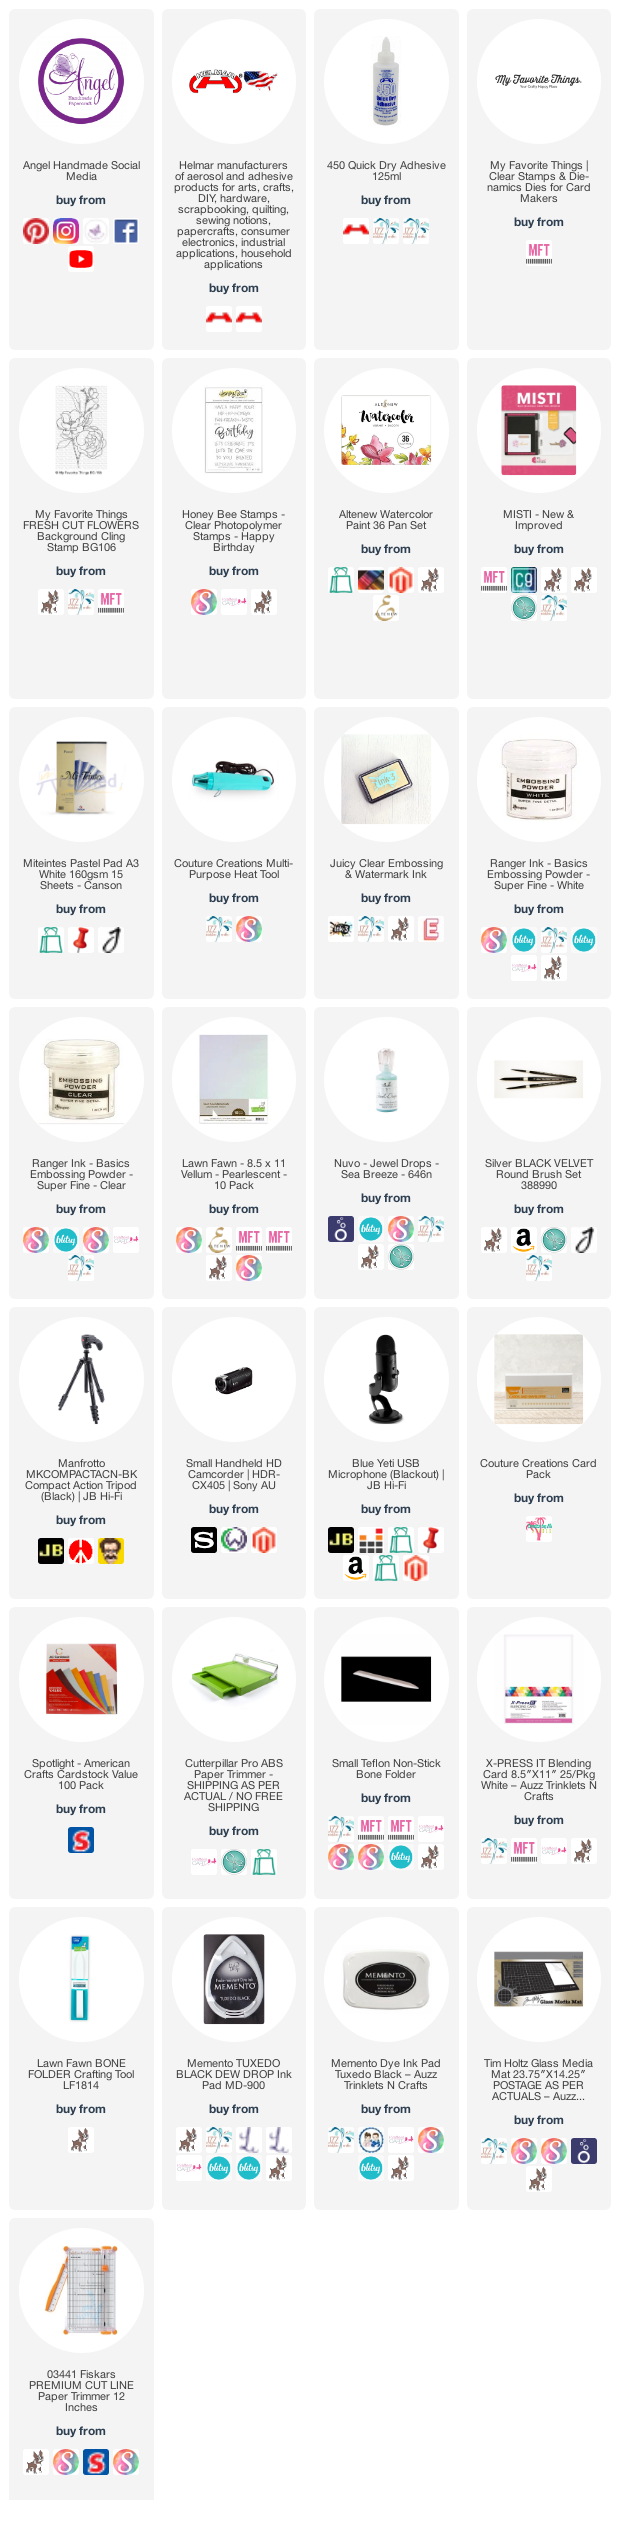
I used the Fresh Cut Flowers  image from MFT Stamps onto Mi Teintes Paper using Memento Tuxedo Black then restamped using Ink On 3 Embossing Ink, I added some Clear Embossing Powder then melted it using my Heat Gun. 


Using my Watercolours and a Silver Brush Company Round Brush I painted the image, drying inbetween to give the extra layers. 


I used Honey Bee Stamps Happy Birthday stamp set and stamped it out onto Vellum using Ink on 3 Embossing Ink and white embossing ink, and meted it using my Heat Tool, making sure to alternate between front and back to not burn the vellum. 


I layed the Vellum over the image and used my bone folder to carefully crease the sides of the vellum so I could fold it over the back and adhere. I used Helmar 450 Quick Dry to make sure the sides adhered quickly and I could move on with my card. I also added a small amount behind parts of the sentiment.


Since I already had the quick dry out I used it to finish putting my card together. I cut down a layer of black cardstock using American Crafts Black cardstock. I then adhered all the layers to a Couture Creations Card Base. 

I added some Nuvo Crystal Drops in Sea Breeze to finish the card off.


I hope you have enjoyed my post today, if you have any questions feel free to send me a message or contact me via facebook (all links can be found below).

Watch the You Tube Video Here


Products Used On My Card (Affiliate Links Used Where Possible)


Thanks for stopping by, Deni

CAMERA SET UP - FOR YOU TUBE VIDEOS ONLY
Blue Yeti Microphone
Sony Handycam HDR CX4-05
Tripod – Manfrotto MKCompactaCN-BK

S O C I A L MEDIA 
B L O G : https://ldli.co/e/3xky6x 
I N S T A G R A M : https://ldli.co/e/5dn20x
YOU TUBE: https://ldli.co/e/ej5l90 
F A C E B O O K: https://ldli.co/e/mjxn2r
PINTEREST: https://ldli.co/e/2l9zom


I was a 2018 Ambassador for Copic Marker Australia and NZ