Sunday 26 January 2020

CC Designs - Snow Much Joy

Welcome to my blog,

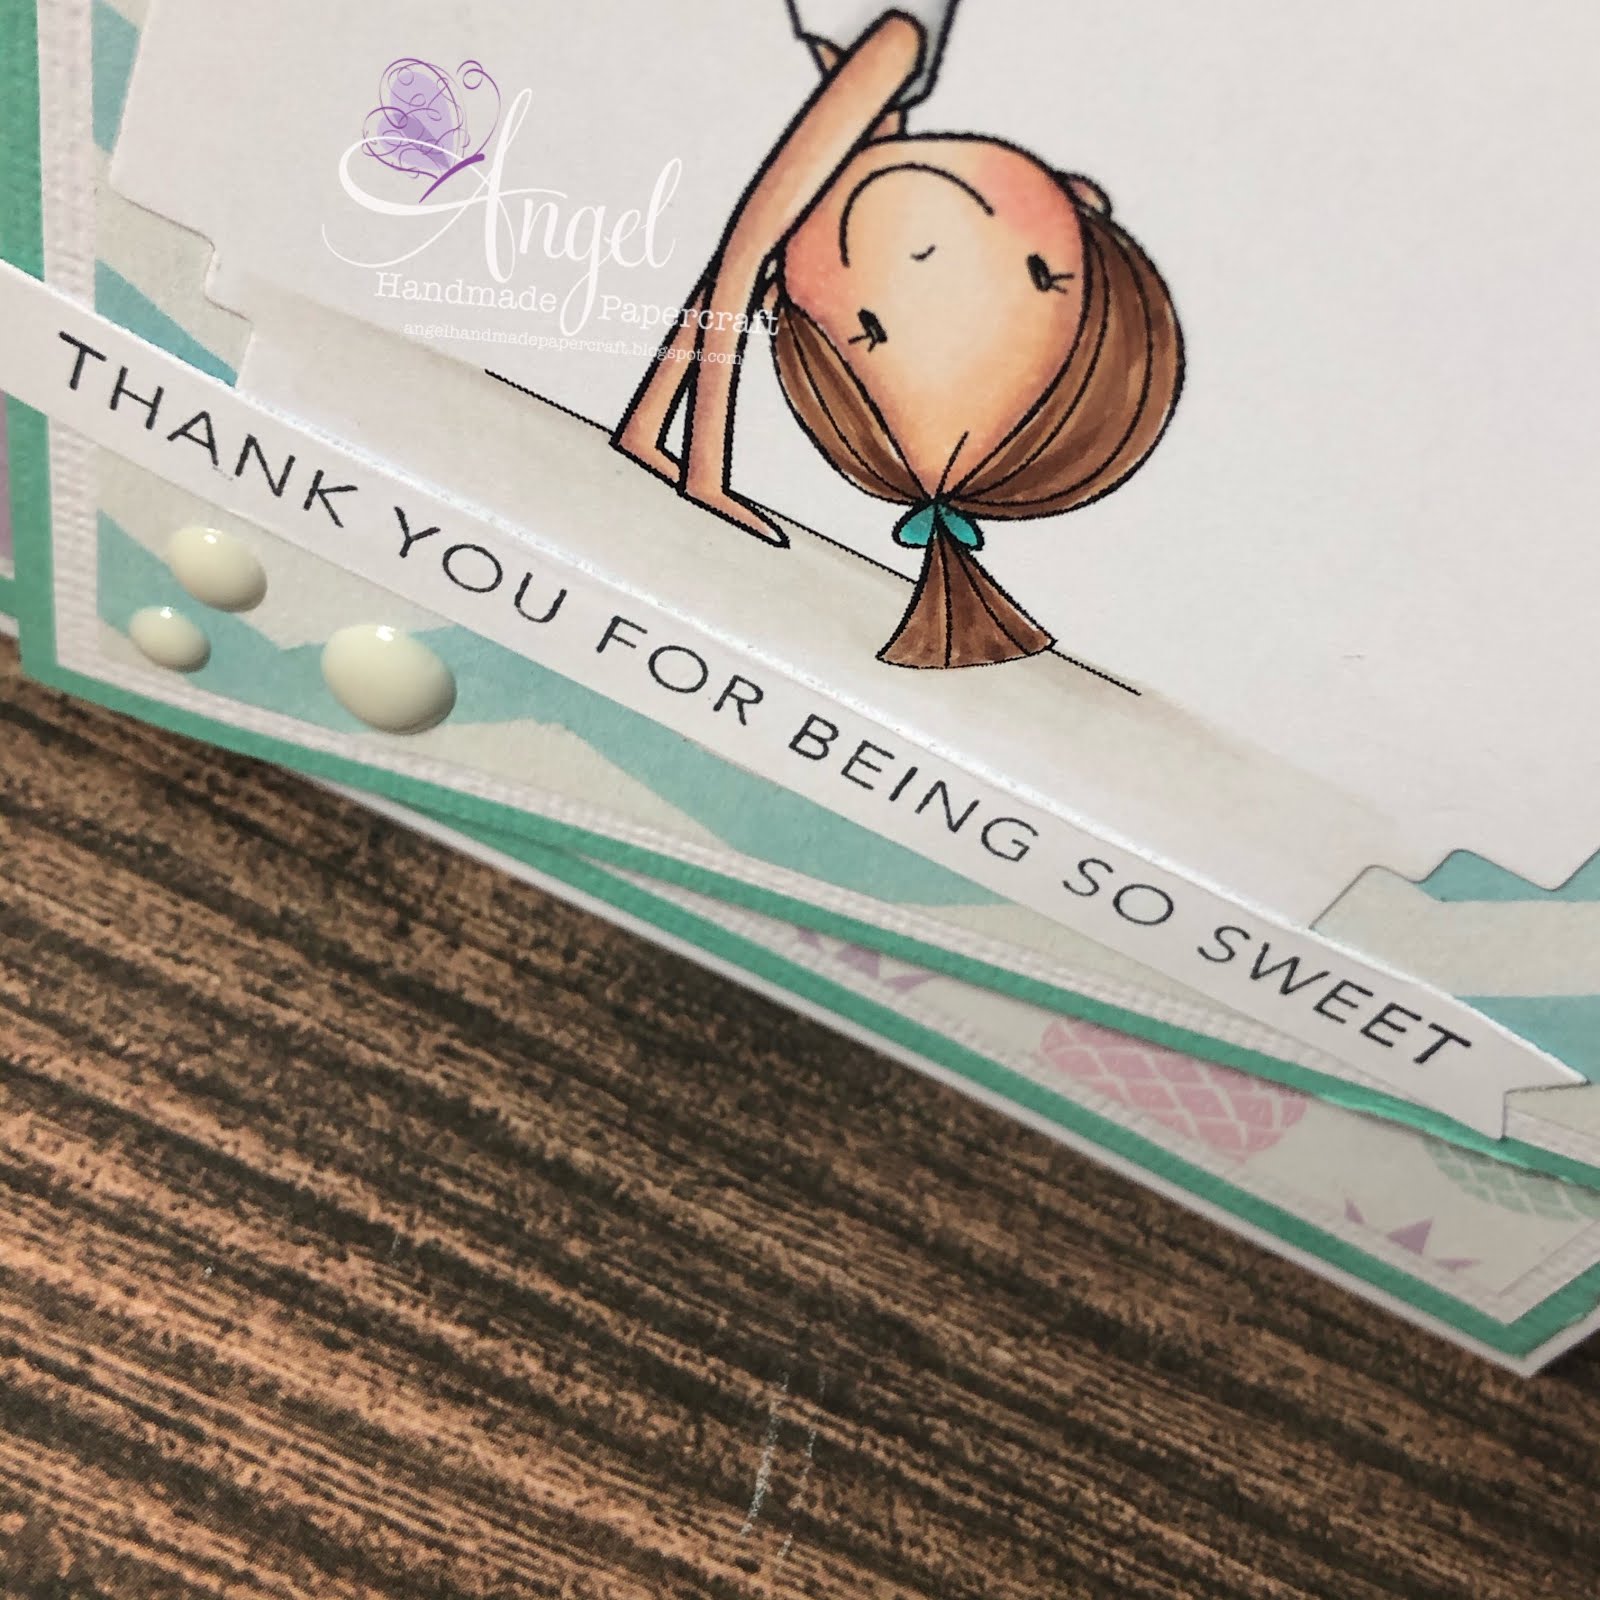
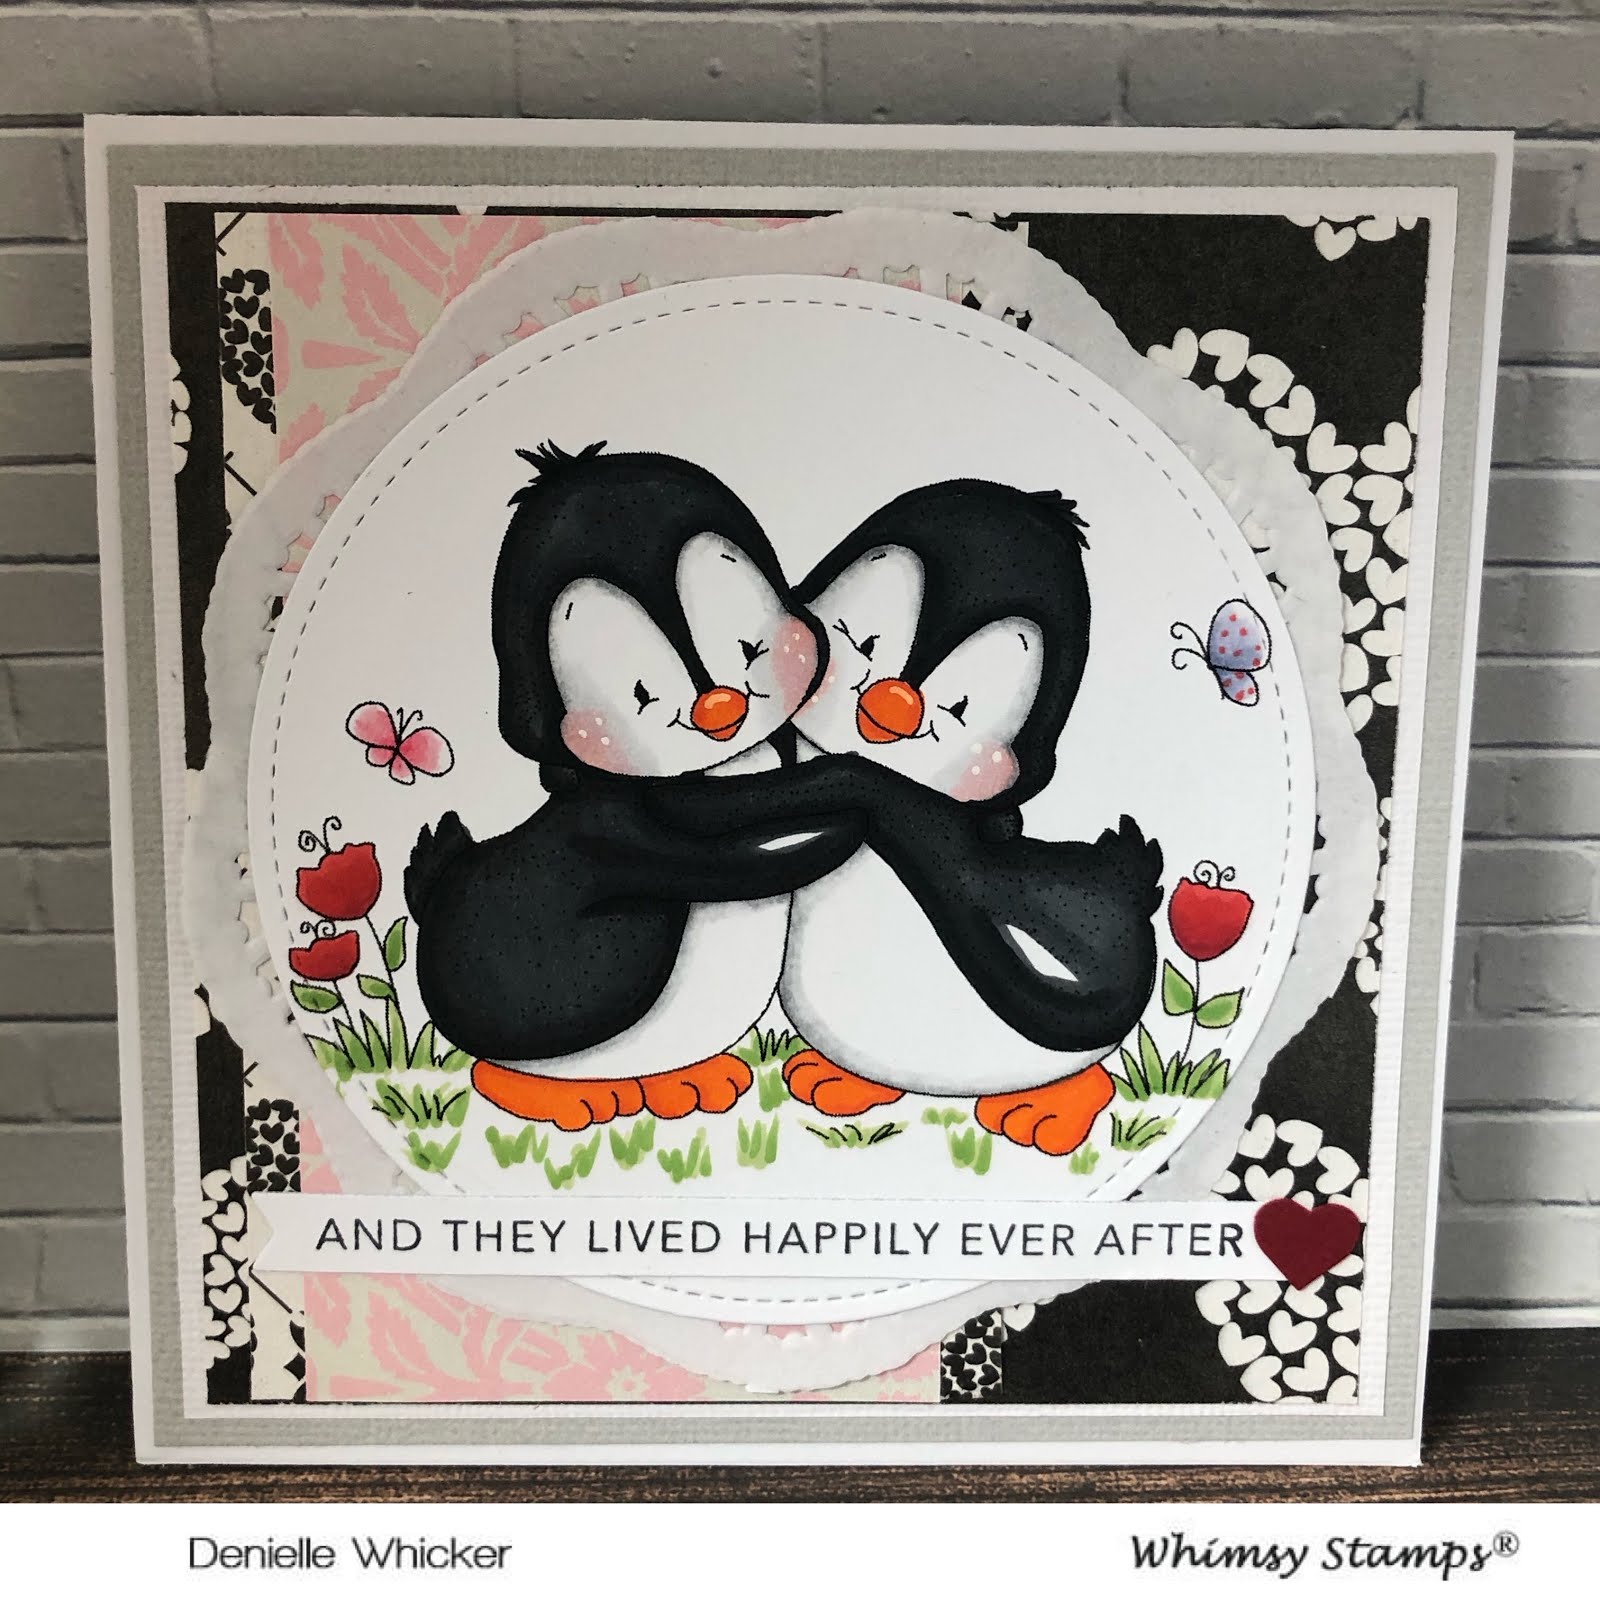
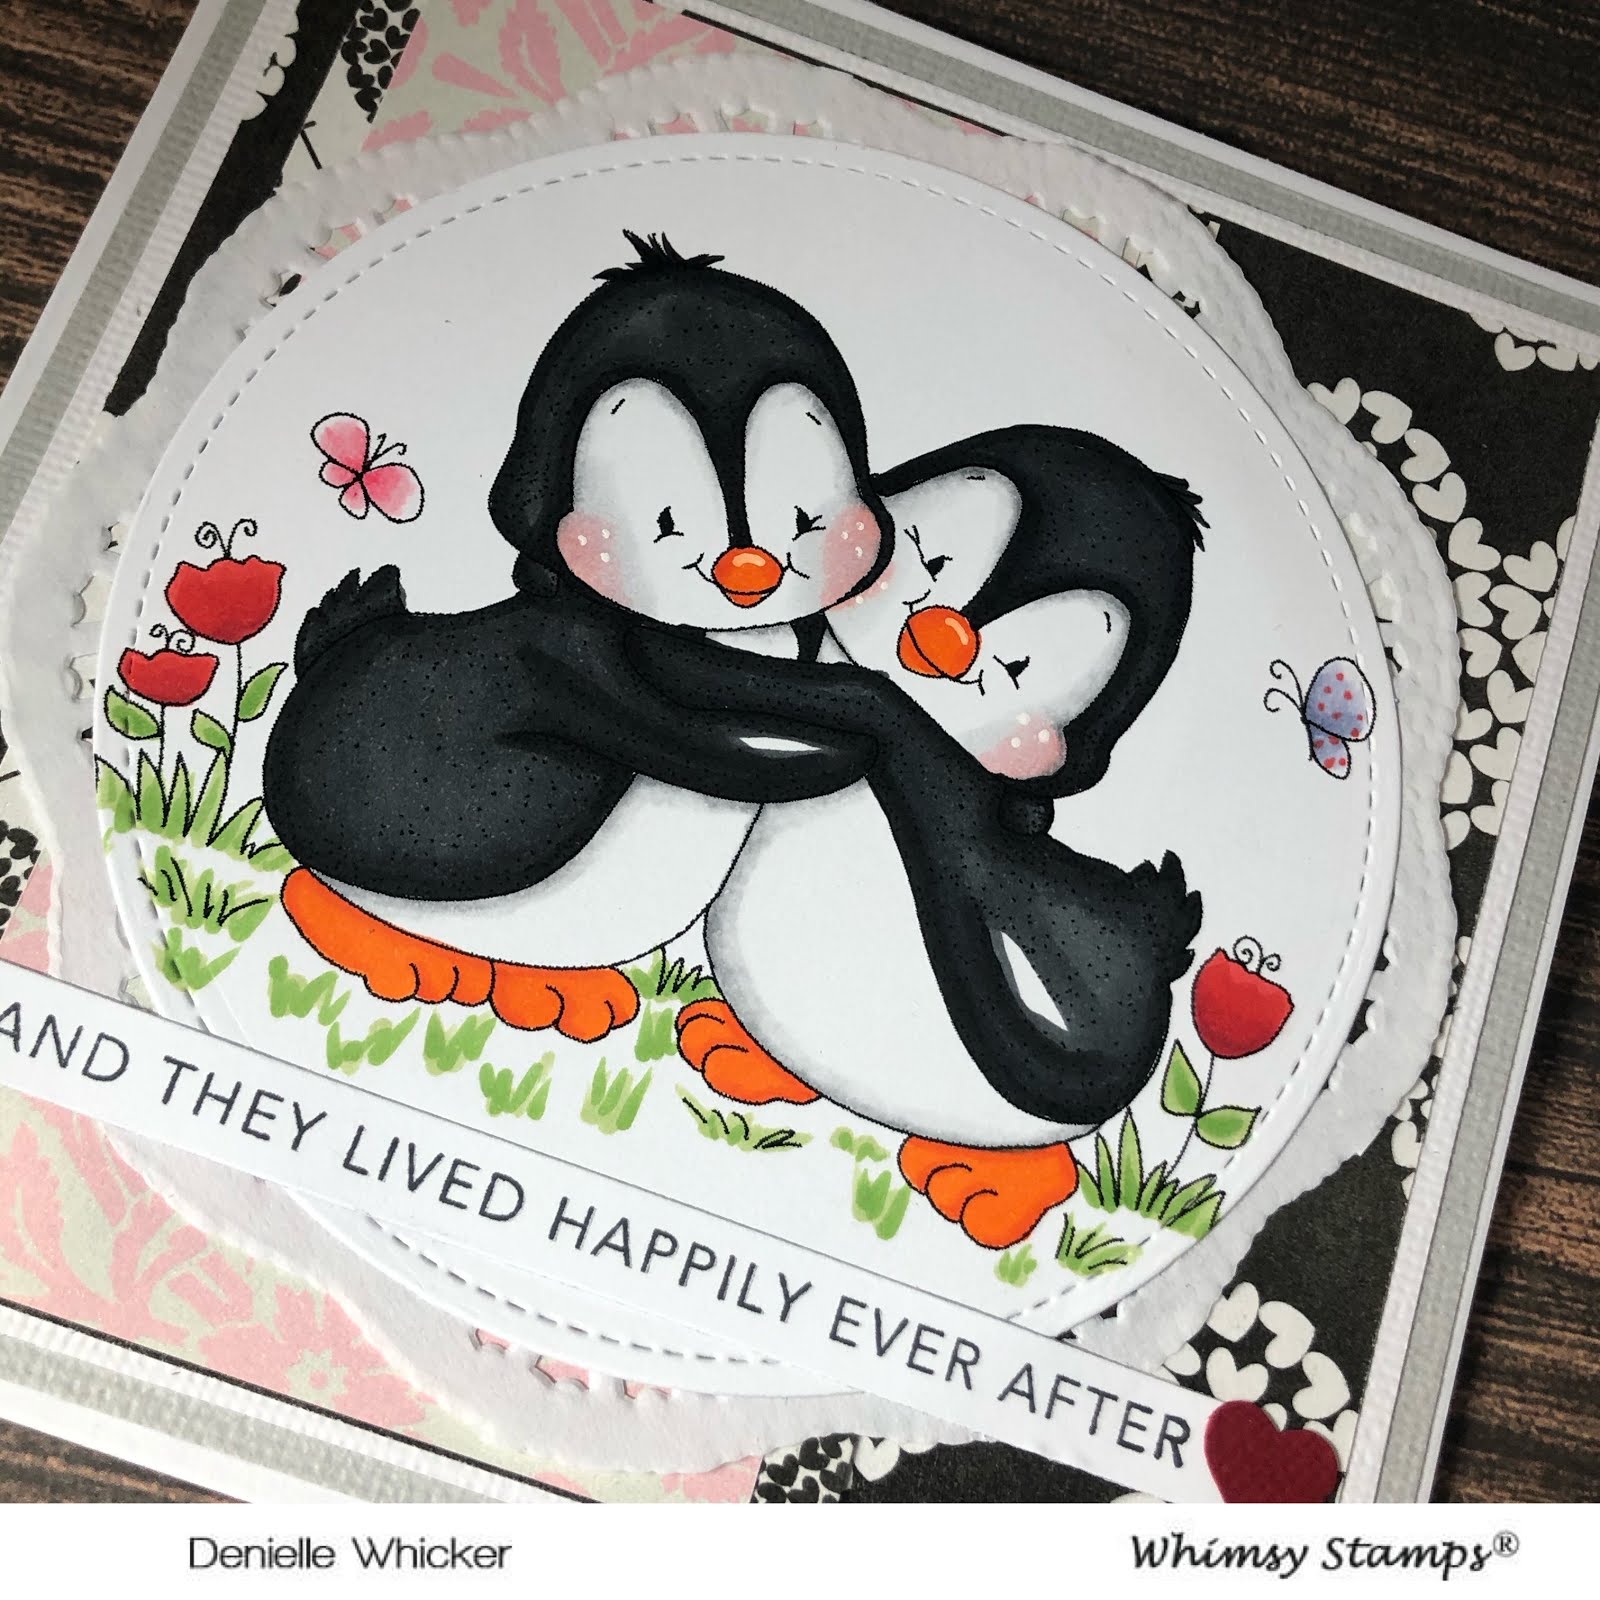
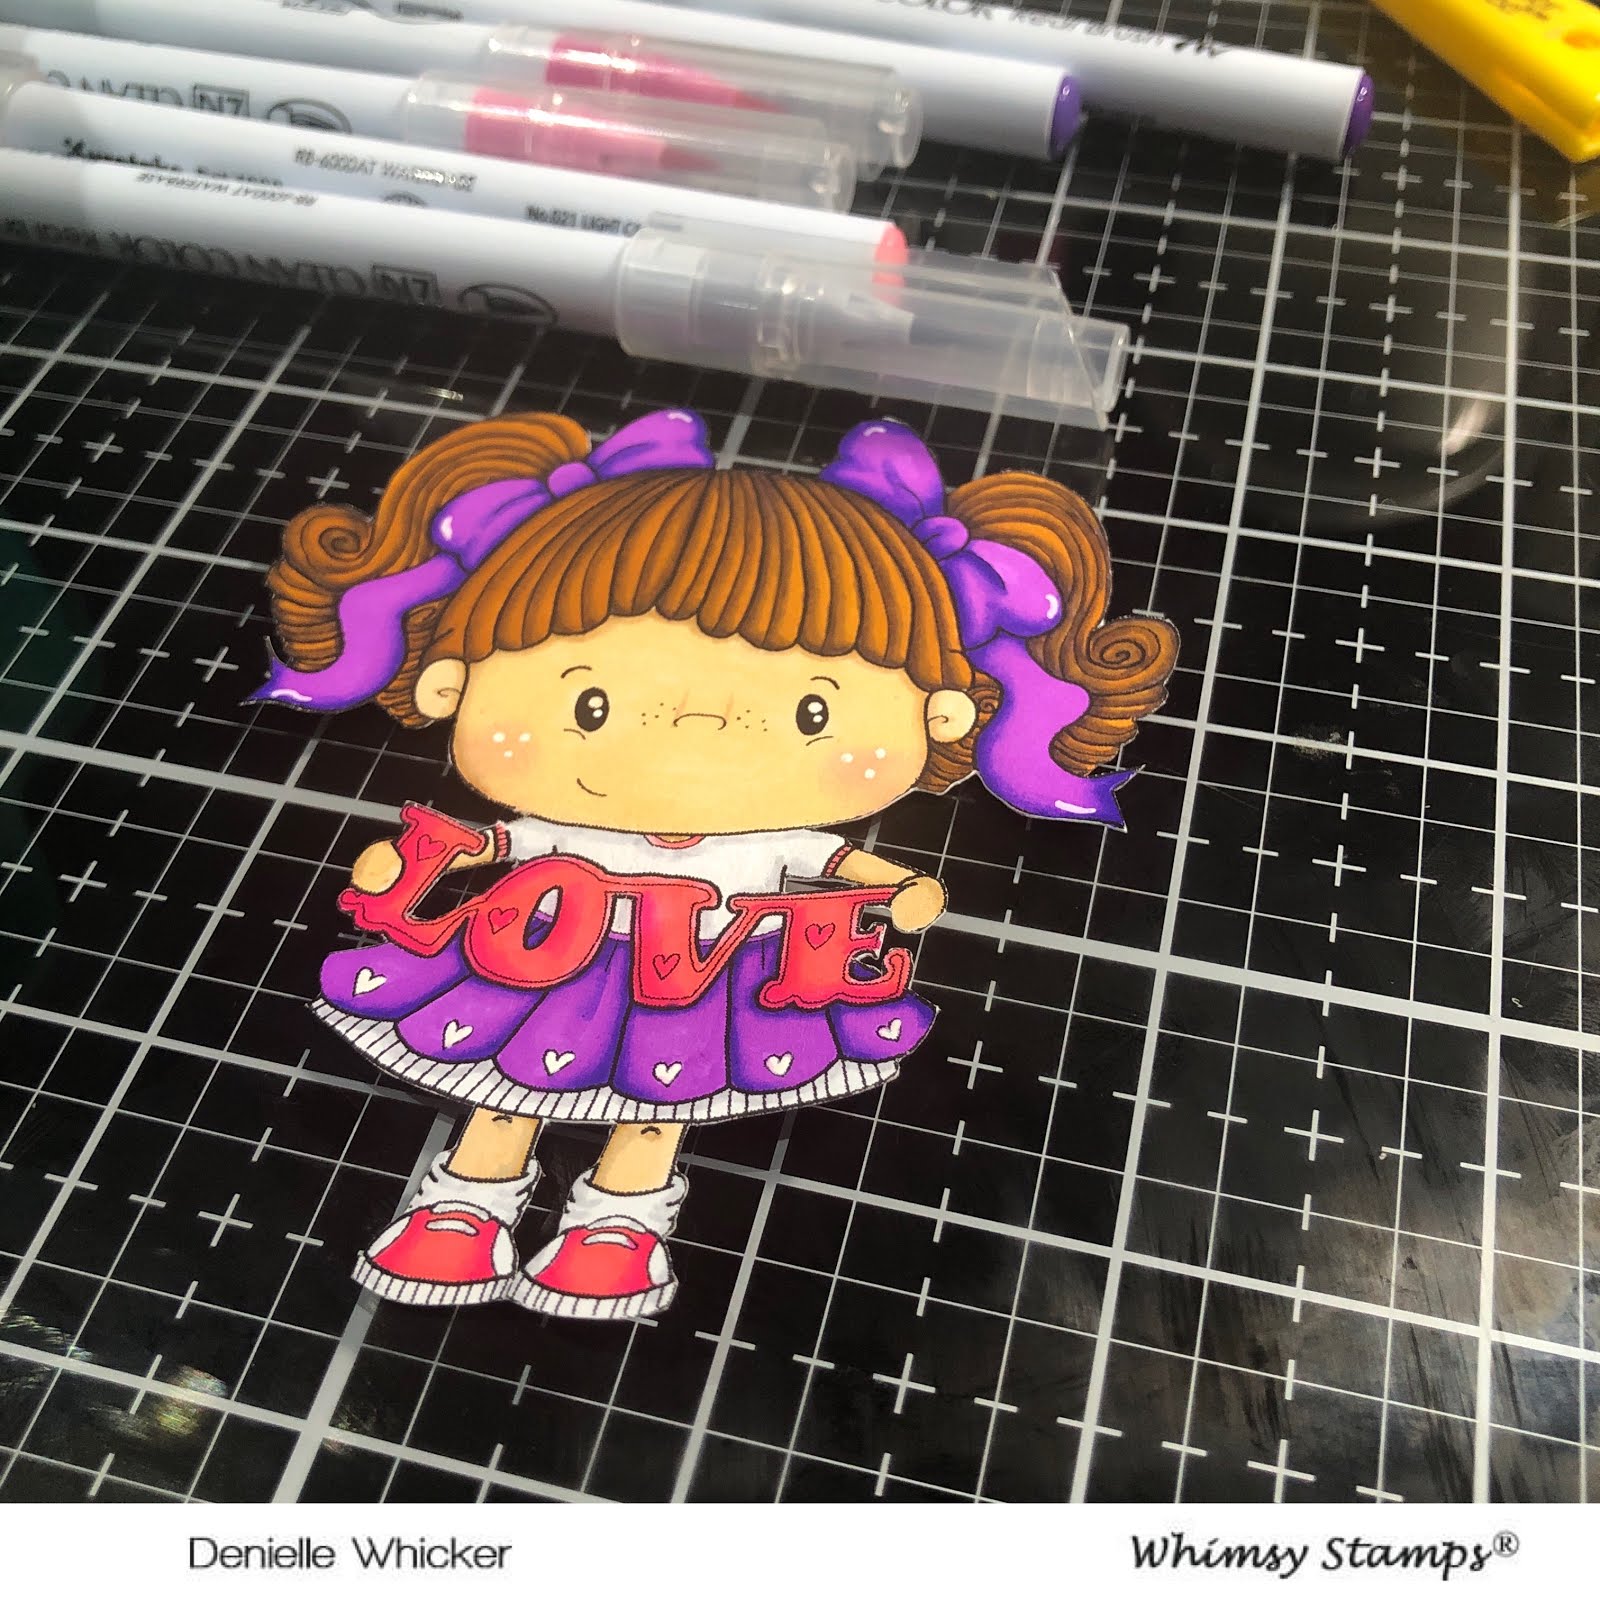
Today I am sharing with you a card I made using CC Designs Snow Joy rubber stamp set, I used this stamp about a week ago and coloured 2 images so you will be able to see the colouring all done on the video which I will have connected to this one if you click on the link below.

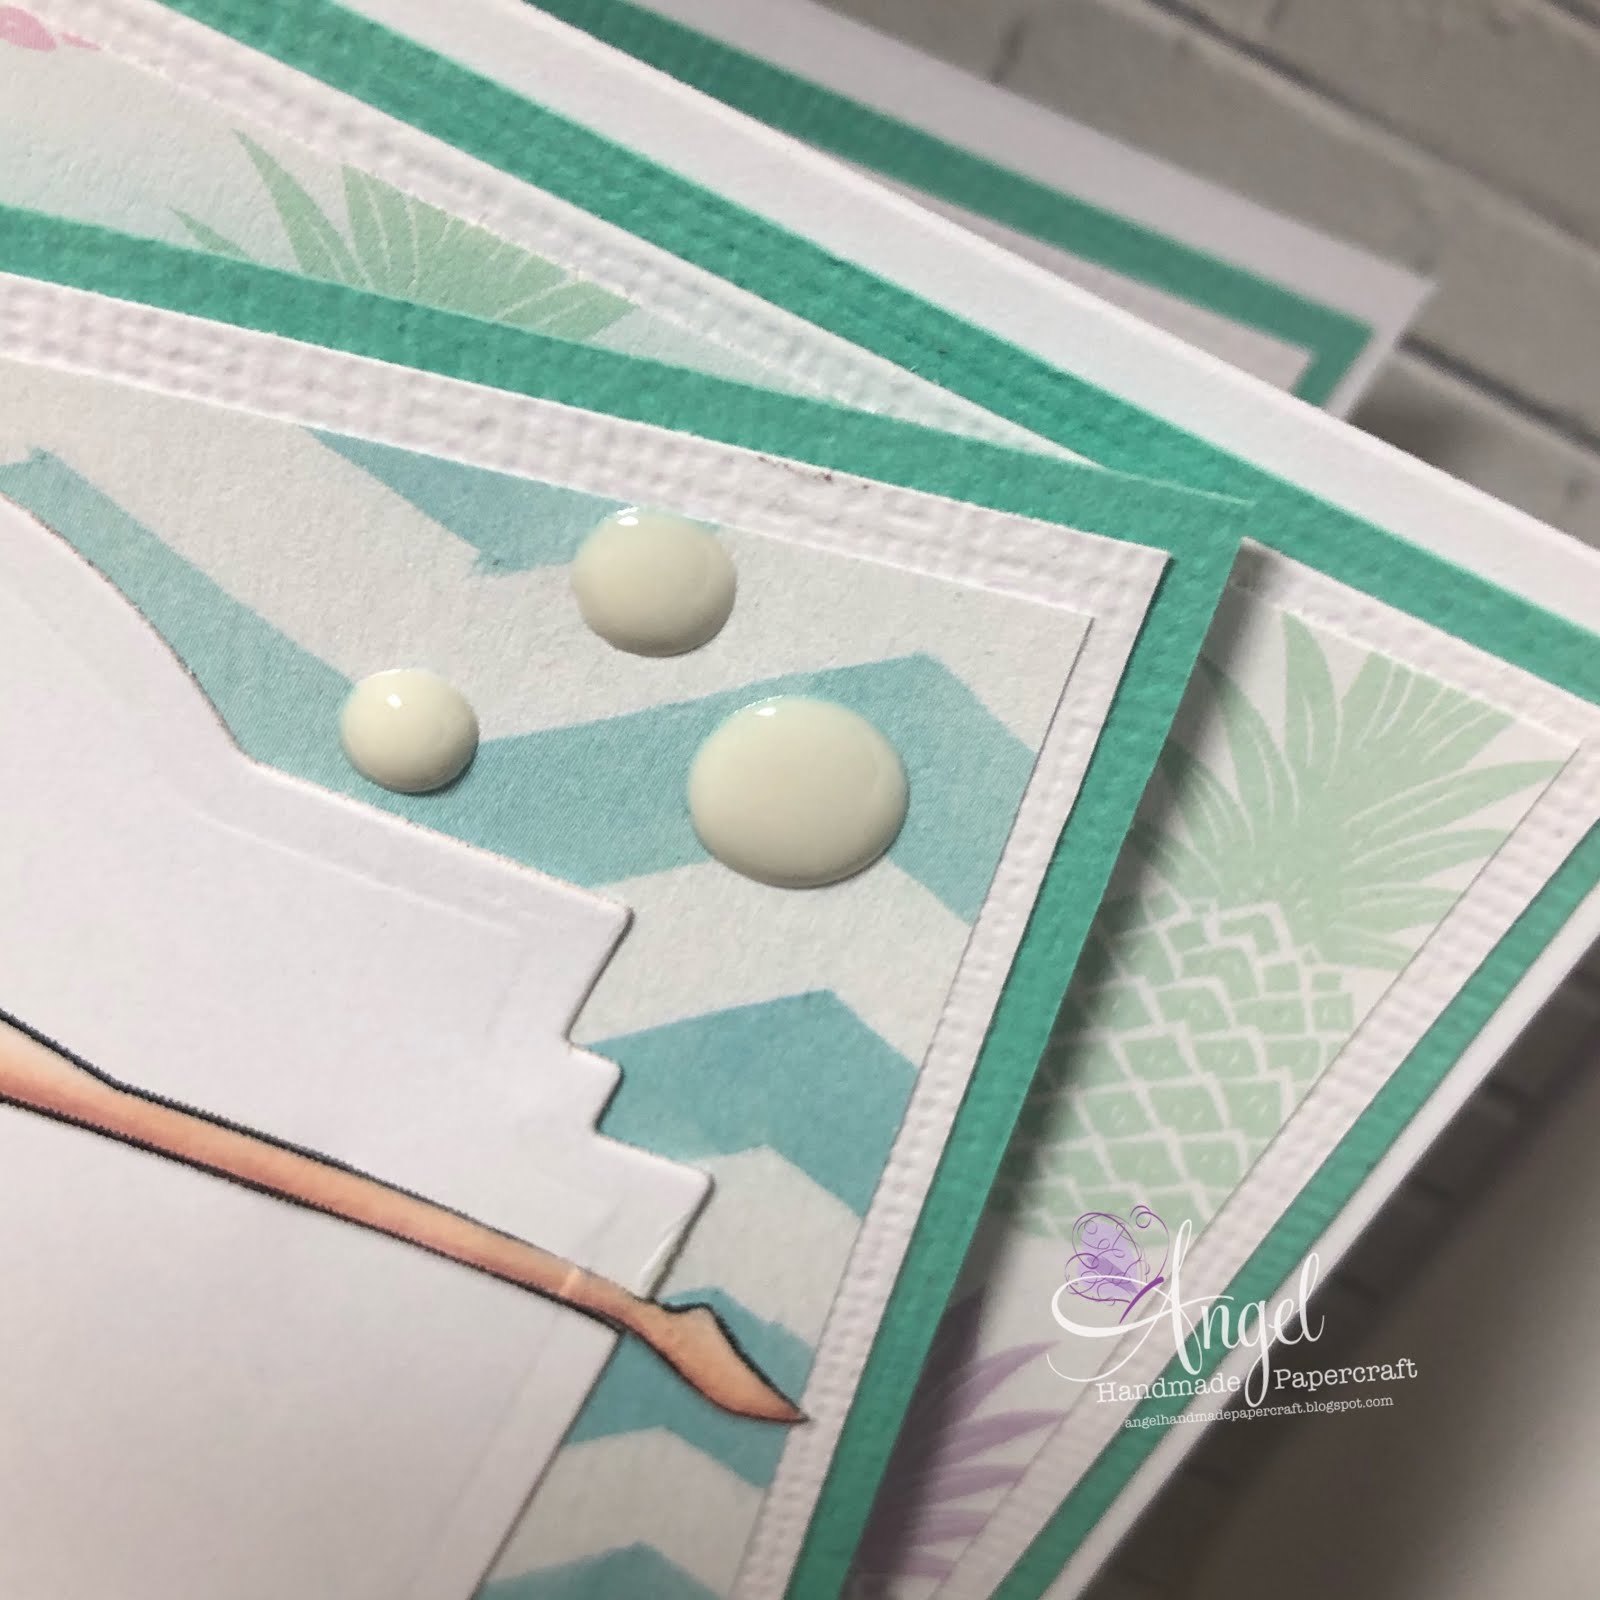
I stamped the image out using Memento Tuxedo Black onto X-Press It Blending Card and I cut the image down to size on my Cutterpillar Pro.


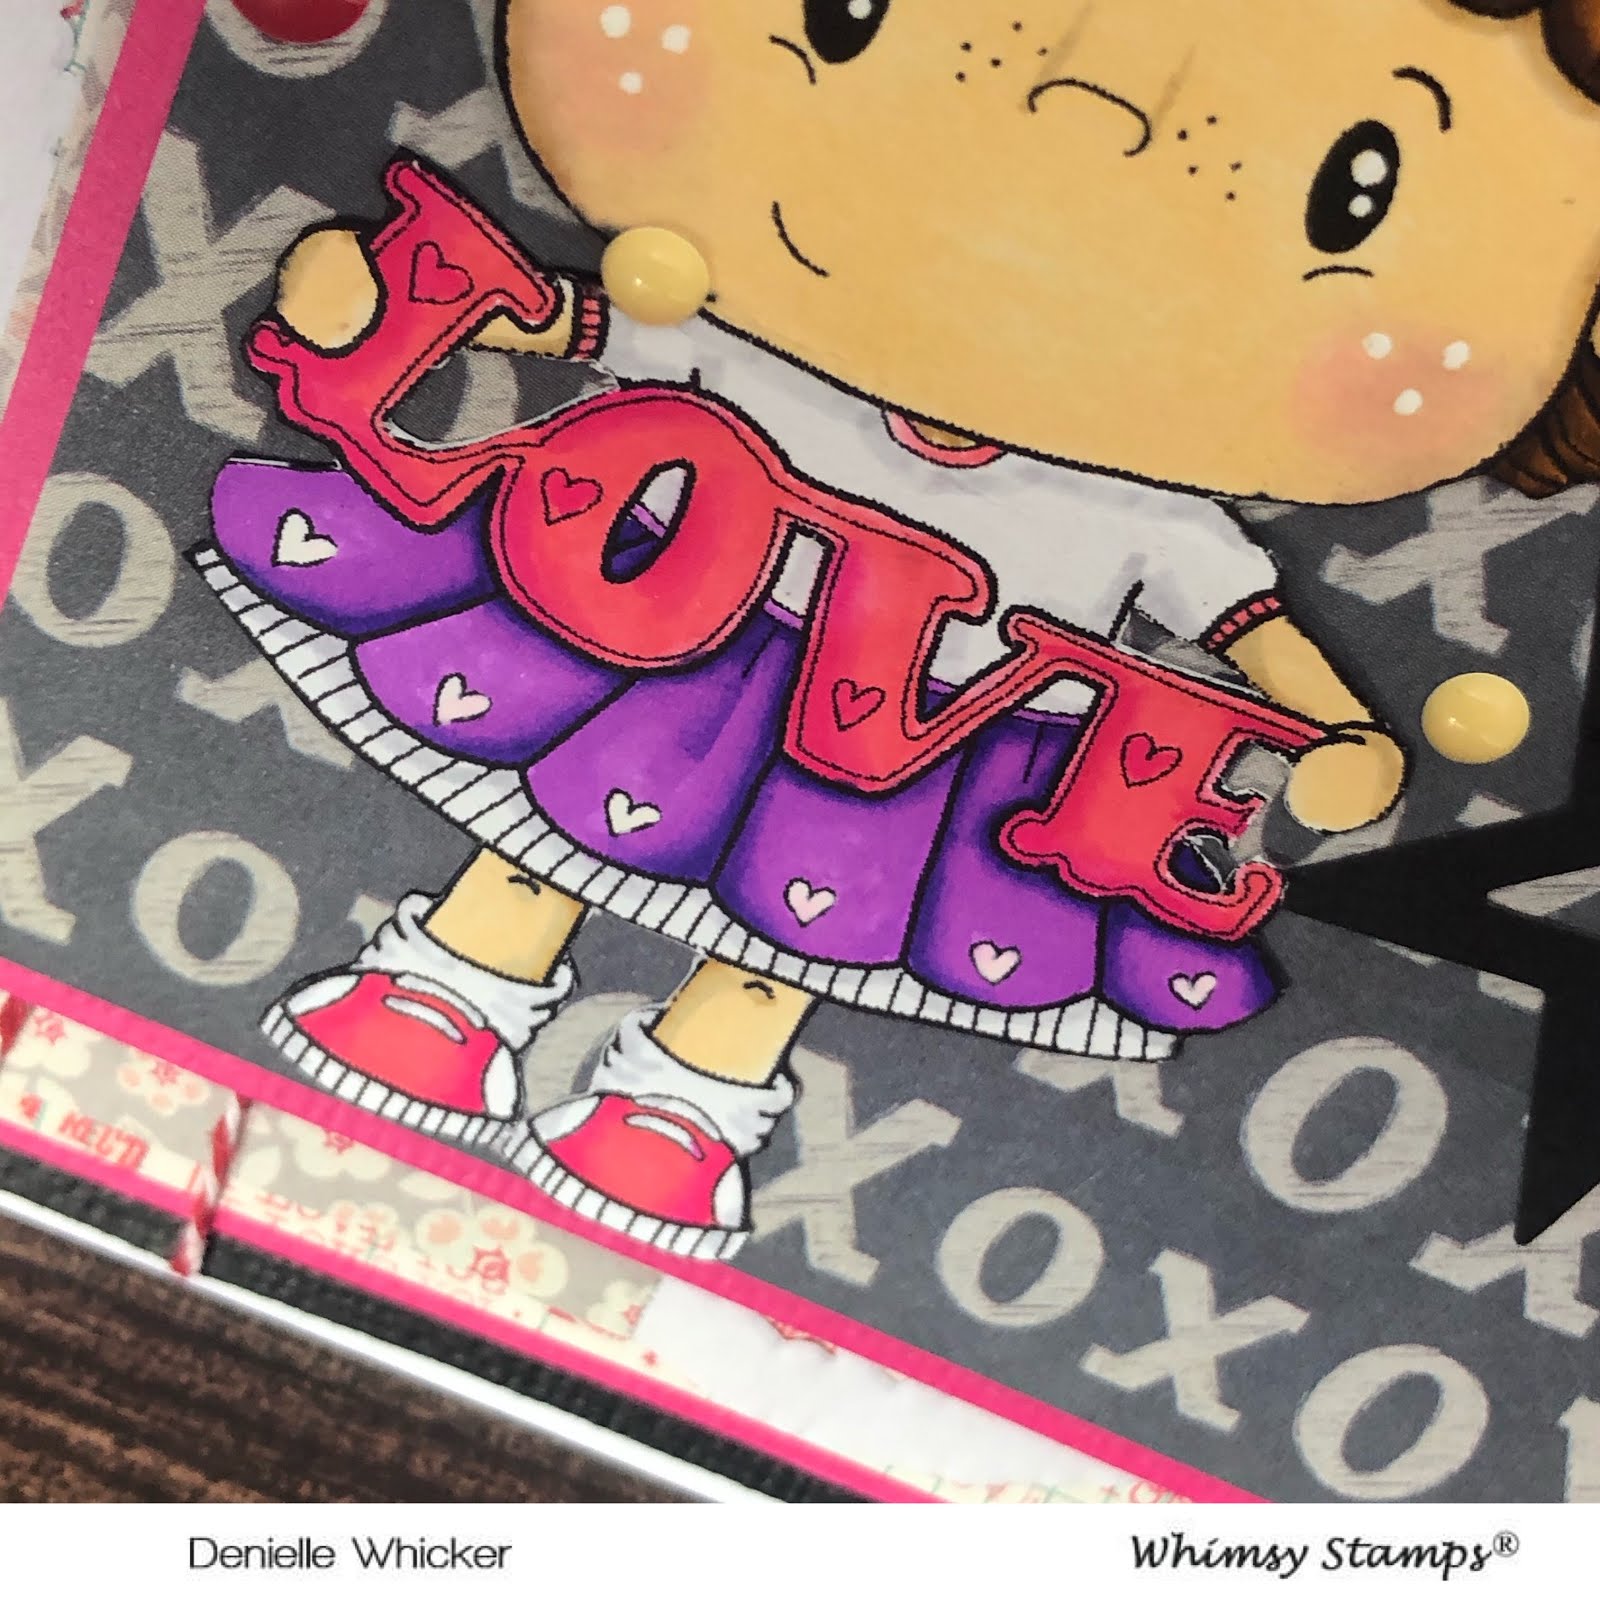
Patterned papers are from Kaisercraft Mistletoe 6.5" paper pad, I also used the pop out tag from the same paper pad.


I also added a doily from my stash underneath all the layers.


I used American Crafts card stock for the mat layers.

I finally added some Tonic Studios Nuvo Crystal Drops - Metallic Soft Mint and Calming Aqua. These colours are so soft and pretty I love them.


I used leftovers of the same patterned papers to decorate the inside of the card. 


I hope you have enjoyed my post today, if you have any questions feel free to send me a message or contact me via facebook (all links can be found below).

Watch the You Tube Video Here of the other card I made with this stamp set


Products Used On My Card (Affiliate Links Used Where Possible)


Copic Markers Used

N1, N3, R20, O Colorless Blender
R17, R29, R37, R39
E77, E79
N6, N8, N10
B01, B02, B04
YR23, YR16

Thanks for stopping by, Deni

CAMERA SET UP - FOR YOU TUBE VIDEOS ONLY
Blue Yeti Microphone
Sony Handycam HDR CX4-05
Tripod – Manfrotto MKCompactaCN-BK

S O C I A L MEDIA 
B L O G : https://ldli.co/e/3xky6x
I N S T A G R A M : https://ldli.co/e/5dn20x
YOU TUBE: https://ldli.co/e/ej5l90 
F A C E B O O K: https://ldli.co/e/mjxn2r
PINTEREST: https://ldli.co/e/2l9zom


I was a 2018 Ambassador for Copic Marker Australia and NZ


Saturday 25 January 2020

Whimsy Stamp - PC Elfie

Hi Everyone,

Today I am sharing with you one my favourite Pollycraft images from Whimsy Stamps - this is PC Elfie, she was released a few months ago and I love her :-)


I printed her onto X-Press It Blending Card using my Brother Laser Printer, I then coloured her up using Copic Markers.

I don't have a video on this one as I coloured her a while ago and I freestyled the card (No camera).

I used my EK Success Cutterbee scissors to fussy cut the image out right on the line.


Patterned papers are from Basic Grey Mint Julep, I adhered them to a Couture Creations Card Base using Helmar Acid Free liquid adhesive.

I added a doily to the centre of the patterned paper using the same liquid adhesive.


I ran an MFT Stamps Puffy Clouds die through my Big Shot using some X-Press It Blending Card, I like all my whites to be the same on my cards.


I added some Wink Of Stella Clear to my image and some white uni-ball gel pen to add some details.


I used leftover of the patterned paper to decorate the inside of the card to match.


I hope you have enjoyed my post today, if you have any questions feel free to send me a message or contact me via facebook (all links can be found below).

Watch the You Tube Video Here - here is the last colouring I did of this image


Products Used On My Card (Affiliate Links Used Where Possible)


Copic Markers Used

E000, E00, E21, E11, E04, R20
R35,R37, R39
N6, N8
RV02, RV04, RV06
G12, G14, G19
Y32, Y35, Y38, YR23
B0000, B00, RV00
Y11, Y15, Y19
W1, W5
E74, E77, E79

Thanks for stopping by, Deni

CAMERA SET UP - FOR YOU TUBE VIDEOS ONLY
Blue Yeti Microphone
Sony Handycam HDR CX4-05
Tripod – Manfrotto MKCompactaCN-BK

S O C I A L MEDIA 
B L O G : https://ldli.co/e/3xky6x
I N S T A G R A M : https://ldli.co/e/5dn20x
YOU TUBE: https://ldli.co/e/ej5l90 
F A C E B O O K: https://ldli.co/e/mjxn2r
PINTEREST: https://ldli.co/e/2l9zom


I was a 2018 Ambassador for Copic Marker Australia and NZ


Friday 24 January 2020

Whimsy Stamps - Love For Australia (Kangaroo)

Good Morning All,

Crissy Armstrong from Whimsy Stamps has designed this gorgeous Digital Stamp Set called Love For Australia, all sales from this stamp set will do donated to WIRES who look after all our injured animals here in Australia. As you will probably know we have had some pretty terrifying bushfires here over the past couple of months, causing loss of life, homes and loss of wildlife and their homes.


We are very grateful to Whimsy Stamps for their assistance in our fundraiser efforts.


This is a super cute stamp set and I hope you all have fun creating with it.

I have used the Kangaroo from the set plus some of the leaves, I don't have the colouring of the leaves in my video for this card as they were done when I was doing the Koala (you will see that card in the next few days). 


I printed the images out onto X-Press It Blending Cardstock and coloured them up using Copic Markers, I fussy cut the leaves using my EK Success Cutterbee Scissors. 


The sentiment is also from the Digital Stamp set, I trimmed it down using my Tim Holtz Guillotine then using my Cutterbee scissors to banner the end of it. 


I used a Spellbinders Labels Eighteen die to run the image through my Sizzix Big Shot then added the grass in with my Copic Markers. 


Using a 12x12 Kaisercraft paper pad called Australian I cut down some of the tin shed type paper, matted into onto some American Crafts Cardstock using Helmar Acid Free Liquid adhesive. From the same paper pad I cut down the sheet with all the logos etc and used the I got lost in and the Outback Life, for the I got lost in I used a Copic Multiliner to add in the letter NSW which is the state in Australia that I am from and one of the bigger areas of the bushfires.


I used a green paper clip from my stash and added it to the top left corner of my card, this now meant I needed to pop this bottom layer up off my card or it would be all lumpy and bumpy. I used some square foam dots from my stash and adhered all the layers to a Couture Creations Card Base.


I hope you have enjoyed my post today, if you have any questions feel free to send me a message or contact me via facebook (all links can be found below).

Watch the You Tube Video Here


Products Used On My Card (Affiliate Links Used Where Possible)


Copic Markers Used

E74, E77, E79
N1, N3, N5, N0
N6, N8, N10
W1, W3, W5
YG03, YG17, G28
B12
YG61, YG67
W0, W2

Thanks for stopping by, Deni

CAMERA SET UP - FOR YOU TUBE VIDEOS ONLY
Blue Yeti Microphone
Sony Handycam HDR CX4-05
Tripod – Manfrotto MKCompactaCN-BK

S O C I A L MEDIA 
B L O G : https://ldli.co/e/3xky6x
I N S T A G R A M : https://ldli.co/e/5dn20x
YOU TUBE: https://ldli.co/e/ej5l90 
F A C E B O O K: https://ldli.co/e/mjxn2r
PINTEREST: https://ldli.co/e/2l9zom


I was a 2018 Ambassador for Copic Marker Australia and NZ


Thursday 23 January 2020

Paper Nest Dolls - Koala Mama and Joey

Hi Everyone,

Today I am sharing with you a card I made using an image from Paper Nest Dolls, this is Koala Mama and Joey. This image is currently (at the time of this blog posting) for sale in the Paper Nest Dolls Shop, to raise awareness for all the injured wildlife in the Australian Bushfires. I am an Aussie so this is definitely close to my heart.


I printed the image out onto X-Press It Blending Cardstock using my Brother Laser Printer and coloured them up using Copic Markers, I will have a list of all the markers used below and in the picture links at the end of this post.


For my patterned papers I decided I wanted to make a baby boy card so I pulled out Crate Paper Little Boy Blue paper pad and some card stock from American Crafts.


I added some details to the image using Uni-Ball Signo White Angelic Gel Pen.


I ran the image through my Sizzix Big Shot using Lawn Fawn Stitched Circle Dies and adhered all the layers to a Couture Creations Cardbase using Helmar Acid Free liquid adhesive.

I used leftovers from the patterned paper pad to finish off my card.


I hope you have enjoyed my post today, if you have any questions feel free to send me a message or contact me via facebook (all links can be found below).

Watch the You Tube Video Here


Products Used On My Card (Affiliate Links Used Where Possible)


Copic Markers Used

Mama
N0, N1, N3, N5
N6, N8, N10
RV11, RV14, RV17

Bubba
C1, C2, C4
C7, C9, C10
B12, B14, B16

Thanks for stopping by, Deni

CAMERA SET UP - FOR YOU TUBE VIDEOS ONLY
Blue Yeti Microphone
Sony Handycam HDR CX4-05
Tripod – Manfrotto MKCompactaCN-BK

S O C I A L MEDIA 
B L O G : https://ldli.co/e/3xky6x
I N S T A G R A M : https://ldli.co/e/5dn20x
YOU TUBE: https://ldli.co/e/ej5l90 
F A C E B O O K: https://ldli.co/e/mjxn2r
PINTEREST: https://ldli.co/e/2l9zom


I was a 2018 Ambassador for Copic Marker Australia and NZ


Monday 20 January 2020

Digi Stamp Boutique - Gymnast Molly

Hi Everyone,

Tonight I am sharing with you a card I have made using an old Digital Stamp from Digi Stamp Boutique, this is Gymnast Molly, unfortunately this company is no longer around. But since I already had this stamp printed in my tray of images I would showcase it.


I printed the image onto X-Press It Blending Card using my Brother Laser Printer and coloured her up using Copic Markers.


The patterned papers I have used on my card are from The Craft Stall Mini Stack, I have trimmed them all down using Cutterpillar Pro and adhered them all to a Couture Creations Card Base using Helmar Acid Free liquid glue. I used plain coloured card stocks for the matting from American Crafts.

I stamped the sentiment out from Taylored Expressions Simple Strips using Memento Tuxedo Black and my Misti Stamping Tool, I then ran them through my Sizzix Big Shot.


I wanted to use Spellbinders Labels Twenty Two, I worked out how much of the image would get trimmed off, I carefully fussy cut the two legs so they wouldn't get chopped off, I made sure the legs were over the top of die when I ran it through my Big Shot.

I adhered the image to all my matching layers then added some foam squares underneath and adhered it to the rest of my card.


I adhered the sentiment to the image using Helmar Acid Free.

I added some paperclips to the right hand side and added some Tonic Studios Nuvo Crystal Drops in Oyster Grey.


I decorated the inside of the card to match and I was done :-)


I hope you have enjoyed my post today, if you have any questions feel free to send me a message or contact me via facebook (all links can be found below).

Watch the You Tube Video Here


Products Used On My Card (Affiliate Links Used Where Possible)


Copic Markers Used

E000, E00, E21, E11, E04, R20
BG15, BG45, BG75
E23, E25, E27
W1, W3, 0
N1, N3, 0

Thanks for stopping by, Deni

CAMERA SET UP - FOR YOU TUBE VIDEOS ONLY
Blue Yeti Microphone
Sony Handycam HDR CX4-05
Tripod – Manfrotto MKCompactaCN-BK

S O C I A L MEDIA 
B L O G : https://ldli.co/e/3xky6x
I N S T A G R A M : https://ldli.co/e/5dn20x
YOU TUBE: https://ldli.co/e/ej5l90 
F A C E B O O K: https://ldli.co/e/mjxn2r
PINTEREST: https://ldli.co/e/2l9zom


I was a 2018 Ambassador for Copic Marker Australia and NZ


Sunday 19 January 2020

Whimsy Stamps - Penguin Hugs

Hi All,

Today I am sharing with you a card I have made for Whimsy Stamps using Penguin Hugs, this is such an adorable image, we are super lucky with this one as it is available in both Digi and Rubber versions, I will have both of them linked up in the picture links below.


I printed the image out onto X-Press It Blending Card using my Brother Laser Printer and coloured up using Copic Markers.

I used patterned papers from Bella, all are from two of their wedding collections. I then matted those layers onto American Crafts Cardstock using Helmar Acid Free liquid adhesive.


I ran the image through my Sizzix Big Shot using Lawn Fawn Stitched Circle dies, I layered the image on top of a doily from my stash.


The sentiment is from Taylored Expressions Simple Strips Background, I used Memento Tuxedo Black and my Misti Stamping Tool, I then ran through my Big Shot using the matching die set.


I added a red heart to the side of the sentiment strip from Martha Stewart Heart Confetti Punch.


I also added some Wink Of Stella clear to the flowers are I finished colouring them.

Once I finished colouring the image up I used leftover papers to decorate the inside of the card.


I hope you have enjoyed my post today, if you have any questions feel free to send me a message or contact me via facebook (all links can be found below).

Watch the You Tube Video Here


Products Used On My Card (Affiliate Links Used Where Possible)


Copic Markers Used
G43, G17
BV31, BV34
N6, N8, N10
YR16, YR07
N2, N4, 0, R20
RV11, RV14
R17, R37

Thanks for stopping by, Deni

CAMERA SET UP - FOR YOU TUBE VIDEOS ONLY
Blue Yeti Microphone
Sony Handycam HDR CX4-05
Tripod – Manfrotto MKCompactaCN-BK

S O C I A L MEDIA 
B L O G : https://ldli.co/e/3xky6x
I N S T A G R A M : https://ldli.co/e/5dn20x
YOU TUBE: https://ldli.co/e/ej5l90 
F A C E B O O K: https://ldli.co/e/mjxn2r
PINTEREST: https://ldli.co/e/2l9zom


I was a 2018 Ambassador for Copic Marker Australia and NZ


Saturday 18 January 2020

Whimsy Stamps - PC Freckles

Hi Everyone,

Today I am sharing with you PC Freckles from the Pollycraft January 2020 Digital Release over at Whimsy Stamps.

My original plan was to colour this image up using Copic Markers, so I printed the image out onto X-Press It Blending Cardstock using my Brother Laser Printer.


I ended up actually using my Zig Markers to colour her up, this is not the correct type of paper to be using with your Zigs but I thought I would give it a go since that's all I had at the time.


Sometimes it's really great to try something that you think may fail, because when it works it makes you happy and makes it all worth it.


Once I had the image all coloured up I used my EK Success Cutterbee Scissors to fussy cut the image, I also went around the outside of the image using my Black Tombow Dual Ended Marker.


I used patterned papers from Crate Paper Love Notes Collection and American Crafts plain coloured card stocks.

I added a sentiment from the same paper pad which I trimmed down using my Cutterbee scissors.


I also added in a doily from my stash, I adhered all the layers using Helmar Acid Free Adhesive, I then added more layers using foam squares.


I pulled out some Whimsy Farm Twine in Rosalie and taped it to the top and the bottom of my strip of card stock using Scotch Magic Tape.


To the top layer of patterned card stock I added a star (this is from an old MFT Stamps die), I adhered my image and the sentiment down.


After I used the Tombow marker to go around the outside of my image it must have been a little wet still and the marker bled on my little girls face, I had to add some W Plus 9 Enamel Dots to cover this up, with perfect placement I was able to cover this blemish, I spread some more around my card so it wouldn't be so noticeable.

I used leftover pieces of the patterned papers to decorate the inside of the card.


I hope you have enjoyed my post today, if you have any questions feel free to send me a message or contact me via facebook (all links can be found below).

Watch the You Tube Video Here


Products Used On My Card (Affiliate Links Used Where Possible)


Zig Markers Used

097 Pale Gray
021 Light Carmine
202 Peach Pink
025 Pink
081 Light Violet
084 Deep Violet
080 Violet
061 Light Brown
065 Mid Brown
062 Dark Brown
071 Flesh Colour
069 Blush
220 Tea Rose
072 Beige


Thanks for stopping by, Deni

CAMERA SET UP - FOR YOU TUBE VIDEOS ONLY
Blue Yeti Microphone
Sony Handycam HDR CX4-05
Tripod – Manfrotto MKCompactaCN-BK

S O C I A L MEDIA 
B L O G : https://ldli.co/e/3xky6x
I N S T A G R A M : https://ldli.co/e/5dn20x
YOU TUBE: https://ldli.co/e/ej5l90 
F A C E B O O K: https://ldli.co/e/mjxn2r
PINTEREST: https://ldli.co/e/2l9zom


I was a 2018 Ambassador for Copic Marker Australia and NZ