Showing posts with label American Crafts. Show all posts

Saturday, 5 March 2022

Whimsy Stamps - Time to Retire the love bug

Hi Everyone, 

I'm so sorry for my sabbatical from the crafting world, I've had some personal stuff going on that I have been dealing with.

I have a few videos and cards made that I'm hoping will give me the push I need to get back up and running. 


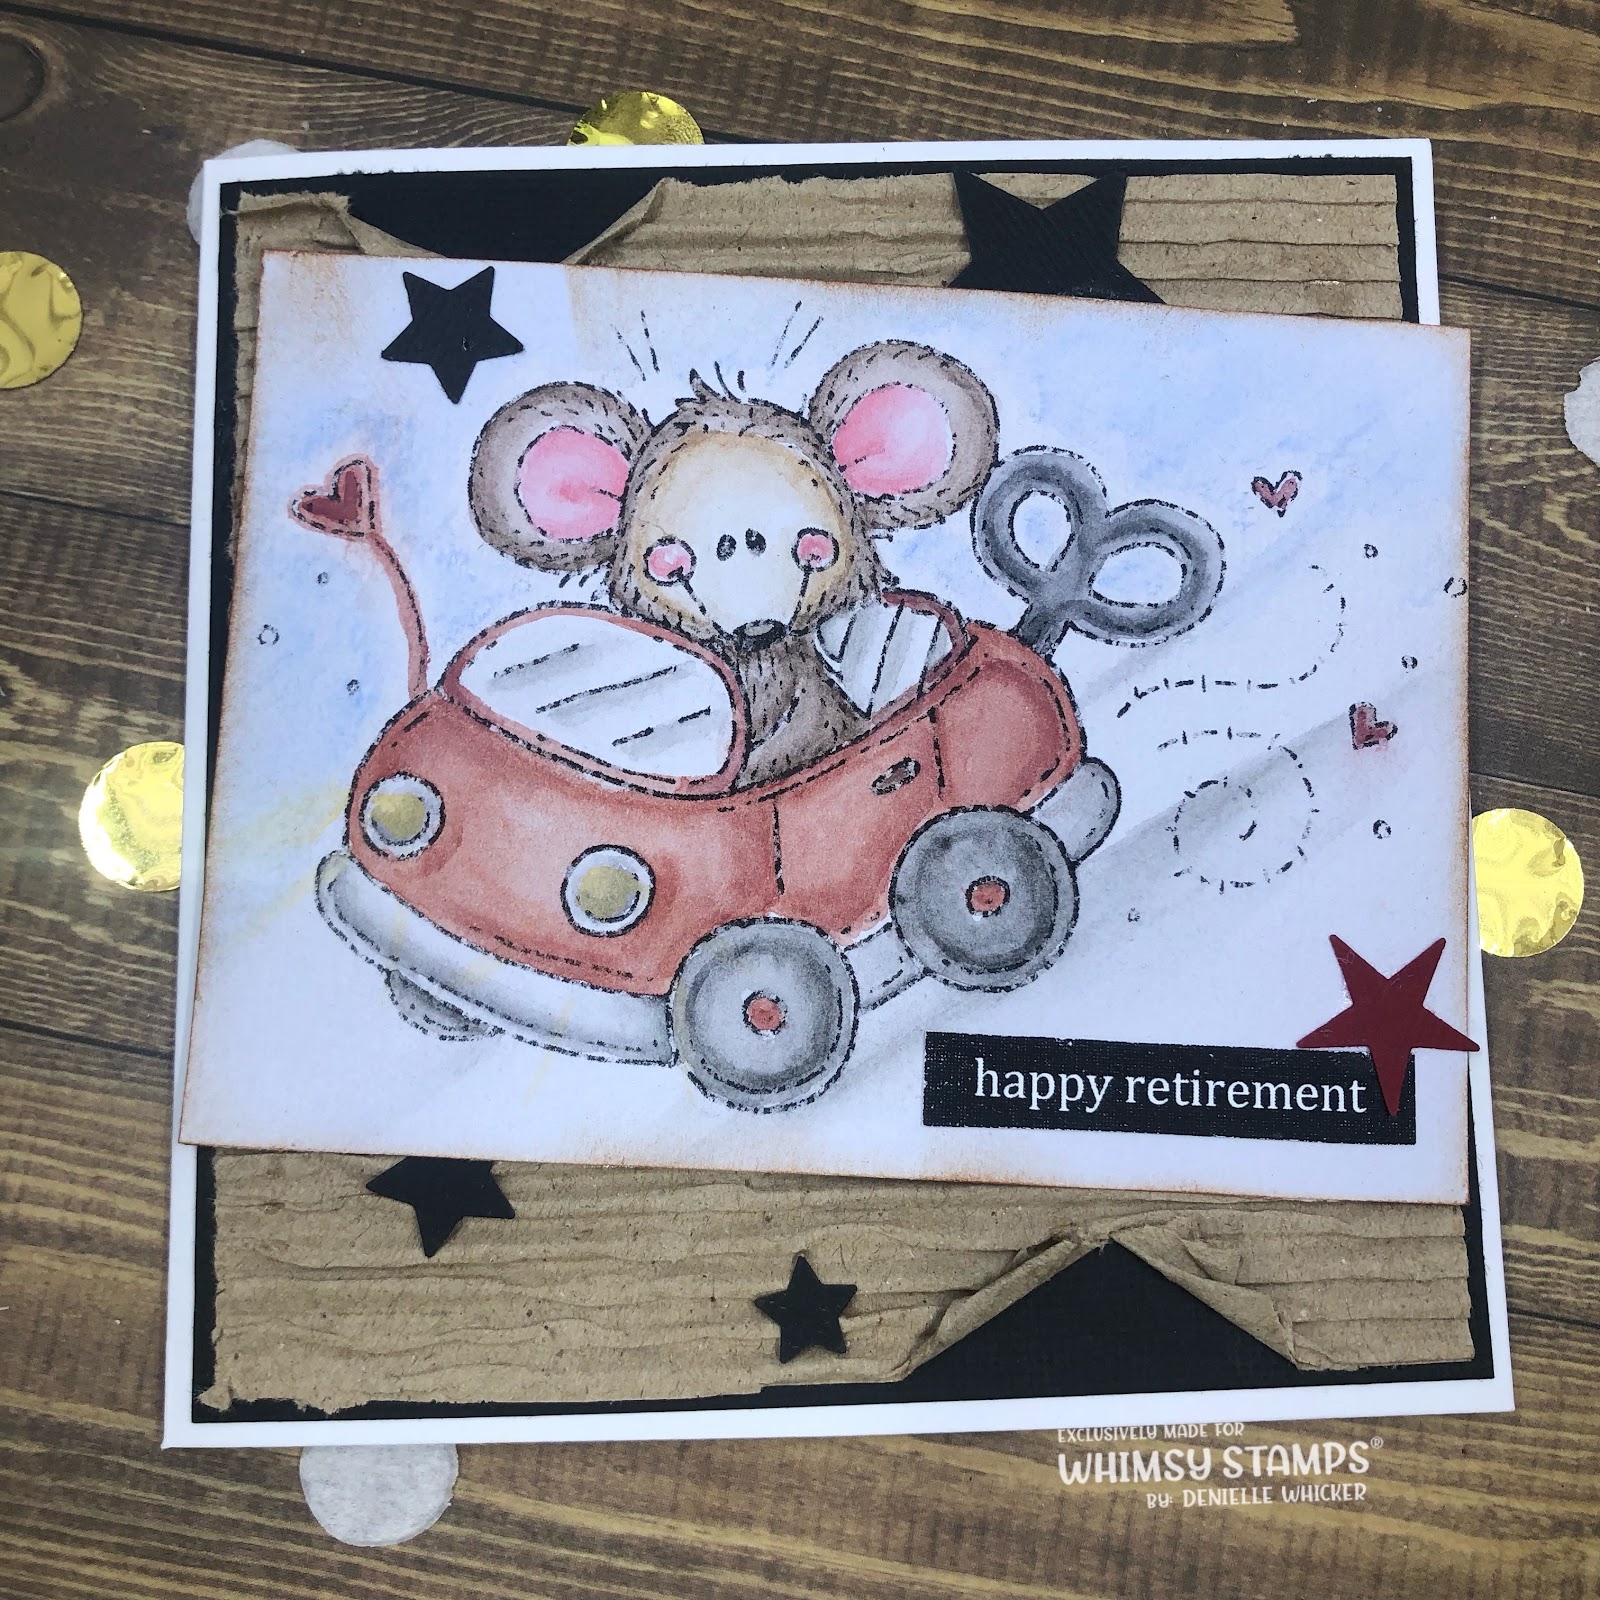
Today I have used an image from Meljens over at Whimsy Stamps Digital Collection called Love Bug, a super cute image that can be used on various cards. As you can see on my card instead of going with the tradition Valentines card, I went with a Retirement Card and made it out all manly. 


I began by printing the image onto Kmart Anko Watercolour Paper, this is new to me and I actually really like it, I don't have a lot of brands to compare it to but it was lovely to work with using my Watercolour Pencils. I used watercolour pencils from Faber Castell for my image. I have a small collapsable cup on my desk from Faber Castell - love this thing if you don't have one you need it :-) I used some round brushes I picked up from Kmart the last time I was there, I will also link up some other brands for you. 
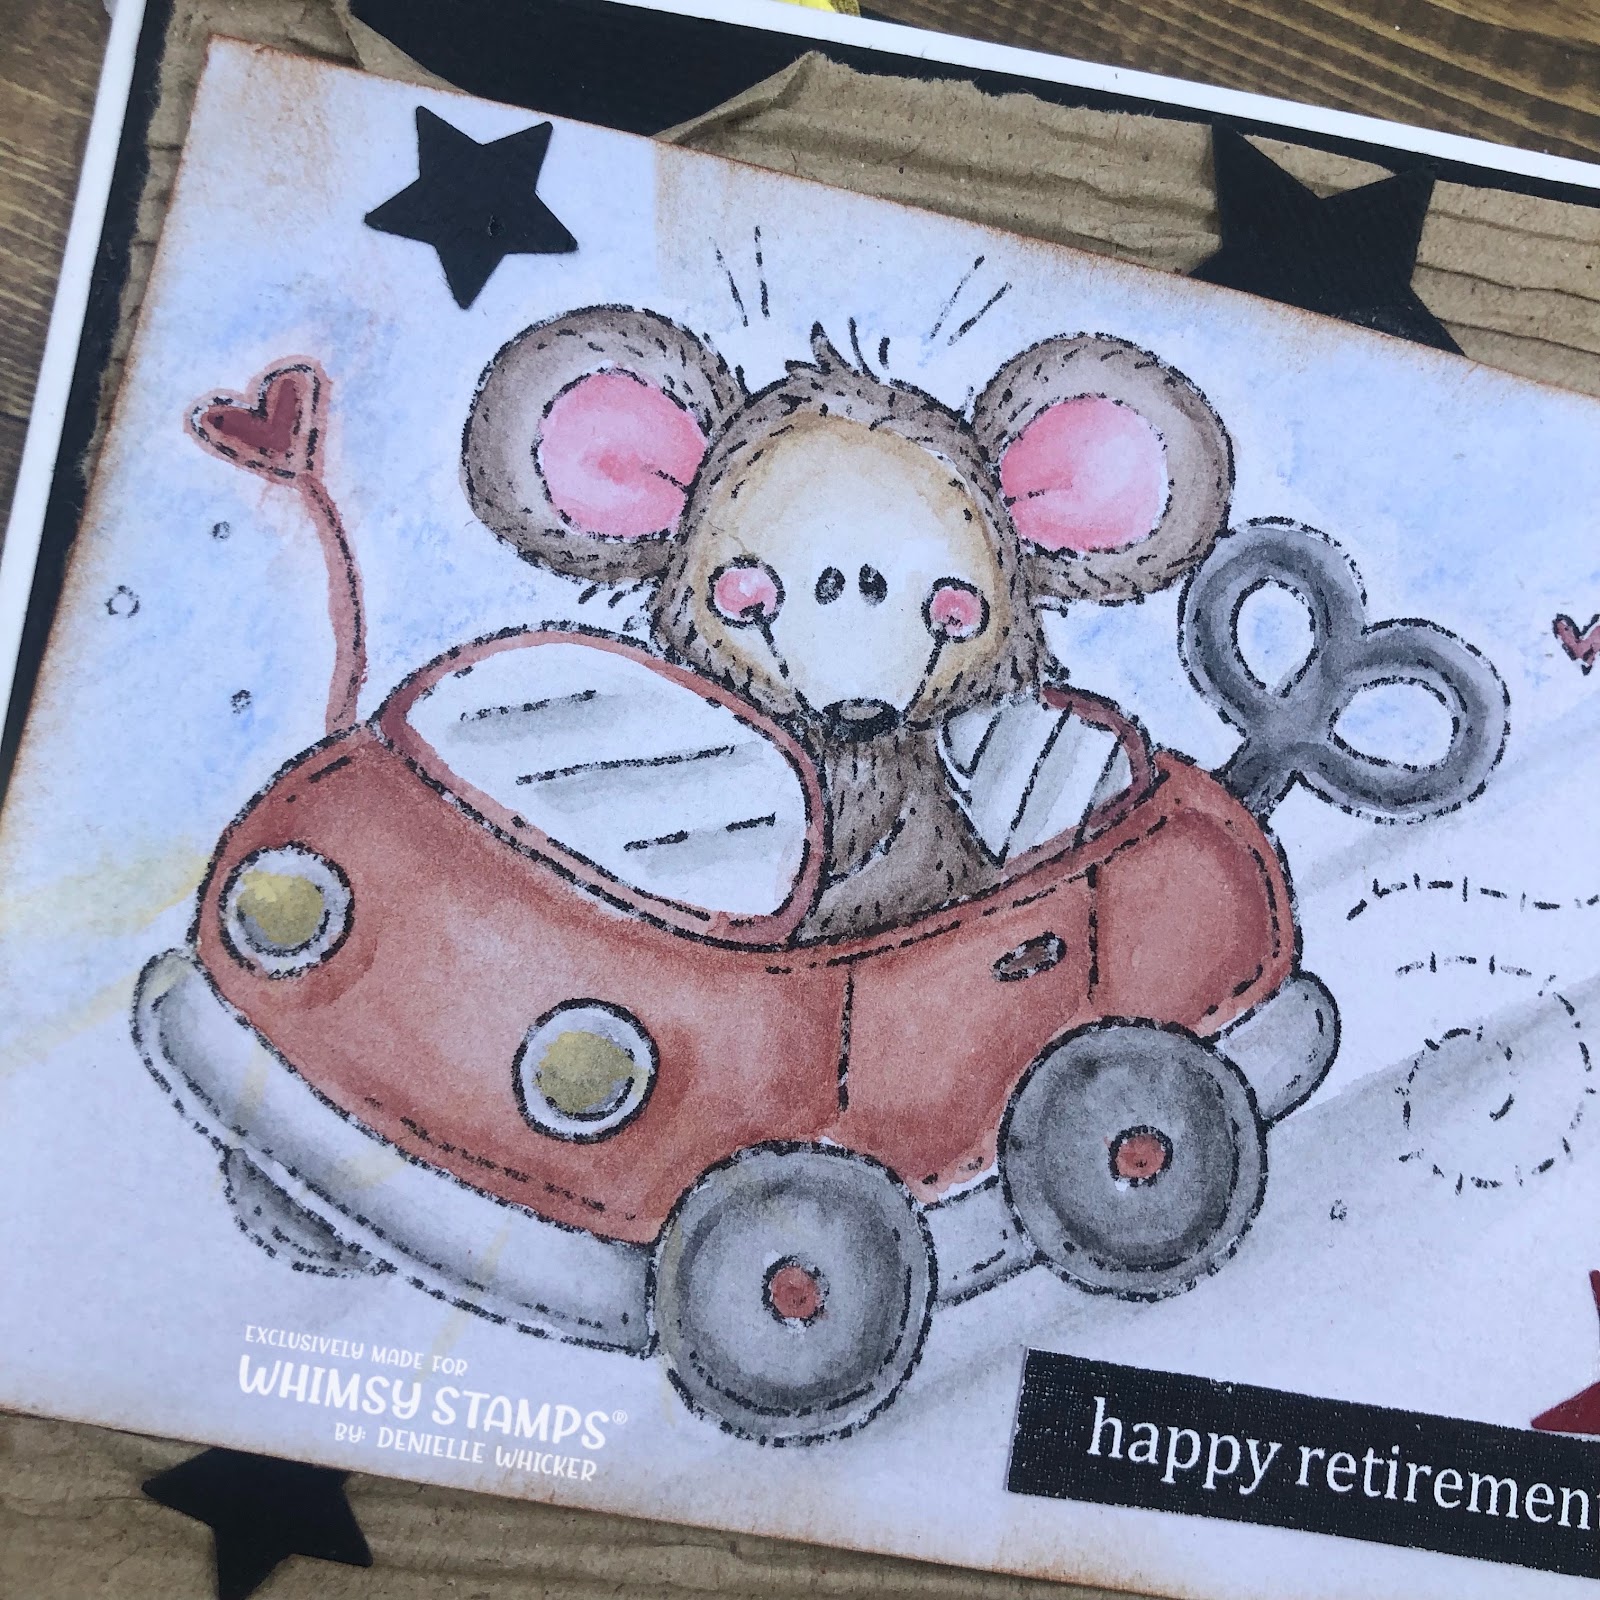

Once the image was all coloured up I trimmed it down so that it would fit onto my card. I cut down a layer of American Crafts Black Cardstock to use as a matting layer using my Cutterpillar Pro. I purchased 2 new dinner sets (because they only come with a serving for 4 and we have a family of 7) recently and they had all this corrugated card between each of the plates. I quickly popped it all into my craft room knowing I wanted to try and use it on one of my cards. 


I trimmed the corrugated sheet down to be slightly smaller then the black then really carefully tore a spot on the top and bottom to fold in and just manly up the card a little. 


I grabbed some stars from the little leftovers tub I keep on my desk and adhered them around my card to finish it off. These stars were from EK Success Star Confetti Punch. 
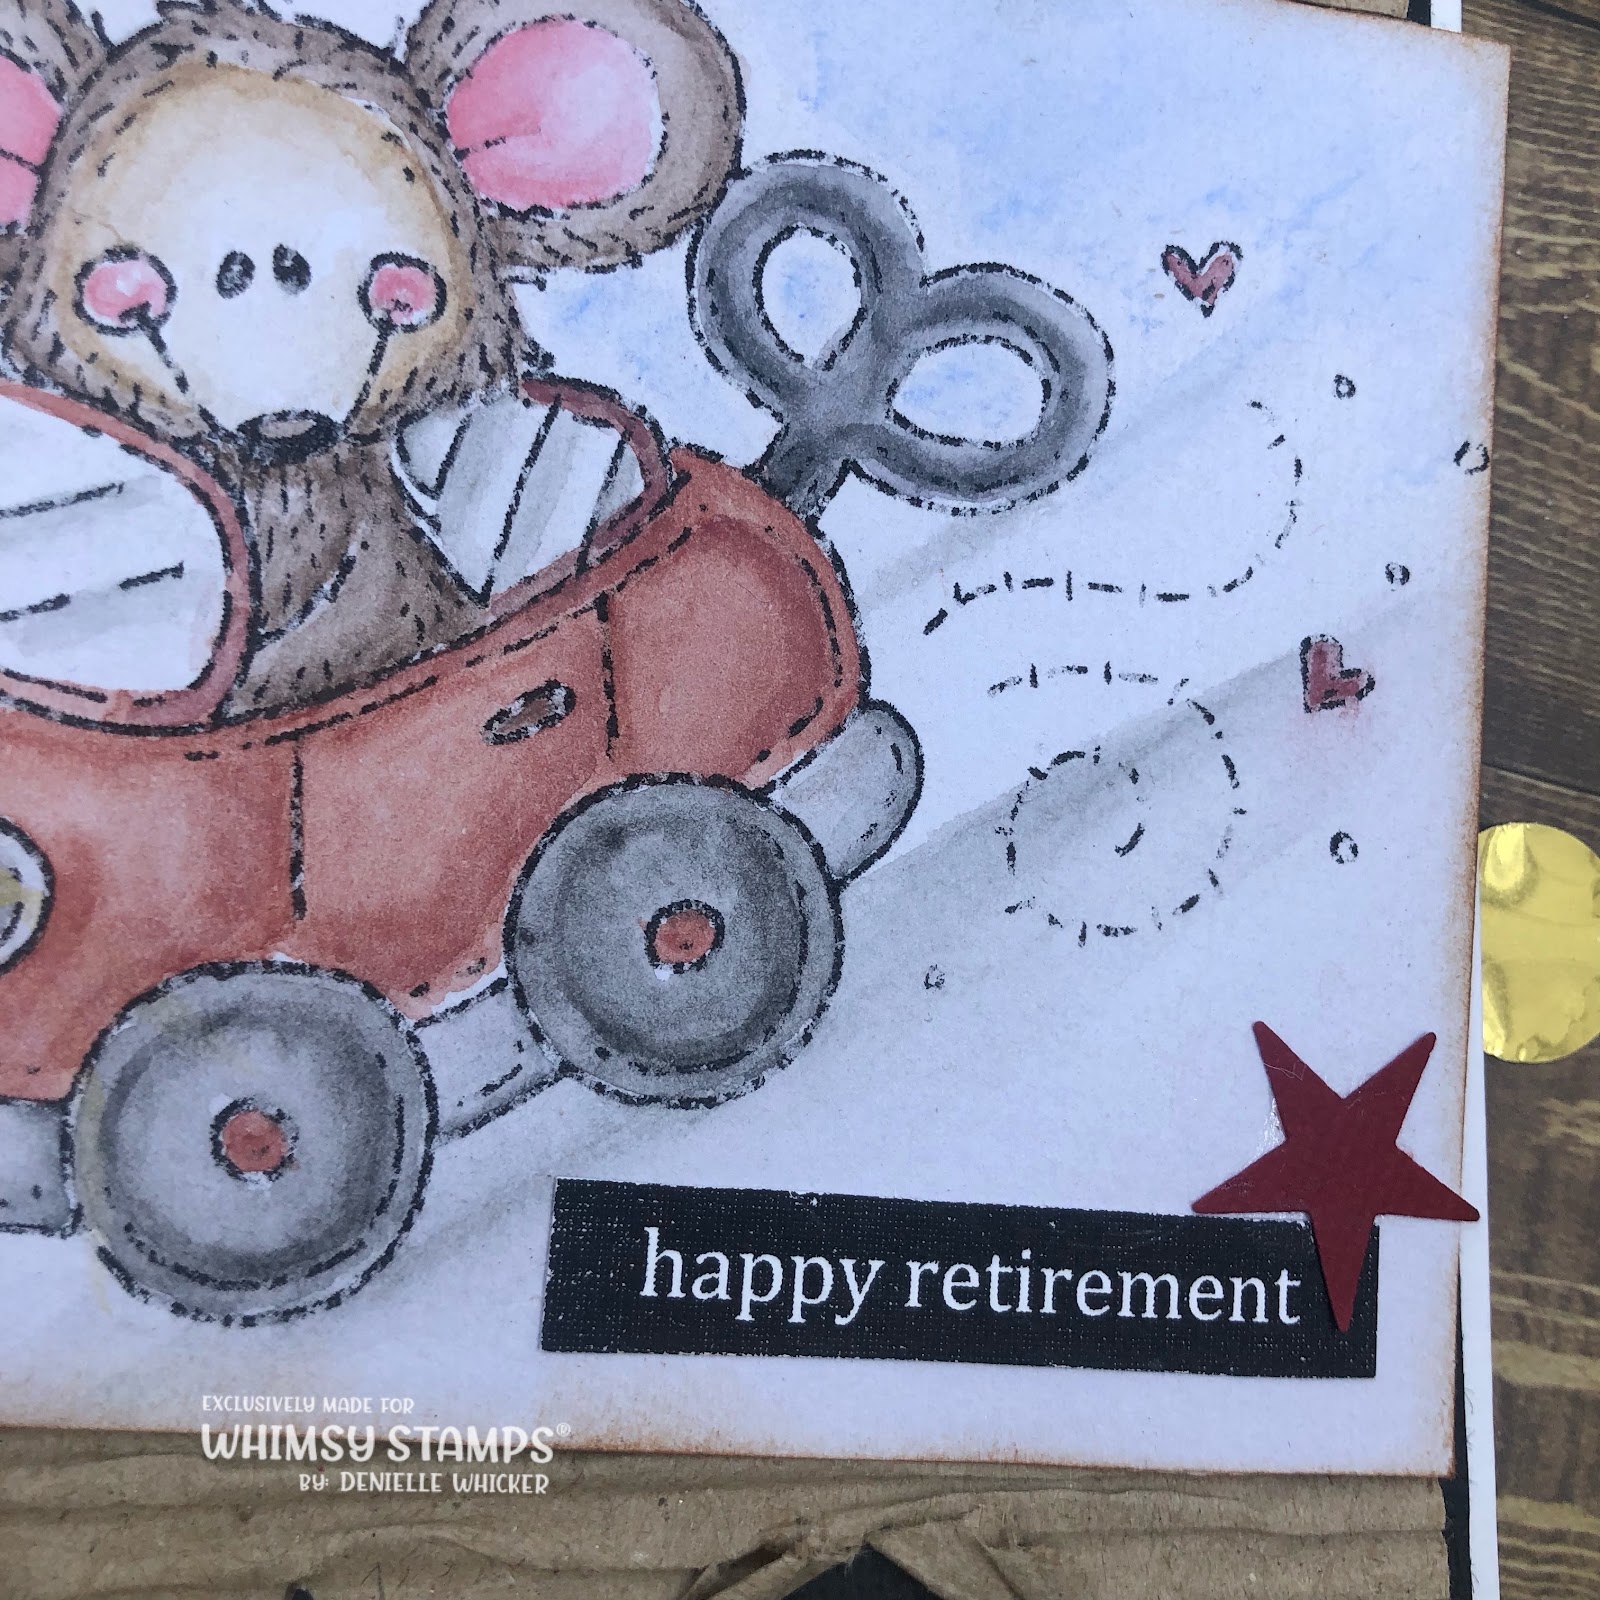

For all the adhering I used three different adhesives - Helmar Acid Free, Helmar Quick Dry 450 and Scotch ATG Tape Runner. 

The sentiment is also from Whimsy Stamps, It is from the Everyday Banner Collection, I will have everything linked up in the picture links below of products I have used plus alternatives if the products are for Australia only. 


Oh I forgot to mention before I adhered the image down I used a Vintage Photo Ink Pad from Tim Holtz / Ranger Ink to ink the edges up with a Mini Ink Blending Tool. 

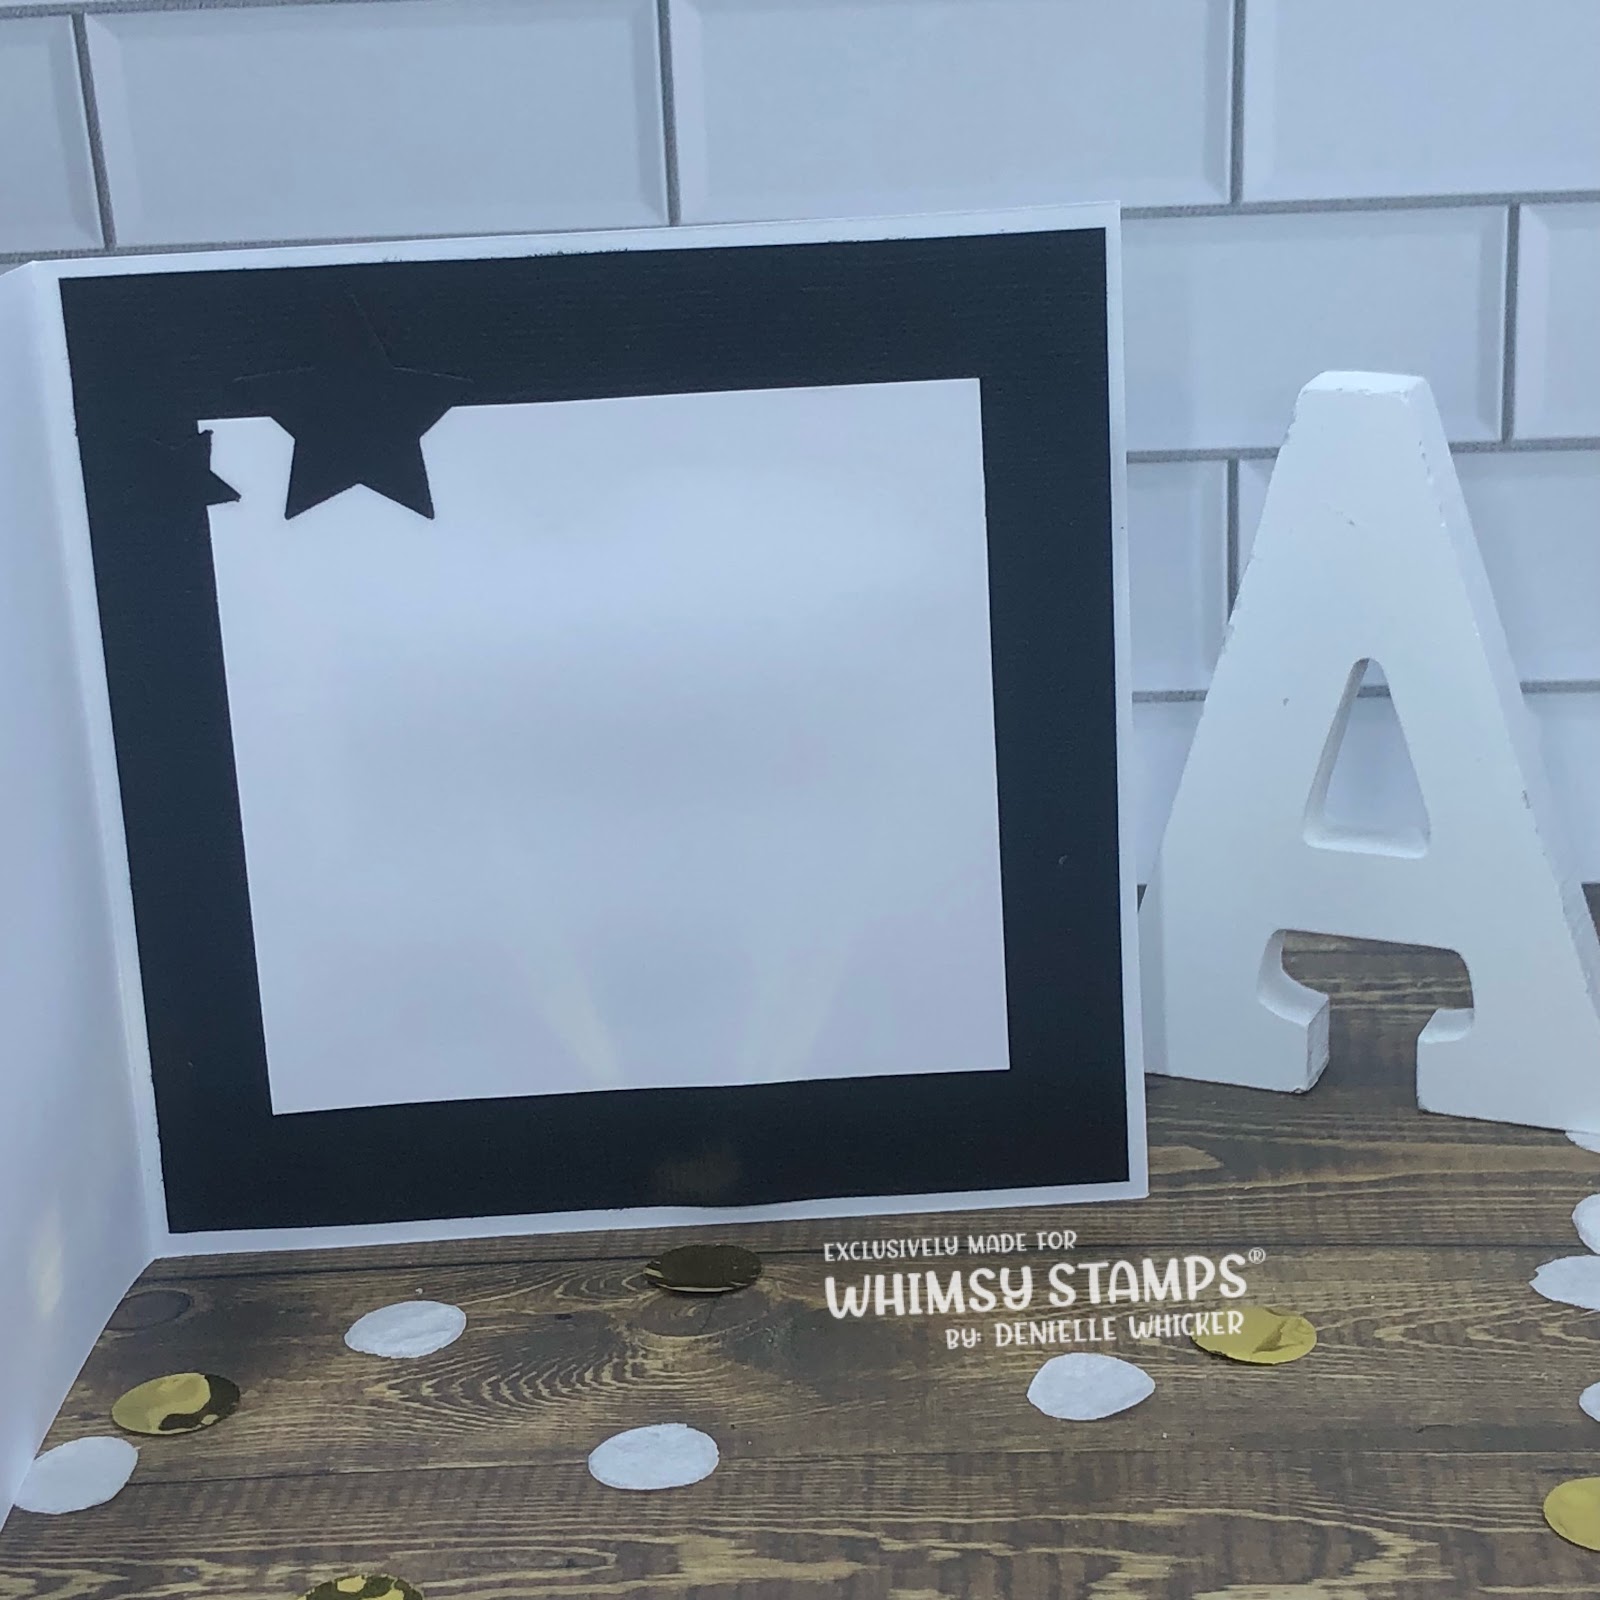
For the inside of my card I used some leftover black cardstock and some more stars, and added a white rectangle to be able to write a message. 

I hope you have enjoyed my video, if you are yet to watch it, all the links are below and I would love for you to hit subscribe and leave a comment on the video :-)


I hope you have enjoyed my post today, if you have any questions feel free to send me a message or contact me via facebook (all links can be found below).

Watch the You Tube Video Here


Products Used On My Card (Affiliate Links Used Where Possible)
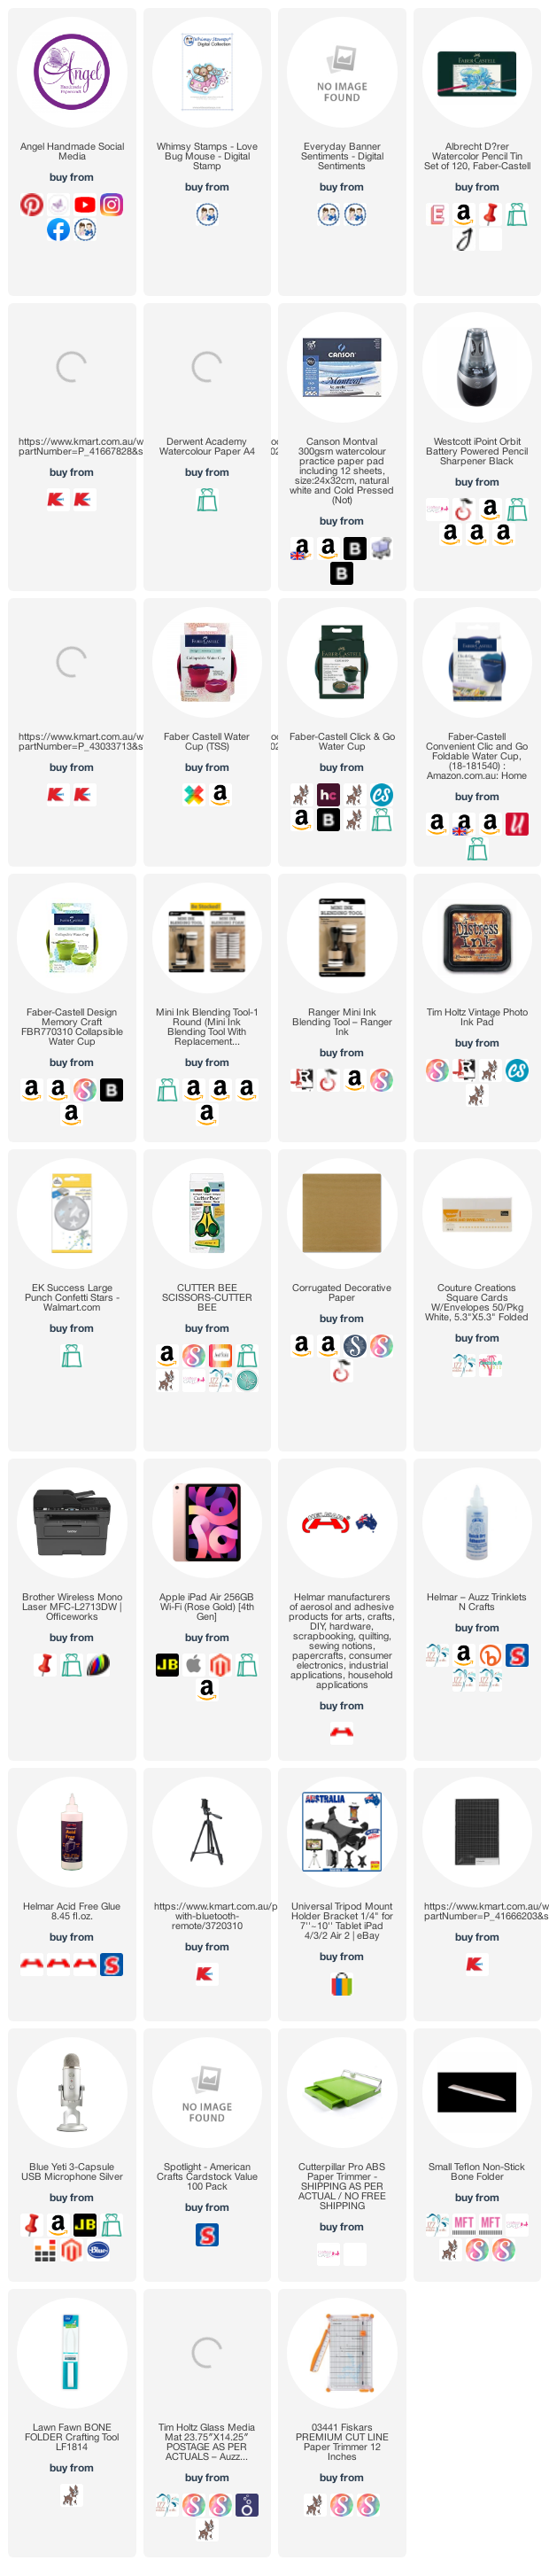


Thanks for stopping by, Deni

——— CAMERA SET-UP ——— Microphone - • Blue Yeti 3-Capsule USB Microphone Silver https://ldli.co/e/zrr6zq7 [ officeworks.com.au ] https://amzn.to/2oGWzVa [ Amazon US ] https://ldli.co/e/9ddgj5k [ jbhifi.com.au ] https://ldli.co/e/kqqm6ep [ ebgames.com.au ] https://ldli.co/e/766nery [ storedj.com.au ] https://ldli.co/e/nqqj4lp [ harveynorman.com.au ] https://ldli.co/e/6ll7on9 [ bluedesigns.com ] Camera - • Apple iPad Air 256GB Wi-Fi (Rose Gold) [4th Gen] https://ldli.co/e/e22gdl5 [ apple.com ] https://ldli.co/e/qyyl30l [ harveynorman.com.au ] https://ldli.co/e/jqq3n69 [ thegoodguys.com.au ] https://amzn.to/3fQcc3T [ amazon.com.au ] Tripod – • https://www.kmart.com.au/product/trip... https://ldli.co/e/xll716j [ kmart.com.au ] • Universal Tripod Mount Holder Bracket 1/4" for 7''~10'' Tablet iPad 4/3/2 Air 2 | eBay https://ldli.co/e/1pp1065 [ ebay.com ]

S O C I A L MEDIA 
B L O G : https://ldli.co/e/3xky6x 
I N S T A G R A M : https://ldli.co/e/5dn20x
YOU TUBE: https://ldli.co/e/ej5l90 
F A C E B O O K: https://ldli.co/e/mjxn2r
PINTEREST: https://ldli.co/e/2l9zom


I was a 2018 Ambassador for Copic Marker Australia and NZ


Wednesday, 29 December 2021

Whimsy Stamps - Don't Make Me Get My Flying Monkeys

Hi Everyone,


Today I am sharing with you a card I have created using Get My Monkeys plus Sentiments. 


I printed the image onto X-Press It Blending Cardstock using my Brother Laser Printer then coloured him up using some markers from Kmart's Anko Collection. There is a few different packs which all work together so I will link all of them up, such a great price for those starting out. 

I ran the image through my Sizzix Big Shot using a Stitched Square die, this one in particular is from Lawn Fawn however there are a few options out there so I will link them up for you. 


I had some leftover Whimsy Stamps papers that I had printed from other projects. I will link up what I can. 


I trimmed the papers down and adhered them to some American Crafts black cardstock. 


Using an EK Success Star Confetti Punch I punched out some stars in various leftover cardstocks I had.


I used my Cutterpillar Pro to trim down the sentiment then my EK Success Cutterbee Scissors to banner it up. 


All the layers were then adhered to a Couture Creations Card Base, I used some more of the patterned papers to decorate the inside of the card. 


I hope you have enjoyed my post today, if you have any questions feel free to send me a message or contact me via facebook (all links can be found below).

Watch the You Tube Video Here


Products Used On My Card (Affiliate Links Used Where Possible)


Graphic Markers Used

183, 74
E33, E37
E37, E29
E09, C9
C5, C7
0 Colorless Blender
C4, C0

Thanks for stopping by, Deni

CAMERA SET UP - FOR YOU TUBE VIDEOS ONLY
Blue Yeti Microphone
Sony Handycam HDR CX4-05
Tripod – Manfrotto MKCompactaCN-BK

S O C I A L MEDIA 
B L O G : https://ldli.co/e/3xky6x 
I N S T A G R A M : https://ldli.co/e/5dn20x
YOU TUBE: https://ldli.co/e/ej5l90 
F A C E B O O K: https://ldli.co/e/mjxn2r
PINTEREST: https://ldli.co/e/2l9zom


I was a 2018 Ambassador for Copic Marker Australia and NZ


Saturday, 2 October 2021

OMG is it Christmas Cards Prep Time Already! Whimsy October Release

Hi Everyone!

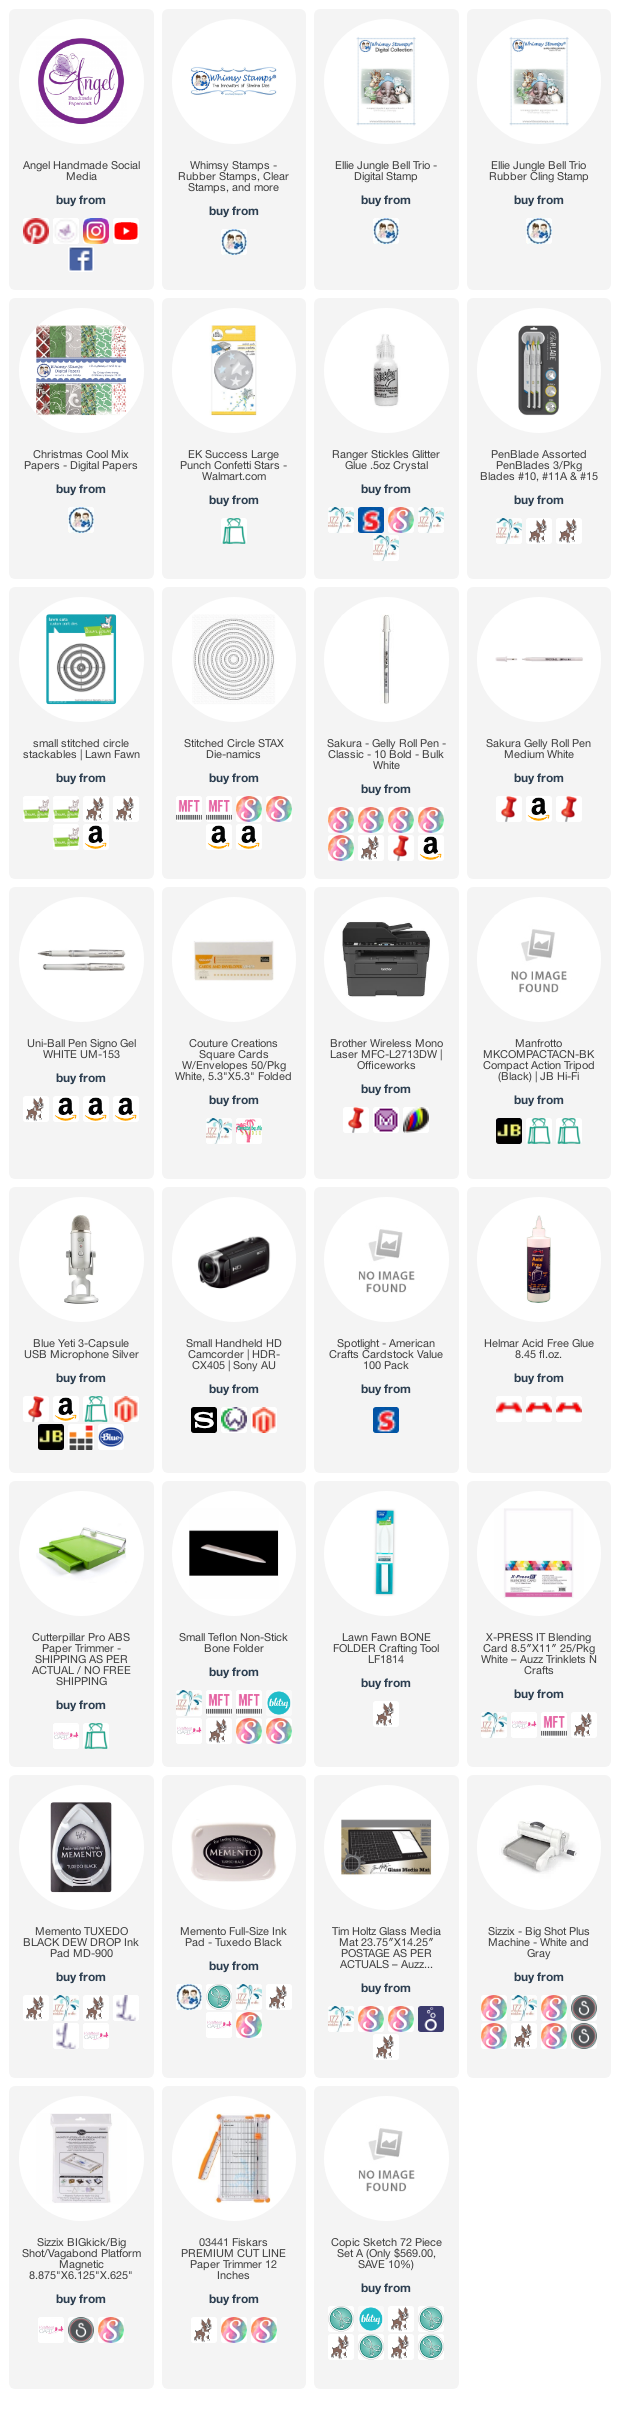
Today I am sharing with you a card I have created using a Digital Stamp from Whimsy Stamps called Ellie Jungle Bell Trio. A super cute image as always.


We are very lucky in that this image is available as both a Digital Stamp and in Rubber Version. 


I printed the image onto X-Press It Blending Cardstock using my Brother Laser Printer.


Using my Copic Markers I coloured the image up, then used Uni-Ball white gel pens to add further details to the images, I will have a full list of the markers I have used over on my blog. 


I used my computer to make up the sentiment as I wanted something big enough to run the width of my card, and I downloaded this font - Golden Gates Palace recently and knew it was perfect :-)


I added some Derivan Kindy Glitz to the beanies and I love how they turned out.


I printed Digital Papers from Whimsy Stamps Digital Collection - Christmas Cool Mix onto some copy paper. When I know that I will be layering up my card I have no problem printing onto thin paper. I trimmed down some mat layers using American Crafts Cardstock.


I ran the image through my Sizzix Big Shot using a Lawn Fawn Stitched Circle Die - I will print up a few different brands so you are able to hunt one down.


I punched out some stars using an EK Success Star Confetti punch out of the red cardstock that I had cut for my mat layer. 


I trimmed all the layers down using my Cutterpillar Pro and adhered them using Scotch ATG and Helmar Acid Free liquid adhesive.


I hope you have enjoyed my post today, if you have any questions feel free to send me a message or contact me via facebook (all links can be found below).

Watch the You Tube Video Here


Products Used On My Card (Affiliate Links Used Where Possible)


Copic Markers Used

Y15, Y38, E18
Y17, YR18
E77, E79
R27, R46, R89
BG02
N0, N3, N5
N2, N6, N8, N10
R30


Thanks for stopping by, Deni

CAMERA SET UP - FOR YOU TUBE VIDEOS ONLY
Blue Yeti Microphone
Sony Handycam HDR CX4-05
Tripod – Manfrotto MKCompactaCN-BK

S O C I A L MEDIA 
B L O G : https://ldli.co/e/3xky6x 
I N S T A G R A M : https://ldli.co/e/5dn20x
YOU TUBE: https://ldli.co/e/ej5l90 
F A C E B O O K: https://ldli.co/e/mjxn2r
PINTEREST: https://ldli.co/e/2l9zom


I was a 2018 Ambassador for Copic Marker Australia and NZ


Time For Tea Designs - Shop Til You Drop

Hi Everyone, 

I need to apologise in advance as the image I am using on my card is retired and no longer available to purchase. 


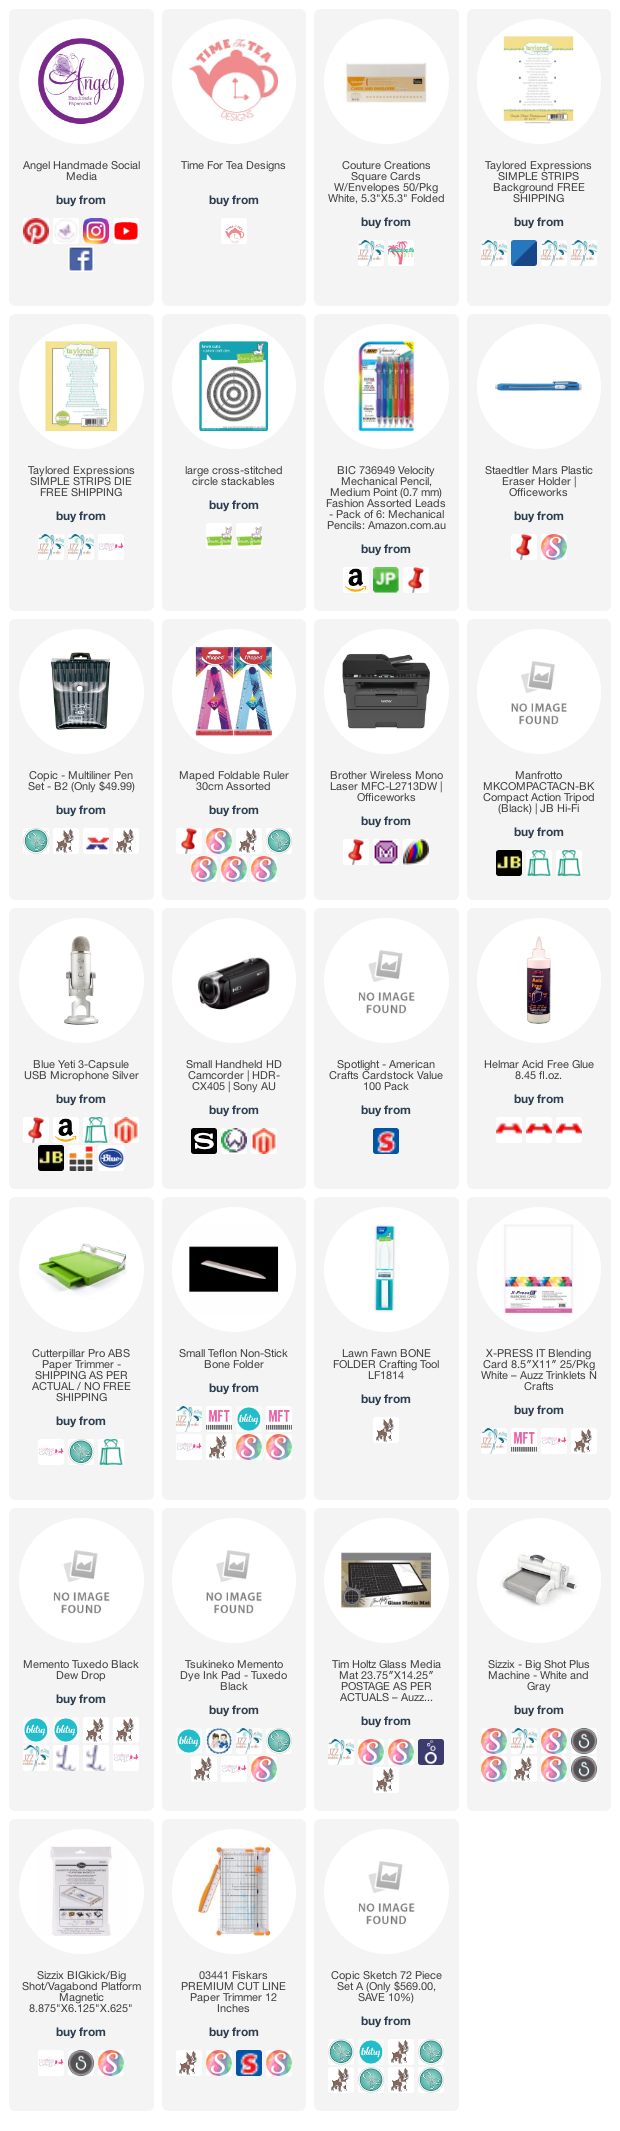
The image I have used to create my card is Shop Til You Drop from Time For Tea Designs. For those of you that have been around for a while you will know that I used to be part of the Design Team for this company, one that I do miss as it was one of my first teams and I love their images.


I printed the image onto X-Press It Blending Cardstock using my Brother Laser Printer and coloured it up using Copic Markers. 


I played around with some of my RV markers to find the perfect blend for my image, as you can see I didn't end up using one of the markers.


I can't find the paper pad that I was using so I can't link that up at the moment, once I do I will go in and edit this post. 

I trimmed the layers down on my Cutterpillar Pro and matted them onto American Crafts Cardstock using Helmar Acid Free liquid adhesive. 


I cut a frame from American Crafts Black Cardstock using MFT Stamps Peek-a-boo Wonky Window die, I then ran the die through again with some of the patterned paper so I could layer the inside piece. 

I used a white gel pen to write the # onto the frame. 


I ran a scrap piece of the black cardstock through my Big Shot using MFT Stamps Little Numbers dies. 


Using an EK Success Star Confetti Punch I punched out some stars using scraps. 


The sentiment is from a Taylored Expressions Simple Strips Stamps and Dies.


I adhered all the layers to a Couture Creations Card Base using Helmar Acid Free liquid adhesive


I hope you have enjoyed my post today, if you have any questions feel free to send me a message or contact me via facebook (all links can be found below).

Watch the You Tube Video Here


Products Used On My Card (Affiliate Links Used Where Possible)


Copic Markers Used

E000, E00, E21, E11, E04, R20
N6, T8, T10
E74, E77, E79
E31, E33, E37
R83, R85
R14, RV09, RV17
0 Colorless Blender

Thanks for stopping by, Deni

CAMERA SET UP - FOR YOU TUBE VIDEOS ONLY
Blue Yeti Microphone
Sony Handycam HDR CX4-05
Tripod – Manfrotto MKCompactaCN-BK

S O C I A L MEDIA 
B L O G : https://ldli.co/e/3xky6x 
I N S T A G R A M : https://ldli.co/e/5dn20x
YOU TUBE: https://ldli.co/e/ej5l90 
F A C E B O O K: https://ldli.co/e/mjxn2r
PINTEREST: https://ldli.co/e/2l9zom


I was a 2018 Ambassador for Copic Marker Australia and NZ


Thursday, 30 September 2021

BCF Breast Cancer Awareness Bear

Hope Everyone is well :-)

Today I have a card to share with you that I created a while back but haven't had a chance to share on here with you guys. 


I printed the image onto X-Press It Blending Cardstock using my Brother Laser Printer.

I coloured the image using Copic Markers, added extra details using a white gel pen and Derivan Kindy Glitz. I love the final details you can add to an image and how it can finalise a card.


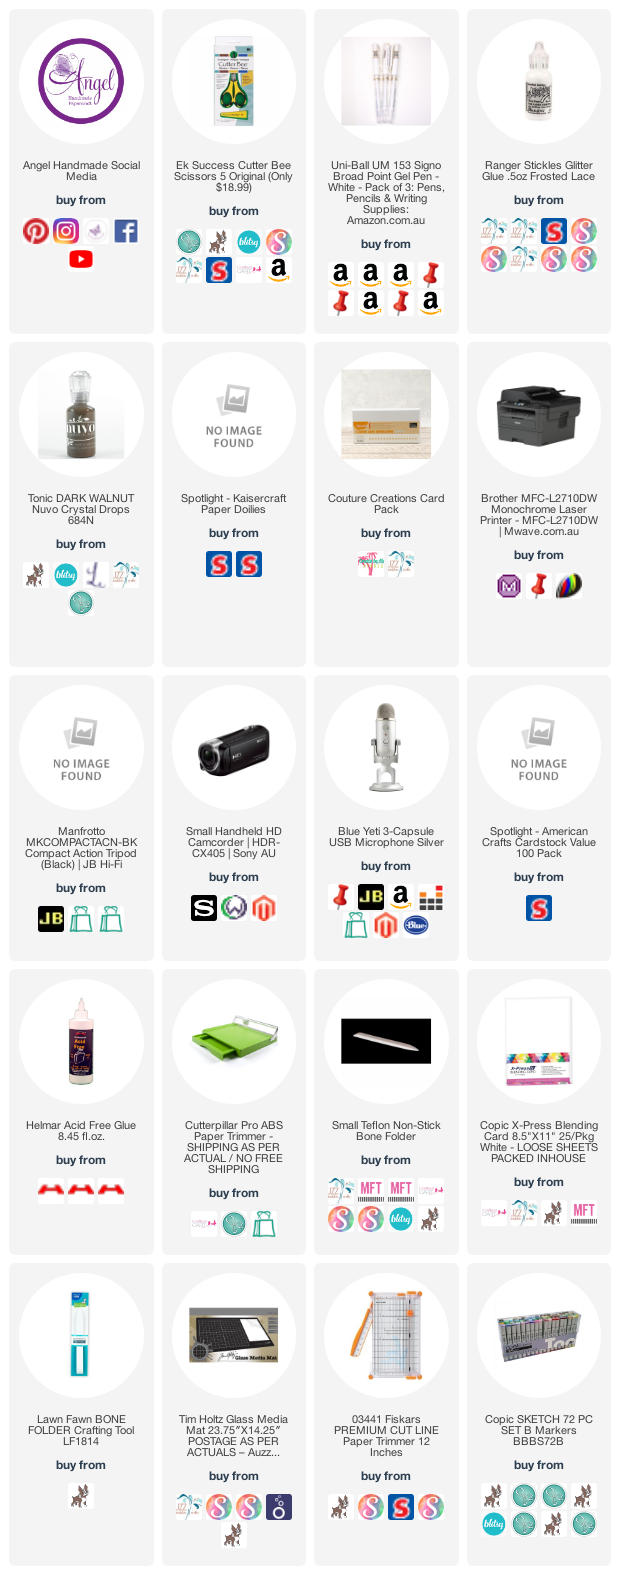
I fussy cut the image using EK Success Cutterbee Scissors, leaving just a small border around the outside. 


The patterned papers I am using are from Pebbles Ever After Collection, I trimmed them down using my Cutterpillar Pro and matted them onto some pink cardstock from my stash (they may possibly be from American Crafts). 


Using Tonic Studios Nuvo Crystal Drops in Dark Walnut.

The sentiment is from Whimsy Stamps Everyday Banner Digital Sentiments, I also printed them onto X-Press It Blending Card and trimmed down using my Cutterbee Scissors.


I adhered all the layers to a Couture Creations Card Base and decorated the inside of the card using leftovers of the patterned papers.


I hope you have enjoyed my post today, if you have any questions feel free to send me a message or contact me via facebook (all links can be found below).

Watch the You Tube Video Here


Products Used On My Card (Affiliate Links Used Where Possible)


Copic Markers Used
 
NO LIST FOR THIS PROJECT SORRY

Thanks for stopping by, Deni

CAMERA SET UP - FOR YOU TUBE VIDEOS ONLY
Blue Yeti Microphone
Sony Handycam HDR CX4-05
Tripod – Manfrotto MKCompactaCN-BK

S O C I A L MEDIA 
B L O G : https://ldli.co/e/3xky6x 
I N S T A G R A M : https://ldli.co/e/5dn20x
YOU TUBE: https://ldli.co/e/ej5l90 
F A C E B O O K: https://ldli.co/e/mjxn2r
PINTEREST: https://ldli.co/e/2l9zom


I was a 2018 Ambassador for Copic Marker Australia and NZ


Tuesday, 28 September 2021

Whimsy Stamps - Gnome Trick Or Treat

Good Morning Everyone :-)

Today I am sharing with you the first of many Halloween Cards I will be creating.


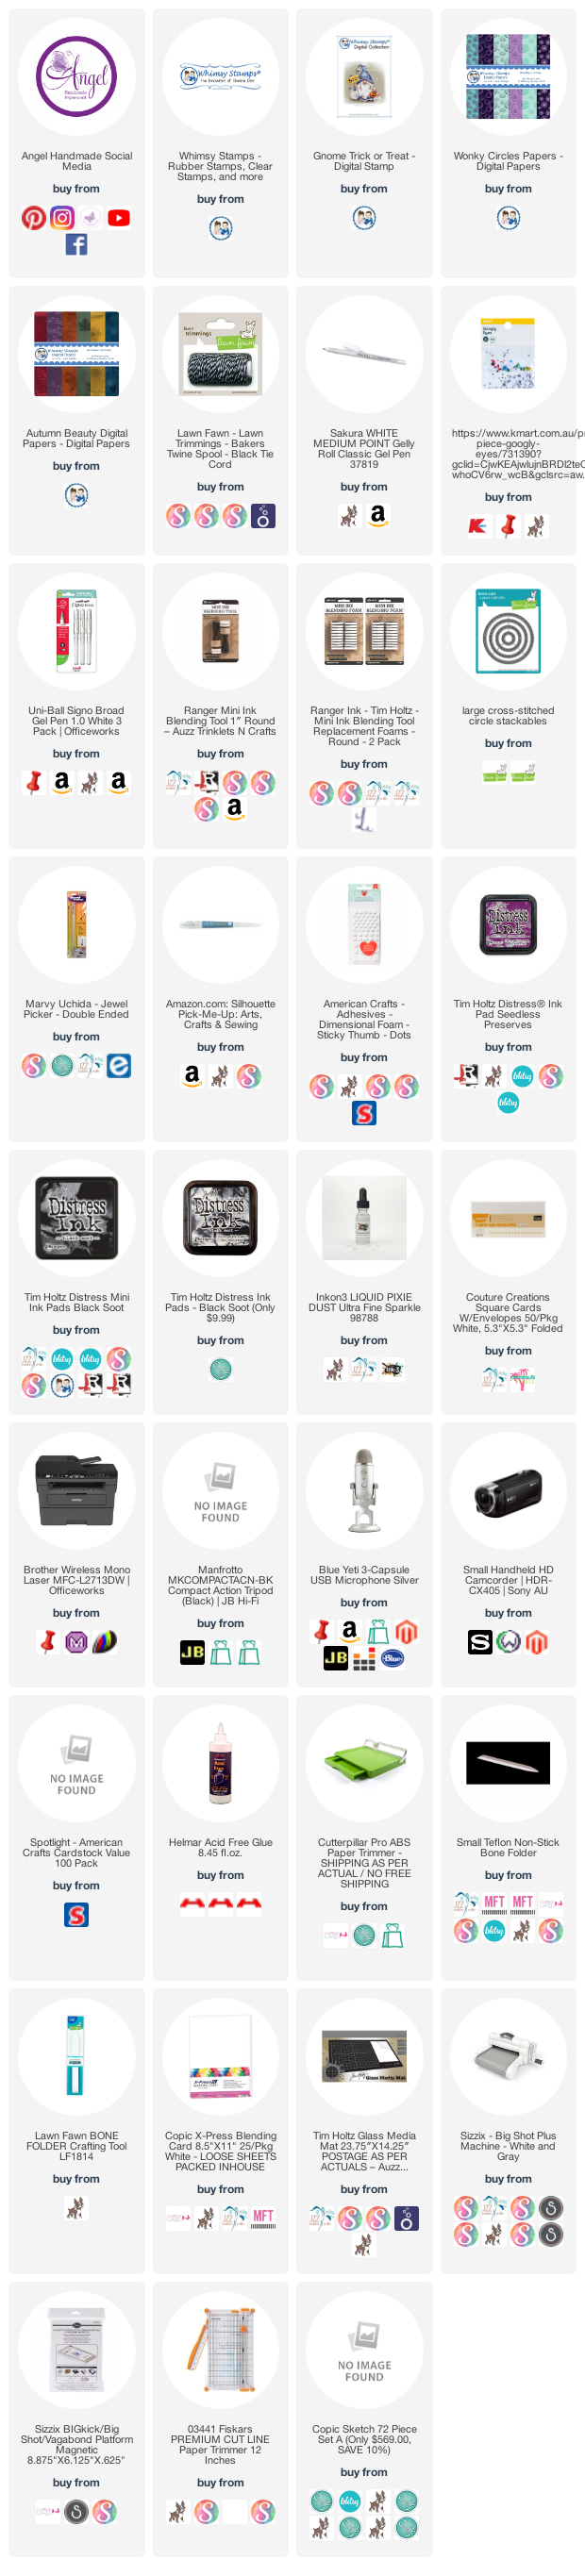
This is Gnome Trick or Treat from Whimsy Stamps Digital Collection.


I printed the image onto X-Press It Blending Cardstock using my Brother Laser Printer.

Using a Cross Stitch Circle die from another brand a ran the image through my Sizzix Big Shot.


I coloured the image up using Copic Markers which I will have a full list of down below.

I pulled out my Tim Holtz Ranger Distress Inks (I have the minis however the big ones are the same if you have those). I used Seedless Preserves and a Mini Ink Blending Tool making sure I started blending off the image so I wouldn't get those horrible lines, make sure you are blending in nice smooth circles and keep the same pressure. 


I used Ink On 3 Liquid Pixie Dust to carefully drip all around my image and soak up using some Kitchen Paper Towel, it has an awesome effect on the Distress Ink. 


I printed papers from Whimsy Stamps Digital Paper Collections - Autumn Beauty and Wonky Circles, I used more distress ink to give them that Halloween look. I used Seedless Preserves and Black Soot. I matted the patterned papers on some old cardstock and some American Crafts Black Cardstock.


I wrapped some twine around the bottom two layers and adhered it using Scotch ATG. Finally I adhered all those layers to a Couture Creations Card Base. I found this old spider die from Memory Box called dangling spider, so glad I sorted some of my stamps and dies into theme draws :-)


I used some Foam dots to adhered the image on top of that layer and the twine. I then had this cool idea to add some spooky eyes to the background and remembered I had a big tub of googly eyes :-)


I used leftovers of the papers to decorate the inside of the card and finally we were complete. 


I hope you have enjoyed my post today, if you have any questions feel free to send me a message or contact me via facebook (all links can be found below).

Watch the You Tube Video Here


Products Used On My Card (Affiliate Links Used Where Possible)


Copic Markers Used

YR20, YR24, YR07
W1, W5, 0 Colorless Blender
N6, N8, N10
V04, V06, V09
E25, E27, E29
E55, E25, E59

Thanks for stopping by, Deni

CAMERA SET UP - FOR YOU TUBE VIDEOS ONLY
Blue Yeti Microphone
Sony Handycam HDR CX4-05
Tripod – Manfrotto MKCompactaCN-BK

S O C I A L MEDIA 
B L O G : https://ldli.co/e/3xky6x 
I N S T A G R A M : https://ldli.co/e/5dn20x
YOU TUBE: https://ldli.co/e/ej5l90 
F A C E B O O K: https://ldli.co/e/mjxn2r
PINTEREST: https://ldli.co/e/2l9zom


I was a 2018 Ambassador for Copic Marker Australia and NZ