Showing posts with label MFT Stamps. Show all posts

Saturday, 2 October 2021

Time For Tea Designs - Shop Til You Drop

Hi Everyone, 

I need to apologise in advance as the image I am using on my card is retired and no longer available to purchase. 


The image I have used to create my card is Shop Til You Drop from Time For Tea Designs. For those of you that have been around for a while you will know that I used to be part of the Design Team for this company, one that I do miss as it was one of my first teams and I love their images.


I printed the image onto X-Press It Blending Cardstock using my Brother Laser Printer and coloured it up using Copic Markers. 


I played around with some of my RV markers to find the perfect blend for my image, as you can see I didn't end up using one of the markers.


I can't find the paper pad that I was using so I can't link that up at the moment, once I do I will go in and edit this post. 

I trimmed the layers down on my Cutterpillar Pro and matted them onto American Crafts Cardstock using Helmar Acid Free liquid adhesive. 


I cut a frame from American Crafts Black Cardstock using MFT Stamps Peek-a-boo Wonky Window die, I then ran the die through again with some of the patterned paper so I could layer the inside piece. 

I used a white gel pen to write the # onto the frame. 


I ran a scrap piece of the black cardstock through my Big Shot using MFT Stamps Little Numbers dies. 


Using an EK Success Star Confetti Punch I punched out some stars using scraps. 


The sentiment is from a Taylored Expressions Simple Strips Stamps and Dies.


I adhered all the layers to a Couture Creations Card Base using Helmar Acid Free liquid adhesive


I hope you have enjoyed my post today, if you have any questions feel free to send me a message or contact me via facebook (all links can be found below).

Watch the You Tube Video Here


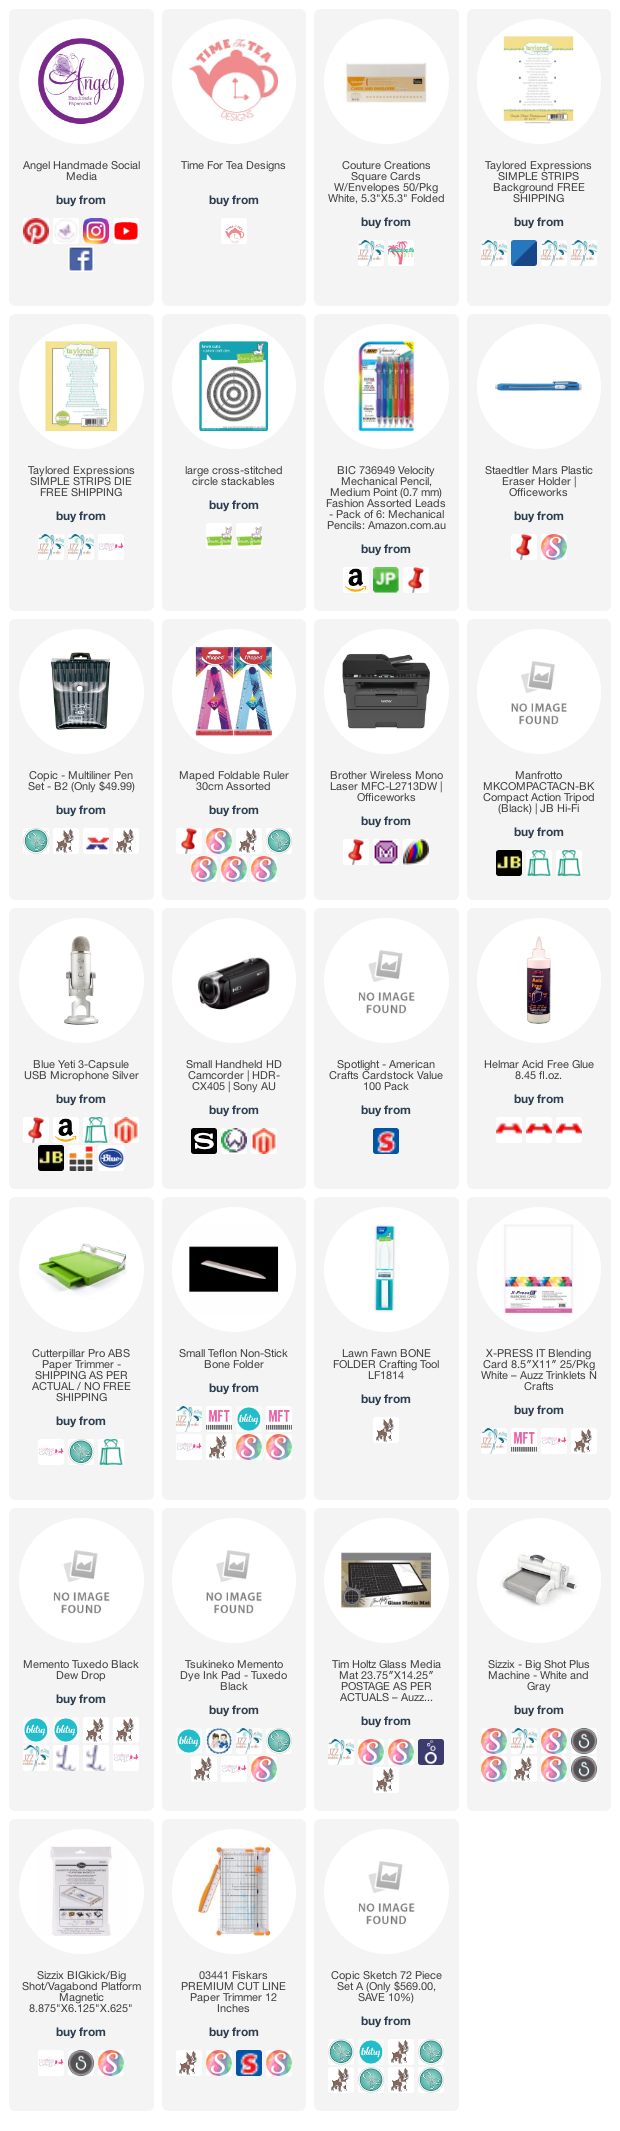
Products Used On My Card (Affiliate Links Used Where Possible)


Copic Markers Used

E000, E00, E21, E11, E04, R20
N6, T8, T10
E74, E77, E79
E31, E33, E37
R83, R85
R14, RV09, RV17
0 Colorless Blender

Thanks for stopping by, Deni

CAMERA SET UP - FOR YOU TUBE VIDEOS ONLY
Blue Yeti Microphone
Sony Handycam HDR CX4-05
Tripod – Manfrotto MKCompactaCN-BK

S O C I A L MEDIA 
B L O G : https://ldli.co/e/3xky6x 
I N S T A G R A M : https://ldli.co/e/5dn20x
YOU TUBE: https://ldli.co/e/ej5l90 
F A C E B O O K: https://ldli.co/e/mjxn2r
PINTEREST: https://ldli.co/e/2l9zom


I was a 2018 Ambassador for Copic Marker Australia and NZ


Wednesday, 29 September 2021

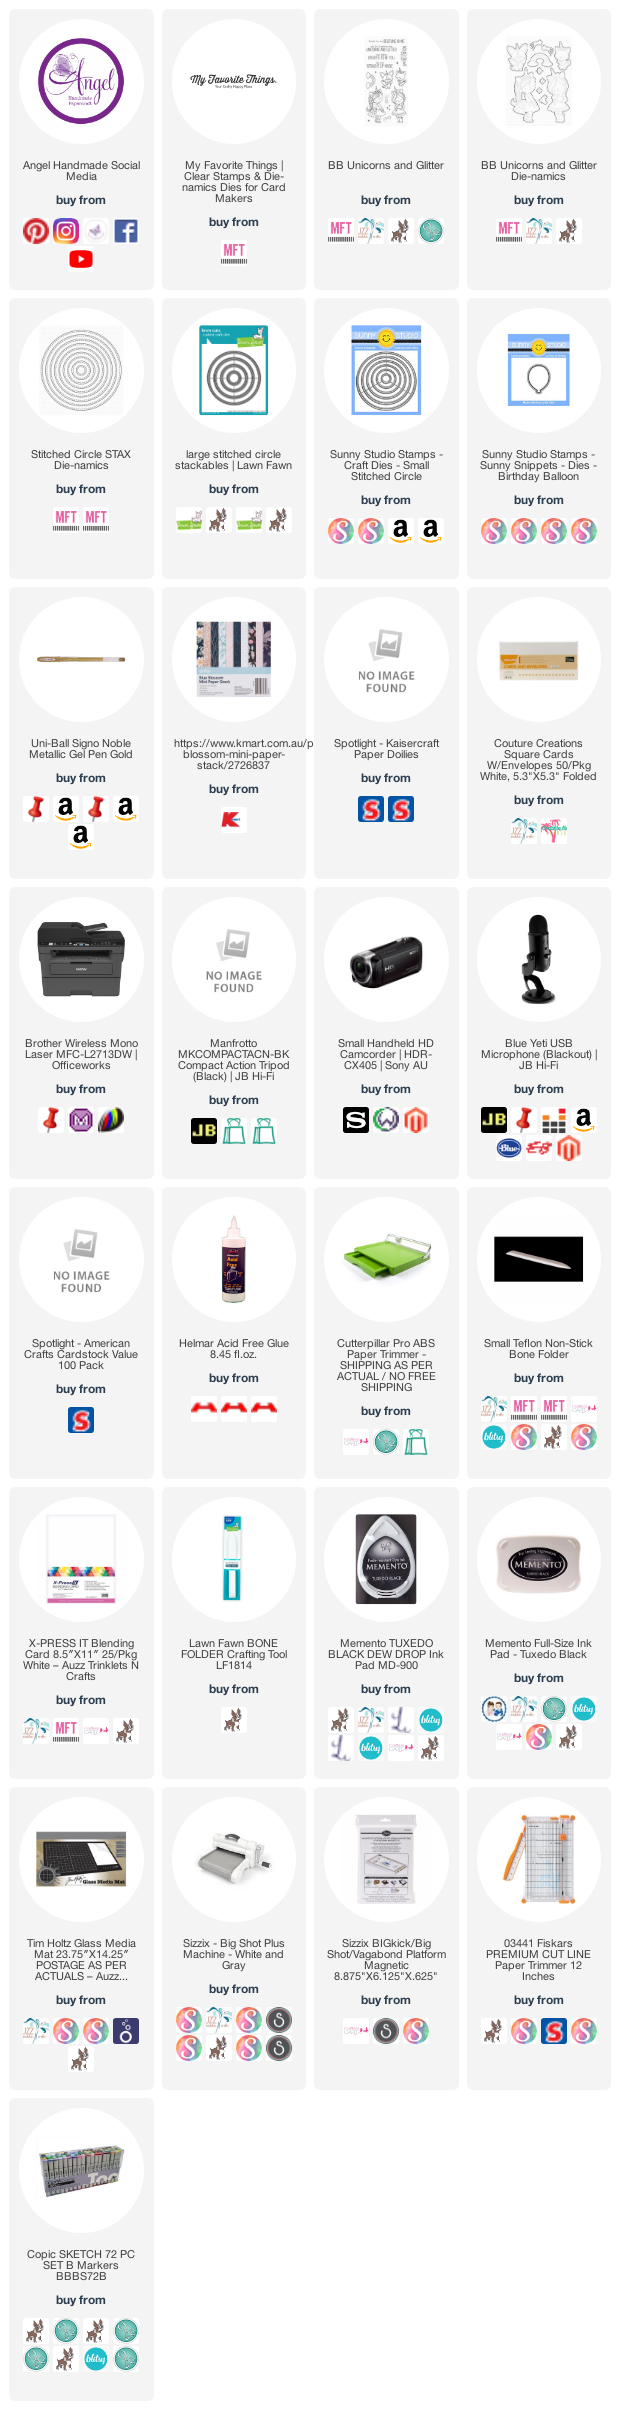
MFT Stamps - Unicorns and Glitter

Hi Everyone,

I had an order for a 1st Birthday Card to go with some of my cupcakes last week, and the Unicorns and Glitter stamp set from MFT Stamps was perfect. 


I inked up the stamp using Memento Tuxedo Black and an acrylic block then stamped the images onto X-Press It Blending Cardstock. 

I coloured the image up using Copic Markers and added extra details using Uni-Ball Signo Broad Gold Pen, I will link up a few different brands of gold pens. 


I ended up stamping and colouring the little puppy out also.

Using my EK Success Cutterbee Scissors I fussy cut the image leaving just a small border, there is a die set that goes with this stamp set however I don't own it. I have linked it up for you in the picture links below. 


The patterned papers I have used are from Kmarts Anko - Blue Blossom Mini Stack, I matted it using some pink cardstock that I had in my stash. I added a doily from my kitchen using Helmar Acid Free. 


I adhered the image onto a MFT Stamps Stitched Circle that I had die cut from some leftover X-Press It cardstock. 


The gorgeous balloons was also cut from patterned papers from the paper pad, the tail was a leftover from another project. I cut the number 1 using an older die set from MFT Stamps called Little Numbers and some leftover white cardstock. 


I added some stars using EK Success Star Confetti punch. 


I love the way the card turned out and the recipient also loved it :-)


I hope you have enjoyed my post today, if you have any questions feel free to send me a message or contact me via facebook (all links can be found below).


Products Used On My Card (Affiliate Links Used Where Possible)


Copic Markers Used

N6, N8, N10
Y17, YR18
E000, E00, E21, E11, E04, R20
R81, R83, R85

Thanks for stopping by, Deni

CAMERA SET UP - FOR YOU TUBE VIDEOS ONLY
Blue Yeti Microphone
Sony Handycam HDR CX4-05
Tripod – Manfrotto MKCompactaCN-BK

S O C I A L MEDIA 
B L O G : https://ldli.co/e/3xky6x 
I N S T A G R A M : https://ldli.co/e/5dn20x
YOU TUBE: https://ldli.co/e/ej5l90 
F A C E B O O K: https://ldli.co/e/mjxn2r
PINTEREST: https://ldli.co/e/2l9zom


I was a 2018 Ambassador for Copic Marker Australia and NZ


Saturday, 25 September 2021

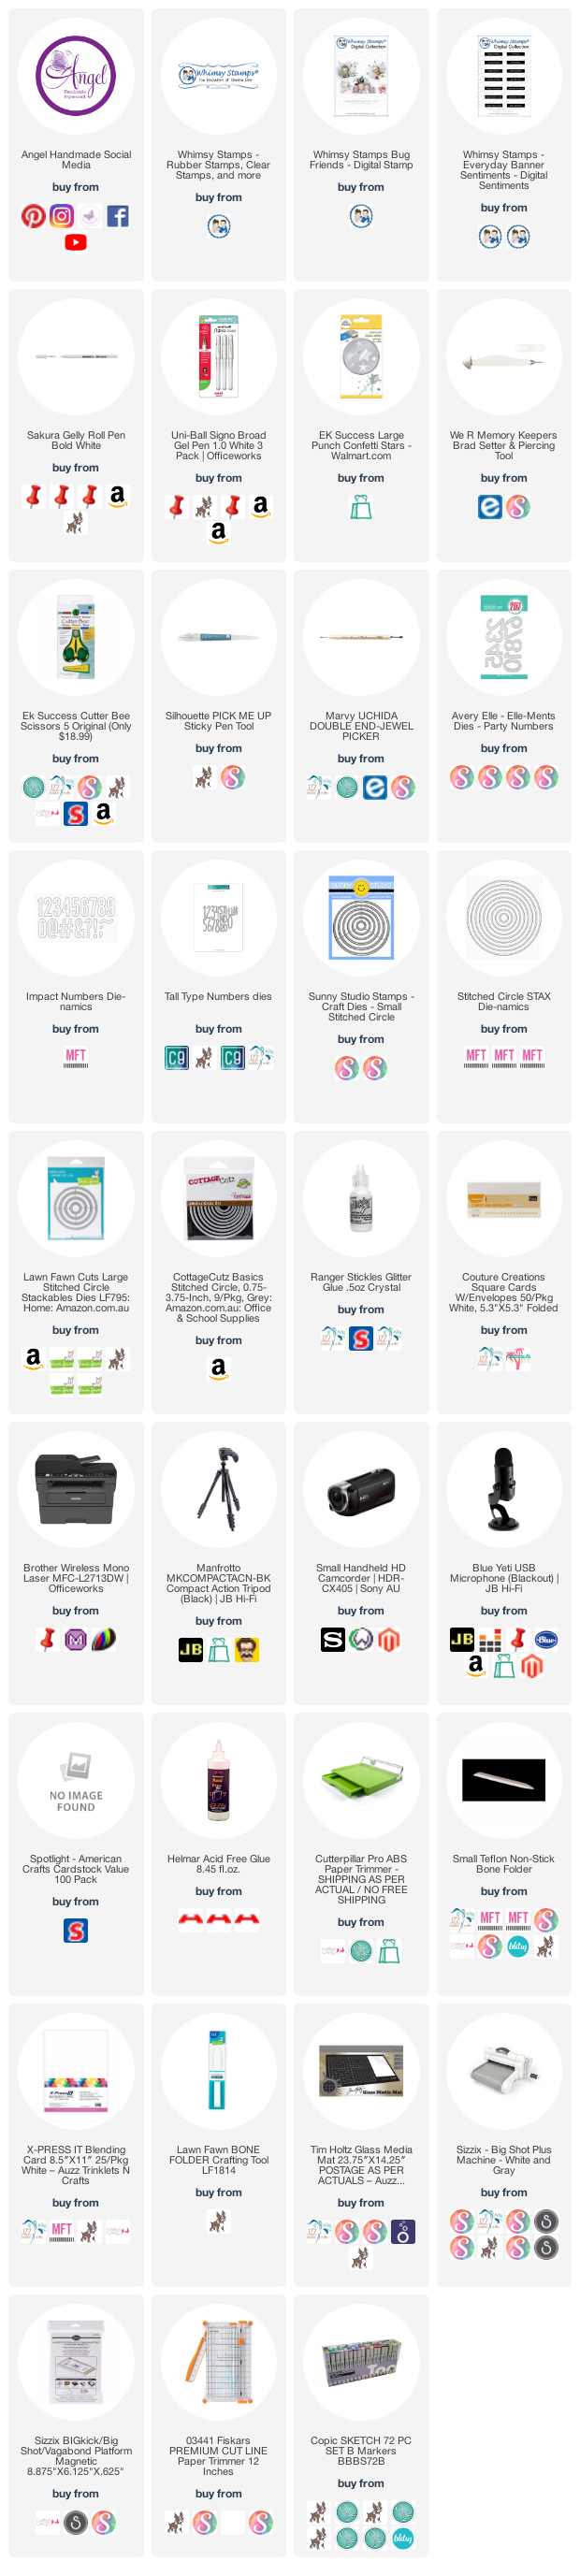
Whimsy Stamps - Big Friends by Sylvia Zet

Hi Everyone, 

Hope you are all well, I apologise for my delay in posts I've been in a serious creative slump lately. 

I managed to put together this card using Bug Friends by Sylvia Zet for Whimsy Stamps


I printed the image onto X-Press It Blending Cardstock using my Brother Laser Printer, this makes the image completely Copic Safe. I coloured the image up using Copic Markers, added extra details using a Uni-Ball Signo white gel pen. 


I cut down a mat layer of orange cardstock from some of my old cardstock collection, then some patterned papers from Pebbles Inc Everyday Paper Pad.


I printed Everyday Sentiments Digital Sentiments from Whimsy Stamps, trimmed down the Happy Birthday one, I used my EK Success Cutter bee to banner up the left side.


I ran the image through my Sizzix Big Shot using a Lawn Fawn Stitched Circle die, I will link up a few different options for you. 


I added some stars from EK Success Star Confetti punch, I cut them from the layers of cardstock and patterned papers. 


I coated some parts of the image and the stars using Derivan Kindyglitz, a very similar product to Stickles. 


I coloured up the sentiment and flowers also using Copic Markers and used that on the inside of my card, I think it finished it off perfectly.


I am really happy with the way that the card turned out and hope you guys like it too :-)


I hope you have enjoyed my post today, if you have any questions feel free to send me a message or contact me via facebook (all links can be found below).

Watch the You Tube Video Here


Products Used On My Card (Affiliate Links Used Where Possible)


Copic Markers Used

YR15
YR04
YR27
Y13, Y18
E74, E77, E79
E49
R20, 0 Colorless Blender
YG07, YG99
RV14, RV09, RV17

Thanks for stopping by, Deni

CAMERA SET UP - FOR YOU TUBE VIDEOS ONLY
Blue Yeti Microphone
Sony Handycam HDR CX4-05
Tripod – Manfrotto MKCompactaCN-BK

S O C I A L MEDIA 
B L O G : https://ldli.co/e/3xky6x 
I N S T A G R A M : https://ldli.co/e/5dn20x
YOU TUBE: https://ldli.co/e/ej5l90 
F A C E B O O K: https://ldli.co/e/mjxn2r
PINTEREST: https://ldli.co/e/2l9zom


I was a 2018 Ambassador for Copic Marker Australia and NZ


Thursday, 29 July 2021

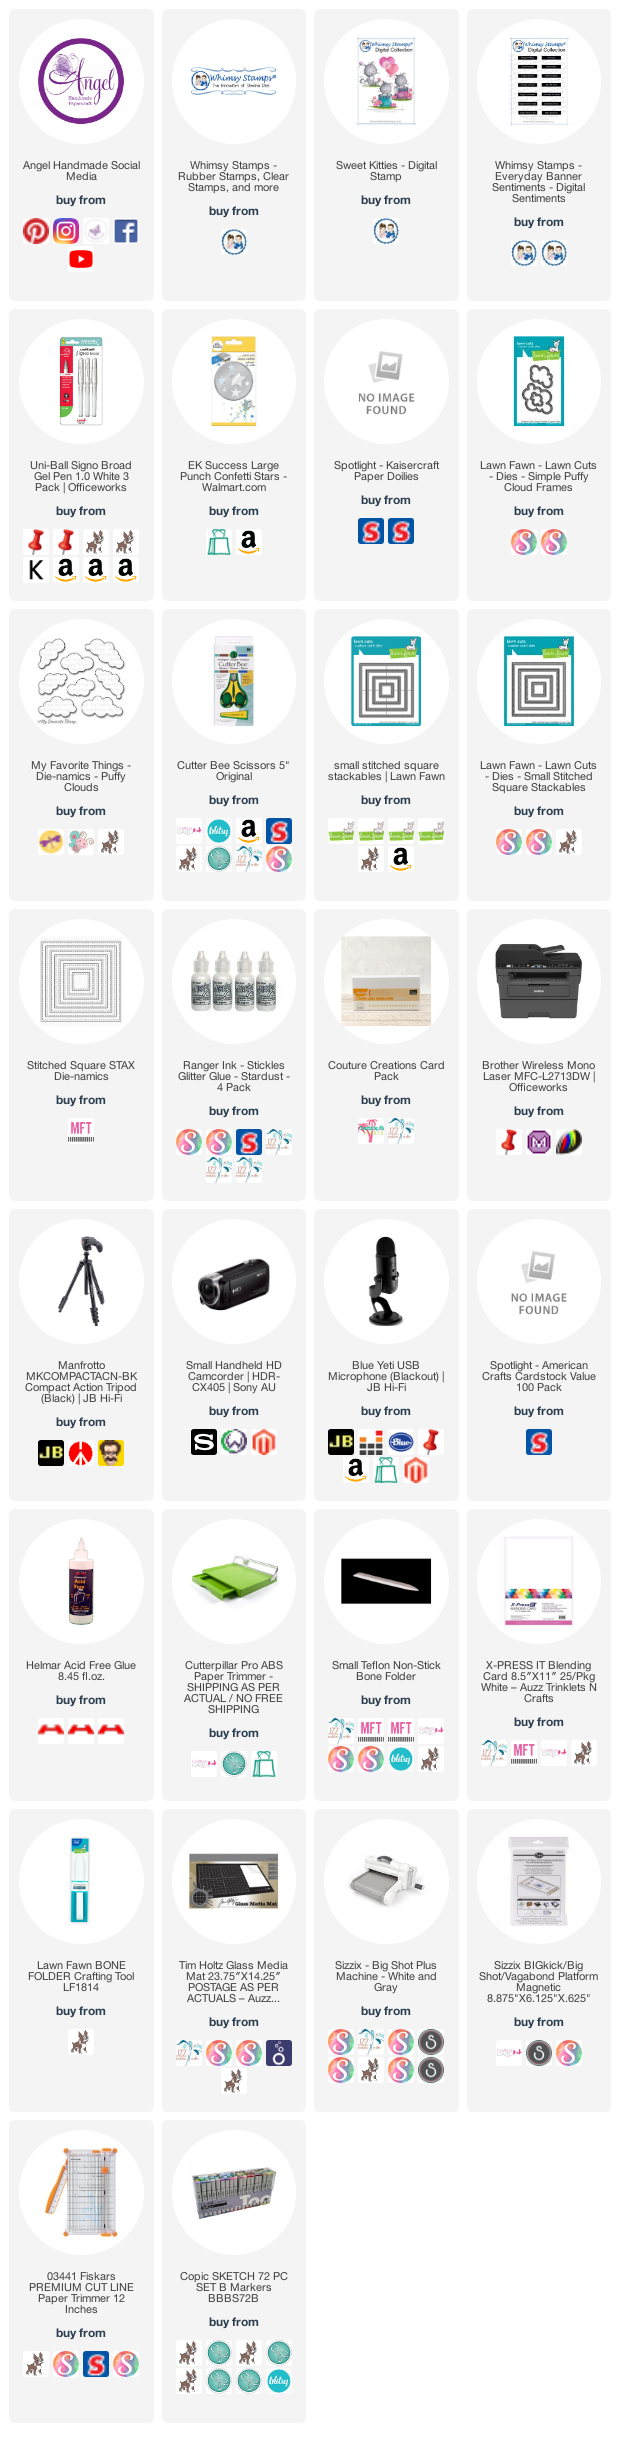
Whimsy Stamps - Sweet Kitty Birthday

Good Morning Everyone, 

Im running so behind at the moment, I mentioned in one of my recent videos that we had got a new puppy. Puppy is hard work! We love her to bits but man I don't know what's harder a new puppy or a new baby haha. I haven't been in the craft room in so long because a. Miss Belle and b. We are in lockdown, meaning for me I'm still going to work because I work in a Medical Centre and Home Schooling. 

This shit is real you guys! :-( My Husband and I have 5 kids between us - me 2 and him 3.. home schooling is so hard when still trying to juggle all my own stuff that needs to get done, we are still doing shared custody so I'm also doing all the running around with them back and forth. 


Anyway, playing catch up I was able to sit down tonight and put together this cute birthday card using Sweet Kitties Set from Whimsy Stamps. 


I used Digital Papers from the Dino Friends Paper Collection, the ones I have used were previously printed for another project, I try to keep all my leftovers to create other cards with. 


I began by printing the image onto X-Press It Blending Cardstock using my Laser Printer, this makes the image completely Copic safe.


I coloured the image up using Copic Markers and added in extra details using a white Uni-Ball Gel Pen in Angelic, I have linked up a few different pens for you. 


I love the softness of this image, the T Greys give it such a beautiful tone.


I trimmed the image down using a Lawn Fawn Stitched Square Die, finishing the image off with a nice border. 


I cut down some matting layers using American Crafts and Kaisercraft Cardstocks, trying to keep with the grey/pink colour blend. 


I adhered a doily down from my stash then the image over the top. 


Using an MFT Stamps Puffy Clouds die (I also linked up some similar dies from other brands), I used some leftover white X-Press It running it through my Sizzix Big Shot. I adhered those to the right of my card using Helmar Acid Free Liquid Adhesive. 


I hadn't adhered down my bottom matting layer yet so I used that to cut down some stars with my EK Success Star Confetti Punch, no wastage here :-)


I cut down a sentiment from Whimsy Stamps Everyday Sentiment Digital Sentiment Set, When I printed these originally I cut the sentiment set up so I was able to print multiple Happy Birthdays from this set as that is my most used sentiment from the set. 


I used more matting layers and stars and decorated the inside of my card. 


I love the way that my card turned out, it's exactly what I wanted it to look like. 


I hope you have enjoyed my post today, if you have any questions feel free to send me a message or contact me via facebook (all links can be found below).

Watch the You Tube Video Here


Products Used On My Card (Affiliate Links Used Where Possible)


Copic Markers Used

T1, T3, T5
R81, R83, R85
V22, B000, R81
0 Colorless Blender

Thanks for stopping by, Deni

CAMERA SET UP - FOR YOU TUBE VIDEOS ONLY
Blue Yeti Microphone
Sony Handycam HDR CX4-05
Tripod – Manfrotto MKCompactaCN-BK

S O C I A L MEDIA 
B L O G : https://ldli.co/e/3xky6x 
I N S T A G R A M : https://ldli.co/e/5dn20x
YOU TUBE: https://ldli.co/e/ej5l90 
F A C E B O O K: https://ldli.co/e/mjxn2r
PINTEREST: https://ldli.co/e/2l9zom


I was a 2018 Ambassador for Copic Marker Australia and NZ


Thursday, 1 July 2021

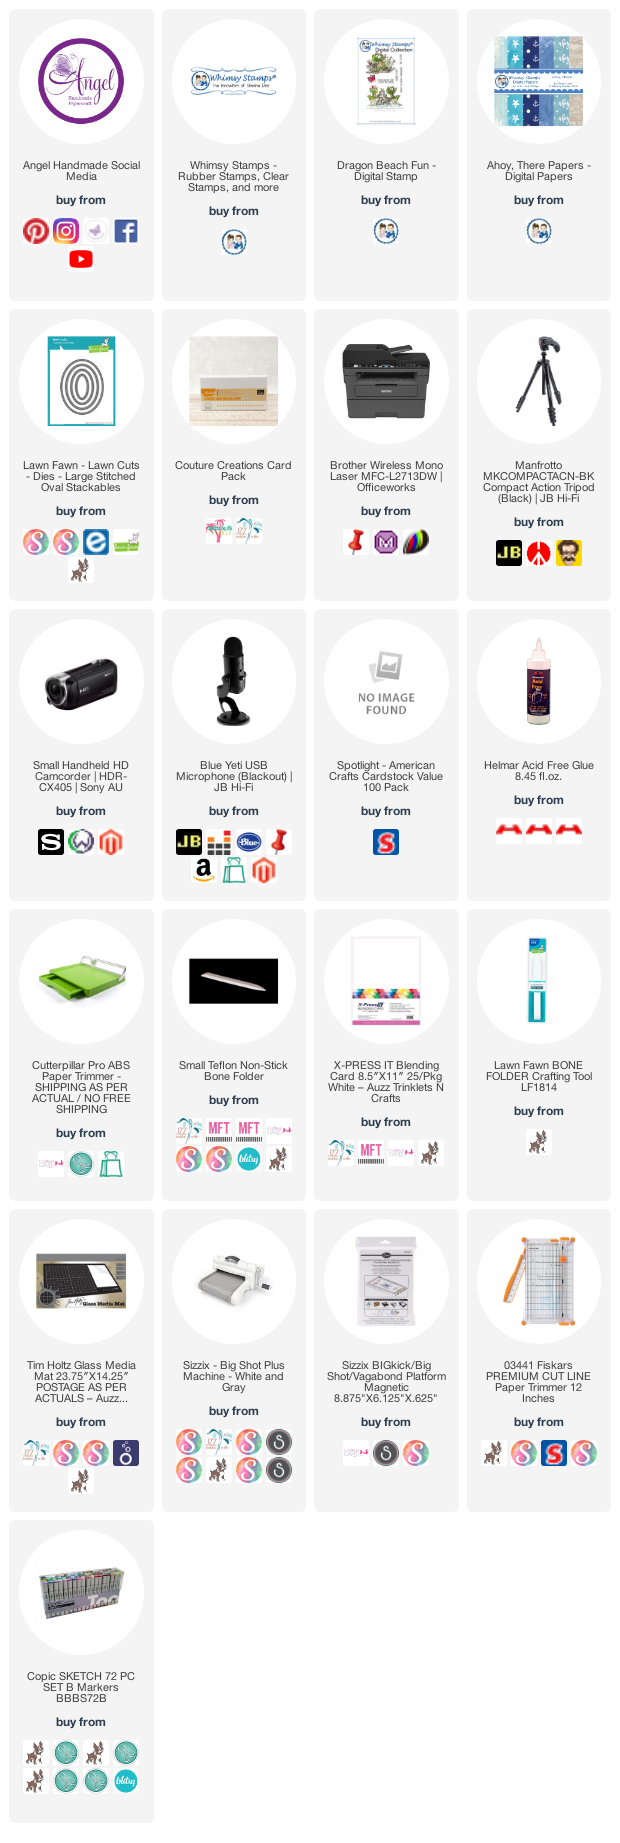
Whimsy Stamps - Dragon Beach Fun

Hi Everybody, 


It is July 1st which means new release time over at Whimsy Stamps. Today I am using Dragon Beach Fun from Dustin Pike's Collection.


I created a sentiment using the Pages program on my MacBook, and printed that and the image onto an a4 sheet of X-Press It Blending Cardstock using my Brother laser printer.


Using Copic Markers I coloured the image up and went in with a white gel pen to add some extra details.


I ran the image through my Sizzix Big Shot using a Stitched Circle die from another brand, I will try and link up a few different ones in the picture links below.


I printed patterned papers from the Ahoy There digital paper set from Whimsy Stamps, I printed the papers onto Copy Paper, nothing special.


I matted them using Kraft Cardstock and White / Black Cardstocks from American Crafts.

I punched some stars from leftover black cardstock using EK success Star Confetti Punch and coated them using glitter glue


Using clouds from another brand to finish off my sky, then decided to add a sun, they are at the beach after all.. I used all leftovers to cut these. I added glitter glue to the sun to make it nice and shiny.


I used leftovers of the same patterned papers to decorate the inside of the card and finish it off. 


I hope you have enjoyed my post today, if you have any questions feel free to send me a message or contact me via facebook (all links can be found below).

Watch the You Tube Video Here


Products Used On My Card (Affiliate Links Used Where Possible)


Copic Markers Used

V04, V05, V09
YR12, YR14, YR16
G43, G03, G17
R14, R59
RV14, RV17, RV19
Y08, Y38
E11
E51, E34, E37

Thanks for stopping by, Deni

CAMERA SET UP - FOR YOU TUBE VIDEOS ONLY
Blue Yeti Microphone
Sony Handycam HDR CX4-05
Tripod – Manfrotto MKCompactaCN-BK

S O C I A L MEDIA 
B L O G : https://ldli.co/e/3xky6x 
I N S T A G R A M : https://ldli.co/e/5dn20x
YOU TUBE: https://ldli.co/e/ej5l90 
F A C E B O O K: https://ldli.co/e/mjxn2r
PINTEREST: https://ldli.co/e/2l9zom


I was a 2018 Ambassador for Copic Marker Australia and NZ