Showing posts with label Krista Heij-Barber. Show all posts

Saturday, 12 October 2019

Whimsy Stamps - Bat Balloon

Hi Everyone,

Today I am super excited to share with you this gorgeous image from Whimsy Stamps - Krista Heij-Barber's Collection called Bat Balloon.

This is a Digital Stamp, so you can download it immediately, print it out onto Copic safe paper and it's ready to go.


I printed the image onto X-Press It Blending Card Stock using my Brother Laser Printer.


I then coloured him up using Copic Markers, I then cut him down to size using my Cutterpillar Pro, I used a white Uni-Ball Signo Gel Pen to colour the inside of the Halloween Word.


Patterned papers are from my favourite Halloween Paper Pad from DCWV called Spooky Halloween. I also pulled in some plain card stocks from American Crafts.


I ran a Birch Tree Die from MFT Stamps through my Sizzix Big Shot using some leftover black American Crafts card stock. I adhered this to the image using American Tombow Mono Multi Liquid Adhesive.


Using my Scotch ATG I adhered all the layers to a Couture Creations Card Base, I used leftovers of the patterned paper to adhere to the inside of the card.


I hope you have enjoyed my post today, if you have any questions feel free to send me a message or contact me via facebook (all links can be found below).

Watch the You Tube Video Here


Products Used On My Card (Affiliate Links Used Where Possible)
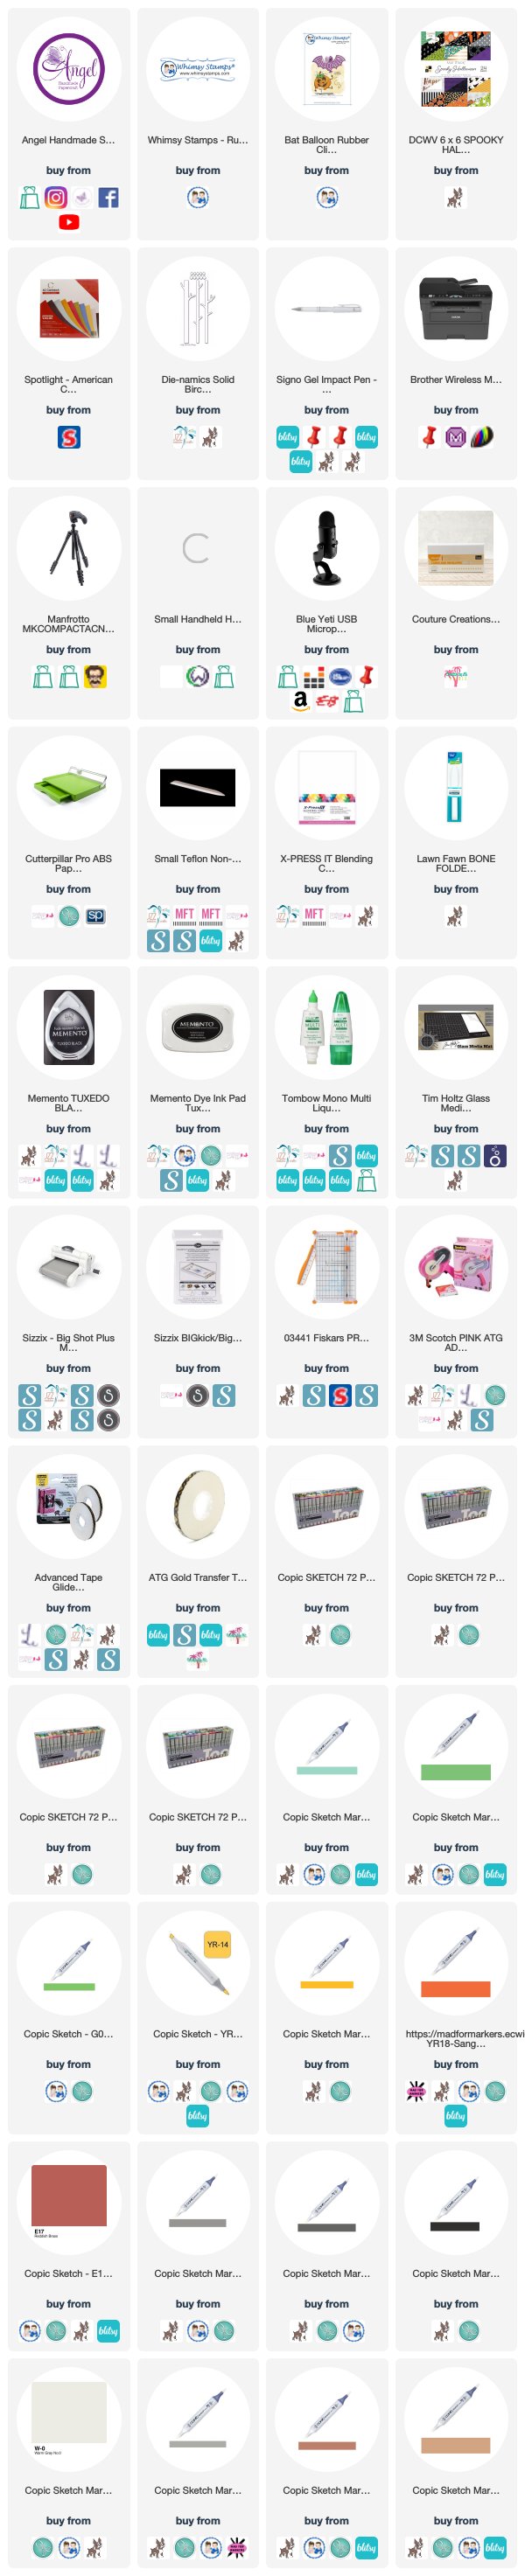


Copic Markers Used

G03, G07, G09
T6, T8, T10
W0, W5
YR14, YR16, YR18, E17
E23, E25, E17

Thanks for stopping by, Deni

CAMERA SET UP - FOR YOU TUBE VIDEOS ONLY
Blue Yeti Microphone
Sony Handycam HDR CX4-05
Tripod – Manfrotto MKCompactaCN-BK

S O C I A L MEDIA 
B L O G : https://ldli.co/e/3xky6x
I N S T A G R A M : https://ldli.co/e/5dn20x
YOU TUBE: https://ldli.co/e/ej5l90 
F A C E B O O K: https://ldli.co/e/mjxn2r
PINTEREST: https://ldli.co/e/2l9zom


I was a 2018 Ambassador for Copic Marker Australia and NZ


Saturday, 30 June 2018

Hello Sunshine with Goldie - Whimsy Stamps

Hey there,

It's Mid Month of the New Release at Whimsy Stamps.

                                Fish in the Sun
I have created a card using Fish In The Sun by Krista Heij-Barber, she is such an amazing artist and designs some of the most amazing stamps, this one in particular caught my eye but I just didn't know what I was going to do with him at the time. So he has been sitting on my desk waiting for today (the day I made this card and wrote up my blog post). I had an absolute blast making this card and there is actually not a lot to it, it just fell together beautifully.


I printed the image onto Mondi Color Copy 250GSM Card using my Brother Laser Printer and coloured the image up using Copic Markers.

I cut the image out on my Cutterpillar Pro, I cut a piece of patterned paper from my stash and a piece of yellow plain cardstock from American Crafts. I adhered the three layers using American Tombow Mono Multi Liquid Adhesive.

I stamped the sentiment from another company stamp set using Tsukinedo Memento Tuxedo Black and a Lawn Fawn Acrylic Block.

I cut the word "hello" from a piece of white Mondi Color Copy 250GSM (just a leftover piece), I ran it through my Sizzix Big Shot. I then used my Copic Markers to colour and blend it all together. I added Wink Of Stella Clear Glitter Brush Marker to the top. I also cut another one using Canson Cardstock and adhered off centre behind the coloured one to give it a slight shadow and bring it up off my card. I added Tombow Mono Multi Liquid Adhesive to the back of the die cut, then adhered it to my image.

Once I had all the layers done I adhered them all down to a Twiddleybitz Card Base using Scotch 3M ATG.

I didn't keep record of the Copic Markers I used on this one unfortunately because I was having way too fun making my card and forgot :-)


I hope you have enjoyed my post today, if you have any questions feel free to send me a message or contact me via facebook (all links can be found below).


Thanks for stopping by, Deni

You can find my cards for sale here
https://www.facebook.com/angelhandmadepapercraft

My You Tube Here
https://www.youtube.com/user/Denielle1983/

My Blogs Here
Angel Handmade Papercraft http://angelhandmadepapercraft.blogspot.com.au/

Auzz Trinklets N Crafts http://auzztrinkletsnkrafts.blogspot.com.au/

Whimsy Stamps https://whimsystamps.blogspot.com.au/

Saturday, 26 May 2018

Whimsy Stamps - Welcome Little Chicks

Hello my wonderfuls!

Today I am sharing some cards for Whimsy Stamps, I recently purchased this stamp so thought it would be cute to make some new baby cards with.

The stamp set is a red rubber and is called "Little One", it's has really nice details that stamp perfectly. I used my Fishers Stamp Press to stamp the image out onto Mondi Color Copy 250GSM (I normally would use my Misti but it was in our bedroom from trying to get some work done the other night whilst we were watching a movie in bed and I was too lazy to go and get it lol).

                                                       Little One
I used Memento Tuxedo Black to stamp the image out and I just used a wet baby wipe to clean the stamp off when I was done. You will find generally red rubber stamps do not stain but I am annoyingly OCD when it comes to cleaning my stamps.


I wanted to use one of my MFT Blueprints die sets to make these cards today as I wanted to make two cards exactly the same but one in pink and one in blue (so I was also able to use the same paper pad).

I coloured the images up using Copic Markers  then carefully used my EK Success Cutterbee Scissors to fussy cut the images out. Thinking now after the fact that I should have cut the grass off but originally I wanted to use the stamp in one piece.

All the papers are from a Patterned paper pad that I purchased on sale at Kmart a few days ago, it was on clearance for $1 each, so like every other crafter I grabbed all the ones that were left on the shelf hahah. The Kraft coloured cardstock was also part of the patterned pad. I ran the patterned paper sheets I decided to use with the MFT Blueprints 14 dies in my Crafter's Companion Gemini machine. I then ran them through a second time in the opposite colour.

I cut the sentiment on my Tim Holtz Tonic Studios Guillotine, then used my EK Success Cutterbee scissors to banner the end and cut the excess off once I adhered it.

I adhered all the layers using Scotch ATG, this is my go to tape runner when it comes to my cards, I go through so much tape it's not funny. I actually have a monthly subscription with Create By Me Studio, so every month I have an automated debit and they auto send me a package every month, it's fantastic.

Once all my layers were attached together I added them onto a Twiddleybitz pre-made card base.

I added some Wink Of Stella - Clear Glitter Brush to the bonnets of the little chick's and their ribbons.

I hope you have enjoyed my post today, if you have any questions feel free to send me a message or contact me via facebook (all links can be found below).


Thanks for stopping by, Deni

You can find my cards for sale here
https://www.facebook.com/angelhandmadepapercraft

My You Tube Here
https://www.youtube.com/user/Denielle1983/

My Blogs Here
Angel Handmade Papercraft http://angelhandmadepapercraft.blogspot.com.au/

Auzz Trinklets N Crafts http://auzztrinkletsnkrafts.blogspot.com.au/

Whimsy Stamps https://whimsystamps.blogspot.com.au/

Saturday, 21 April 2018

Whimsy Stamps Friendship & Love

Today is my inspiration day at Whimsy Stamps, I ordered this stamp while we were away on our honeymoon and just had a chance to play with it. It is called Friendship Bunny and Chick designed by Krista Heij-Barber.

                                                       Friendship Bunny and Chick

I cut the stamp using my Tim Holtz Red Scissors, not forgetting to remove the backing first as it makes it a lot easier to cut the stamp. Always make sure when cutting red rubber stamps to use straight cuts, and make sure you keep the scissors straight so as to not cutting the stamp unevenly.


I then attached the stamp to my Misti Stamping Tool, I inked it up using Memento Tuxedo Black and stamped it onto Mondi Color Copy 250GSM Cardstock.

I coloured the image using Copic Markers, you can watch a video here of the colouring and the card process.

Copic Markers Used 

R35, R37, R39
C1, C3, C5, 0
Y13, Y15, Y38
YG13, YG17
R20

Once I finished colouring the image up I looked through my stash of dies as I was originally going to cut the image using a die but couldn't find the size I needed so I just used my Cutterpillar Pro to cut it into a nice border around the image.

I decided I wanted to make the card into a lovey dovey type card.. not sure exactly what but that's what  I was going for. I grabbed a 6x6 Patterned Paper Pad from my stash called Crate Paper Love Notes. I cut the arrows from a full sheet, the others were all leftovers from previous projects made using this patterned paper pad. I always pop in the leftovers inside the pad so I can use them later on. I know some people pop them into zippy bags but mine are in my Raskog trolley so i'm not worried about it too much.

I cut 2 mat's for under the patterned papers, one black and one white - both from American Crafts 12x12 sheets.

I then adhered all the layers together using Scotch ATG, lastly I popped everything onto a Twiddleybitz Card Base using the same adhesive.

I hope you guys like my card today, I appreciate you stopping by and I also hope you will check out my Colouring and Card Process You Tube Video.


I hope you have enjoyed my post today, if you have any questions feel free to send me a message or contact me via facebook (all links can be found below).


Thanks for stopping by, Deni

You can find my cards for sale here

My You Tube Here 

My Blogs Here