Showing posts with label Tonic Studios. Show all posts

Wednesday, 24 November 2021

Whimsy Stamps - The Magical Bug

Good Morning Everyone. 


Today I would like to share with you a card I have created for Whimsy Stamps using one of the images from the Bug Friends Digital Set. 


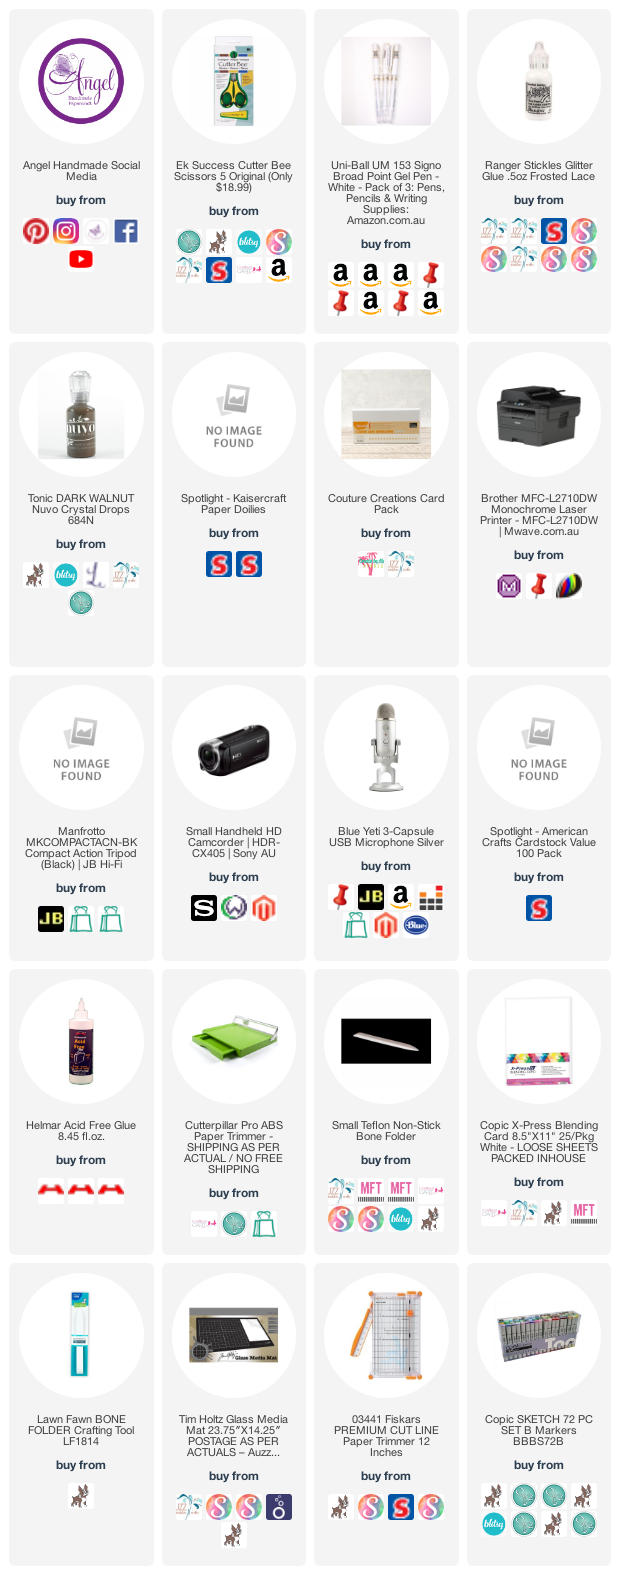
I printed the image onto X-Press It Blending Cardstock using my Brother Laser Printer, I then coloured it up using Copic Markers. 


Once I was finished colouring I used a Sakura Gelly Roll White Gel Pen to add details to the image, including adding polka dots to the wings, this is my favourite part :-)


I ran the image through my Sizzix Big Shot using a Spellbinders Nestabilities Labels Eighteen die. I also ran through a piece of Kraft Cardstock with the next size die. I also added some white details the Kraft die cut. 

Using some leftovers from a previous creation I used the pink stripes and the flowers from the Sweetness Digital Paper, I trimmed it down and adhered it to a piece of Kraft Cardstock. 


On top of the Digital Papers I added a doily from my stash.

I adhered all the layers to a Couture Creations Card Base, I purchase these in bulk with matching envelopes. 

I added a sentiment that I had leftover from another project, just trimming it down a little and bannering the edge. 


Finally I used an EK Success Butterfly Confetti to punch out some butterflies from pink and purple cardstocks. I layered them on top of each other then added polka dots to the top butterfly, some Nuvo Crystal Drops in Liquid Mercury to the centre.


The Bug needed more, so I added Derivan Kindy Glitz to the wings, I really love the way the image turned out in the end. 


I decorated the inside of the card using the same Kraft and Digital Papers. 

I hope you have enjoyed my post today, if you have any questions feel free to send me a message or contact me via facebook (all links can be found below).

Watch the You Tube Video Here


Products Used On My Card (Affiliate Links Used Where Possible)


Copic Markers Used

W2, W4, W6
YG06, YG67
V01, V22, V15
YR14, YR27
R20

Thanks for stopping by, Deni

CAMERA SET UP - FOR YOU TUBE VIDEOS ONLY
Blue Yeti Microphone
Sony Handycam HDR CX4-05
Tripod – Manfrotto MKCompactaCN-BK

S O C I A L MEDIA 
B L O G : https://ldli.co/e/3xky6x 
I N S T A G R A M : https://ldli.co/e/5dn20x
YOU TUBE: https://ldli.co/e/ej5l90 
F A C E B O O K: https://ldli.co/e/mjxn2r
PINTEREST: https://ldli.co/e/2l9zom


I was a 2018 Ambassador for Copic Marker Australia and NZ


Thursday, 30 September 2021

BCF Breast Cancer Awareness Bear

Hope Everyone is well :-)

Today I have a card to share with you that I created a while back but haven't had a chance to share on here with you guys. 


I printed the image onto X-Press It Blending Cardstock using my Brother Laser Printer.

I coloured the image using Copic Markers, added extra details using a white gel pen and Derivan Kindy Glitz. I love the final details you can add to an image and how it can finalise a card.


I fussy cut the image using EK Success Cutterbee Scissors, leaving just a small border around the outside. 


The patterned papers I am using are from Pebbles Ever After Collection, I trimmed them down using my Cutterpillar Pro and matted them onto some pink cardstock from my stash (they may possibly be from American Crafts). 


Using Tonic Studios Nuvo Crystal Drops in Dark Walnut.

The sentiment is from Whimsy Stamps Everyday Banner Digital Sentiments, I also printed them onto X-Press It Blending Card and trimmed down using my Cutterbee Scissors.


I adhered all the layers to a Couture Creations Card Base and decorated the inside of the card using leftovers of the patterned papers.


I hope you have enjoyed my post today, if you have any questions feel free to send me a message or contact me via facebook (all links can be found below).

Watch the You Tube Video Here


Products Used On My Card (Affiliate Links Used Where Possible)


Copic Markers Used
 
NO LIST FOR THIS PROJECT SORRY

Thanks for stopping by, Deni

CAMERA SET UP - FOR YOU TUBE VIDEOS ONLY
Blue Yeti Microphone
Sony Handycam HDR CX4-05
Tripod – Manfrotto MKCompactaCN-BK

S O C I A L MEDIA 
B L O G : https://ldli.co/e/3xky6x 
I N S T A G R A M : https://ldli.co/e/5dn20x
YOU TUBE: https://ldli.co/e/ej5l90 
F A C E B O O K: https://ldli.co/e/mjxn2r
PINTEREST: https://ldli.co/e/2l9zom


I was a 2018 Ambassador for Copic Marker Australia and NZ


Thursday, 27 May 2021

Whimsy Stamps - Simply Fabulous Party Pig

Hope everyone is having a lovely day, 


Today I am sharing a card with you created for Whimsy Stamps using Party Pig.


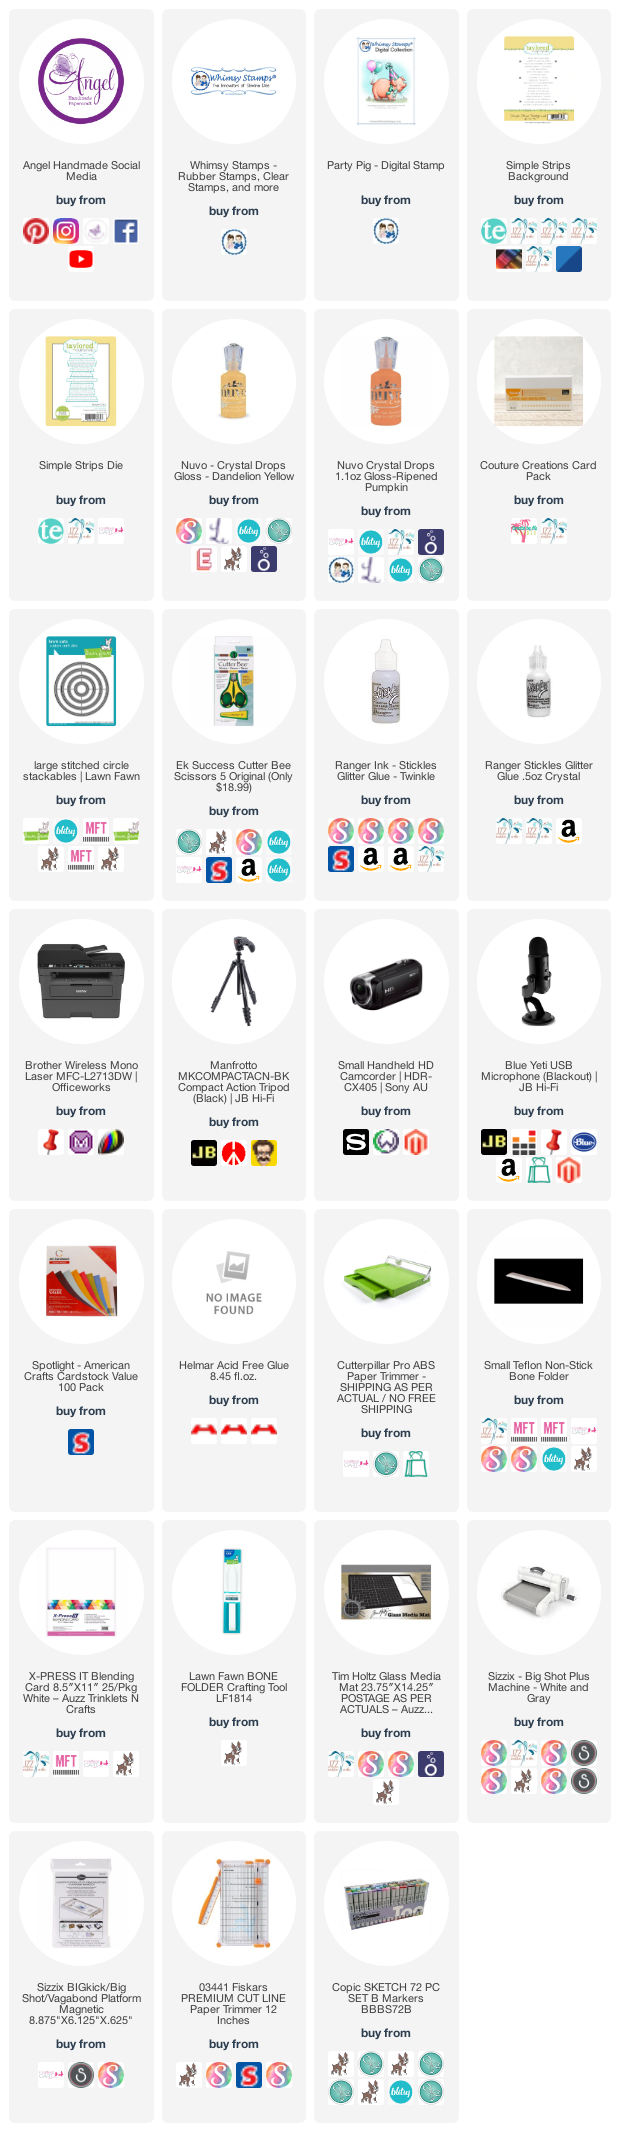
I printed the image onto X-Press It Blending Cardstock using my Brother Laser Printer, then coloured him up using Copic Markers. 


I ran him through my Sizzix Big Shot using a Stitched Circle die.


Using Scraps of patterned papers from other projects I put together this gorgeous little card. 


I added a sentiment from Taylored Expressions Simple Strips Background which I ran through my Big Shot using the matching dies. 


I coated my image with Derivan Kindy Glitz, I can't find any links for this so I have linked some other products up.


I adhered all the layers to a Couture Creations Card Base. 


I used leftovers of the patterned papers to decorate the inside of the card. 


I hope you have enjoyed my post today, if you have any questions feel free to send me a message or contact me via facebook (all links can be found below).

Watch the You Tube Video Here


Products Used On My Card (Affiliate Links Used Where Possible)


Copic Markers Used

R30, R22, R32
YR12, YR16
BG05, BG15, BG75
YG13, YG17
Y04, Y18
V04, V06, V09

Thanks for stopping by, Deni

CAMERA SET UP - FOR YOU TUBE VIDEOS ONLY
Blue Yeti Microphone
Sony Handycam HDR CX4-05
Tripod – Manfrotto MKCompactaCN-BK

S O C I A L MEDIA 
B L O G : https://ldli.co/e/3xky6x 
I N S T A G R A M : https://ldli.co/e/5dn20x
YOU TUBE: https://ldli.co/e/ej5l90 
F A C E B O O K: https://ldli.co/e/mjxn2r
PINTEREST: https://ldli.co/e/2l9zom


I was a 2018 Ambassador for Copic Marker Australia and NZ


Thursday, 1 April 2021

Whimsy Stamps - Birthday Fishes

Hi Everyone,

Super excited to be here sharing with you the April New Release over at Whimsy Stamps, and what a line up we have for you. 


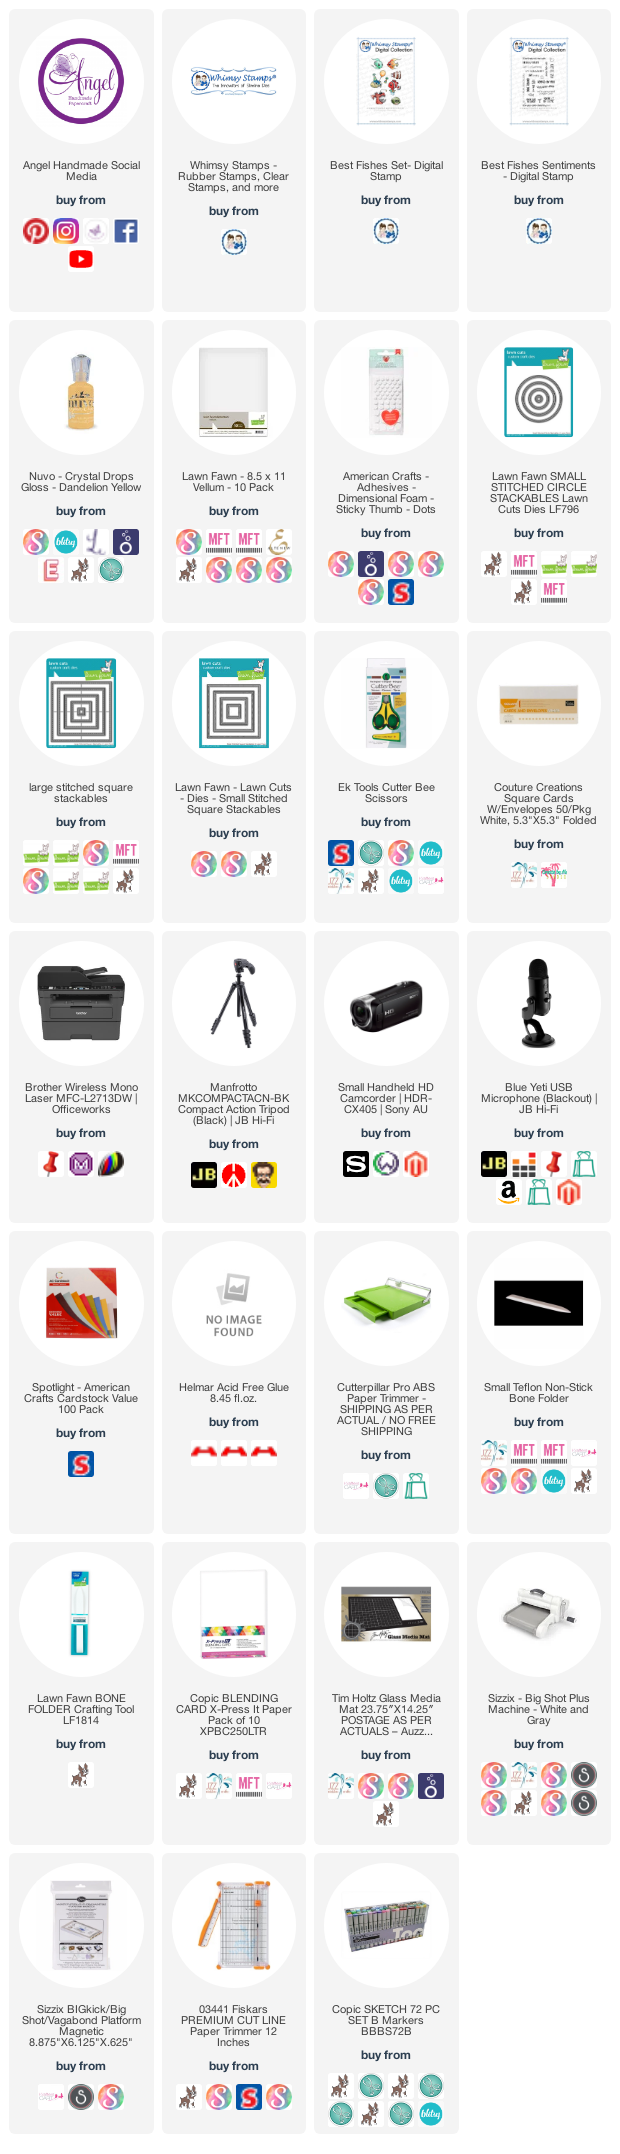
I have used 2 Digital Sets, the Best Fishes and Best Fishes Sentiment Set for my card today, these images spoke to me as soon as I seen them and I knew exactly what it was that I wanted to do with them.

I used my Apple MacBook Pages app to merge all the images together so I could bring the focus to the Piranha which is what I chose to work with. 

I also added the sentiment in, I put them all onto an A4 page so I could work out exactly where I was going to cut after the fact. 

I printed onto X-Press It Blending Card using my Brother Laser Printer, then ran the images through my Sizzix Big Shot using a Lawn Fawn Stitched Square die (I will link up a few different branded dies for you).


I began colouring all except the Piranha in Monochrome tones, this way I could colour him in colour and make sure that he stood out even more. 


Using a Lawn Fawn Circle die I ran the images through agin cutting only the piranha out. I then ran the same die through again using American Crafts Cardstock, then one final time using some scrap vellum. 


I put the black circle back In first taping it in place with washi tape, then popped the image up using Foam Squares/Tape, and finally adhering the vellum over the top using Helmar Acid Free. 


I pulled out my Tonic Studios Nuvo Drops so that I could cover up the adhesive on the vellum, but honestly you couldn't see it anyway - but I still added it to set my mind at easer. I did pull out two colours however I only ended up using the Dandelion Yellow. 


I adhered the image layer to a piece of orange cardstock then adhered that to a Couture Creations Card Base. It was actually pretty simple and I love the way that it all turned out. 


I did decorate the inside however I forgot to take photos before we went away.

Don't forget to head over to the Whimsy Shop to grab all the new release images. 


I hope you have enjoyed my post today, if you have any questions feel free to send me a message or contact me via facebook (all links can be found below).

Watch the You Tube Video Here


Products Used On My Card (Affiliate Links Used Where Possible)


Copic Markers Used

Y11, Y13, Y17
B02, B04
R20
T4, T6, T8, (T4 Replaced with T3)
YR21, YR16, YR27
0 Colorless Blender

Thanks for stopping by, Deni

CAMERA SET UP - FOR YOU TUBE VIDEOS ONLY
Blue Yeti Microphone
Sony Handycam HDR CX4-05
Tripod – Manfrotto MKCompactaCN-BK

S O C I A L MEDIA 
B L O G : https://ldli.co/e/3xky6x 
I N S T A G R A M : https://ldli.co/e/5dn20x
YOU TUBE: https://ldli.co/e/ej5l90 
F A C E B O O K: https://ldli.co/e/mjxn2r
PINTEREST: https://ldli.co/e/2l9zom


I was a 2018 Ambassador for Copic Marker Australia and NZ


Sunday, 21 March 2021

Happy Mother's Day Love Ellie

Hi Everyone,

Seems to be the go to lately that I am running super behind on my posts ahah.. I just haven't had a chance to edit the videos.. I do have so much to share with you.


Today I am sharing Ellie Over The Edge with you from Whimsy Stamps, she is from the Ellie Summer Squares Collection, these stamps are available to purchase in Digital and Rubber Stamp Versions.


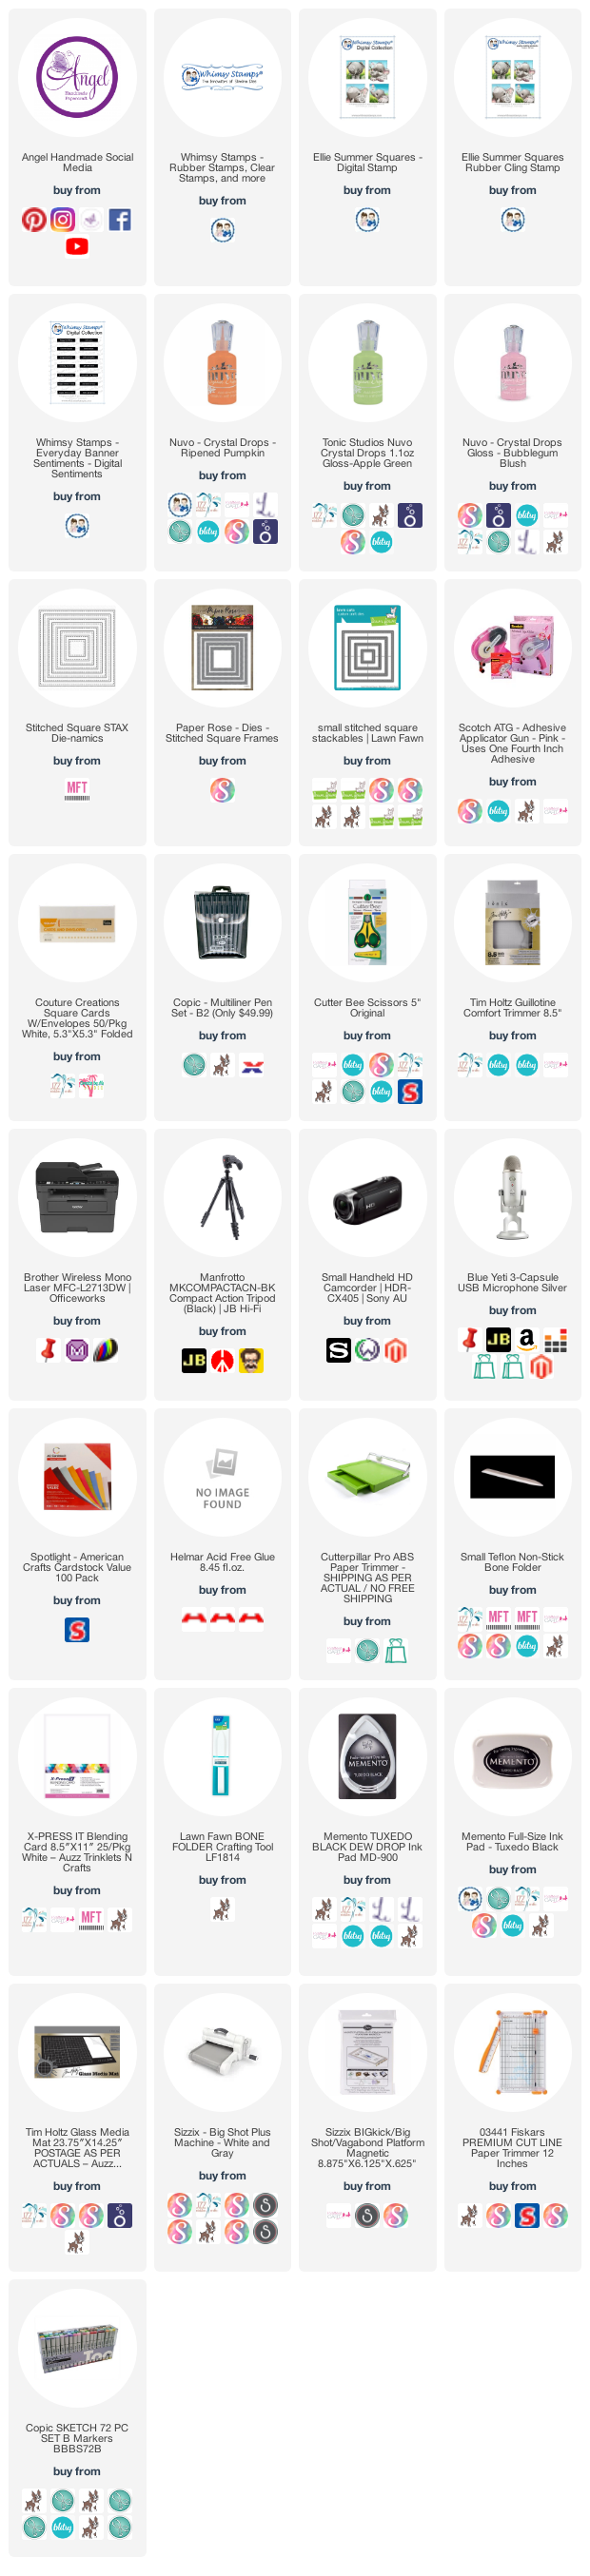
I used the Digital Stamp so I printed her onto X-Press It Blending Cardstock using my Brother Laser Printer and coloured her using Copic Markers. 


I trimmed her down from the A4 page roughly then ran her through my Sizzix Big Shot using a Lawn Fawn Stitched Square Die.


I added details to the image using Uni-Ball Signo white gel pen, and some details to the flower using Copic Multi liner 0.03, I love to add the extra details it just finishes off an image.


I used patterned papers from Bella! My Romance collection, this is a really old collection I'm just finishing up what I had of it.


I added details to the card using Tonic Studios Nuvo Drops in Bubblegum Blush, Ripened Pumpkin, and Apple Green.


I had some flowers in my stash from my scrapbooking days and I thought they would be perfect on this card. 


The sentiment is also from Whimsy Stamps - this is the Everyday Banners Digital Set.


I adhered all the layers to a Couture Creations Card base, then decorated the inside with leftover bits and pieces. 


I hope you have enjoyed my post today, if you have any questions feel free to send me a message or contact me via facebook (all links can be found below).

Watch the You Tube Video Here


Products Used On My Card (Affiliate Links Used Where Possible)


Copic Markers Used

N2, N4, N6
N2, 0 Colorless Blender
G14, G09
R20
Y06, R43, R05

Thanks for stopping by, Deni

CAMERA SET UP - FOR YOU TUBE VIDEOS ONLY
Blue Yeti Microphone
Sony Handycam HDR CX4-05
Tripod – Manfrotto MKCompactaCN-BK

S O C I A L MEDIA 
B L O G : https://ldli.co/e/3xky6x 
I N S T A G R A M : https://ldli.co/e/5dn20x
YOU TUBE: https://ldli.co/e/ej5l90 
F A C E B O O K: https://ldli.co/e/mjxn2r
PINTEREST: https://ldli.co/e/2l9zom


I was a 2018 Ambassador for Copic Marker Australia and NZ