I used lots of La La Land Crafts on my card today, I will have them all listed in the link up below.
I adhered all the layers using the Acid Free adhesive from Helmar, my go to liquid adhesive.
For the rolled roses I used a quilling tool to roll the roses and my second favourite Helmar adhesive - the Quick Dry 450 Adhesive, it made it so much easier for me to put the flowers together.
One last look at the card I created using Helmar Acid Free and Quick Dry 450
I hope you have enjoyed my post today, if you have any questions feel free to send me a message or contact me via facebook (all links can be found below).
Watch the You Tube Video Here
Products Used On My Card (Affiliate Links Used Where Possible)
Thanks for stopping by, Deni
CAMERA SET UP - FOR YOU TUBE VIDEOS ONLY
Blue Yeti Microphone
Sony Handycam HDR CX4-05
Tripod – Manfrotto MKCompactaCN-BK
Hi Everyone, Today I am sharing with you some cards I made using a stamp set from Honey Bee Stamps Called Build A Bee, this is such a gorgeous stamp set. I made two cards with this same stamp set and all the same products.
I stamped the images out using Memento Tuxedo Black onto X-Press It Blending Card, I then fussy cut them using EK Success Cutterbee Scissors.
I used sentiment stamps from the Hooray Stamp set from Honey Bee Stamps, I put them into my Misti Stamping Tool to line them up, I stamped them out twice onto some X-Press It Blending Card using Ink On 3 Embossing Ink. Silly me waited too long before I added the Embossing Powder so the Embossing Powder didn't stick, I had to re-stamp them, thankfully I used my Misti so was able to just put the card straight back in and re-stamp.
I used Ranger Ink Embossing Ink in Dandelion Yellow and Black, I forgot to mention before I stamped the sentiments I prepared the card using powder tool.
Using my heat gun I melted the embossing powder until it was smooth, I switched between melting from front and back.
I ran the Honey Bee Stamps Hexagon Bunches die through my Sizzix Big Shot using some leftover American Crafts black card. I actually ran it through a second time using some Yellow card so I could fill the hexagons with the yellow.
Pulling out a Crate Paper paper pad called Little Boy Blue I cut down some layers using my Cutterpillar Pro. I matted the sentiment piece using some more of the black American Crafts Card.
I used Tonic Studios Nuvo Crystal Drops in Dandelion Yellow and Ebony Black to add some Enamel Dots to the cards.
I decorated the inside of the cards to match using the same patterned papers.
I hope you have enjoyed my post today, if you have any questions feel free to send me a message or contact me via facebook (all links can be found below).
Watch the You Tube Video Here
Products Used On My Card (Affiliate Links Used Where Possible)
Today I am sharing with you Freddie from Whimsy Stamps, along with this gorgeous image which was released as a Rubber Stamp and now as a Digital Stamp, I have also pulled out an old Whimsy Stamps die, this is Vines. I used to love this die, and I don't know what you are like but I use something lots then put it away and forget I have it.. this is one of those :-)
I love putting these cards together, it's so much fun.
I printed Freddie out onto X-Press It Blending Cardstock using my Brother Laser Printer then coloured him up using Copic Markers.
I cut the image down using my Cutterpillar Pro and added some enamel dots using Tonic Studios Nuvo Crystal Drops in Violet Galaxy.
I ran the Vines die through my Sizzix Big Shot just using some leftover green cardstock.
The sentiment I had already stamped out from another project so I'm not sure where it came from, I bannered the sentiment using my EK Success Cutterbee Scissors.
For the patterned papers I used Doodlebug Sugar Shoppe 6x6 Paper Pad, I matted the patterned papers using some purple American Crafts Cardstock.
I used the same patterned papers to decorate the inside of the card.
I hope you have enjoyed my post today, if you have any questions feel free to send me a message or contact me via facebook (all links can be found below).
Watch the You Tube Video Here
Products Used On My Card (Affiliate Links Used Where Possible)
Hope everyone is having a lovely afternoon, recently a friend asked me to make a card for her son's Birthday, he was turning 16 and plays soccer, when I came across this image I knew it was perfect for him as he is a Goal Keeper.
I printed the image out onto X-Press It Blending Cardstock using X-Press It Blending Cardstock.
When you purchase the image it also comes with a background paper, I also printed this out, but I printed it on my Inkjet Printer so I could get it in colour. I printed it out onto X-Press It Blending Cardstock as it is nice and thick and doesn't bleed the printing.
I coloured the image up using Copic Markers, then ran him through my Sizzix Big Shot using Lawn Fawn Stitched Squares dies.
I used EK Success Star Confetti Punch to cut out some stars from American Crafts Black Cardstock.
I put the name and the sentiment together using the Pages app on my MacBook, I then printed it out onto X-Press It Blending Card so everything was the same white using my laser printer.
I cut some grass using some leftover green card stock from my bucket and MFT Stamps Grassy Fields.
I adhered all the layers together using Helmar Acid Free liquid Adhesive.
Finally I added some Tonic Studios Nuvo Crystal Drops - I chose the Glow In The Dark and used Banana Split, Shocking Pink, Apple Sour.
I used the same papers to decorate the inside of the card.
I hope you have enjoyed my post today, if you have any questions feel free to send me a message or contact me via facebook (all links can be found below).
Watch the You Tube Video Here
Products Used On My Card (Affiliate Links Used Where Possible)
Today I am sharing with you my unboxing of the January 2020 Club La La Land Crafts, I haven't been doing unboxing videos lately as I have been swamped.. with life really.. and well today is no different.
As I am typing this my hubby is in hospital with Appendicitis so I am running on no sleep, just worry and anxiety. I apologise now if anything I say in my post is a little sketchy, I try to only share a little of my personal life with my peeps but sometimes it's nice to just put it out there in the world how you are feeling.
Here is the card I have made this morning whilst being stressed out of my mind.
I coloured the image up yesterday before all this life stuff happened so this morning is just me bonkers card making lol.
I stamped the image out onto X-Press It Blending Cardstock using Memento Tuxedo Black, as originally my plan was to Copic colour her however once I had her stamped out I decided to do something different and use my Zig Markers. X-Press it Blending Card is not made for watercolours.. but it worked, I may have had to work a little harder at it but it turned out pretty well and I am happy.
Here is the image all coloured up.
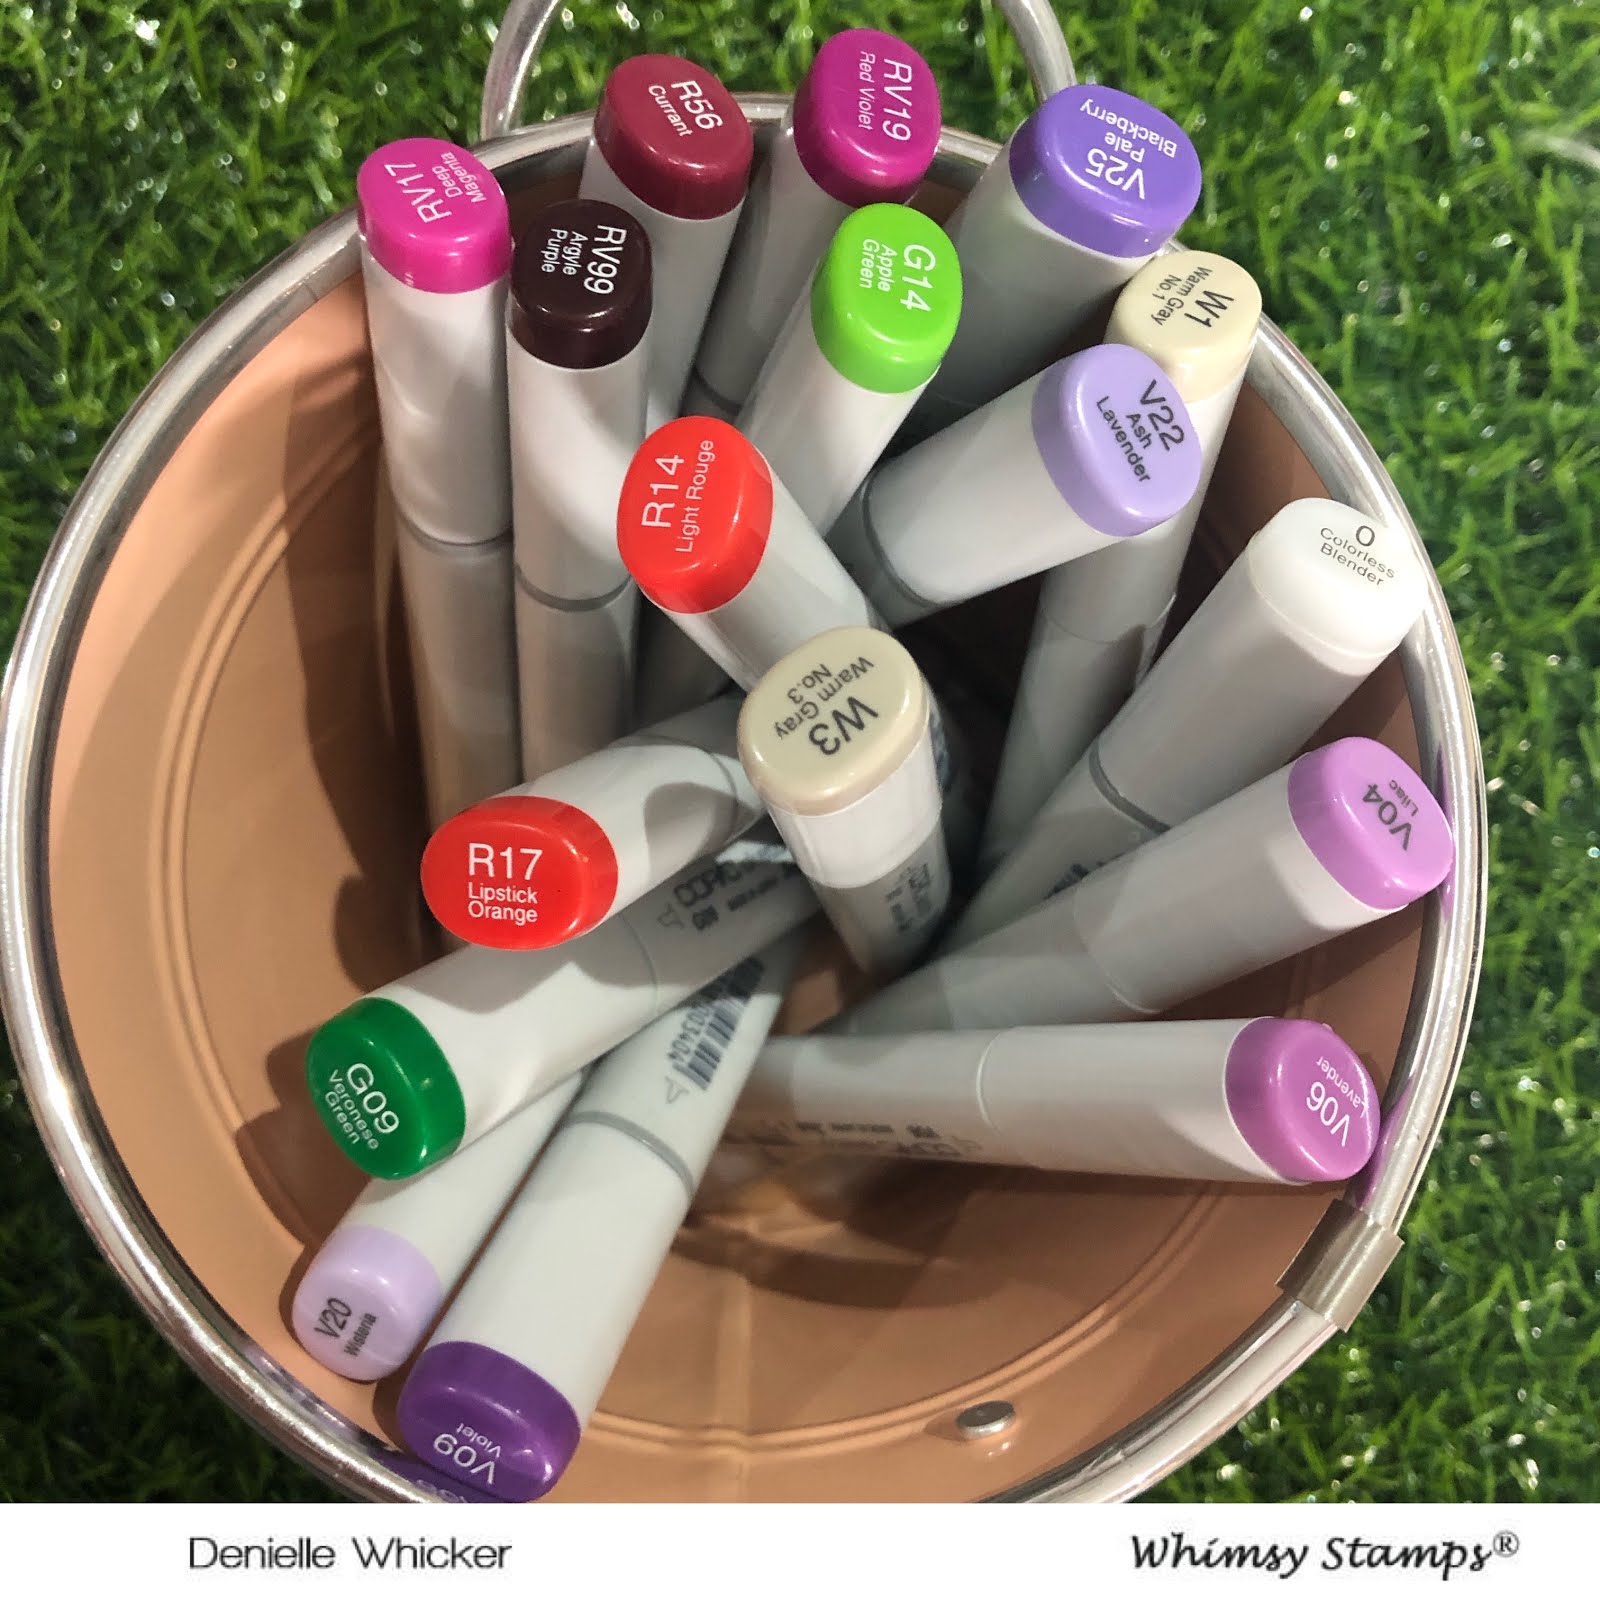
Here is a picture of all the Markers I used, I will have a list of them at the end of the blog post incase you were interested.
It was fun to try out new colour blends as I don't have anything written down on these I normally just wing it..
For the card I used a Pebbles paper pad called Spring Fling, I have had this one for a while so it is no longer available to purchase unfortunately. The sentiment I used on my card is from the same patterned paper pad.
I used my EK Success scissors to trim it down.
I ran some of the papers through my Sizzix Big Shot using Lawn Fawn Stitched Circle dies, I ran them through the centre of the papers so I was still able to use the rest for card guts.
I trimmed some scraps of the same patterned papers down and bannered them up so I could slide them under my image.
I ran the Envelopes Border die through my Big Shot using Kraft Cardstock then trimmed some of them down and then ran the die through it again with some red card so I could have the heart inserts.
I used the Hexagon Bunches die from Honey Bee Stamps to cut some of the hexagons out using American Crafts Black Cardstock.
I added a heart to Marci's shirt from the leftover die cut pieces.
At this stage I thought my card was done, however I kept looking at it and wasn't happy. I decided to add the Ink Pen from the stamp club, I ran it through twice so I could once again add the little heart.
I added some Wink Of Stella and that was my card complete.
I hope you have enjoyed my post today, if you have any questions feel free to send me a message or contact me via facebook (all links can be found below).
Watch the You Tube Video Here
Products Used On My Card (Affiliate Links Used Where Possible)
Zig Markers Used
072 Beige
071 Fresh Colour
220 Tea Rose
075 Brick Beige
068 Deep Brown
303 Shadow Mauve
097 Pale Gray
091 Light Grey
029 Geranium Red
260 Deep Red
036 Light Blue
034 Dull Blue
035 Deep Blue
026 Light Pink
025 Pink
202 Peach Pink
Thanks for stopping by, Deni
CAMERA SET UP - FOR YOU TUBE VIDEOS ONLY
Blue Yeti Microphone
Sony Handycam HDR CX4-05
Tripod – Manfrotto MKCompactaCN-BK