
This is such an adorable stamp set.. and it's huge! So many different options for these little bees, how could I not make this many cards :-) I had made a few cards already using these images you can see them a few weeks back, and in addition I had all these little guys.


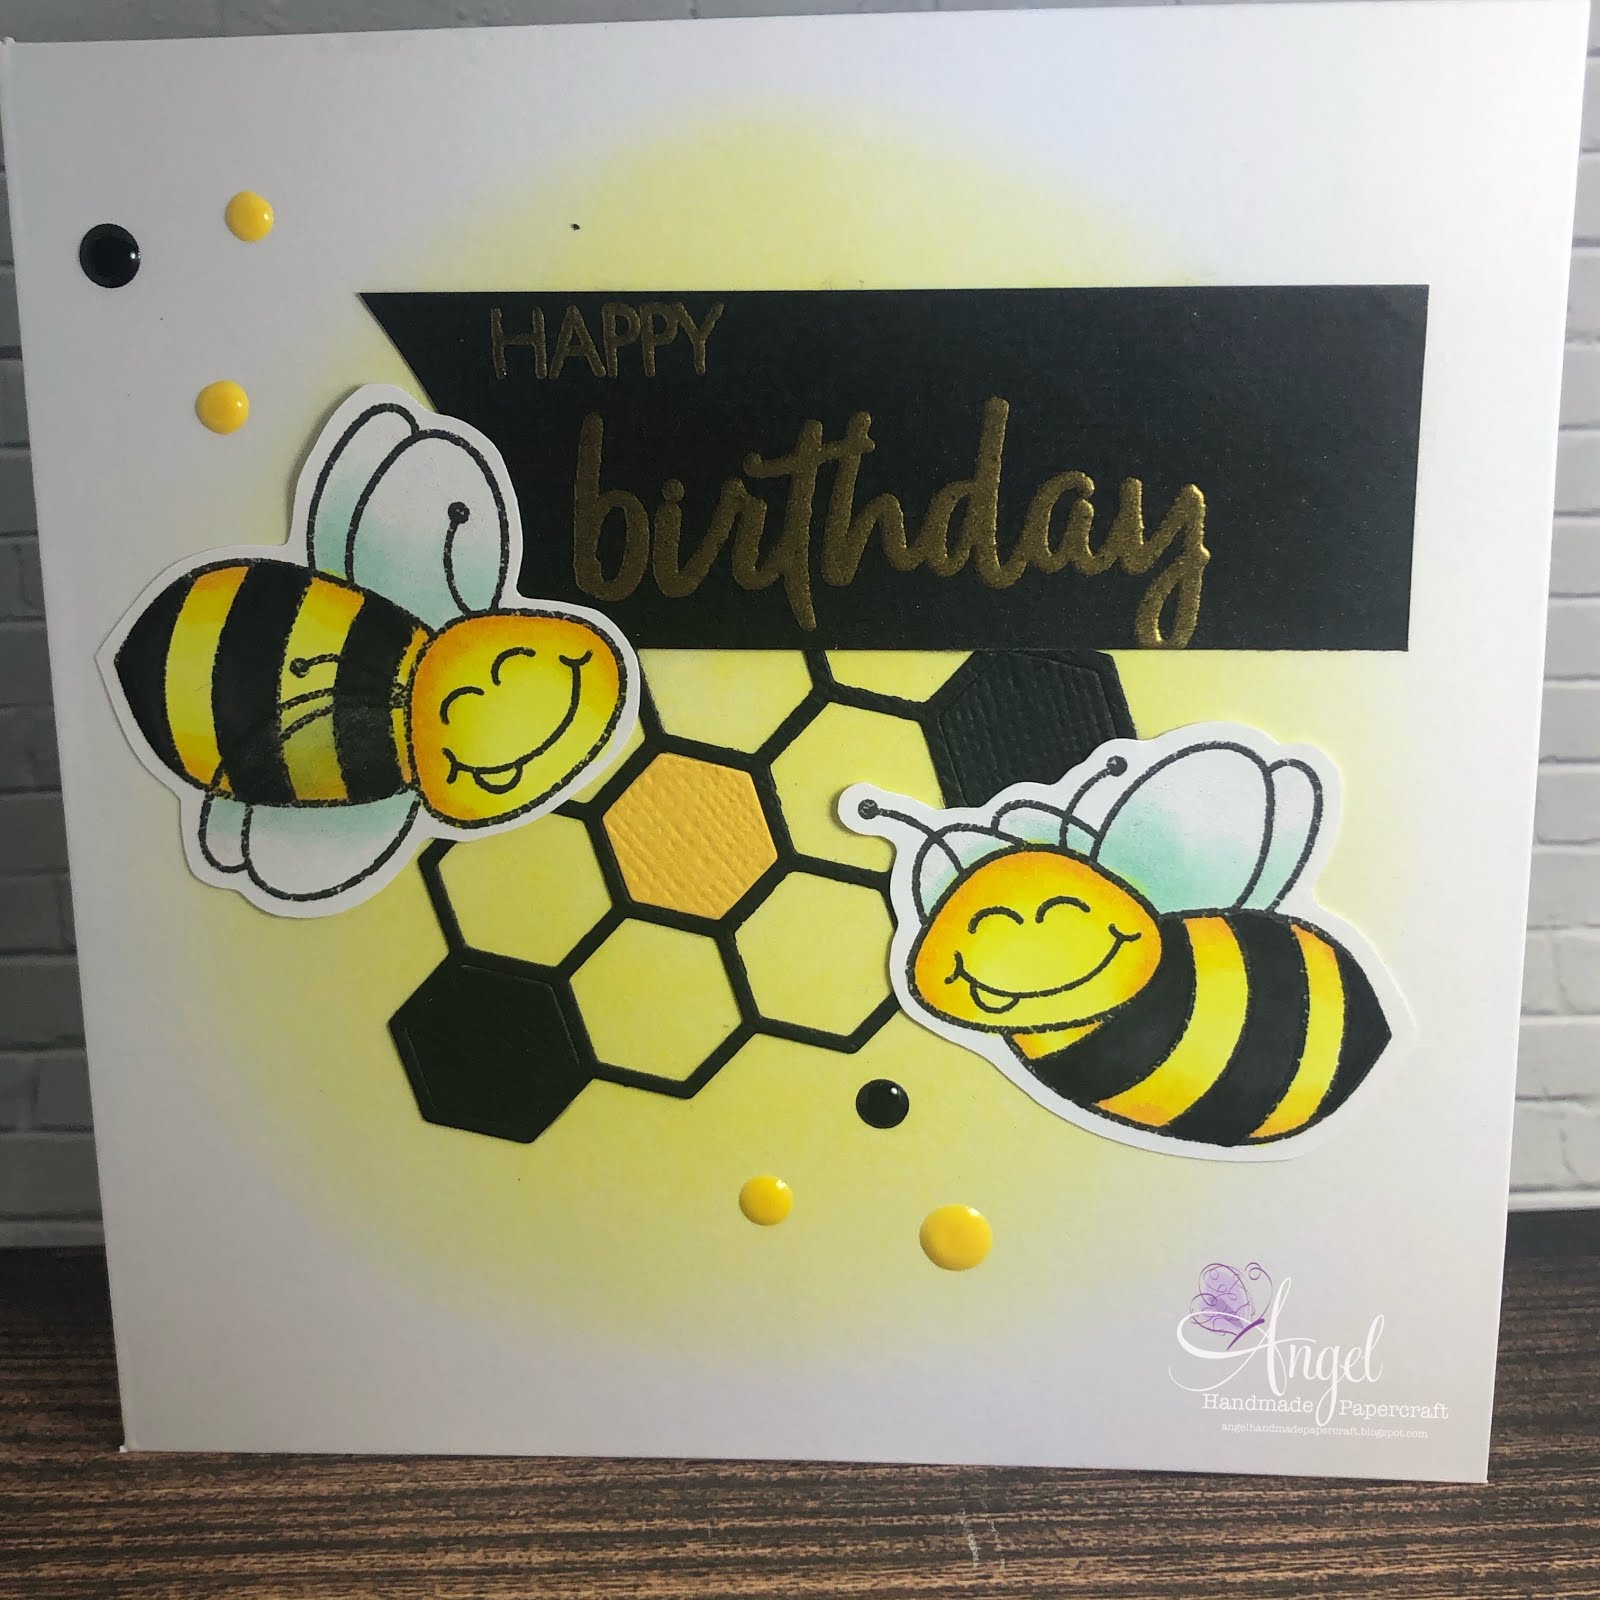
I stamped all the little bees out onto X-Press It Blending Cardstock using Memento Tuxedo Black and coloured them using Copic Markers, I then added some Wink Of Stella to the wings.
I don't own the die set for this stamp set so I fussy cut them all by hand using EK Success Cutterbee Scissors. They are pretty rounded and not a lot of intricate details so doing it by hand wasn't as hard as it probably sounds.

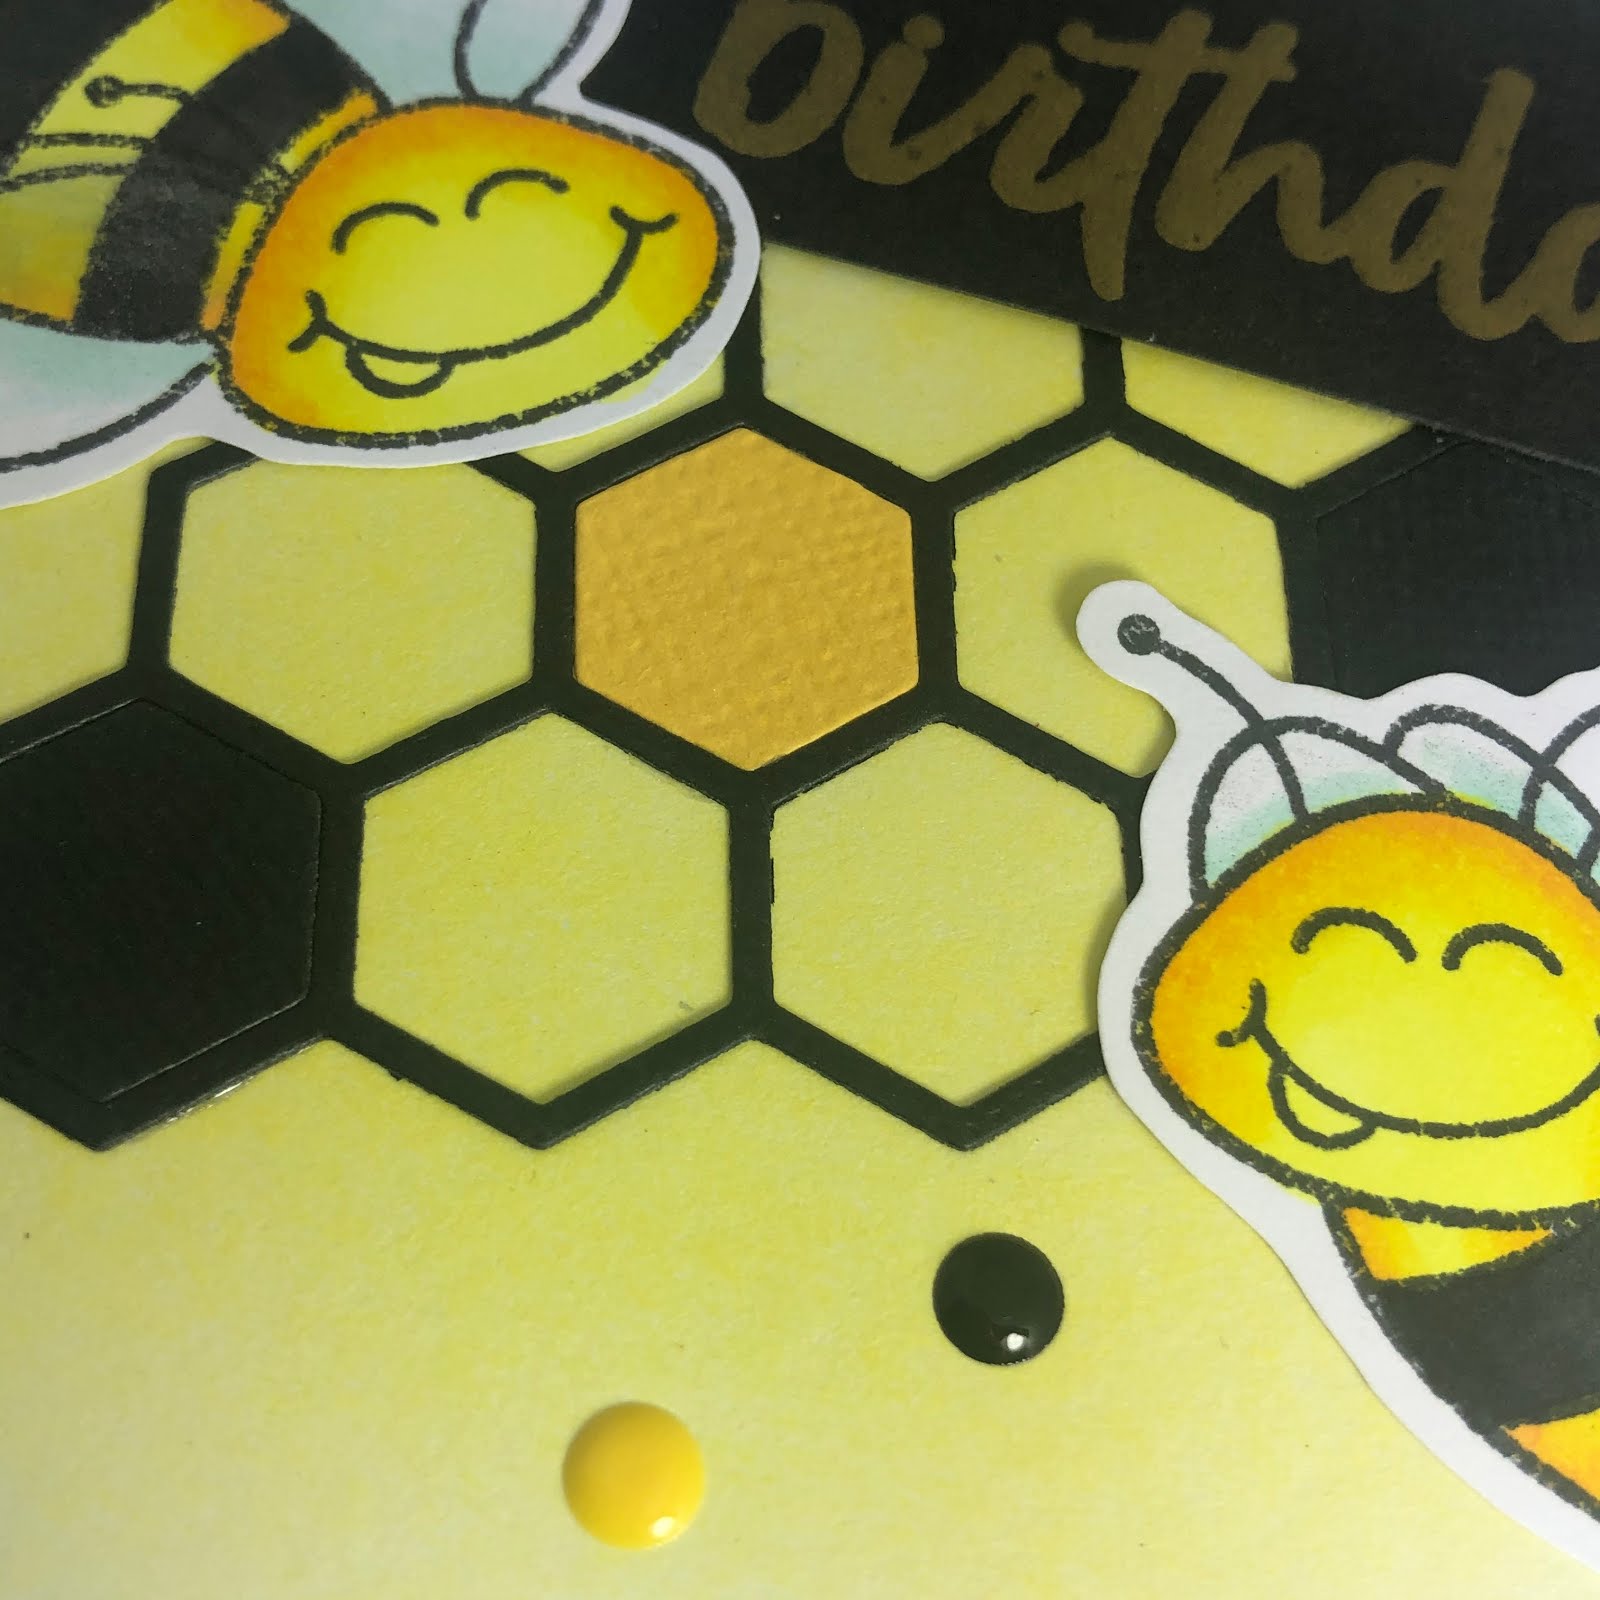
I used another product from Honey Bee Stamps - Hexagon Bunches, I ran it through my Sizzix Big Shot a couple of times using American Crafts Black Cardstock then again using some yellow cardstock so I could inlay some parts.

I used Ranger Ink Marigold Embossing Powder with Ink on 3 Embossing Ink to emboss some sentiments from the Honey Bee Stamps Hooray Stamp Set onto American Crafts Black Cardstock, I then ,melted it using my Heat Tool. (I also did prepare the card using a powder tool to make sure the embossing powder only went where it was supposed to go).


I trimmed the sentiments down using my Tim Holtz Guillotine, this is great for small piece cutting (I only own the small guillotine not the bigger size one).

I adhered all the layers to a Couture Creations Card Base using Helmar Acid Free liquid Adhesive.
Finally to finish the cards off I added some Tonic Studios Nuvo Crystal Drops in Dandelion Yellow and Ebony Black. I left the cards over night to dry so I didn't mess up the drops as I have a habit of doing this lately,.. patience is not my virtue when it comes to things drying on my cards.


I hope you have enjoyed my post today, if you have any questions feel free to send me a message or contact me via facebook (all links can be found below).
Watch the You Tube Video Here
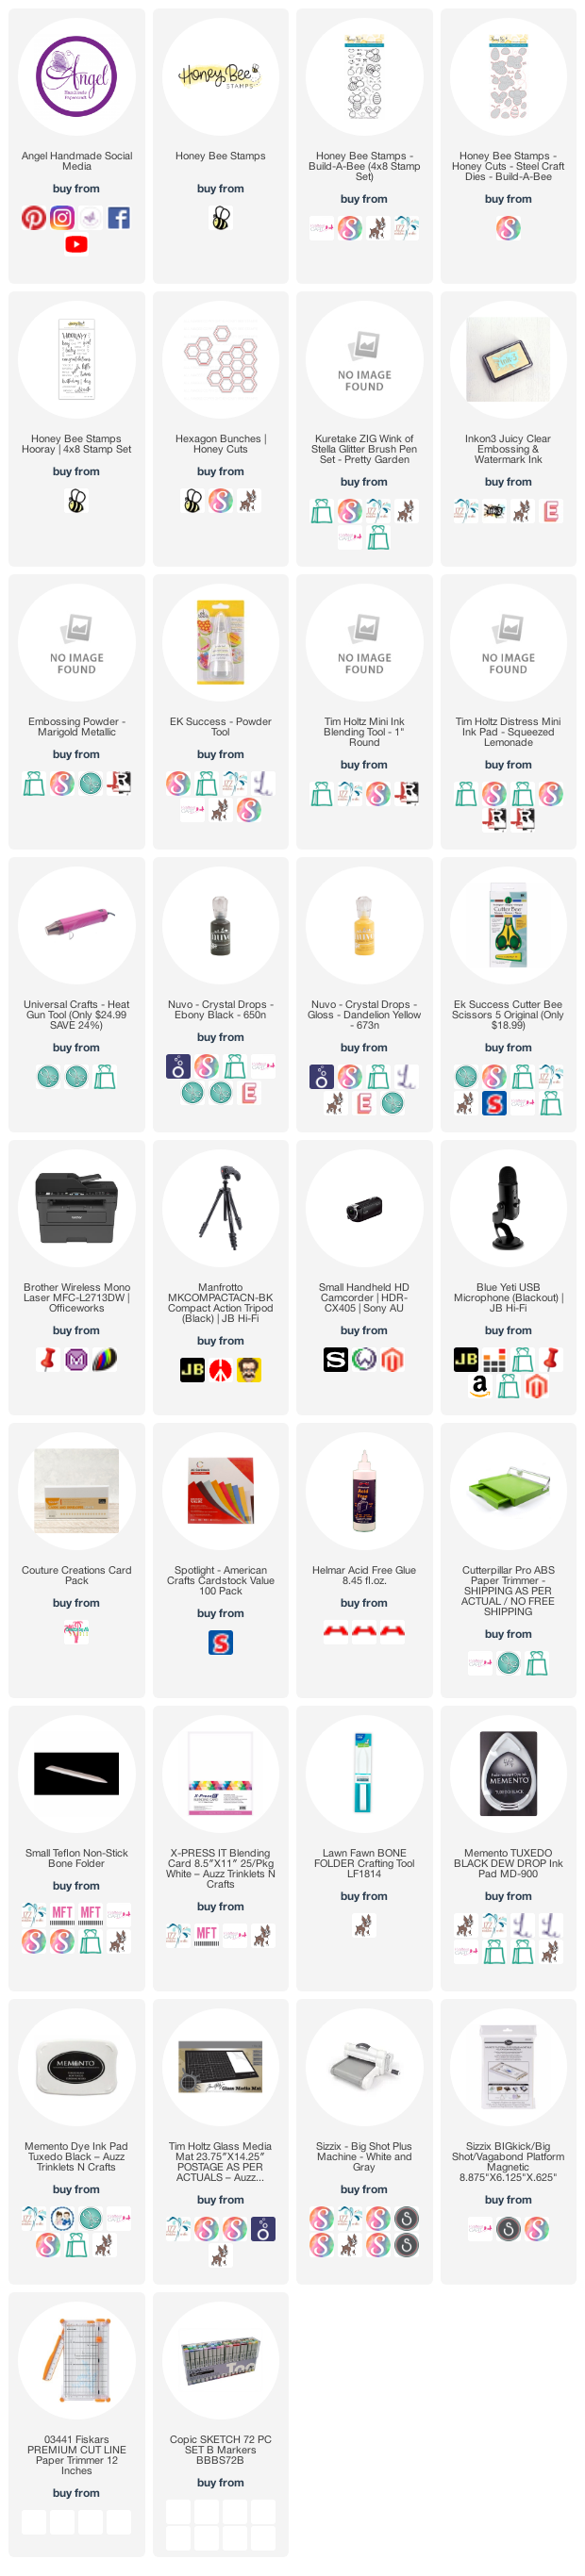
Products Used On My Card (Affiliate Links Used Where Possible)
Copic Markers Used
Sorry I don't have a list of these for my projects today
Thanks for stopping by, Deni
CAMERA SET UP - FOR YOU TUBE VIDEOS ONLY
Blue Yeti Microphone
Sony Handycam HDR CX4-05
Tripod – Manfrotto MKCompactaCN-BK
S O C I A L MEDIA
B L O G : https://ldli.co/e/3xky6x
I N S T A G R A M : https://ldli.co/e/5dn20x
YOU TUBE: https://ldli.co/e/ej5l90
F A C E B O O K: https://ldli.co/e/mjxn2r
PINTEREST: https://ldli.co/e/2l9zom
I was a 2018 Ambassador for Copic Marker Australia and NZ
No comments:
Post a Comment
Thankyou for stopping by, your comments mean a lot to me and I look forward to reading them :-)
Deni