
Can you believe we are mid November already! Cannot believe how quick this year has gone.
I am still catching up on Christmas Cards, so many to make so little time. I must say I really enjoyed making this one for Whimsy Stamps though. This is Penguin Polar Express, from the November Digital Release, you can also purchase this stamp as a rubber stamp so I will have both of them linked up in the picture links below.


I wanted to cut the image out into a circle shape so I traced around the image using my circle die so I knew exactly where it was going to cut, the first die was going to be too small so I pulled out my Sizzix Circle dies which are a little bit larger in size and traced the one I thought fitted best. Once I worked out which bits of the image were going to be cut I carefully cut around those spots so I could slide the die underneath and not chop any off. Once I ran the image through my Big Shot I erased all the pencil lines.

I pulled out my Kaisercraft Starry Night paper pad and used the embossed holly leaves and a leftover strip of the reindeer paper from another project and began putting my card together.
I also used a strip and a sentiment from the pop outs at the back of the paper pad.

Using American Crafts Christmas Cardstocks I cut some mat layers for my patterned papers on my Cutterpillar Pro.

I began adhering all the layers using Helmar Acid Free Liquid adhesive to a Couture Creations card base. I also cut the Christmas tree sentiment from one of the tag pages using my EK Success Scissors.
I used the leftover bits that I cut off to punch out some stars using my EK Success Star Confetti punch.

I added some details to the image using my white Uni-ball Signo gel pen, I will have a few different gel pens linked up below incase you can't find this one.

I added some Ranger Ink Gold Tinsel Embossing Powder to some of the stars using Ink On 3 Embossing Ink, I melted it using my Heat Tool.
I decorated the inside of the card to match the front of the card and I was done.

I hope you have enjoyed my post today, if you have any questions feel free to send me a message or contact me via facebook (all links can be found below).
Watch the You Tube Video Here
Products Used On My Card (Affiliate Links Used Where Possible)

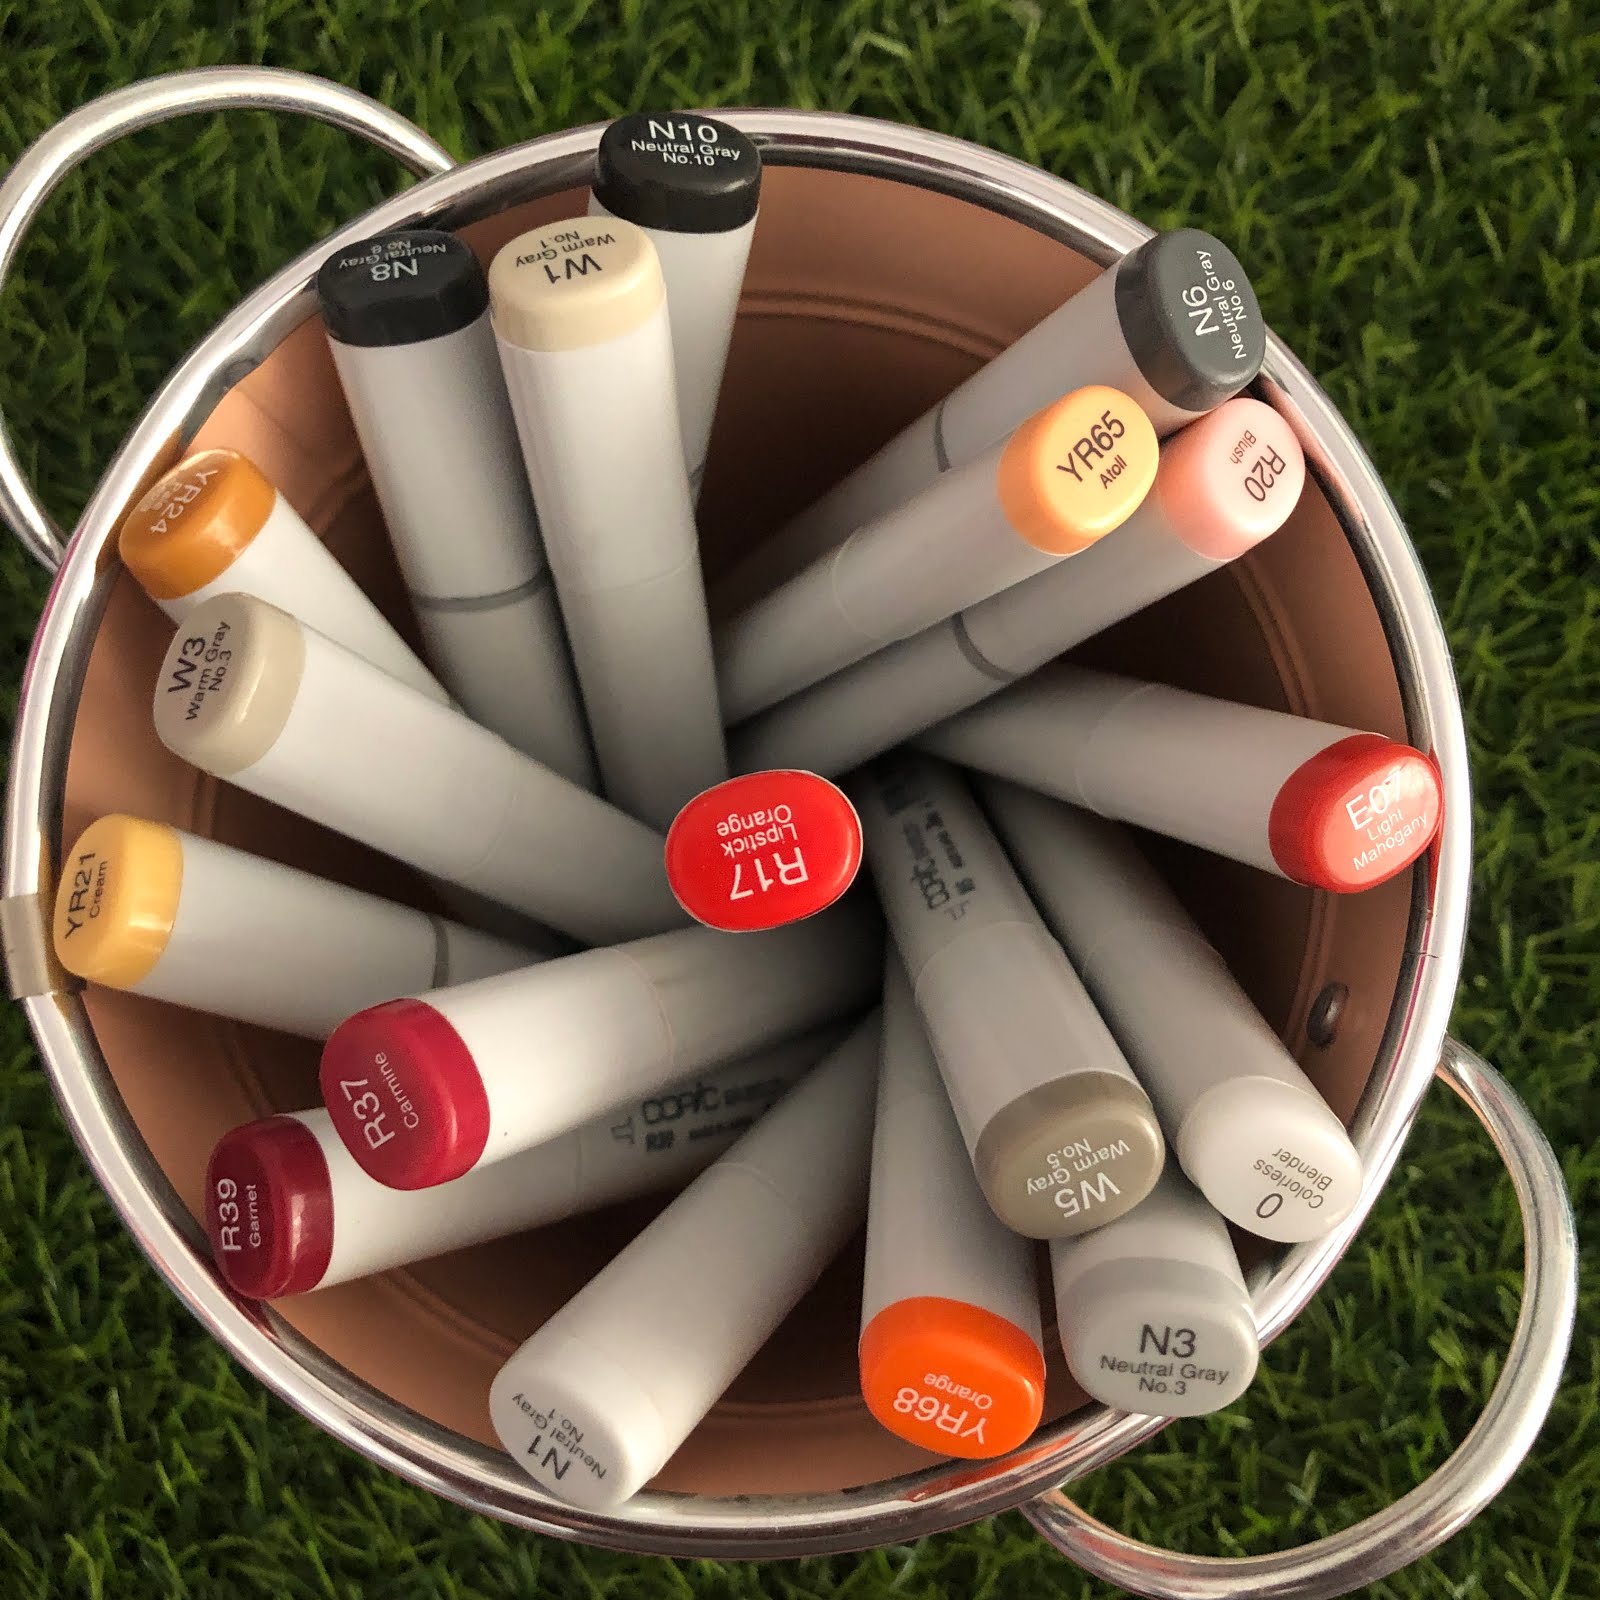
Copic Markers Used
W1, W3, W5, R20
YR65, YR68, E07
R17, R37, R39
N1, N3, 0 Colorless Blender
YR21, YR24
N6, N8, N10
Thanks for stopping by, Deni
CAMERA SET UP - FOR YOU TUBE VIDEOS ONLY
Blue Yeti Microphone
Sony Handycam HDR CX4-05
Tripod – Manfrotto MKCompactaCN-BK
S O C I A L MEDIA
B L O G : https://ldli.co/e/3xky6x
I N S T A G R A M : https://ldli.co/e/5dn20x
YOU TUBE: https://ldli.co/e/ej5l90
F A C E B O O K: https://ldli.co/e/mjxn2r
PINTEREST: https://ldli.co/e/2l9zom
I was a 2018 Ambassador for Copic Marker Australia and NZ
No comments:
Post a Comment
Thankyou for stopping by, your comments mean a lot to me and I look forward to reading them :-)
Deni