Thursday, 17 October 2019

Whimsy Stamps - Wee Stamps - Goldie

Hi All :-)

How sweet is this little girl from Whimsy Stamps! She is from the Wee Stamps collection and her name is Goldie, she is available in both Digital and Rubber Stamps.
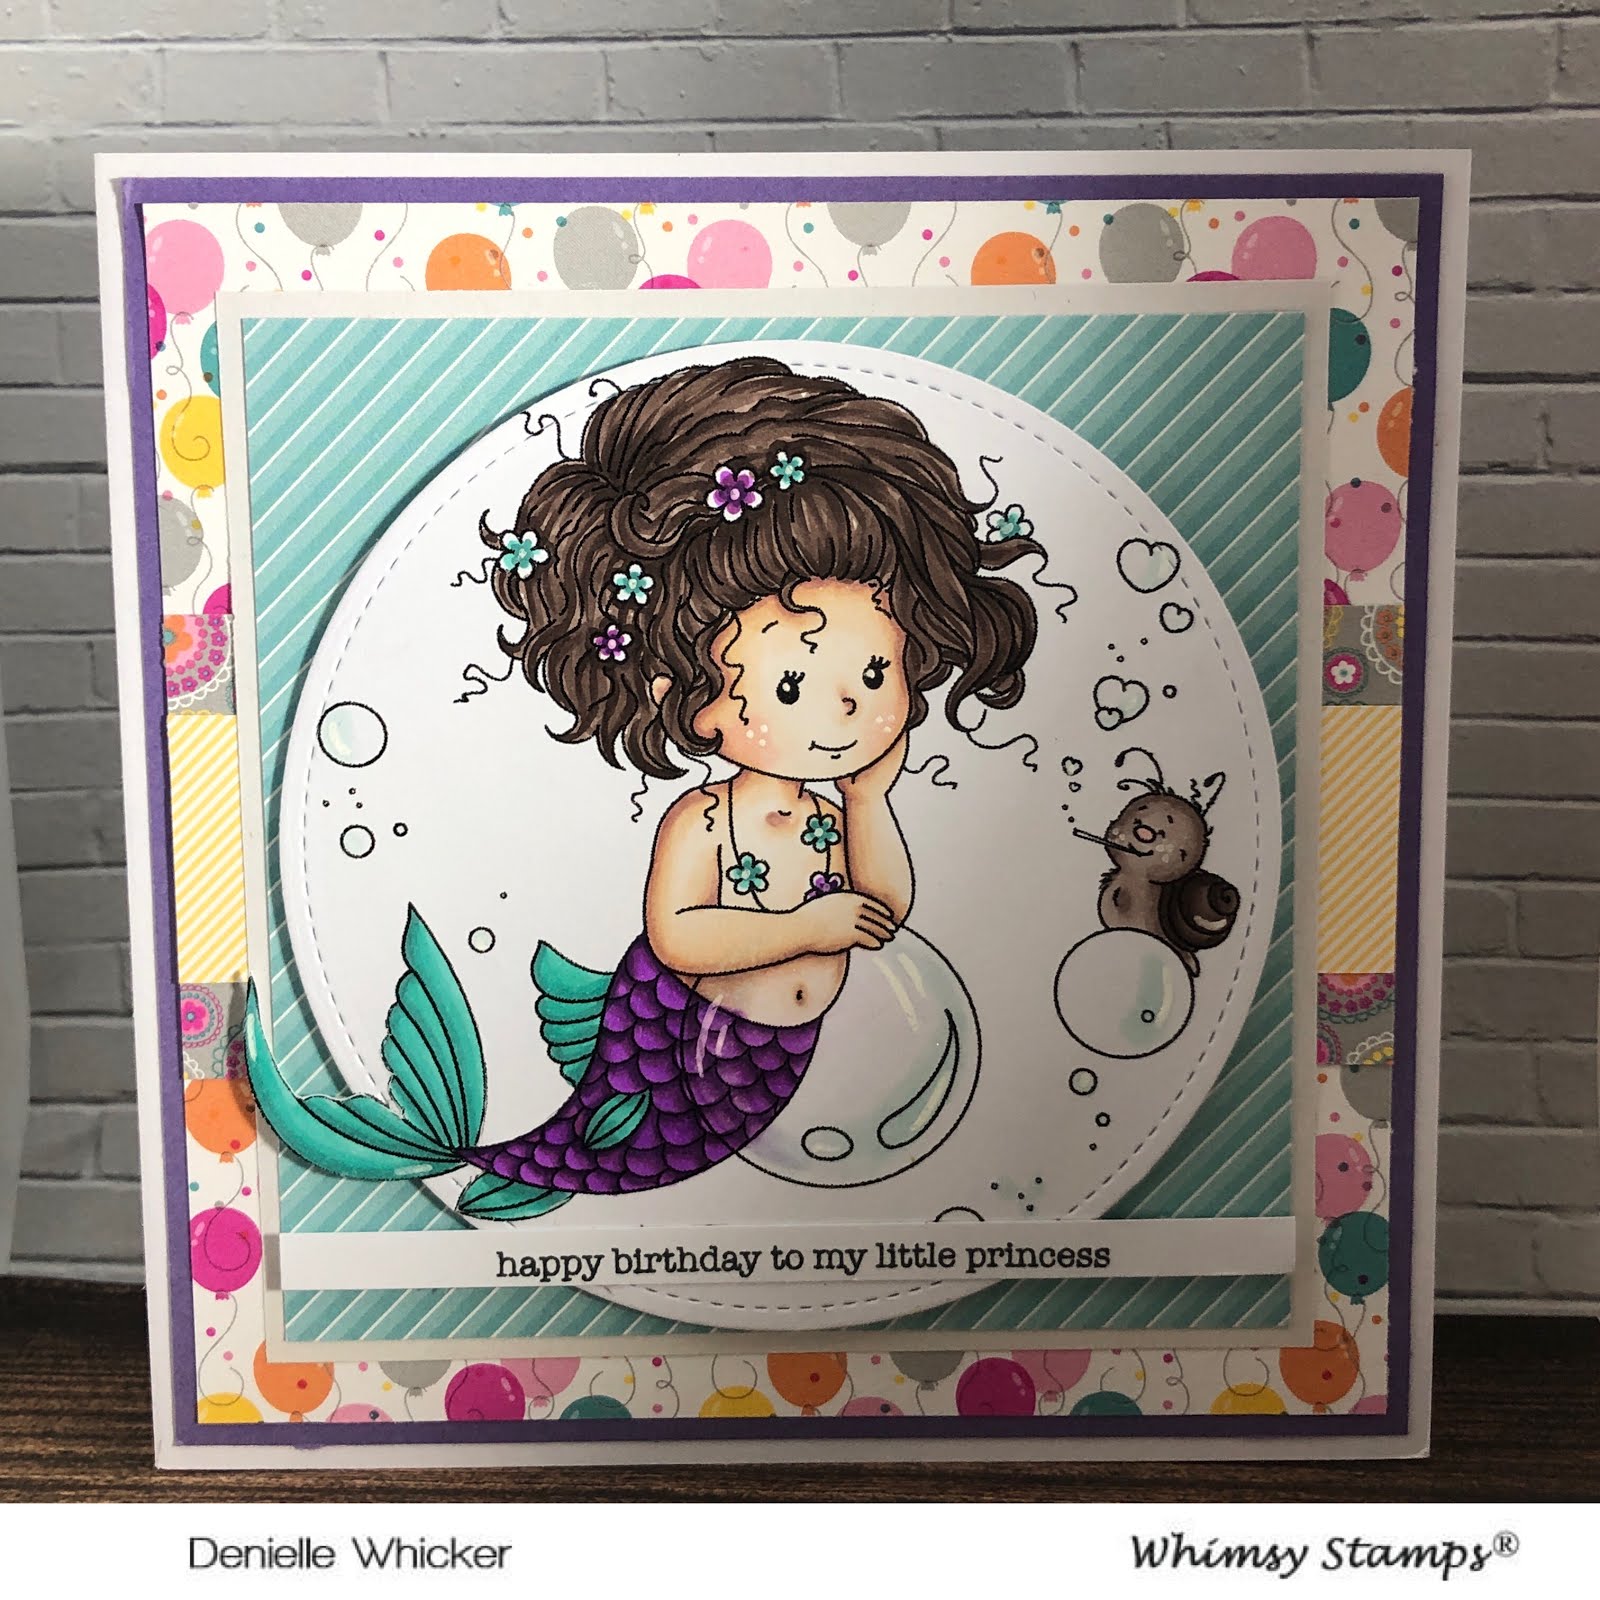

I used the Digital Stamp and printed her onto X-Press It Blending Cardstock, I used my Copic Markers to colour her up.


I ran the image through my Sizzix Big Shot using Lawn Fawn Stitched Circle Die. I used a mechanical pencil and carefully traced the circle die before running it through, I then used my EK Success Cutterbee scissors to trim out the tail so that it wouldn't get cut off.  I then used an eraser to erase the pencil line.


Using papers from Doodlebug Sugar Shoppe 6x6 Paper pad I trimmed down the aqua striped piece, I then used some white yardstick to create a mat 1cm bigger so as to just give it a border.


I cut down the balloon piece and cut down a purple piece to use as a mat layer. I then used Scotch ATG to adhere all my layers down onto a Couture Creations Card Base.

I cut a yellow piece from the patterned paper and ran it and a leftover flower piece down the centre of my card.


Using Scotch ATG Foam Mounting Tape I adhered the image to the patterned paper.

I added Wink of Stella and Uni-ball white gel pen to the image to finish it off.


I stamped out the sentiment onto some X-Press It Blending Cardstock using Memento Tuxedo Black , the sentiment is from Mama Elephant Birthday Sentiments.


I hope you have enjoyed my post today, if you have any questions feel free to send me a message or contact me via facebook (all links can be found below).

Watch the You Tube Video Here


Products Used On My Card (Affiliate Links Used Where Possible)



Copic Markers Used

E000, E00, E21, E11, E04, R20
E70, E71, E74, E77, E79
V04, V06, V09
BG13, BG15, BG18
BG10, 0 Colorless Blender


Thanks for stopping by, Deni

CAMERA SET UP - FOR YOU TUBE VIDEOS ONLY
Blue Yeti Microphone
Sony Handycam HDR CX4-05
Tripod – Manfrotto MKCompactaCN-BK

S O C I A L MEDIA 
B L O G : https://ldli.co/e/3xky6x
I N S T A G R A M : https://ldli.co/e/5dn20x
YOU TUBE: https://ldli.co/e/ej5l90 
F A C E B O O K: https://ldli.co/e/mjxn2r
PINTEREST: https://ldli.co/e/2l9zom


I was a 2018 Ambassador for Copic Marker Australia and NZ


Tuesday, 15 October 2019

Papercraft Business - Oct Use A Tag

Hi Everyone, 

This year has just been flying by, we have now finished September and October has begun.. that means a new challenge over at Papercraft Business. 

This month Theme: Tag. You’re It! (Create a tag or use a tag)

Come and join in the challenge here.


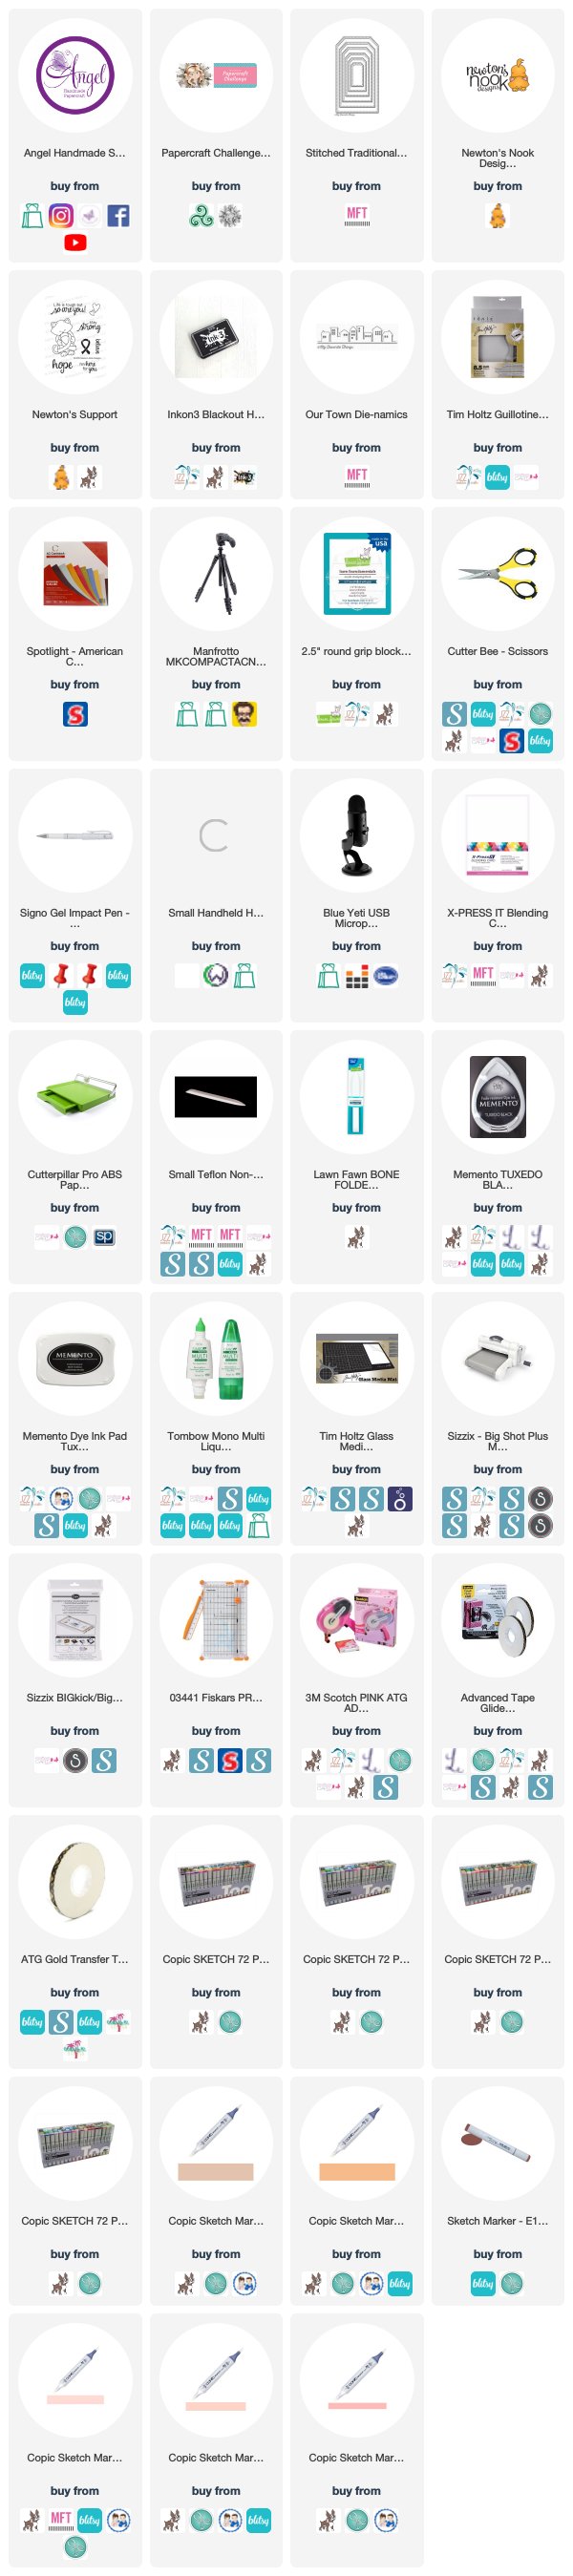
I decided to use Newton's Nook Newton's Support, I thought he would be great for this challenge, I have also been working on lots of Breast Cancer Fundraiser products lately so this kept me on the theme.


I stamped the image out onto X-Press It Blending Card Stock using Memento Tuxedo Black, I then coloured the image up using Copic Markers and fussy cut him using EK Success Cutterbee Scissors leaving a small amount of white border around the image. 


I also used a Uni-Ball White Gel pen to add some details to the image. 


I ran MFT Stamps Stitched Traditional Flag Stax through my Sizzix Big Shot using some pink Bella paper, and some leftover pink shiny paper from our wedding invitations :-) I used the two largest of the dies so I could layer them up. 

I used a MFT Stamps Our Town die and ran it through my Big Shot using some American Crafts White Cardstock, I wanted it to blend in but still have a little texture. 


Using a small pink doily from my stash (I'm sure this thing has been in my stash since me Scrapbooking days haha) and added it to the left hand corner of the smaller of the tags, I adhered it using a little adhesive and then used an off cut from the patterned paper (reversed) across the bottom. 

I then adhered the town die down using some American Tombow Mono Multi Liquid Adhesive.

I wanted to use one of the sentiments from the stamp set, Breast Cancer is close to my heart as I had a close family member go through it a few years ago. I decided to use the "Life Is Tough But So Are You" I thought it was perfect. 


Being that there was a little bit of room at the top I decided to stamp out the little hearts on both sides of the sentiment using some Ink on 3 Blackout Ink, I used a pink Copic just to add a little extra colour. 

I punched a hole in the top of both of the tags (at the same time) and threaded some twine through. Finally I adhered a paper flower from Mont Marte to the top right corner.


My tag was complete and I am super happy :-) Even if it did bring a little tear. 


Dont forget to head over and join is in the October Challenge here,  all you have to do is use a tag. 

I hope you have enjoyed my post today, if you have any questions feel free to send me a message or contact me via facebook (all links can be found below).

Watch the You Tube Video Here


Products Used On My Card (Affiliate Links Used Where Possible)


Copic Markers Used

E13, E15, E18
R20, R21, R22


Thanks for stopping by, Deni

CAMERA SET UP - FOR YOU TUBE VIDEOS ONLY
Blue Yeti Microphone
Sony Handycam HDR CX4-05
Tripod – Manfrotto MKCompactaCN-BK

S O C I A L MEDIA 
B L O G : https://ldli.co/e/3xky6x
I N S T A G R A M : https://ldli.co/e/5dn20x
YOU TUBE: https://ldli.co/e/ej5l90 
F A C E B O O K: https://ldli.co/e/mjxn2r
PINTEREST: https://ldli.co/e/2l9zom


I was a 2018 Ambassador for Copic Marker Australia and NZ


Sunday, 13 October 2019

Hedgehog Hollow GDT Corners and Feathers

Hi Everyone,

Today I am sharing with you my first GDT Project for Hedgehog Hollow using the September Sub Box.


For my card today, because of course I am going to make a card :-), I have used the Corners and Feathers stamp set, I really love the peacock feathers in the September Sub Box.


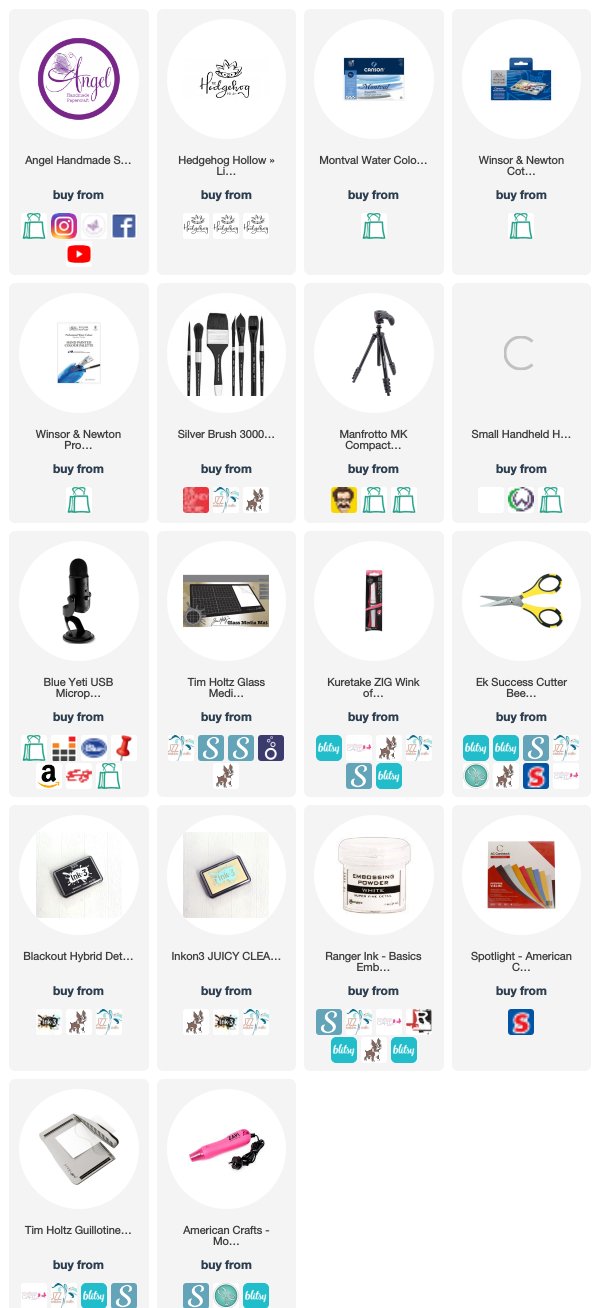
I cut down a sheet of Canson Montreal Aquarelle Watercolour Paper and stamped one of the feathers multiple times to cover the sheet using Ink On 3 Blackout Waterproof Ink and a Lawn Fawn Acrylic Block.


Using a Silver Brush Black Velvet Round 6 brush and Winsor and Newton Watercolours I painted all the feathers roughly (I wanted the rough look to them).


I stamped one of the sentiments out onto a strip of American Crafts card stock using Ink On 3 Clear Embossing ink (I prepped the card stock using my Powder Tool) and my Misti Stamping Tool. I added Ranger Ink Super Fine White Detail Embossing Powder and melted it using a heat tool. I then trimmed it down using my Tim Holtz Guillotine.


I used the pink card stock and the card base from the kit to create the layers to my card.

I fussy cut one of the extra feathers that I stamped out and painted using my EK Success Cutterbee Scissors and adhered it to my card, I then adhered the sentiment strip over the top.

I adhered the stamped piece down to the pink layer using Scotch Foam Tape, then I adhered all the layers to my Card Base using American Tombow Mono Multi Liquid Adhesive.

Finally I used Wink Of Stella on the extra feather and my card was complete.


I hope you have enjoyed my post today, if you have any questions feel free to send me a message or contact me via facebook (all links can be found below).

Watch the You Tube Video Here


  Products Used On My Card (Affiliate Links Used Where Possible)


Copic Markers Used


Thanks for stopping by, Deni

CAMERA SET UP - FOR YOU TUBE VIDEOS ONLY
Blue Yeti Microphone
Sony Handycam HDR CX4-05
Tripod – Manfrotto MKCompactaCN-BK

S O C I A L MEDIA 
B L O G : https://ldli.co/e/3xky6x
I N S T A G R A M : https://ldli.co/e/5dn20x
YOU TUBE: https://ldli.co/e/ej5l90 
F A C E B O O K: https://ldli.co/e/mjxn2r
PINTEREST: https://ldli.co/e/2l9zom


I was a 2018 Ambassador for Copic Marker Australia and NZ


Saturday, 12 October 2019

Whimsy Stamps - Bat Balloon

Hi Everyone,

Today I am super excited to share with you this gorgeous image from Whimsy Stamps - Krista Heij-Barber's Collection called Bat Balloon.

This is a Digital Stamp, so you can download it immediately, print it out onto Copic safe paper and it's ready to go.


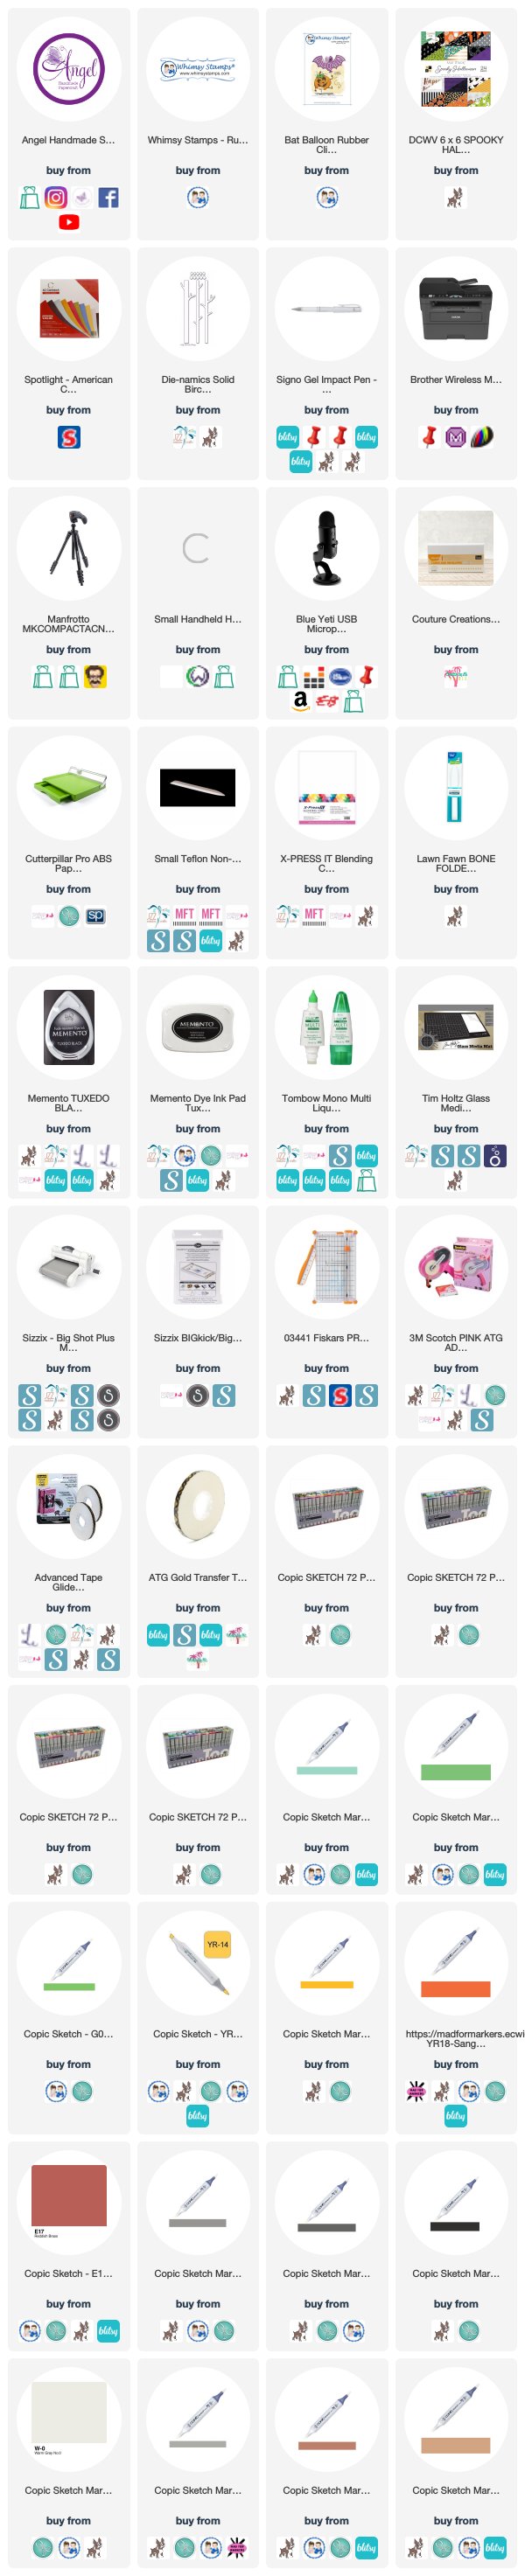
I printed the image onto X-Press It Blending Card Stock using my Brother Laser Printer.


I then coloured him up using Copic Markers, I then cut him down to size using my Cutterpillar Pro, I used a white Uni-Ball Signo Gel Pen to colour the inside of the Halloween Word.


Patterned papers are from my favourite Halloween Paper Pad from DCWV called Spooky Halloween. I also pulled in some plain card stocks from American Crafts.


I ran a Birch Tree Die from MFT Stamps through my Sizzix Big Shot using some leftover black American Crafts card stock. I adhered this to the image using American Tombow Mono Multi Liquid Adhesive.


Using my Scotch ATG I adhered all the layers to a Couture Creations Card Base, I used leftovers of the patterned paper to adhere to the inside of the card.


I hope you have enjoyed my post today, if you have any questions feel free to send me a message or contact me via facebook (all links can be found below).

Watch the You Tube Video Here


Products Used On My Card (Affiliate Links Used Where Possible)


Copic Markers Used

G03, G07, G09
T6, T8, T10
W0, W5
YR14, YR16, YR18, E17
E23, E25, E17

Thanks for stopping by, Deni

CAMERA SET UP - FOR YOU TUBE VIDEOS ONLY
Blue Yeti Microphone
Sony Handycam HDR CX4-05
Tripod – Manfrotto MKCompactaCN-BK

S O C I A L MEDIA 
B L O G : https://ldli.co/e/3xky6x
I N S T A G R A M : https://ldli.co/e/5dn20x
YOU TUBE: https://ldli.co/e/ej5l90 
F A C E B O O K: https://ldli.co/e/mjxn2r
PINTEREST: https://ldli.co/e/2l9zom


I was a 2018 Ambassador for Copic Marker Australia and NZ


Friday, 11 October 2019

Avery Elle - Spring Bouquet Thankyou Card

Hi Everyone,

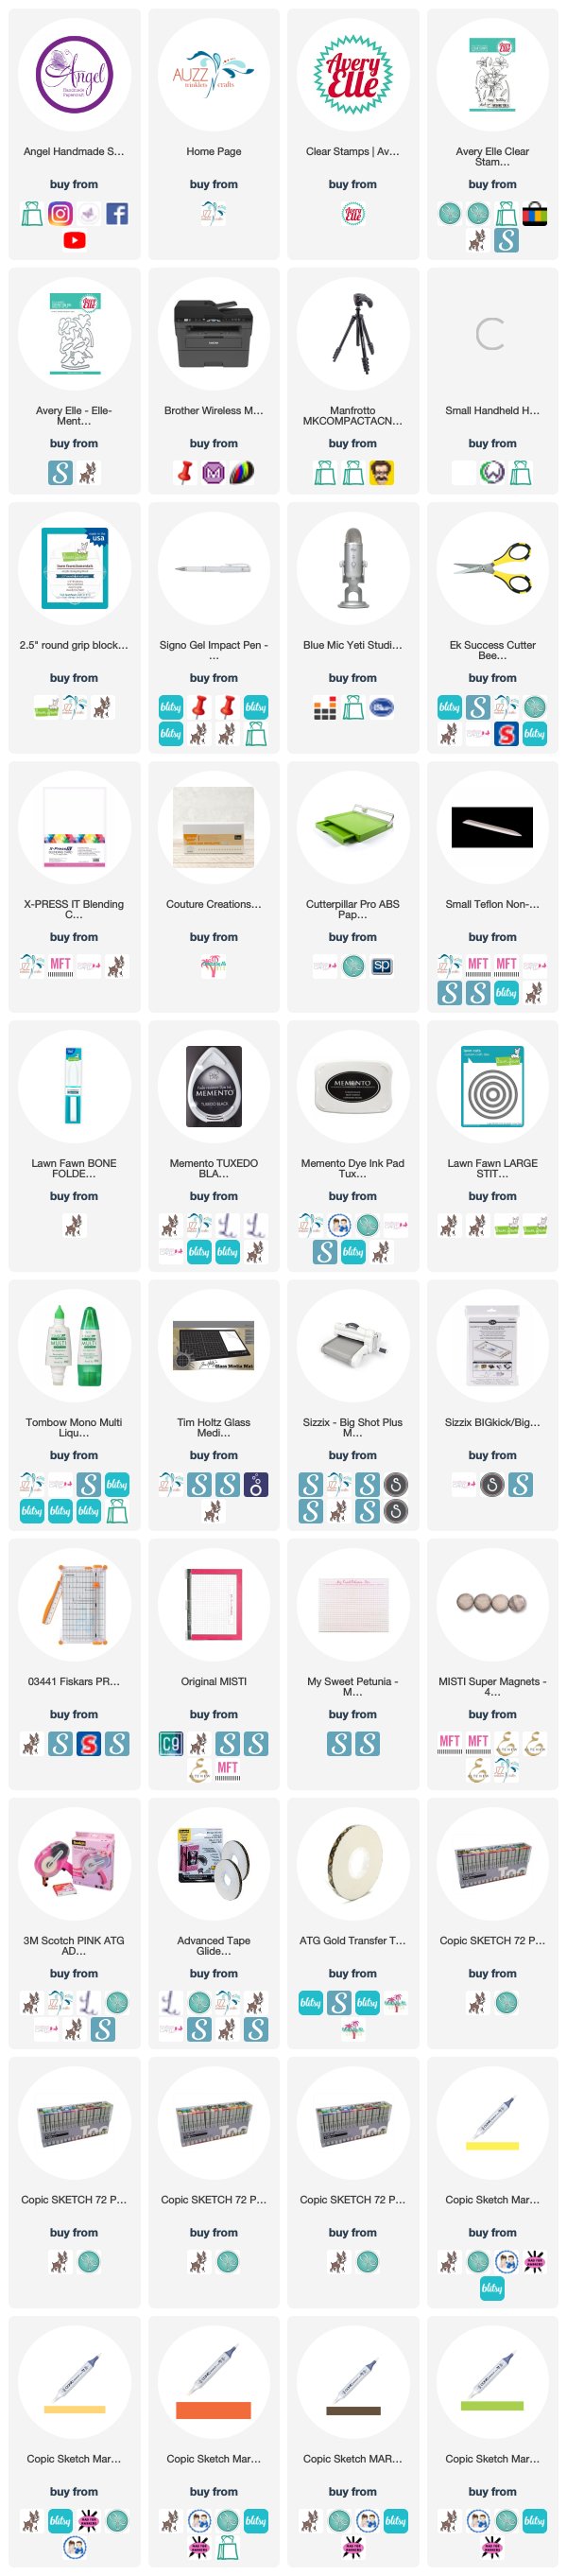
A friend asked me to make a Thankyou card for her so I pulled out Spring Bouquet from Avery Elle. This is the first time I have used this stamp set and oh my.. it is just perfect. First stamping was absolutely perfect no need to do anything to the stamp it was just beautiful first go.


I put the stamp into my Misti Stamping Tool and using Memento Tuxedo Black I stamped the image onto X-Press It Blending Card Stock.

I ran the image through my Sizzix Big Shot using Lawn Fawn Stitched Circle Die.


I coloured the image up using Copic Markers, I didn't use a whole lot of colours on this card but did blend a few colours that I wouldn't normally use.


My Friend wanted a personalised sentiment on the front of the card, so I typed it up on my computer, printed it onto X-Press It Blending Card so everything was the same white and trimmed it down on my trimmer.


I used patterned papers from Pebbles Party with Amy Locurto - Rainbow Collection, I trimmed down a couple of the layers on my trimmer and adhered them using Scotch ATG.


I really love the way this card turned out, The colours blended so perfect together :-)

I hope you have enjoyed my post today, if you have any questions feel free to send me a message or contact me via facebook (all links can be found below).

Watch the You Tube Video Here


Products Used On My Card (Affiliate Links Used Where Possible)


Copic Markers Used

Y18, Y38, YR18
E49
YG07

Thanks for stopping by, Deni

CAMERA SET UP - FOR YOU TUBE VIDEOS ONLY
Blue Yeti Microphone
Sony Handycam HDR CX4-05
Tripod – Manfrotto MKCompactaCN-BK

S O C I A L MEDIA 
B L O G : https://ldli.co/e/3xky6x
I N S T A G R A M : https://ldli.co/e/5dn20x
YOU TUBE: https://ldli.co/e/ej5l90 
F A C E B O O K: https://ldli.co/e/mjxn2r
PINTEREST: https://ldli.co/e/2l9zom


I was a 2018 Ambassador for Copic Marker Australia and NZ


Thursday, 10 October 2019

Haul Video October 2019

Hi Everyone,

I've done a little bit of craft shopping and wanted to share with you my Haul Video.


Spotlight

Kaisercraft - Starry Night 6.5" Paper Pad
Kaisercraft - Under The Gum Leaves 6.5" Paper Pad
Fiskars Triangle Punch
Fiskars Globe Punch
Kaisercraft Under The Gum Leaves Stamp Set
Kaisercraft Christmas Greetings Stamp Set
Kaisercraft Everlasting 6 1/2" Paper Pad
Kaisercraft Summer Splash 6 1/2" Paper Pad
Francheville Exotic Greenhouse 6x6" Paper Pad
Francheville Summer Life 6x6" Paper Pad
Kaisercraft Festive Foliage Stencil
Kaisercraft Scattered Stars Stencil
Kaiercraft Whisper 6 1/2" Paper Pad
X-Press It Foam Mounting Tape 12mm

Kaisercraft

Kaisercraft Wonderland 6 1/2" Paper Pad
Kaisercraft Let's Go 6 1/2" Paper Pad
Kaisercraft Hide & Seek 12" Paper Pad
Kaisercraft Bon Appetit 12" Paper Pad

Kmart

Whimsical Paper Pad 6 1/2 Paper Pad
Pink Pencil Case

Purple Glitter Pen


I hope you have enjoyed my post today, if you have any questions feel free to send me a message or contact me via facebook (all links can be found below).

Watch the You Tube Video Here


Products Used On My Card (Affiliate Links Used Where Possible)


Thanks for stopping by, Deni

CAMERA SET UP - FOR YOU TUBE VIDEOS ONLY
Blue Yeti Microphone
Sony Handycam HDR CX4-05
Tripod – Manfrotto MKCompactaCN-BK

S O C I A L MEDIA 
B L O G : https://ldli.co/e/3xky6x
I N S T A G R A M : https://ldli.co/e/5dn20x
YOU TUBE: https://ldli.co/e/ej5l90 
F A C E B O O K: https://ldli.co/e/mjxn2r
PINTEREST: https://ldli.co/e/2l9zom


I was a 2018 Ambassador for Copic Marker Australia and NZ


Monday, 7 October 2019

Sugar Pea Designs - Teacher's Pet

Hey All.

Today U would like to share with you a super cute Teacher Card I made using Sugar Pea Designs Teacher's Pet.

I stamped all the images out using my Misti Stamping Tool onto X-Press It Blending Cardstock using Memento Tuxedo Black.


I coloured all the images up using Copic Markers, I will have all of those listed below in the picture links. I also used my white gel pen to add details to the images.


The patterned papers are from Little Yellow Bicycle Makin The grade Collection, a really cool school related paper pad. I love the look of the school lockers paper and wanted to use those on the front of my card.

I was asked to use this image on the card, so I printed it out onto X-Press It Blending Card so all the white's were the same when I layered them up.


I ran the above image through my Sizzix Big Shot using MFT Stitched Rounded Rectangles dies


I then began layering all the images up using American Tombow Mono Multi Liquid Adhesive.


I was so surprised to see in the end how many Copic Markers it took to colour these images up.


I hope you have enjoyed my post today, if you have any questions feel free to send me a message or contact me via facebook (all links can be found below).

Watch the You Tube Video Here


Products Used On My Card (Affiliate Links Used Where Possible)


Copic Markers Used

RV14, RV17
V15, V17
B12, B14
G20, G24
Y08, Y15
N2, N4, 0
N4, N6, N8
BG32, BG45, BG75
Y02, Y04, Y06
G14, YG09
R20
R05, R35, R39
E40, E43, E71, E77

Thanks for stopping by, Deni

CAMERA SET UP - FOR YOU TUBE VIDEOS ONLY
Blue Yeti Microphone
Sony Handycam HDR CX4-05
Tripod – Manfrotto MKCompactaCN-BK

S O C I A L MEDIA 
B L O G : https://ldli.co/e/3xky6x
I N S T A G R A M : https://ldli.co/e/5dn20x
YOU TUBE: https://ldli.co/e/ej5l90 
F A C E B O O K: https://ldli.co/e/mjxn2r
PINTEREST: https://ldli.co/e/2l9zom


I was a 2018 Ambassador for Copic Marker Australia and NZ