A little Copic Colouring to share with you today using Arabian Princess from Paper Nest Dolls.
I used the Digital Version of this image (I will have all the picture links below), printed it onto X-Press It Blending Card using my Brother Laser Printer.
I added details using Uni-Ball White Gel Pen and Wink Of Stella Clear.
I hope you have enjoyed my post today, if you have any questions feel free to send me a message or contact me via facebook (all links can be found below).
Watch the You Tube Video Here
Products Used On My Card (Affiliate Links Used Where Possible)
CAMERA SET UP - FOR YOU TUBE VIDEOS ONLY
Blue Yeti Microphone
Sony Handycam HDR CX4-05
Tripod – Manfrotto MKCompactaCN-BK
S O C I A L MEDIA
B L O G : http://angelhandmadepapercraft.blogspot.com.au/
I N S T A G R A M : http://instagram.com/angelhandmadepapercraft
YOU TUBE: http://www.youtube.com/c/AngelHandmadePapercraft
F A C E B O O K: http://www.facebook.com/angelhandmadepapercraft
PINTEREST: https://www.pinterest.com.au/angelhandmadepapercraft
I was a 2018 Ambassador for Copic Marker Australia and NZ
Today I am sharing with you a card I created using Penguin Beach Chair, designed by Crissy Armstrong for Whimsy Stamps.
I used the Digital Version of this stamp, however it is available as a Rubber Stamp. Links will be in picture links below.
I printed the image onto X-Press It Blending Cardstock using my Brother Laser Printer, I then coloured the image up using Copic Markers.
Patterned papers are from Bo Bunny The Avenues Collection, I trimmed them up using my Cutterpillar Pro, I ran the bottom layer through my Sizzix Big Shot using my Sizzix Big Shot. I adhered the patterned paper using Glue Dots Permanent Tape Runner. I cut some Black American Crafts Cardstock and some blue Canson card stock for my bottom layers and adhered the patterned papers to those.
I stamped the sentiment from To The Beach (this is one of my very first Whimsy Stamps so it is super retired) using Memento Tuxedo Black and my Misti Stamping Tool.. to make sure I stamped it exactly in the right place I put the image into my Misti then layed some acetate over the top which I stamped on first and then once I knew it was in the right place I removed the acetate and stamped onto the image piece.
I Stamped out the thongs and the sunglasses from the same stamp set using Memento Tuxedo black and coloured them up using Copic Markers, then fussy cut them using EK Success Cutterbee scissors, I do own the dies but I wanted them to have no white border.
Finally I decided my card needed more so I stamped some shells out using Memento Rich Cocoa and an acrylic block. Some how whilst doing all this I managed to get a stamped shell onto my Penguin, I totally freaked out and tried to remove it using a sand eraser.. this didn't work so well, I ended up finding a Beach Ball in my MFT Stamps Penguins In Paradise stamp set, I stamped it out onto blending card coloured it with Copic Markers and fussy cut it using my Cutterbee Scissors. I used a Penblade to cut around the Penguin arm and slide the ball underneath so it was still covering up that horrible boo boo.
I then adhered all the other elements using American Tombow Mono Multi Liquid Adhesive.
I finally adhered all my layers to a Couture Creations Card Base using Scotch ATG.
I hope you have enjoyed my post today, if you have any questions feel free to send me a message or contact me via facebook (all links can be found below).
Watch the You Tube Video Here
Products Used On My Card (Affiliate Links Used Where Possible)
CAMERA SET UP - FOR YOU TUBE VIDEOS ONLY
Blue Yeti Microphone
Sony Handycam HDR CX4-05
Tripod – Manfrotto MKCompactaCN-BK
S O C I A L MEDIA
B L O G : http://angelhandmadepapercraft.blogspot.com.au/
I N S T A G R A M : http://instagram.com/angelhandmadepapercraft
YOU TUBE: http://www.youtube.com/c/AngelHandmadePapercraft
F A C E B O O K: http://www.facebook.com/angelhandmadepapercraft
PINTEREST: https://www.pinterest.com.au/angelhandmadepapercraft
I was a 2018 Ambassador for Copic Marker Australia and NZ
Today I am sharing with you PC Dude from Whimsy Stamps Digital Collection.
I printed the image onto X-Press It Blending Cardstock using my Brother Laser Printer then coloured him up using Copic Markers.
I fussy cut the image using my EK Success Cutterbee Scissors then ran around the outside of the image using a dual ended Tombow black marker. This finishes off the images and makes sure there is no white edge showing.
I ran through 2 dies in my Sizzix Big Shot - MFT Puffy Clouds and Lawn Fawn Stitched Circle. For the clouds I used some leftover X-Press It Card and for the circle I used American Crafts card stock.
I then cut a few layers of coloured card stock and some patterned paper using my Cutterpillar Pro, all the layers were adhered using Scotch ATG. I cut the heat wave and the ice cream cone from the same patterned papers I used earlier. This is the American Crafts #Summer paper pad. I used some Uni-ball gel pen to add details to the image and I added glossy accents to the glasses.
I used some leftover papers to create some banners for the top of the card. I also used the same paper pad to decorate the inside of the card.
I seriously love the way my card turned out :-) One of my favourite cards I have made.
I hope you have enjoyed my post today, if you have any questions feel free to send me a message or contact me via facebook (all links can be found below).
Watch the You Tube Video Here
Products Used On My Card (Affiliate Links Used Where Possible)
CAMERA SET UP - FOR YOU TUBE VIDEOS ONLY
Blue Yeti Microphone
Sony Handycam HDR CX4-05
Tripod – Manfrotto MKCompactaCN-BK
S O C I A L MEDIA
B L O G : http://angelhandmadepapercraft.blogspot.com.au/
I N S T A G R A M : http://instagram.com/angelhandmadepapercraft
YOU TUBE: http://www.youtube.com/c/AngelHandmadePapercraft
F A C E B O O K: http://www.facebook.com/angelhandmadepapercraft
PINTEREST: https://www.pinterest.com.au/angelhandmadepapercraft
I was a 2018 Ambassador for Copic Marker Australia and NZ
Today I am sharing with you a nice Summer Card, we are coming into the cool temps here in Australia so this little guy warmed me up a little :-)
This is Penguin Beach Chair, Designed by Crissy Armstrong of Whimsy Stamps. A super adorable image as always.
I printed the image onto X-Press It Blending Cardstock using my Brother Laser Printer. For those of you who prefer to purchase rubber stamps, this image is available in both Digi and Rubber Options which is super cool. For me I love Digis as I can purchase them and generally have within the hour ready to play with.
I do also love my rubber stamps and I have no preference one over the other, both have positives about them.
For my card today I actually decided to go looking for papers to use first, this is something that I very rarely do in all honesty, I like to colour then go find papers to match, I know this is probably the more difficult way of doing it but this is my way.
I found this paper pad from Lily Bee design called Pinwheel, it only had a few sheets of paper left but it was going to be perfect for this card, lots of colours I could mix together and It gave me an idea of what colours I wanted to bring into my image.
I actually had this card completely layed out ready to be adhered together before I even had the image coloured up (I don't know what was running through my bones today lol, maybe its all the pain turning into creativity). Totally off key for me but I was going to go with it, I did adhere the clouds together just so I had the exact placement, everything else I just left, took a pic with my phone incase I messed them up (It was bound to happen but because I took a photo they didn't even move hehe), I then moved onto the Copic Colouring.
I will have all the Copic Markers listed below this post incase you were wondering what I have used on my card today, I will also have picture links of all the products used.
Once I had my image coloured up I began to put my card together, I actually used a few different adhesives on this card, I used Glue Dots Permanent Runner, Scotch ATG and American Tombow Mono Multi Liquid Adhesive.
When my card was complete I used my scissors to cut the excess pieces off, and adhered the layers to a Couture Creations Card Base and added Wink Of Stella to the sun, I also used a white gel pen to add a few details to the image.
I hope you have enjoyed my post today, if you have any questions feel free to send me a message or contact me via facebook (all links can be found below).
Watch the You Tube Video Here
Products Used On My Card (Affiliate Links Used Where Possible)
CAMERA SET UP - FOR YOU TUBE VIDEOS ONLY
Blue Yeti Microphone
Sony Handycam HDR CX4-05
Tripod – Manfrotto MKCompactaCN-BK
S O C I A L MEDIA
B L O G : http://angelhandmadepapercraft.blogspot.com.au/
I N S T A G R A M : http://instagram.com/angelhandmadepapercraft
YOU TUBE: http://www.youtube.com/c/AngelHandmadePapercraft
F A C E B O O K: http://www.facebook.com/angelhandmadepapercraft
PINTEREST: https://www.pinterest.com.au/angelhandmadepapercraft
I was a 2018 Ambassador for Copic Marker Australia and NZ
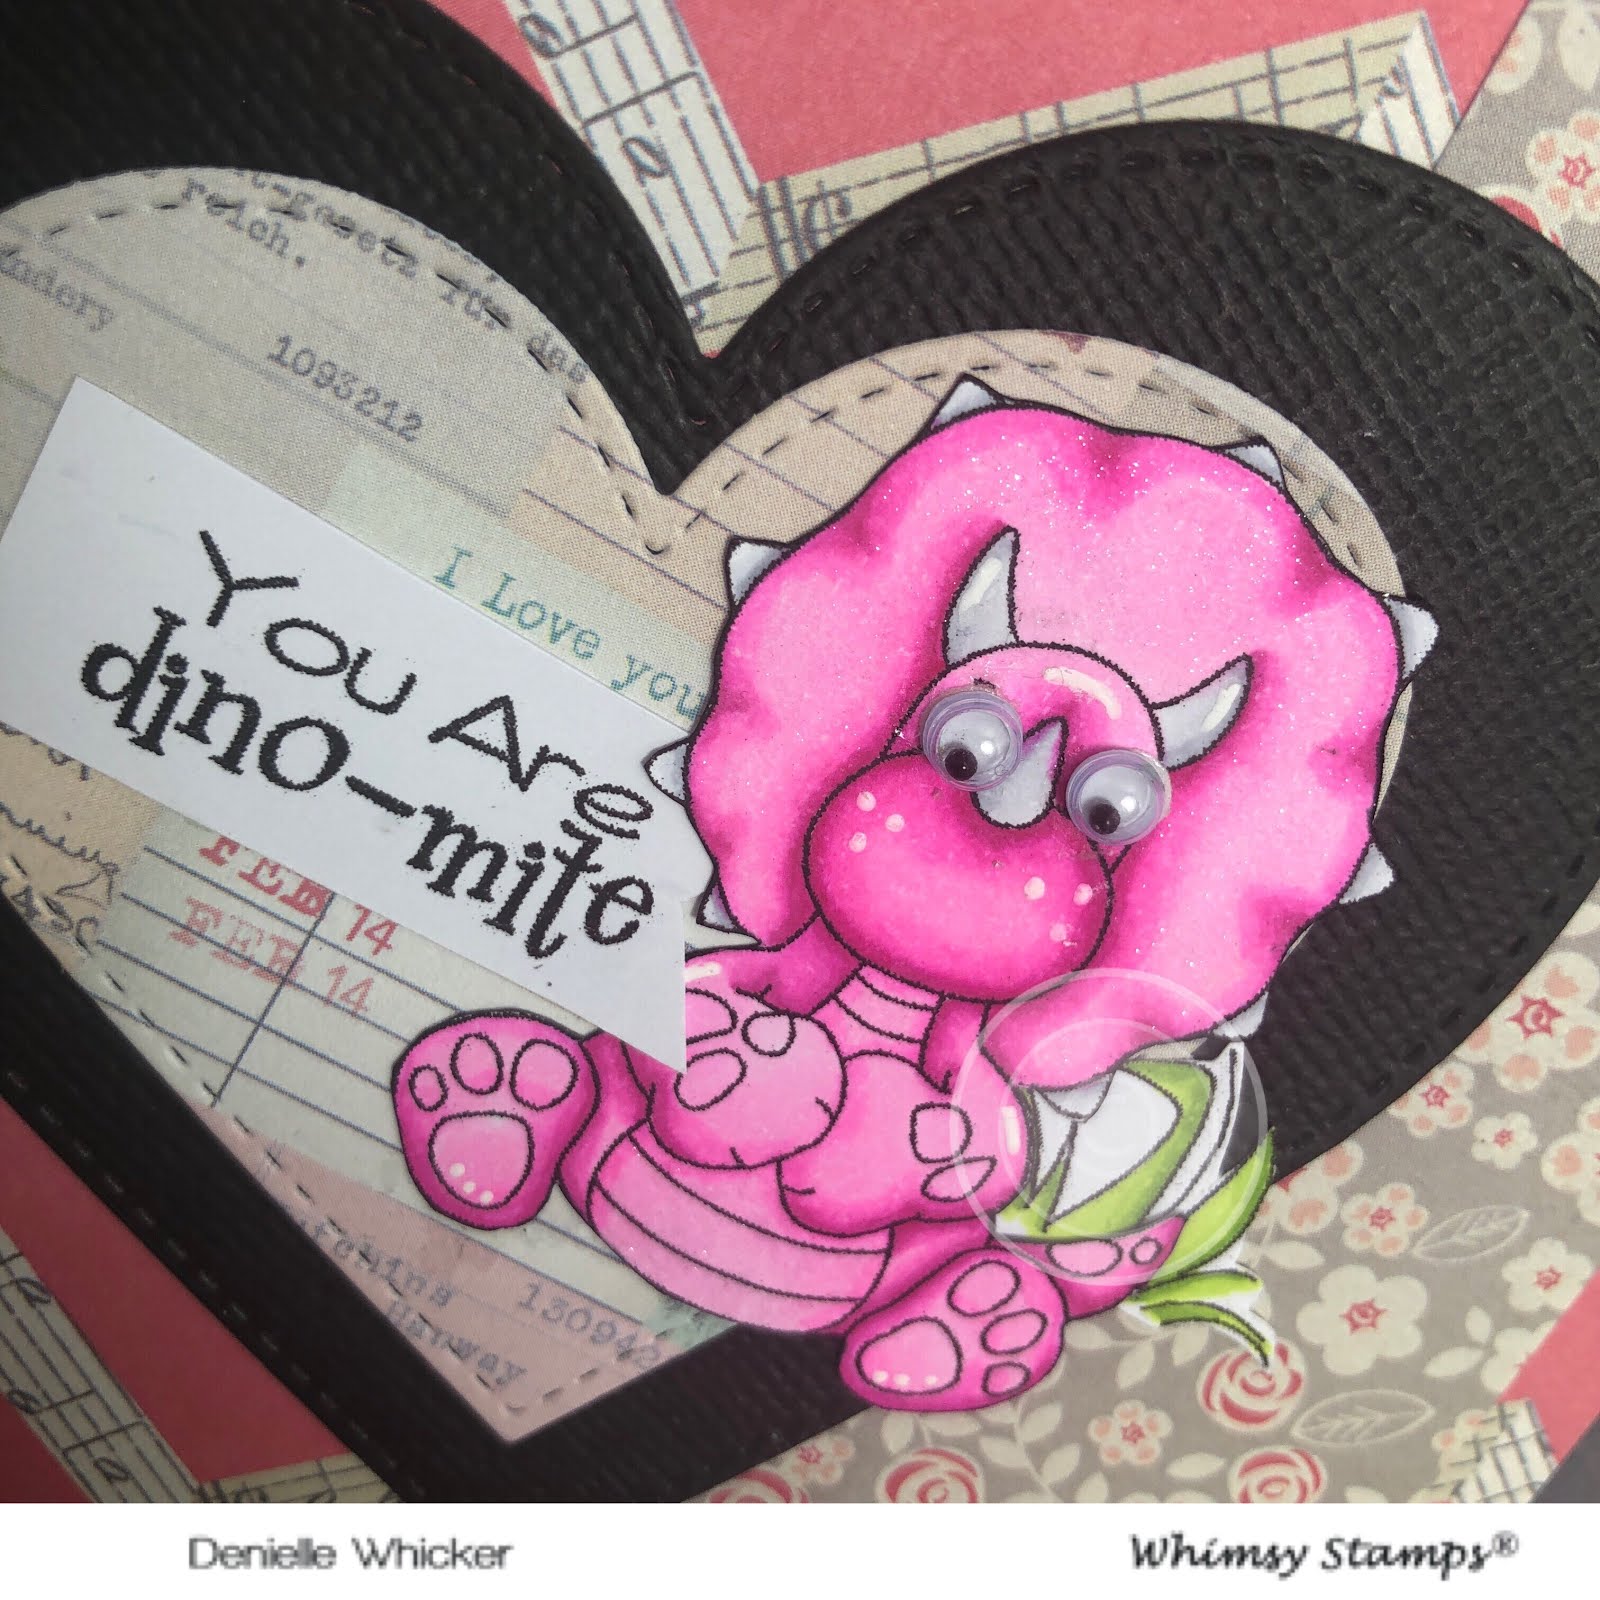
Today I am super excited to share with you a new to me stamp set from Whimsy Stamps called Dinosaur Friends, designed by Crissy Armstrong. A fantastic stamp set, I love that you can use them on boy cards or girls, they aren't really leaning towards one or the other.
I used all three of the dinosaurs, one on each card :-)
I inked the stamps up using Memento Tuxedo Black and stamped them out onto X-Press It Blending Cardstock using my Misti Stamping Tool.
I coloured all the dinosaurs and one of the grass sections using Copic Markers, I then fussy cut them using EK Success Cutterbee Scissors and ran my Tombow Dual Ended Black Marker around the outside to finish them off.
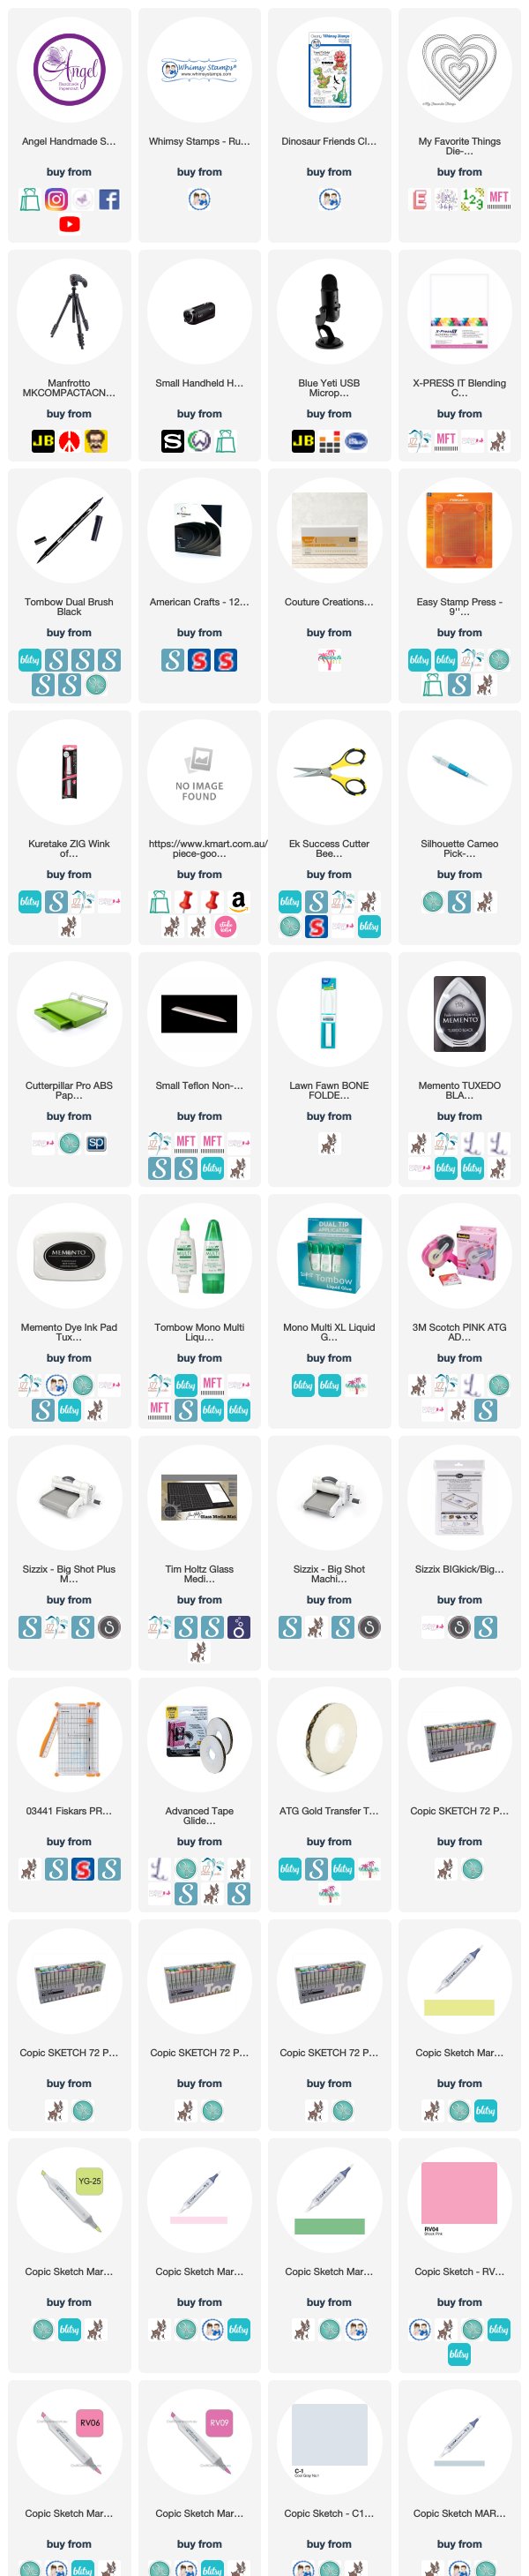
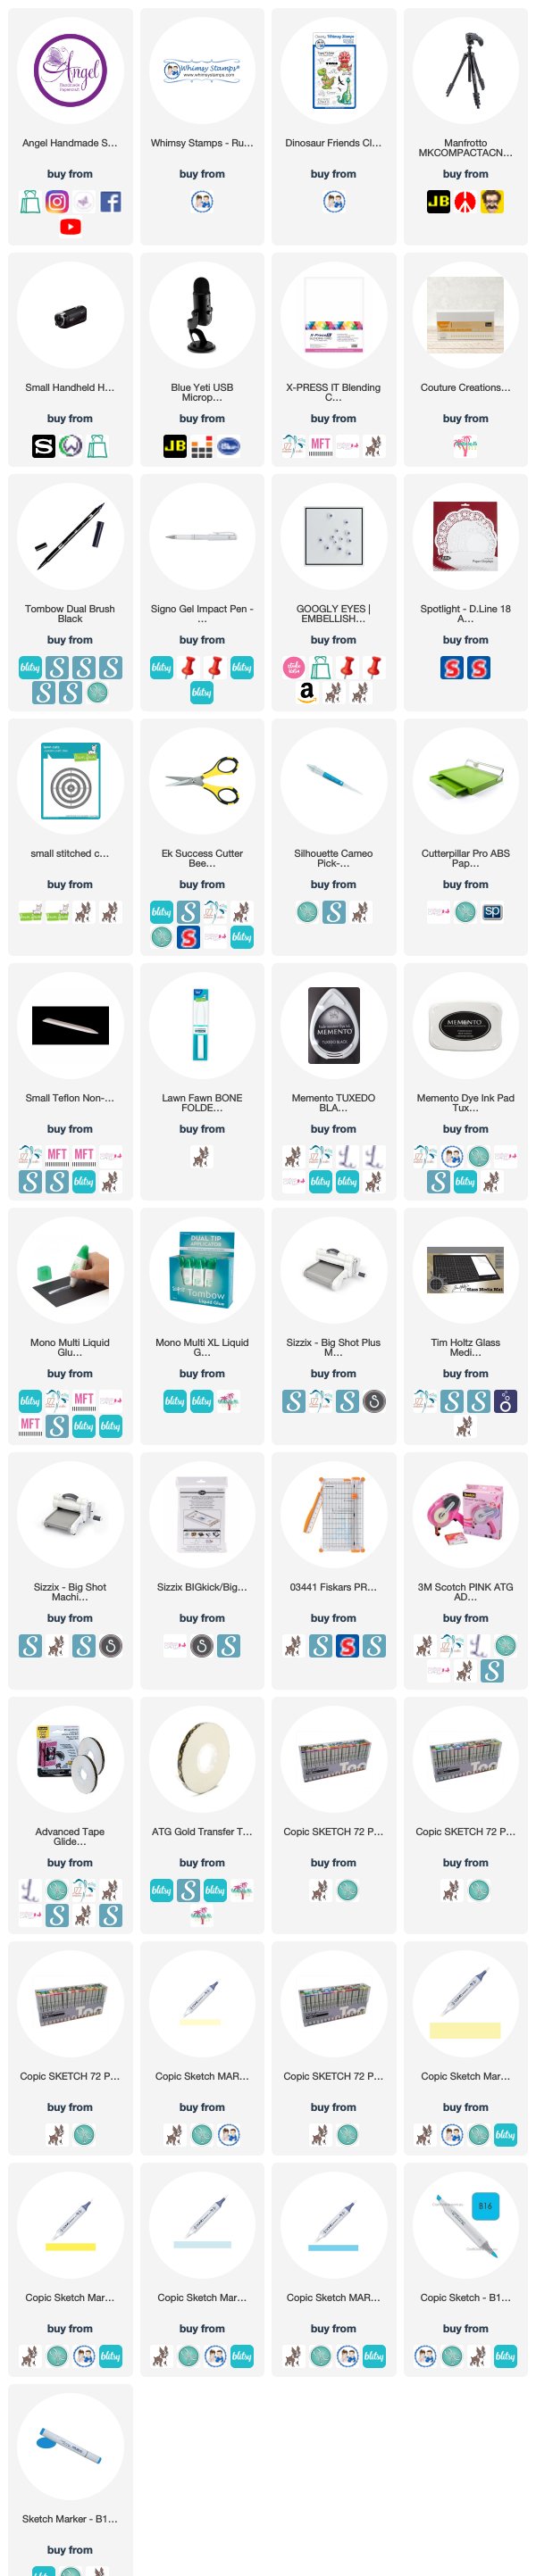
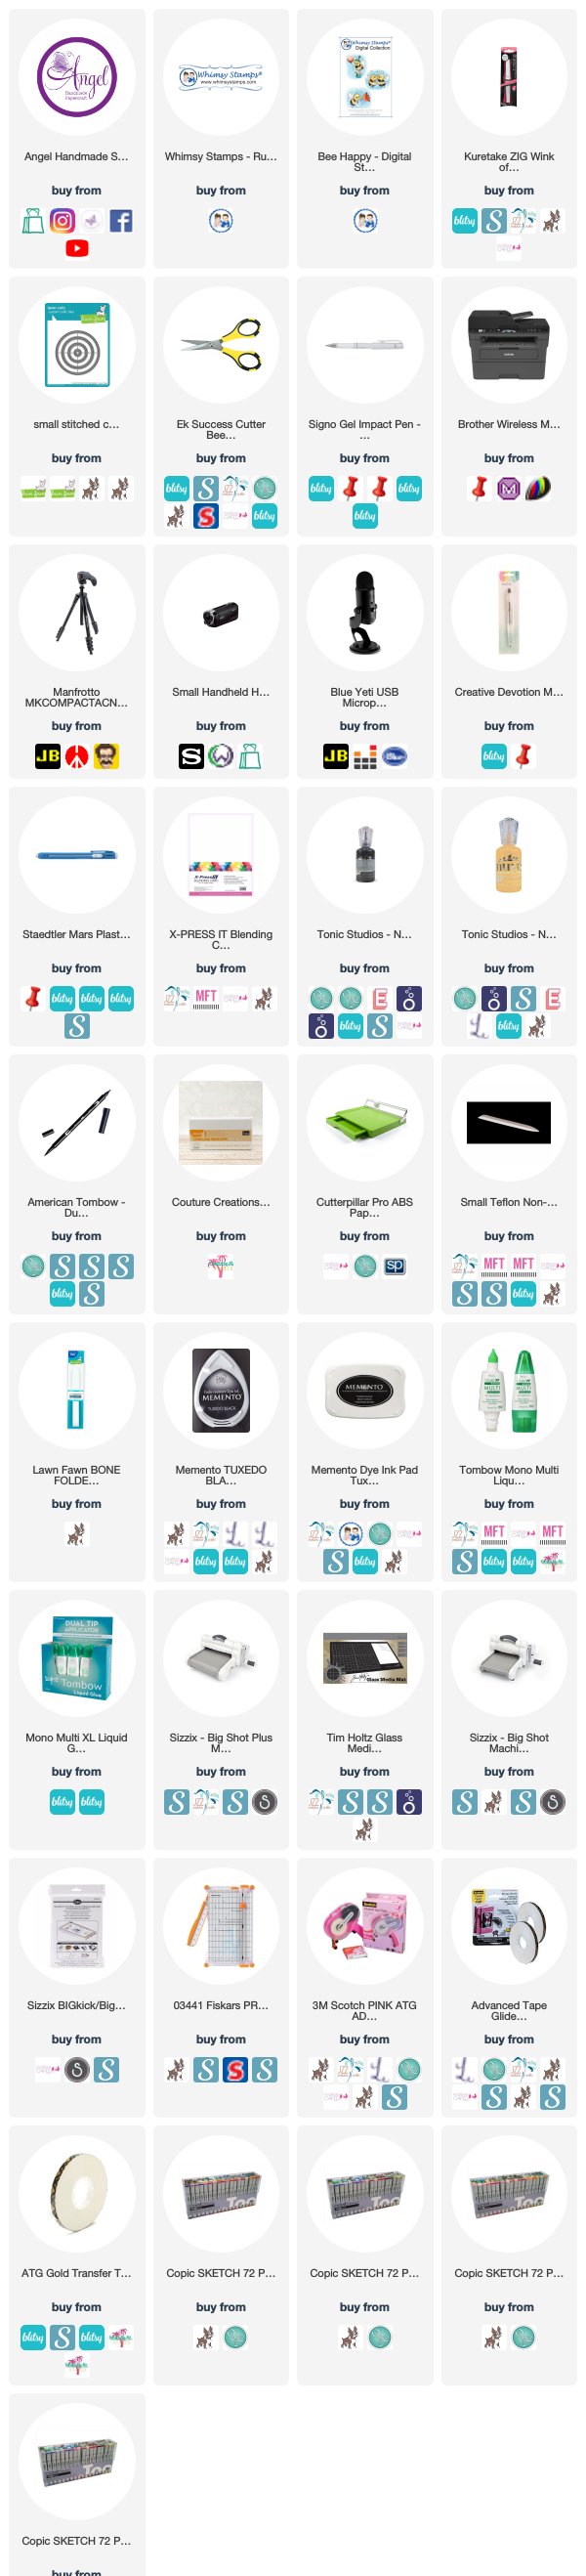
I will have all the links below for each of the cards I have created.
I hope you have enjoyed my post today, if you have any questions feel free to send me a message or contact me via facebook (all links can be found below).
Products Used On My Cards (Affiliate Links Used Where Possible)
Pink Dinosaur Card
Orange Dinosaur Card
Blue Dinosaur
Thanks for stopping by, Deni
CAMERA SET UP - FOR YOU TUBE VIDEOS ONLY
Blue Yeti Microphone
Sony Handycam HDR CX4-05
Tripod – Manfrotto MKCompactaCN-BK
S O C I A L MEDIA
B L O G : http://angelhandmadepapercraft.blogspot.com.au/
I N S T A G R A M : http://instagram.com/angelhandmadepapercraft
YOU TUBE: http://www.youtube.com/c/AngelHandmadePapercraft
F A C E B O O K: http://www.facebook.com/angelhandmadepapercraft
PINTEREST: https://www.pinterest.com.au/angelhandmadepapercraft
I was a 2018 Ambassador for Copic Marker Australia and NZ
Today I am super excited to be sharing with you my card #3 for Whimsy Stamps June Release using the Bee Happy Digital Stamp Set. This is Bee With Flower.
I started by printing my image onto X-Press It Blending Cardstock using my Brother Laser Printer. This is my go to steps for Digital Stamps. I don't have any fancy editing programs etc so I just pop the images into MS Word Document and resized it simple as that. I then coloured the image up using Copic Markers.
I wanted to cut my image out into a Circle Shape, I grabbed a Lawn Fawn Stitched Circle Die and traced the inside of it using a Mechanical Pencil so I could see exactly where it was going to cut.
I then used my EK Success Cutterbee Scissors to fussy cut the petals part of the flower so I was able to slide the die underneath them, putting the die underneath that section means when I run it through my Sizzix Big Shot it would not cut that section off (because it is not under the cutting part of the die). I ran it through my Big Shot and it was perfect.
I used a dual ended Tombow black marker to go around the outside of the flower to make sure there was no white showing from doing the fussy cutting and used my white gel pen to add some detail to the flower and the cheeks of the bee.
I grabbed some American Crafts plain coloured cardstocks and cut them down to size using my Cutterpillar Pro. The patterned papers are from Pebbles Inc Spring Fling 6x6 Paper Pad, this is the same paper pad I had used on the other two cards from this stamp set.
I adhered all the papers using Scotch ATG onto a Couture Creations Card Base.
Next I had a leftover sentiment from an old Love From Lizi kit sitting on my desk so I adhered that to the bottom right of the card.
Final steps - I added Wink Of Stella Clear to the flower and the wings and I added Nuvo Crystal Drops and allowed them to dry overnight.
I hope you have enjoyed my post today, if you have any questions feel free to send me a message or contact me via facebook (all links can be found below).
Watch the You Tube Video Here
Products Used On My Card (Affiliate Links Used Where Possible)
CAMERA SET UP - FOR YOU TUBE VIDEOS ONLY
Blue Yeti Microphone
Sony Handycam HDR CX4-05
Tripod – Manfrotto MKCompactaCN-BK
S O C I A L MEDIA
B L O G : http://angelhandmadepapercraft.blogspot.com.au/
I N S T A G R A M : http://instagram.com/angelhandmadepapercraft
YOU TUBE: http://www.youtube.com/c/AngelHandmadePapercraft
F A C E B O O K: http://www.facebook.com/angelhandmadepapercraft
PINTEREST: https://www.pinterest.com.au/angelhandmadepapercraft
I was a 2018 Ambassador for Copic Marker Australia and NZ
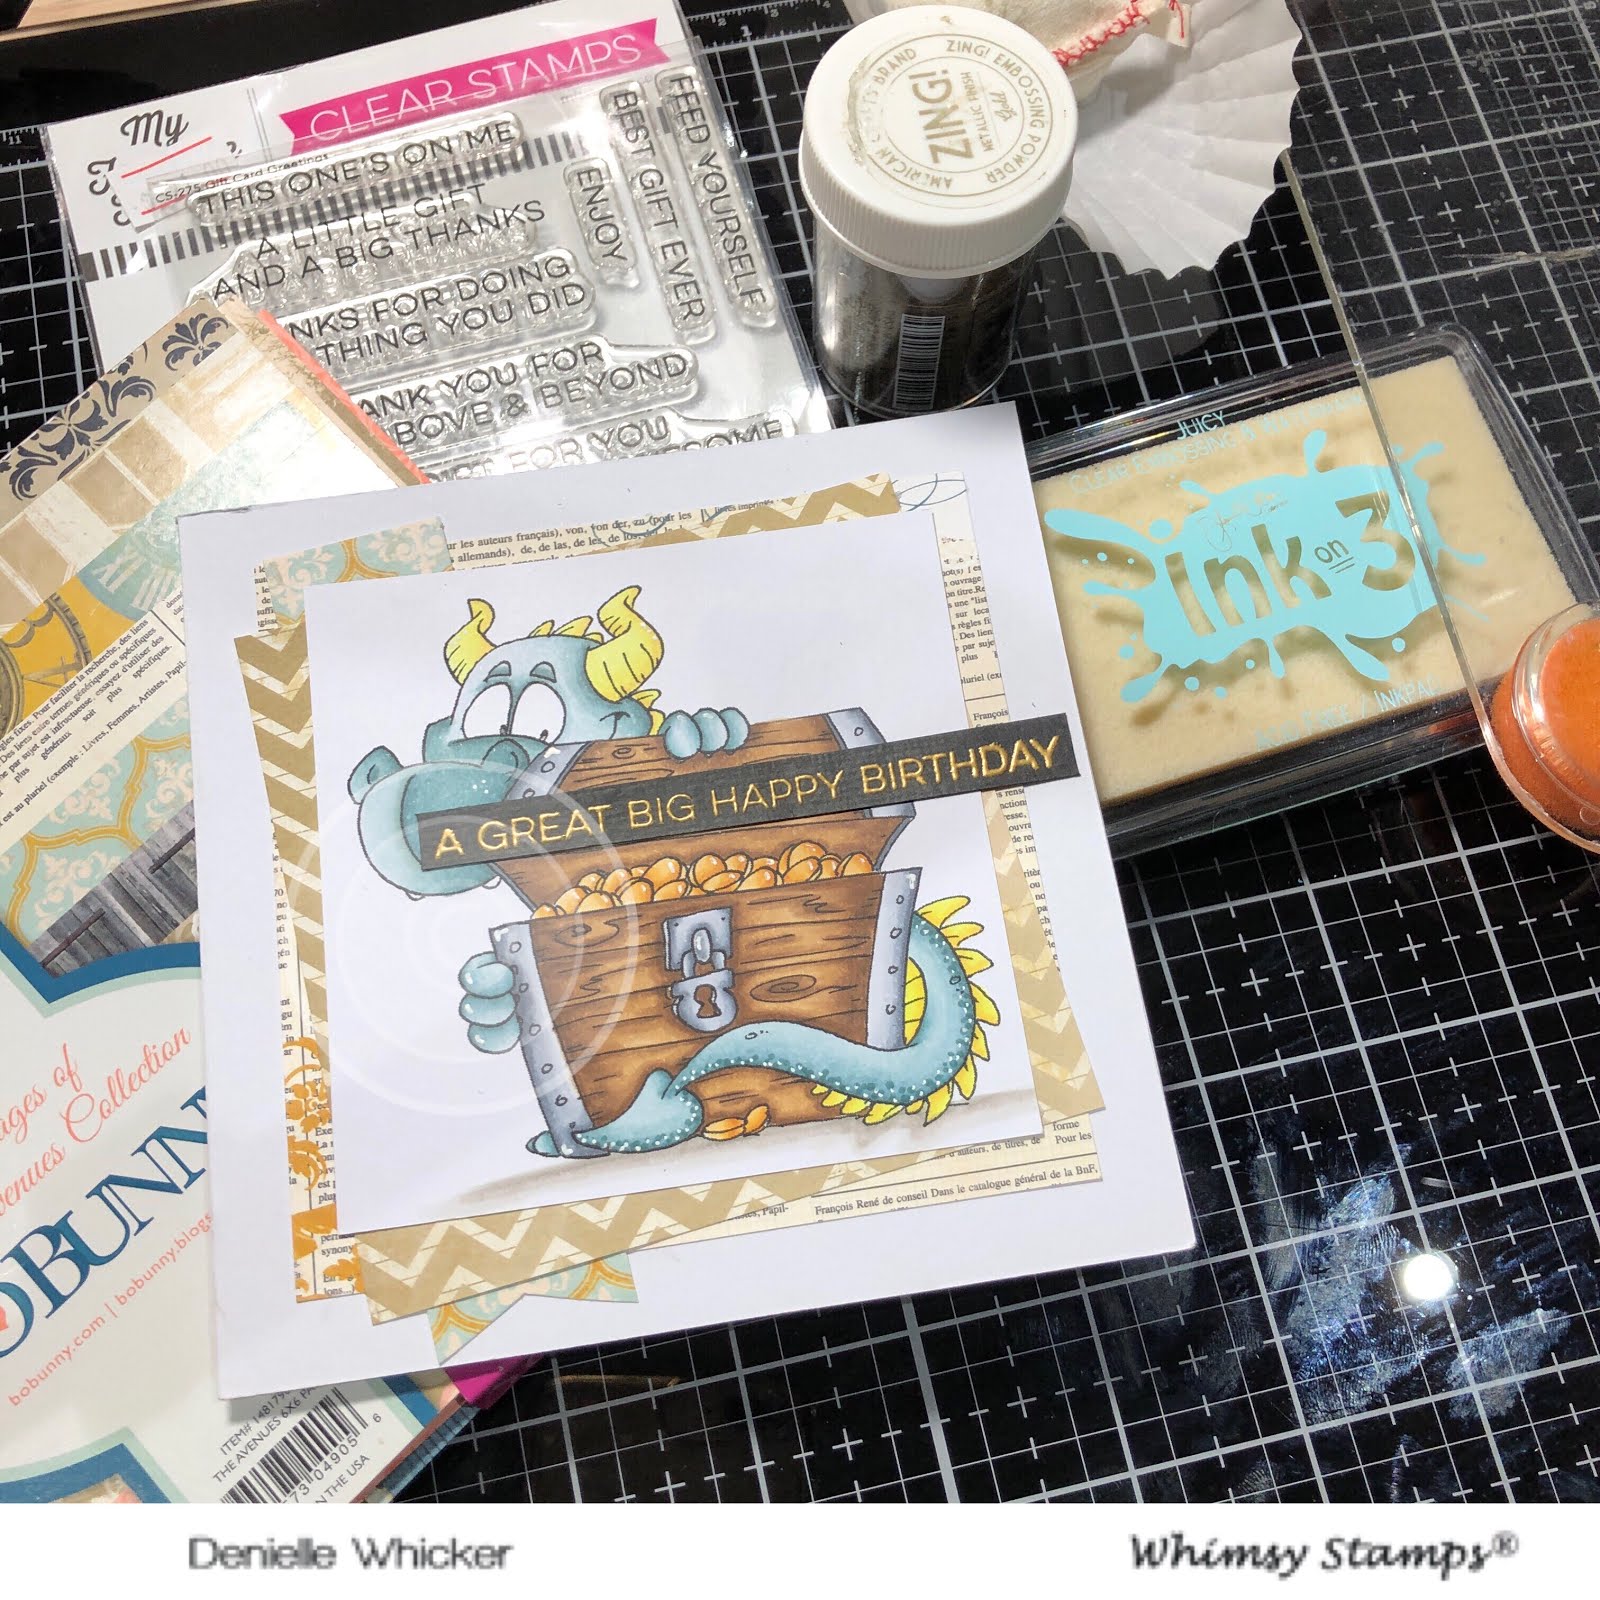
Today I am working with a Whimsy Stamps Rubber Stamp called Peeking Dragon, such an adorable image to work with.
I stamped the image onto X-Press It Blending Cardstock using Memento Tuxedo Black and a Fiskars Stamping Press.
I used my Copic Markers to colour the image up, I will have all these listed below including picture links to purchase.
Once I had the image coloured up I used my Uni-Ball Signo White Gel Pen to add details to the image.
I cut the image down on my Tim Holtz Tonic Studios Guillotine.
I used a leftover strip of American Crafts Black Cardstock, and stamped out a sentiment from MFT Stamps Gift Card Greetings Stamp Set, I used Ink On 3 Embossing Ink and some Zing! Embossing Powder in Gold and my heat gun to melt the embossing powder.
I used patterned papers from Bo Bunny The Avenues Collection 6x6 Paper Pad and cut some pieces down on my Guillotine, I adhered all the layers to a Couture Creations Card Base using Scotch ATG.
I hope you have enjoyed my post today, if you have any questions feel free to send me a message or contact me via facebook (all links can be found below).
Watch the You Tube Video Here
Products Used On My Card (Affiliate Links Used Where Possible)
CAMERA SET UP - FOR YOU TUBE VIDEOS ONLY
Blue Yeti Microphone
Sony Handycam HDR CX4-05
Tripod – Manfrotto MKCompactaCN-BK
S O C I A L MEDIA
B L O G : http://angelhandmadepapercraft.blogspot.com.au/
I N S T A G R A M : http://instagram.com/angelhandmadepapercraft
YOU TUBE: http://www.youtube.com/c/AngelHandmadePapercraft
F A C E B O O K: http://www.facebook.com/angelhandmadepapercraft
PINTEREST: https://www.pinterest.com.au/angelhandmadepapercraft
I was a 2018 Ambassador for Copic Marker Australia and NZ