Saturday, 27 April 2019

Whimsy Stamps - Sylvia Zet - Cindy

Omg you guys,

I am so super excited to share with you one of the new Sylvia Zet images over at Whimsy Stamps, this is Cindy and she is my absolute favourite so far :-)
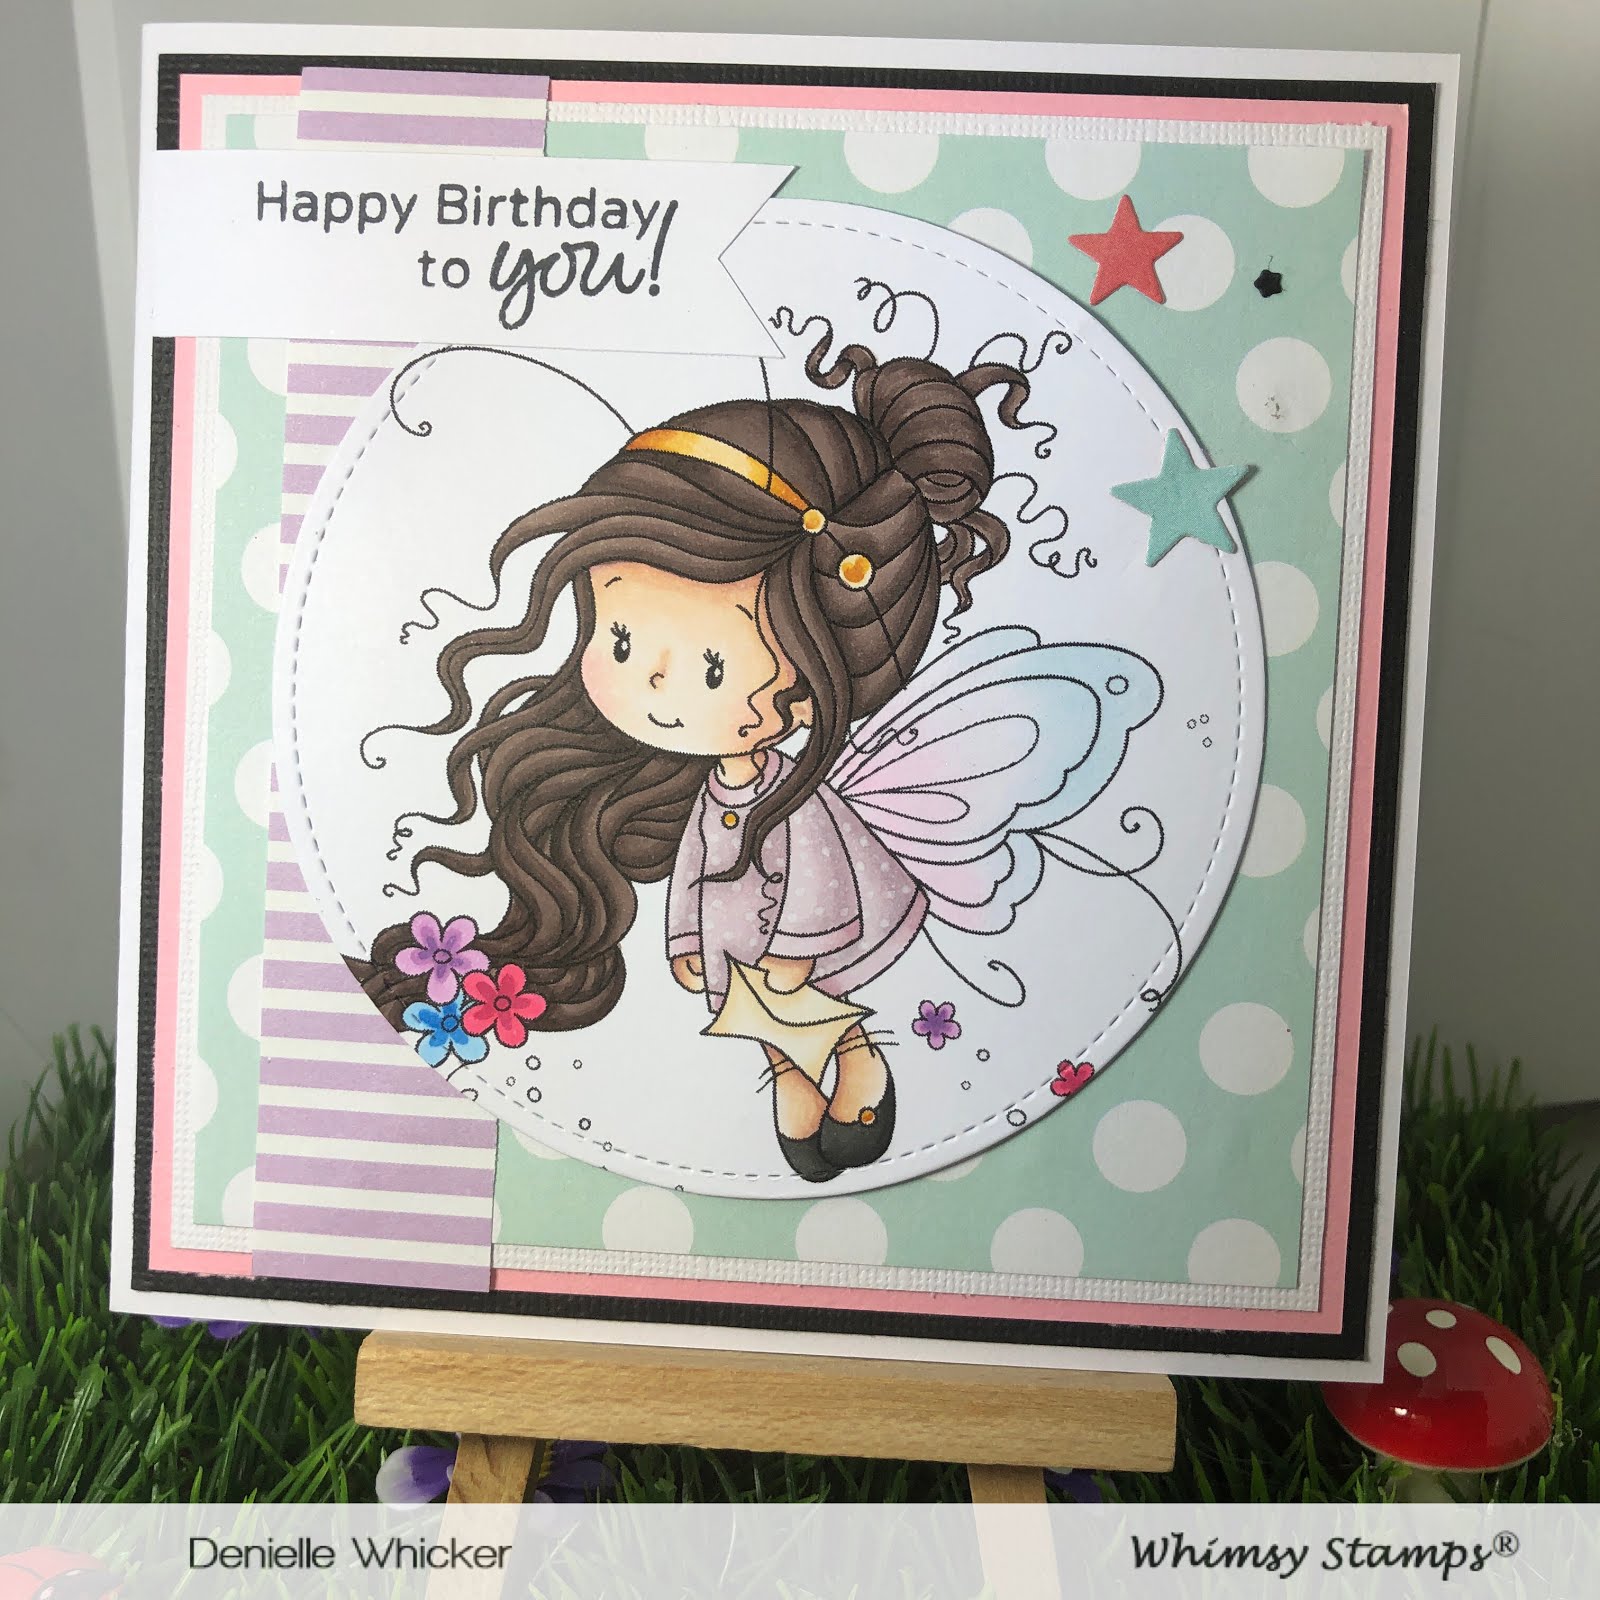

I printed her using my Brother Laser Printer onto X-Press It Blending Cardstock so I was able to colour using Copic Markers.

I ran the image through my Sizzix Big Shot using Lawn Fawn Stitched Circle Die, these are my favourite circle dies, always perfectly sized just for me.


I used patterned papers from a Kmart paper pad, and cardstocks from American Crafts and some other unknown papers.

I used a sentiment from Studio Katia Birthday Greetings, I inked it up using Memento Tuxedo Black and used a Lawn Fawn Acrylic Block to stamp it out onto some leftover X-Press It Blending Cardstock which I then cut down to size using EK Success Cutterbee Scissors.

I added Wink Of Stella Clear to her wings and finally I used my Silhouette Pick Me Up Tool to add some stars to my card, the stars are leftovers from other projects.

I adhered all the layers to a Couture Creations card base and decorated the inside of my card to match.

I hope you have enjoyed my post today, if you have any questions feel free to send me a message or contact me via facebook (all links can be found below).

Watch the You Tube Video Here


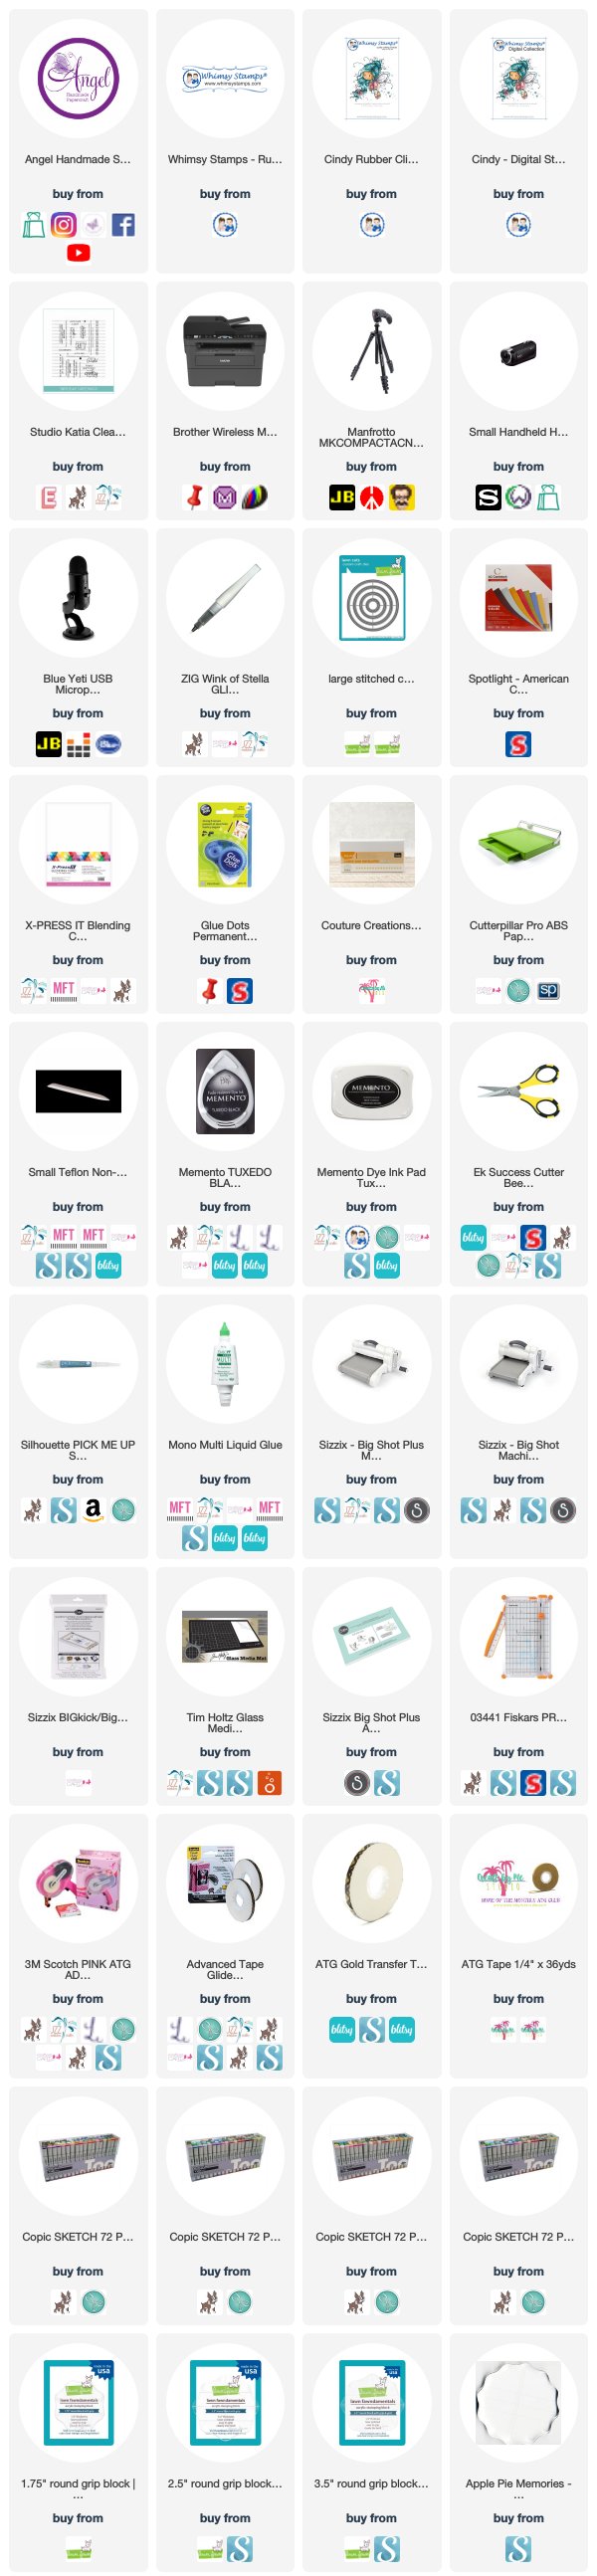
  Products Used On My Card (Affiliate Links Used Where Possible)


Copic Markers Used

E74, E77, E79
T6, T8, T10
YR21, YR24, YR27
V12, V15, V17
RV14, RV19
B12, B16
E000, E00, E21, E11, E04, R20
V91, V93, V95
RV91, RV93, RV95
RV00, RV0000, B0000
E50, E53

Thanks for stopping by, Deni

CAMERA SET UP - FOR YOU TUBE VIDEOS ONLY
Blue Yeti Microphone
Sony Handycam HDR CX4-05
Tripod – Manfrotto MKCompactaCN-BK

S O C I A L MEDIA 
B L O G : http://angelhandmadepapercraft.blogspot.com.au/
I N S T A G R A M : http://instagram.com/angelhandmadepapercraft
YOU TUBE: http://www.youtube.com/c/AngelHandmadePapercraft
F A C E B O O K: http://www.facebook.com/angelhandmadepapercraft
PINTEREST: https://www.pinterest.com.au/angelhandmadepapercraft


I was a 2018 Ambassador for Copic Marker Australia and NZ


Wednesday, 24 April 2019

How To Video - Cleaning Copic Markers

Hi Everyone,

Just a quick post tonight, I have just loaded onto my You Tube Channel a How To Video on how I clean and refill my Copic Markers..


I hope you have enjoyed my post today, if you have any questions feel free to send me a message or contact me via facebook (all links can be found below).

Watch the You Tube Video Here


Products Used On My Card (Affiliate Links Used Where Possible)


Copic Markers Used

E000, E00, E21, E11, E04, R20 - Refills for all used in this video also.
Thanks for stopping by, Deni

CAMERA SET UP - FOR YOU TUBE VIDEOS ONLY
Blue Yeti Microphone
Sony Handycam HDR CX4-05
Tripod – Manfrotto MKCompactaCN-BK

S O C I A L MEDIA 
B L O G : http://angelhandmadepapercraft.blogspot.com.au/
I N S T A G R A M : http://instagram.com/angelhandmadepapercraft
YOU TUBE: http://www.youtube.com/c/AngelHandmadePapercraft
F A C E B O O K: http://www.facebook.com/angelhandmadepapercraft
PINTEREST: https://www.pinterest.com.au/angelhandmadepapercraft


I was a 2018 Ambassador for Copic Marker Australia and NZ


La La Land Crafts - Knight Luka

Good Morning Everyone,

Today I am here to share with you a new to me image from La La Land Crafts, this is Knight Luka he is available as a Digital Stamp and as a Rubber Stamp.

I purchased the Digital Stamp during the last sale, such a great image to colour up. I printed the image and the sentiment onto X-Press It Blending Card using Copic Markers.


I fussy cut the image using EK Success Cutterbee Scissors then ran around the outside using a Tombow black dual end marker holding the marker from back to the front so as to not accidentally get any ink on the actual image.

I grabbed a pre-made card base from my stash and using a Mini Ink Blending Tool and Tim Holtz Ranger Wilted Violet Oxide Ink I made a circular motion to the centre of the card.

I used Club La La Land Crafts July 2016 Kit, these items are now available to purchase separately so have linked them all up. I used the Castle Border Die and the Bricks die which I ran through my Sizzix Big Shot using American Crafts Cardstock. I ran them through a couple of times in black and grey cardstock.


I adhered one grey on top of one black castle using American Tombow Mono Multi Liquid Adhesive, then adhered it to the back of my image. I then adhered two of the brick dies together just using some washing tape so I could get them aligned before adhering.

I inlayed some of the black bricks to the grey die cut using the liquid adhesive.

I then used the liquid adhesive to adhered the die cuts, the image and sentiment to the card base.

I also used some Wink Of Stella Clear to bling up my card.

I hope you have enjoyed my post today, if you have any questions feel free to send me a message or contact me via facebook (all links can be found below).

Watch the You Tube Video Here


  Products Used On My Card (Affiliate Links Used Where Possible)


Copic Markers Used

E000, E00, E21, E11, E04, R20
N1, N3, N5
R24, R27, R29
V04, V06, V09
E55, E57, E59
0 Colorless Blender

Thanks for stopping by, Deni

CAMERA SET UP - FOR YOU TUBE VIDEOS ONLY
Blue Yeti Microphone
Sony Handycam HDR CX4-05
Tripod – Manfrotto MKCompactaCN-BK

S O C I A L MEDIA 
B L O G : http://angelhandmadepapercraft.blogspot.com.au/
I N S T A G R A M : http://instagram.com/angelhandmadepapercraft
YOU TUBE: http://www.youtube.com/c/AngelHandmadePapercraft
F A C E B O O K: http://www.facebook.com/angelhandmadepapercraft
PINTEREST: https://www.pinterest.com.au/angelhandmadepapercraft


I was a 2018 Ambassador for Copic Marker Australia and NZ


Kindred Stamps - Ocean Royalty

Hi All,

Today I am sharing with you my last New Release week card for Kindred Stamps, I have one more weekly card and that is my term finished. I have thoroughly enjoyed working with the team at Kindred Stamps and hope to work with them again.

The entire Kindred Stamps April release will be available Friday, April 26th at 8am PST/11am EST. Be sure to subscribe to the Kindred Stamps blog to see a daily line up of sneak peeks from our amazing Design Team and see the full product release on Friday! Come join the Fan Club and release event to be part of the release fun, and you may just win some Kindred Stamps credit!!

The New Release Stamp Set I am working with today is Ocean Royalty, such an adorable set to play with. Stamp set will be available in a couple of days, you can check it out here on the Kindred Stamps Shop when it releases


I stamped the images onto X-Press It Blending Cardstock using Memento Tuxedo Black and my Misti Stamping Tool, I then coloured the images up using Copic Markers.

I fussy cut the stamped images using EK Success Cutterbee Scissors, these are my go to fussy cutting scissors because they have a nice sharp point to them which makes it so much easier.

I used a Mama Elephant 3D Pop Up Card die and some American Crafts Cardstock, I ran this through my Sizzix Big Shot twice and adhered the two together using Scotch ATG.

I also ran the insert piece through twice using the same cardstock.

I firstly adhered all the images to the box using Glue Dots temporary adhesive dots, I did this to make sure I had my layout exactly as I wanted, I then went back in with American Tombow Mono Multi Liquid adhesive.


I ran La La Land Crafts Castle Border die through using some Kraft cardstock and the Sea Bubbles border using the same blue cardstock from the box.

I ran the bubbles border through a few times and added those to the outside flaps.

The sentiment I cut down using my Tim Holtz Guillotine.


I hope you have enjoyed my post today, if you have any questions feel free to send me a message or contact me via facebook (all links can be found below).

Watch the You Tube Video Here


Products Used On My Card (Affiliate Links Used Where Possible)


Copic Markers Used

BV11, BV13, BV17
R14, R17, R35
E000, E00 E11, E13, R20
G03, G07

E000, E00, E21, E11, E04, R20
B21, B24, B26
YR21, YR24, YR27
C6, C8, C10

E000, E00, E21, E11, E-4, R20
BG01, BG05, BG07
E37,YR21, YR24, YR27
N1, N3, 0

BV23, BV25

R35, R37
V20, V22, V25, V28
V04, V06, V09
BG23, N1, N3, 0
C4, C6, C8
B04

Thanks for stopping by, Deni

CAMERA SET UP - FOR YOU TUBE VIDEOS ONLY
Blue Yeti Microphone
Sony Handycam HDR CX4-05
Tripod – Manfrotto MKCompactaCN-BK

S O C I A L MEDIA 
B L O G : http://angelhandmadepapercraft.blogspot.com.au/
I N S T A G R A M : http://instagram.com/angelhandmadepapercraft
YOU TUBE: http://www.youtube.com/c/AngelHandmadePapercraft
F A C E B O O K: http://www.facebook.com/angelhandmadepapercraft
PINTEREST: https://www.pinterest.com.au/angelhandmadepapercraft


I was a 2018 Ambassador for Copic Marker Australia and NZ


Saturday, 20 April 2019

Whimsy Stamps - Bird Swing

We are almost at mid month release for Whimsy Stamps, how fast is this month going already..

I have chosen to create a card using of the April 2018 releases - this is Bird Swing, such a sweet image.


I printed the image onto X-Press It Blending Cardstock using my Brother Laser Printer, this allowed me to colour the images using Copic Markers.

I missed the colouring of the birds on my video - apologies my camera has stolen the footage and is hiding it from me haha.


I used some ribbons and lace from my stash, I have been a hoarder of these things for so long and never seem to use them, this project seemed perfect for this card.

Patterned papers are from Basic Grey Mint Julep Collection 6x6 Paper Pad, I really love the softness of the colours and patterns in this pad.

I paired the papers up with Nuvo Crystal Drops Antique Rose and Bubblegum Blush.

To pop the image up I used Glue Dots Repositionable Mounting Tape, It wasn't too thick that it gave my card bulk but was thick enough to pop it up off my card a little.

I layered the patterned papers up with American Crafts White Cardstock and adhered them using Scotch ATG to a Couture Creations Card Base.


I hope you have enjoyed my post today, if you have any questions feel free to send me a message or contact me via facebook (all links can be found below).

Watch the You Tube Video Here


  Products Used On My Card (Affiliate Links Used Where Possible)


Copic Markers Used

E30, E31
YR24, YR27
R81, R83, R85
G07, G28
E51, E53, E55, E57
R20, 0

Thanks for stopping by, Deni

CAMERA SET UP - FOR YOU TUBE VIDEOS ONLY
Blue Yeti Microphone
Sony Handycam HDR CX4-05
Tripod – Manfrotto MKCompactaCN-BK

S O C I A L MEDIA 
B L O G : http://angelhandmadepapercraft.blogspot.com.au/
I N S T A G R A M : http://instagram.com/angelhandmadepapercraft
YOU TUBE: http://www.youtube.com/c/AngelHandmadePapercraft
F A C E B O O K: http://www.facebook.com/angelhandmadepapercraft
PINTEREST: https://www.pinterest.com.au/angelhandmadepapercraft


I was a 2018 Ambassador for Copic Marker Australia and NZ


Friday, 19 April 2019

Whimsy Stamps - PC Dotty

Hi Everyone,

Today I am working with Whimsy Stamps and I would like to share with you another of the new April 2018 Images. This is PC Dotty.


I printed her out onto X-Press It Blending Cardstock using my Brother laser printer, this allows me to be able to colour with Copic Markers without any bleeding.

I will have all the Copic Markers used in the links below and also a written list at the end of the post.


I have used patterned papers from Lilybee Design Pinwheel 6x6 Paper Pad, I cut them to size using Cutterpillar Pro and I used a mixture of adhesives - Scotch ATG and American Tombow Mono Multi Liquid Adhesive.

I added all the layers to a pre-made card base from Couture Creations used Scotch ATG.


Finally once my card was all together I added some Tonic Studios Nuvo Crystal Drops in Ripened Pumpkin, Dandelion Yellow and Caribbean Ocean.

I also added some Wink Of Stella to her hat.


I hope you have enjoyed my post today, if you have any questions feel free to send me a message or contact me via facebook (all links can be found below).

Watch the You Tube Video Here


Products Used On My Card (Affiliate Links Used Where Possible)


Copic Markers Used

E000, E00, E21, E11, E04, R20
Y11, Y18
YR20, YR24
E74, E77, E79
BG13, BG57

Thanks for stopping by, Deni

CAMERA SET UP - FOR YOU TUBE VIDEOS ONLY
Blue Yeti Microphone
Sony Handycam HDR CX4-05
Tripod – Manfrotto MKCompactaCN-BK

S O C I A L MEDIA 
B L O G : http://angelhandmadepapercraft.blogspot.com.au/
I N S T A G R A M : http://instagram.com/angelhandmadepapercraft
YOU TUBE: http://www.youtube.com/c/AngelHandmadePapercraft
F A C E B O O K: http://www.facebook.com/angelhandmadepapercraft
PINTEREST: https://www.pinterest.com.au/angelhandmadepapercraft


I was a 2018 Ambassador for Copic Marker Australia and NZ


Thursday, 18 April 2019

Whimsy Stamps - Sweetheart

Today I have a Whimsy Stamps card to share with you, this image was from a couple of releases ago but I had her coloured up on my desk ready to be put on a card.

I don't have video of the colouring, however I do have the card process so feel free to watch below and if you haven't already I would love for you to subscribe.

This image is called Sweetheart, you can find links to purchase in the picture links below.


I used patterned papers from American Crafts #summer paper pad, this is the last few sheets of this paper, I think I have like 2 6x6 Pages left which is always pretty exciting haha.

I coloured the image up using Copic Markers after printing her onto X-Press It Blending Card, this is my go to cardstock for Copic Markers.


I cut the image to size using my Tim Holtz Guillotine and cut all my papers to size using my Cutterpillar Pro. I only used the one adhesive on my card - my scotch ATG.

Added a doily inbetween the layers and cut all the excess pieces off before adhering to a Couture Creations card base.

Finally to finish off my card I added some clear Wink Of Stella.


I hope you have enjoyed my post today, if you have any questions feel free to send me a message or contact me via facebook (all links can be found below).

Watch the You Tube Video Here


Products Used On My Card (Affiliate Links Used Where Possible)


Copic Markers Used

E000, E00, E21, E11, E04, R20
V12, V15, V17
Y32, Y35, Y38
BG02, BG05, BG07
R30, R32
Y21, Y26
N1, N3, 0
YR21, Y35

Thanks for stopping by, Deni

CAMERA SET UP - FOR YOU TUBE VIDEOS ONLY
Blue Yeti Microphone
Sony Handycam HDR CX4-05
Tripod – Manfrotto MKCompactaCN-BK

S O C I A L MEDIA 
B L O G : http://angelhandmadepapercraft.blogspot.com.au/
I N S T A G R A M : http://instagram.com/angelhandmadepapercraft
YOU TUBE: http://www.youtube.com/c/AngelHandmadePapercraft
F A C E B O O K: http://www.facebook.com/angelhandmadepapercraft
PINTEREST: https://www.pinterest.com.au/angelhandmadepapercraft


I was a 2018 Ambassador for Copic Marker Australia and NZ



