Thursday, 21 February 2019

Kindred Stamps - Bon Appetit Planner Layout

New Release week previews for Kindred Stamps have begun.

I was lucky enough to work with Bon Appetit, how super cute is this stamp set :-)


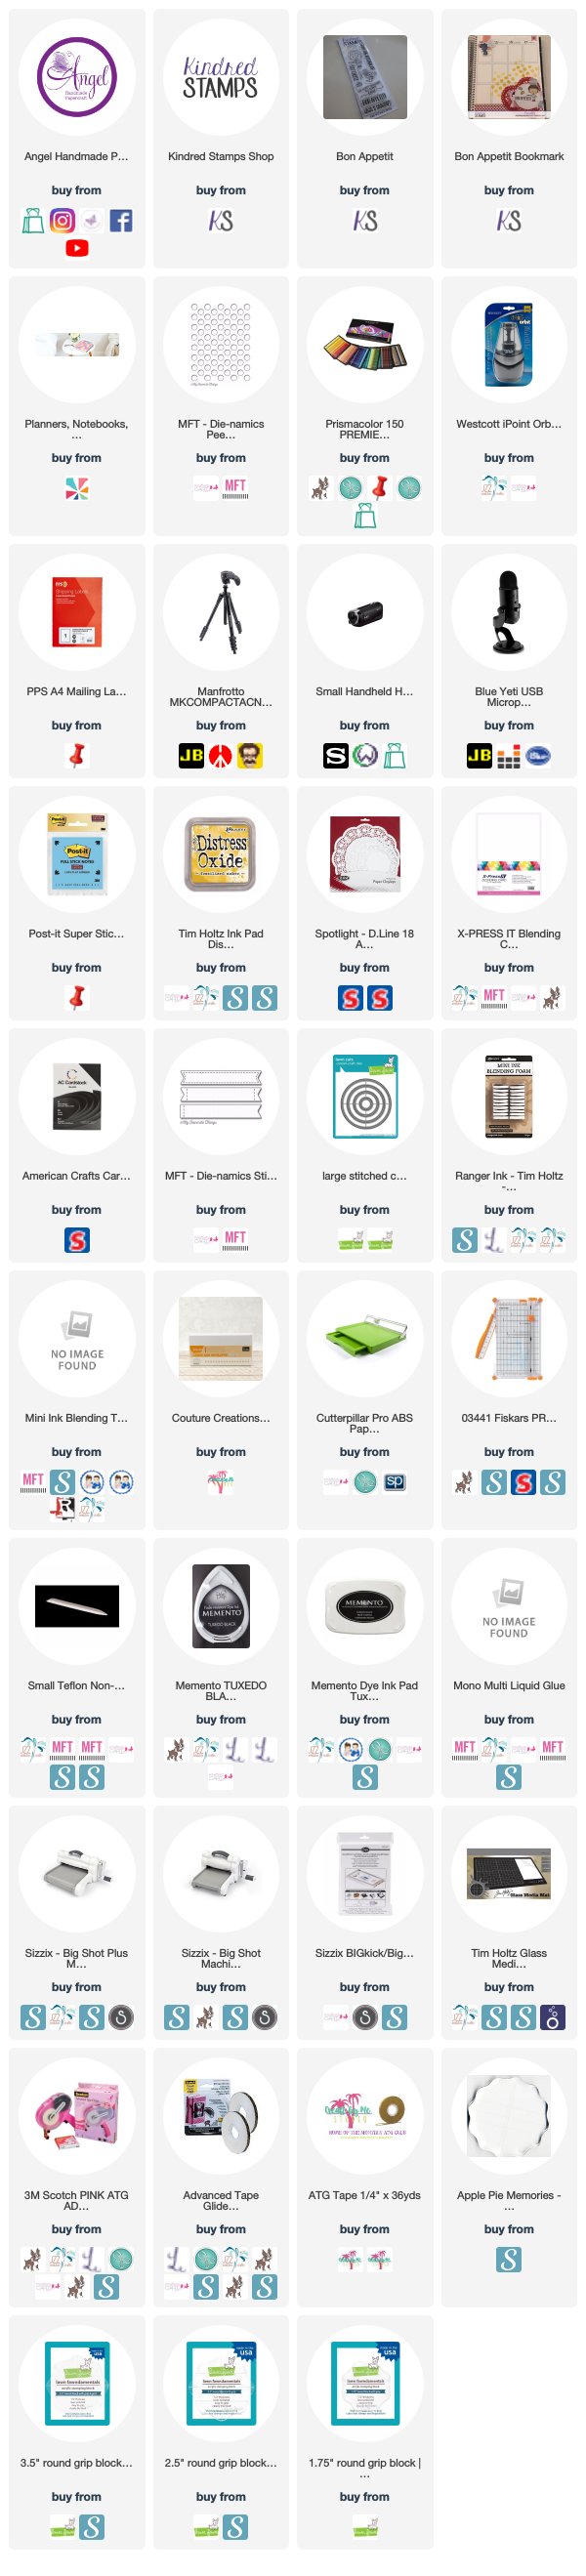
I stamped the images onto PPS Sticker Paper using Memento Tuxedo Black and a Lawn Fawn Acrylic Block. I then fussy cut the images out using EK Success Cutterbee Scissors

I am using my Erin Condren Vertical Planner my planner layout today, If you are interested in purchasing one please use my Affiliate Link here https://www.erincondren.com/referral/invite/deniellewhicker0324

Using an MFT Stamps die I ran it through my Sizzix Big Shot with some full adhesive post it notes, so i could use the pattern to create some cheese looking backgrounds. I used Fossilized Amber Distress Oxide Ink and a mini ink blending tool to create this.

I ran some white cardstock through my Big Shot with a Lawn Fawn Stitched circle die, I did this twice then on one of them I ran it through again with some of the smaller circles.


I added some patterned papers and a doily to the corner.

Please check out my blog post where you can see my planner layout come to life.

I hope you have enjoyed my post today, if you have any questions feel free to send me a message or contact me via facebook (all links can be found below).

Watch the You Tube Video Here


Products Used On My Card (Affiliate Links Used Where Possible)


Thanks for stopping by, Deni

CAMERA SET UP - FOR YOU TUBE VIDEOS ONLY
Blue Yeti Microphone
Sony Handycam HDR CX4-05
Tripod – Manfrotto MKCompactaCN-BK

S O C I A L MEDIA 
B L O G : http://angelhandmadepapercraft.blogspot.com.au/
I N S T A G R A M : http://instagram.com/angelhandmadepapercraft
YOU TUBE: http://www.youtube.com/c/AngelHandmadePapercraft
F A C E B O O K: http://www.facebook.com/angelhandmadepapercraft
PINTEREST: https://www.pinterest.com.au/angelhandmadepapercraft


I was a 2018 Ambassador for Copic Marker Australia and NZ


Picket Fence Studios - Unicorn Friends

Good Morning,

Today I am sharing with you Unicorn Friends from Picket Fence Studios, this is a new stamp company to me and can I just say they are amazing stamps. What you see in the video is the first time they had been stamped out so you can see how clean they stamp.


I used a Lawn Fawn Acrylic Block and Memento Tuxedo Black to stamp out my images onto X-Press It Blending Cardstock.


I had planned to create two cards with the images so that's why I stamped them out twice.


I coloured the images up using Copic Markers, I went with the Neutral Greys for Unicorn so that the hair would stand out that little bit more. I will have all the Copic Markers linked up below and also listed beneath all the picture links.


Using Patterned papers from Basic Grey Mint Julep I cut a few layers up and matted them onto American Crafts Cardstock using Scotch ATG.


I added all the layers to a Couture Creations card base (I buy these in bulk with matching envelopes).

I added some Nuvo Crystal Drops in Dandelion Yellow to both cards, i patted them out so that I could get the little dome shape rather than the point.


I hope you have enjoyed my post today, if you have any questions feel free to send me a message or contact me via facebook (all links can be found below).

Watch the You Tube Video Here


Products Used On My Card (Affiliate Links Used Where Possible)


Copic Markers Used

N5, N3,N1, N0, 0, R20
Y13, Y15
B21, B24
V04, V06, V09
RV17, RV19, RV66, RV29, R59

Thanks for stopping by, Deni

CAMERA SET UP - FOR YOU TUBE VIDEOS ONLY
Blue Yeti Microphone
Sony Handycam HDR CX4-05
Tripod – Manfrotto MKCompactaCN-BK

S O C I A L MEDIA 
B L O G : http://angelhandmadepapercraft.blogspot.com.au/
I N S T A G R A M : http://instagram.com/angelhandmadepapercraft
YOU TUBE: http://www.youtube.com/c/AngelHandmadePapercraft
F A C E B O O K: http://www.facebook.com/angelhandmadepapercraft
PINTEREST: https://www.pinterest.com.au/angelhandmadepapercraft


I was a 2018 Ambassador for Copic Marker Australia and NZ


Tuesday, 19 February 2019

Lee Holland Illustrations - Bunny Blowing A Kiss

Hi Everyone :-)

Have I mentioned I have joined the Lee Holland Illustration Design Team? Well I have lol.

Here is my first Design Team Card.

How sweet is Bunny Blowing A Kiss :-) this is one of Lee's Digital Stamps and it is super sweet.


I printed the image onto X-Press It Blending Card using my Brother Laser Printer, using the laser printer made the image Copic safe.


I used some patterned papers from Crafters Choice Sweet Birdie, they were the perfect blend of soft pastel colours that I had in mind, I cut all the patterned papers to size using my Cutterpillar Pro.

I ran my image through my Sizzix Big Shot using a Lawn Fawn Stitched Square die.


I adhered all the layers to a Couture Creations card base using Scotch ATG. I grabbed an MFT Stamps stamp set called All About Mom. I used my EK Success Powder Tool to prepare the cardstock so that the embossing powder didn't stick anyone except where I want it. I used Versamark Watermark Ink and a Lawn Fawn Acrylic Bloc, grabbed the Happy Mother's Day sentiment and stamped it onto my image. I added some American Crafts Zing! Opaque Embossing Powder in the Rose colour, I used a cupcake wrapper to catch my excess embossing powder and put it back into the container.


Using my heat gun (which I had already on getting hot), I melted the embossing powder switching from heating from the front to heating from the back, this prevents the cardstock from warping too much. These patterned papers were so thin they did still buckle a little so I had to flatten them down once I had adhered them to my card.


I decorated the inside of my card and I was all done.


I hope you have enjoyed my post today, if you have any questions feel free to send me a message or contact me via facebook (all links can be found below).

Watch the You Tube Video Here


Products Used On My Card (Affiliate Links Used Where Possible)


Copic Markers Used

N0, N2, N4, 0
R20, R21
RV02
G43, G03, G46


Thanks for stopping by, Deni

CAMERA SET UP - FOR YOU TUBE VIDEOS ONLY
Blue Yeti Microphone
Sony Handycam HDR CX4-05
Tripod – Manfrotto MKCompactaCN-BK

S O C I A L MEDIA 
B L O G : http://angelhandmadepapercraft.blogspot.com.au/
I N S T A G R A M : http://instagram.com/angelhandmadepapercraft
YOU TUBE: http://www.youtube.com/c/AngelHandmadePapercraft
F A C E B O O K: http://www.facebook.com/angelhandmadepapercraft
PINTEREST: https://www.pinterest.com.au/angelhandmadepapercraft


I was a 2018 Ambassador for Copic Marker Australia and NZ


Sunday, 17 February 2019

Time For Tea Designs - Beats Bella

So crazy, its mid month already! It does mean there is a new release over at Time For Tea Designs though, we have a brand new challenge and brand new images ready on the new website.

I will have all the links below in the clickable links for you to check everything out.

But for now, let me introduce you to Beats Bella, she is one of the new Feb releases.


I printed the image onto X-Press It Blending Cardstock and coloured her up using Copic Markers, I am totally in love with this new image and was super excited to actually make two cards. I decided to share just one at a time so let's get started with this one.


I also have a video for you to watch with the Copic Colouring. I do apologise in advance I was so excited to be colouring her up that some of it is off screen, I have tried to speed those sections up so that you aren't watching too much of an empty desk.


Once I had the image coloured up I used my EK Success Cutterbee Scissors to fussy cut her out, I do have some of the fancy machines but fussy cutting I enjoy.


Using an MFT Stamps rounded square frame die I cut out some plain white cardstock, then ran it through again with some of the patterned paper. I used the leftover pieces on the other card that I made so nothing went to waste.

The patterned papers are from Pebbles Amy Locurto Poolside. I have a couple of these paper pads and they are all on their last sheets. I try to keep all my offcuts and put them back into the pad also.

I added another sheet of the patterned paper then adhered them to a Couture Creations Card Base.

When I was done, I ran one of the W Plus 9 Happy Trio dies through my Sizzix Big show using some  of the patterned paper I had leftover, i then ran it through again using some white cardstock to add behind it and just slightly off aligned them so u could just see the white poking through. I stamped a sentiment from Mama Elephant Happy Everything stamp set using Versamark Watermark Ink Pad, added some white embossing powder and melted it (I also prepped the cardstock beforehand using a powder tool). I cut the sentiment down to size using my Tim Holtz Guillotine.
I hope you have enjoyed my post today, if you have any questions feel free to send me a message or contact me via facebook (all links can be found below).

Watch the You Tube Video Here


Products Used On My Card (Affiliate Links Used Where Possible)


Copic Markers Used
E50, E51, E53, E55, R20
E000, E00, E21, E11, E04, R20
E13, E15, E08
RV11, RV17
RV55, RV66
B91, B93, B95, B97, B99, W00
N0, N3, N5
C1, C3, 0
C6, C8, C9

Thanks for stopping by, Deni

CAMERA SET UP - FOR YOU TUBE VIDEOS ONLY
Blue Yeti Microphone
Sony Handycam HDR CX4-05
Tripod – Manfrotto MKCompactaCN-BK

S O C I A L MEDIA 
B L O G : http://angelhandmadepapercraft.blogspot.com.au/
I N S T A G R A M : http://instagram.com/angelhandmadepapercraft
YOU TUBE: http://www.youtube.com/c/AngelHandmadePapercraft
F A C E B O O K: http://www.facebook.com/angelhandmadepapercraft
PINTEREST: https://www.pinterest.com.au/angelhandmadepapercraft


I was a 2018 Ambassador for Copic Marker Australia and NZ


Saturday, 9 February 2019

Whimsy Stamps - Penguin Gardener

Hi Everyone and welcome to the weekend.

Today I am sharing with you a card for Whimsy Stamps using an image from the Feb 2018 Release. This is Penguin Gardener, you can find all the links below in the pictures.


I printed him onto X-Press It Blending Card using my Brother Laser Printer, I then coloured him up using Copic Markers. I used a Black Copic Multiliner to add details to the flowers.


I have used patterned papers from Echo Park Head Over Heels Collection, I trimmed them down to size using Cutterpillar Pro.

I added a doily from my stash and a few layers of plain cardstock from American Crafts. I adhered all the layers to a Couture Creations Card Base.


I hope you have enjoyed my post today, if you have any questions feel free to send me a message or contact me via facebook (all links can be found below).

Watch the You Tube Video Here


Products Used On My Card (Affiliate Links Used Where Possible)


Copic Markers Used

YR14, YR18
G24, G28
RV02, RV06
RV23, RV25, RV09
E43, E55, E23
YG01, YG07, YG67
C7, C8, C10
Y11, Y13, Y15
0, C0, C2, C3, R20
V20, V25

Thanks for stopping by, Deni

CAMERA SET UP - FOR YOU TUBE VIDEOS ONLY
Blue Yeti Microphone
Sony Handycam HDR CX4-05
Tripod – Manfrotto MKCompactaCN-BK

S O C I A L MEDIA 
B L O G : http://angelhandmadepapercraft.blogspot.com.au/
I N S T A G R A M : http://instagram.com/angelhandmadepapercraft
YOU TUBE: http://www.youtube.com/c/AngelHandmadePapercraft
F A C E B O O K: http://www.facebook.com/angelhandmadepapercraft
PINTEREST: https://www.pinterest.com.au/angelhandmadepapercraft


I was a 2018 Ambassador for Copic Marker Australia and NZ


Sunday, 3 February 2019

Time For Tea Designs Congratulations Love Birds

February already how crazy is this!

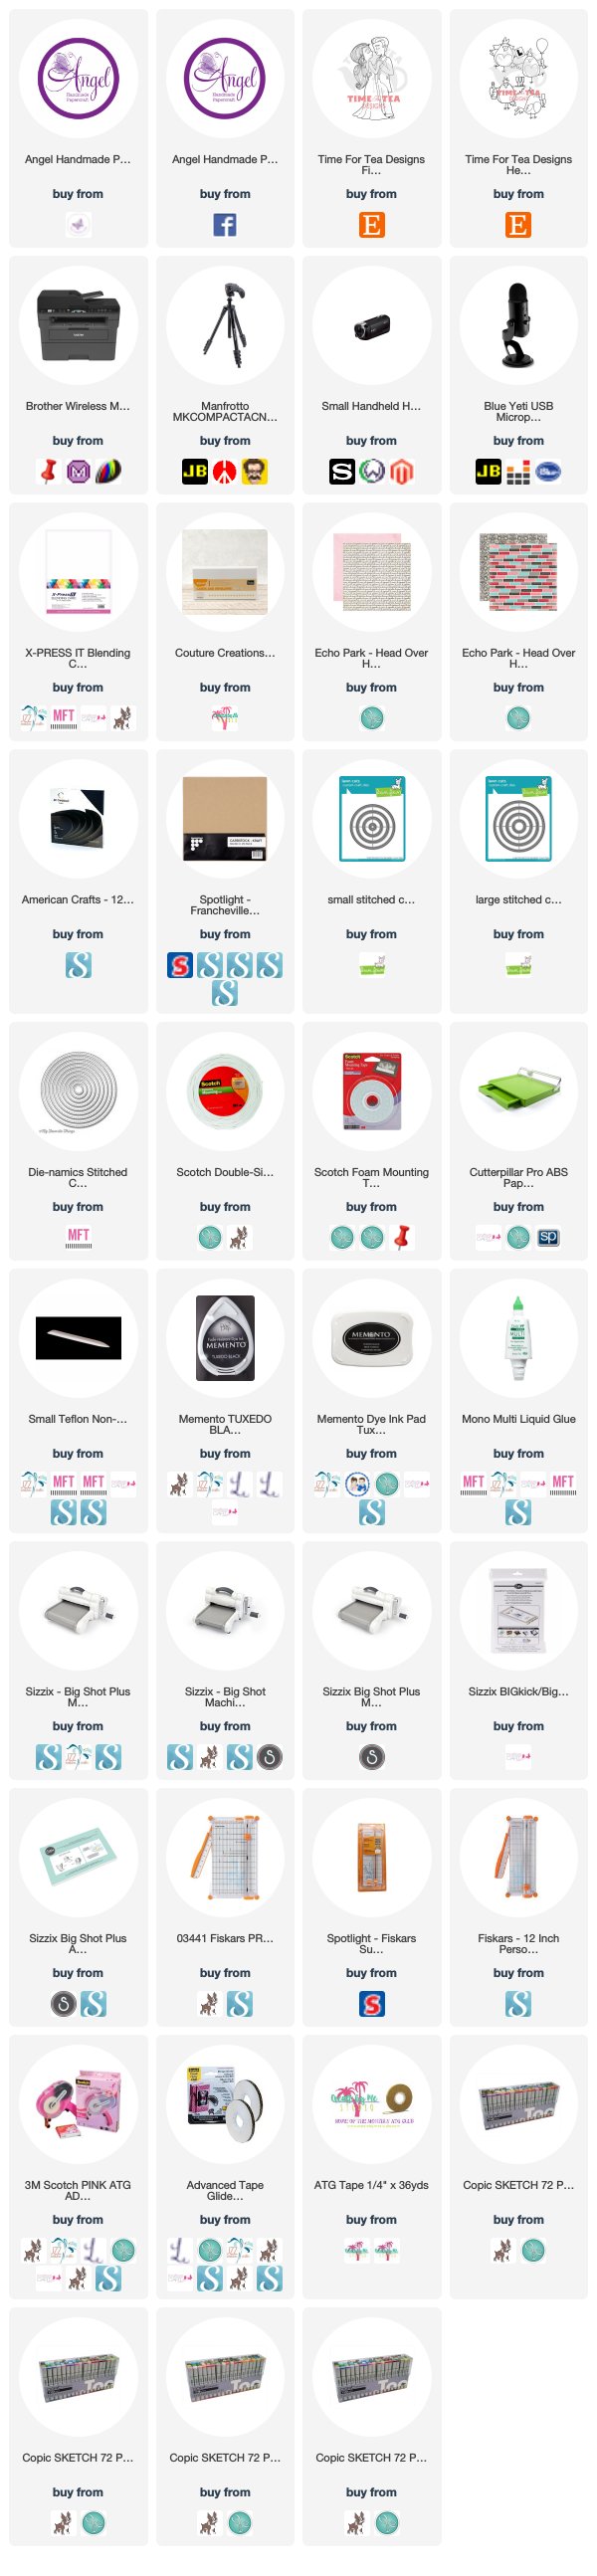
I am pumping out lots of card for Time For Tea this past week as we are preparing for the Time For Designs Etsy Store to close up ready for the new website. As soon as we have all the links we will have everything posted for you on the Facebook pages.


This is First Dance, one of my all time Wedding Images for cards, The sentiment is from the Hen Do Digital Stamp Set I have picture link ups below the Blog Post.


I printed the image onto X-Press It Blending Cardstock using my Brother Laser Printer. I then proceeded to colour the images up using Copic Markers.


I cut a few layers of different coloured cardstocks and used some patterned papers from Echo Park Head Over Heels 6x6 Paper Pad. The lace ribbon is from my stash. I adhered everything using Scotch ATG I ran the image through my Sizzix Big Shot using Lawn Fawn Stitched Circle Die. I then added some Scotch Mounting Tape to the back of my image and popped it onto the centre of my card.


I hope you have enjoyed my post today, if you have any questions feel free to send me a message or contact me via facebook (all links can be found below).

Watch The You Tube Video Here


Products Used On My Card (Affiliate Links Used Where Possible)


Copic Markers Used

E74, E77, E79
N0, N1, N3, 0
V04, V06, V09
E50, E51, E53, E55, R20
E000, E00, E21, E11, E04, R20
E35, E97, E07
C5, C6, C8

Thanks for stopping by, Deni

CAMERA SET UP - FOR YOU TUBE VIDEOS ONLY
Blue Yeti Microphone
Sony Handycam HDR CX4-05
Tripod – Manfrotto MKCompactaCN-BK

S O C I A L MEDIA 
B L O G : http://angelhandmadepapercraft.blogspot.com.au/
I N S T A G R A M : http://instagram.com/angelhandmadepapercraft
YOU TUBE: http://www.youtube.com/c/AngelHandmadePapercraft
F A C E B O O K: http://www.facebook.com/angelhandmadepapercraft
PINTEREST: https://www.pinterest.com.au/angelhandmadepapercraft


I am a 2018 Ambassador for Copic Marker Australia and NZ


Saturday, 2 February 2019

Sweet Cinnamon Butterfly - Whimsy Stamps

How sweet is this New Release image from Whimsy Stamps, this is Cinnamon Butterfly.

I have printed her onto X-Press It Blending Cardstock using my Brother Laser Printer, then coloured her up using Copic Markers, finally using my EK Success Cutterbee Scissors to fussy cut her out.


I used a Couture Creations Card base, and some blue cardstock from my stash - possibly American Crafts card stock. The patterned paper is from Pebbles Inc Party with Amy Locurto.


I added a doily and the word is from a page in the patterned paper and I just cut it down to fit where I needed it.


All my layers except the young lady and the doily were adhered with Scotch ATG, the others with American Tombow Mono Multi Liquid Adhesive.

I added some Wink Of Stella to the little butterfly on her head just to make it stand out that little bit more.


I hope you have enjoyed my post today, if you have any questions feel free to send me a message or contact me via facebook (all links can be found below).

Watch The You Tube Video Here


  Products Used On My Card (Affiliate Links Used Where Possible)


Copic Markers Used

E50, E51, E53, E55, R20
B21, B23, B24, B28
Y04, Y08
YR21, YR24
E31, E35, E37
R81, R83, 0
C5, C6, C8

Thanks for stopping by, Deni

CAMERA SET UP - FOR YOU TUBE VIDEOS ONLY
Blue Yeti Microphone
Sony Handycam HDR CX4-05
Tripod – Manfrotto MKCompactaCN-BK

S O C I A L MEDIA 
B L O G : http://angelhandmadepapercraft.blogspot.com.au/
I N S T A G R A M : http://instagram.com/angelhandmadepapercraft
YOU TUBE: http://www.youtube.com/c/AngelHandmadePapercraft
F A C E B O O K: http://www.facebook.com/angelhandmadepapercraft
PINTEREST: https://www.pinterest.com.au/angelhandmadepapercraft

PERSONAL BLOG 
ANGEL HANDMADE PAPERCRAFT: http://angelhandmadepapercraft.blogspot.com.au/

I am an Ambassador for Copic Marker Australia and NZ