Sunday, 27 January 2019

Kindred Stamps - Stay Golden

Good Morning all,

Today I am sharing a project with you for Kindred Stamps, this is one of the young ladies from the Stay Golden stamp set, I really love the brightness in the papers on my card.


I stamped my images out onto X-Press It Blending Card using Memento Tuxedo Black and a Lawn Fawn Acrylic Block.


I coloured all the images up using Copic Markers which you will find listed at the bottom of the blog post, I then fussy cut the image using EK Success Cutterbee Scissors.


Patterned papers used are from American Crafts #Summer 6x6 Paper Pad and the aqua cardstock used is also from American Crafts. I added a little doily from my stash.

The Sentiment was stamped using Versamark Watermark ink, added Ranger Ink Super Fine white embossing powder and melted using heat gun.


Everything was adhered using Scotch ATG.

Watch The You Tube Video here


I hope you have enjoyed my post today, if you have any questions feel free to send me a message or contact me via facebook (all links can be found below).


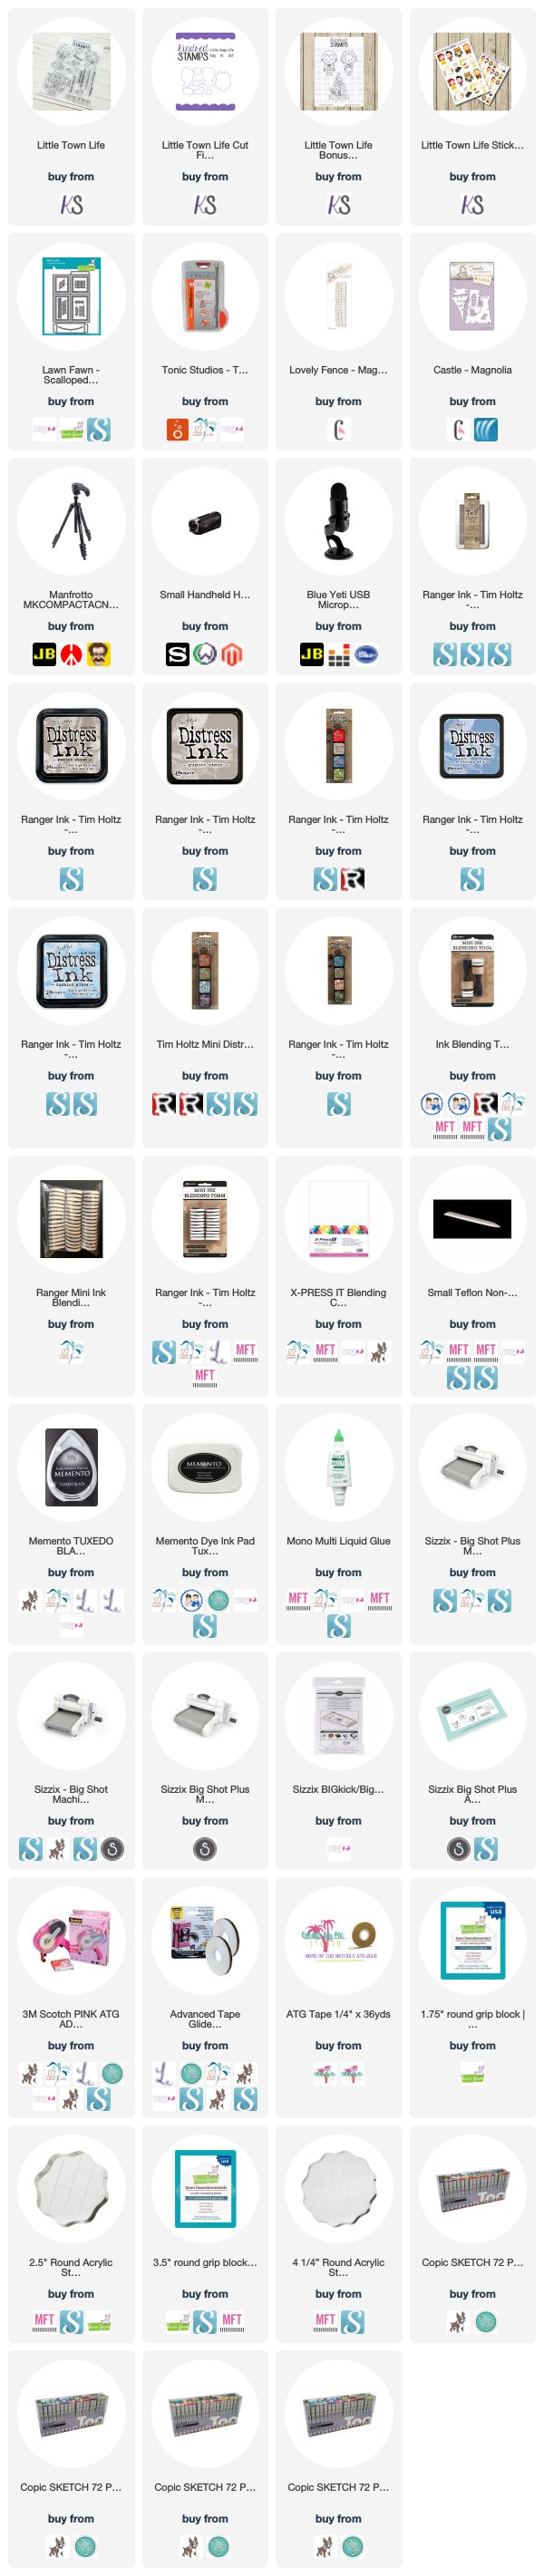
Products Used On My Card (Affiliate Links Used Where Possible)
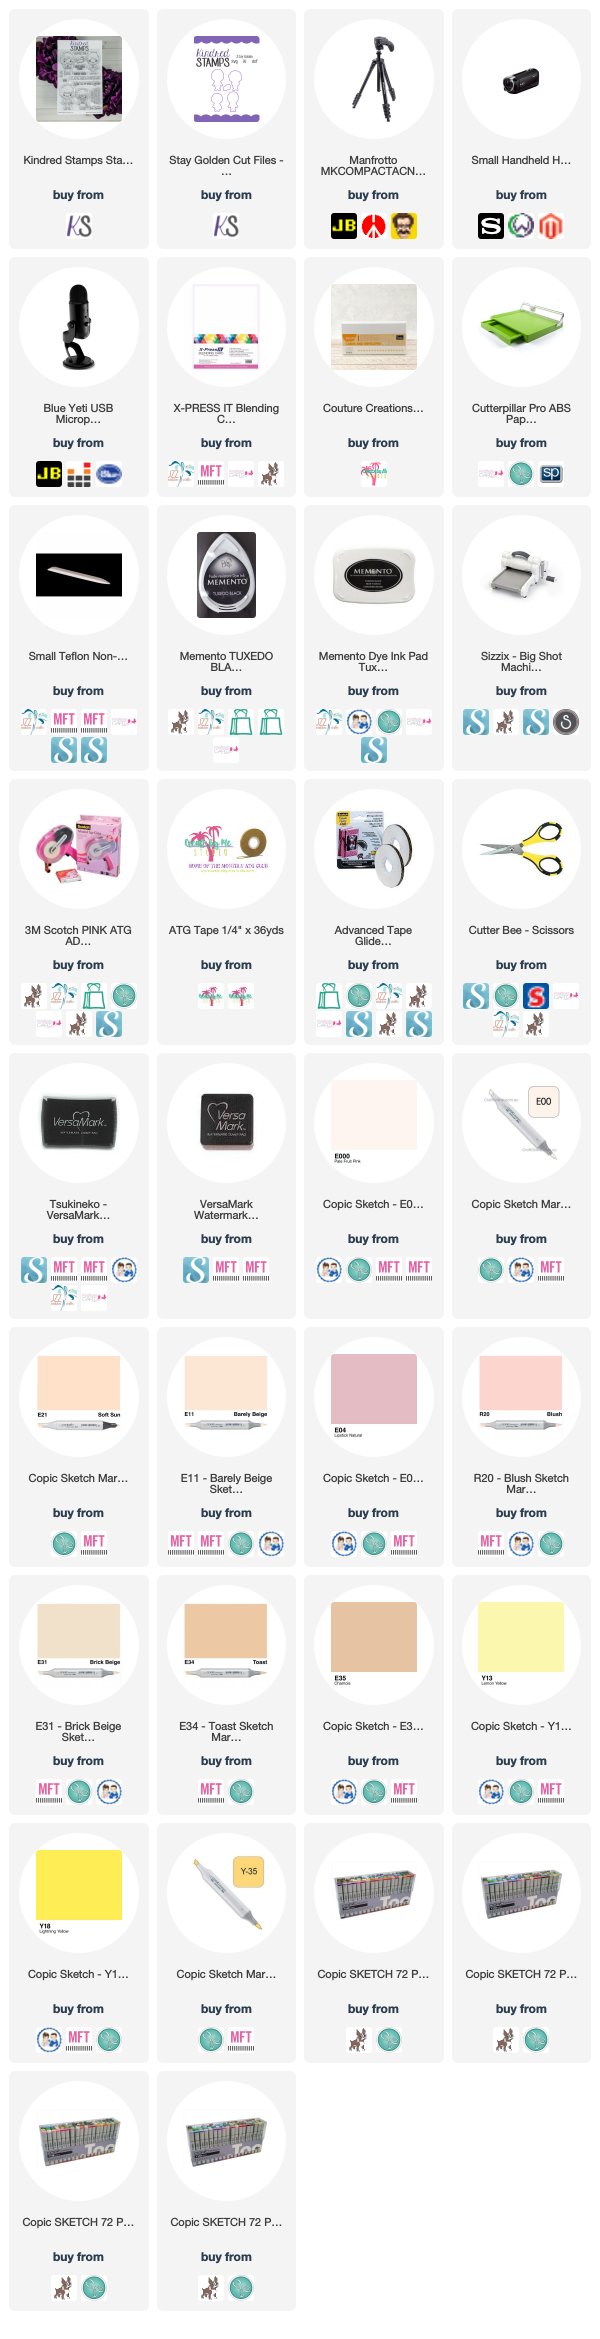


Copic Markers Used

E000, E00, E21, E11, E04, R20
E31, E34, E35
Y13, Y18, Y35


Thanks for stopping by, Deni

CAMERA SET UP - FOR YOU TUBE VIDEOS ONLY
Blue Yeti Microphone
Sony Handycam HDR CX4-05
Tripod – Manfrotto MKCompactaCN-BK

S O C I A L MEDIA 
B L O G : http://angelhandmadepapercraft.blogspot.com.au/
I N S T A G R A M : http://instagram.com/angelhandmadepapercraft
YOU TUBE: http://www.youtube.com/c/AngelHandmadePapercraft
F A C E B O O K: http://www.facebook.com/angelhandmadepapercraft
PINTEREST: https://www.pinterest.com.au/angelhandmadepapercraft

PERSONAL BLOG 
ANGEL HANDMADE PAPERCRAFT: http://angelhandmadepapercraft.blogspot.com.au/

I am an Ambassador for Copic Marker Australia and NZ


Saturday, 26 January 2019

Whimsy Stamps PC Aimee & Valentino

Good Morning Everyone :)

Today I am sharing with you PC Aimee and Valentino from Whimsy Stamps January 2019 Release, I love this image and have already used it once this month but I totally love it and wanted to use it again :-)


I printed the images onto X-Press it Blending Cardstock using my Brother Laser Printer. I then used Copic Markers to colour up the images. I added some Kindyglitz Crystallina to the balloons and allowed it to dry for a few hours while I was working on other projects.
 Once I was all done I used my EK Success Cutterbee Scissors to fussy cut the image out.


I grabbed a 6x6 Paper pad from Echo Park called Head Over Heels and cut a few different size layers on my Cutterpillar Pro.


I cut a banner into one of the thin strips using EK Success Cutterbee Scissors. I cut a base layer using American Crafts Black Cardstock and adhered all the layers to it using Scotch ATG. Finally adhering a doily and then the image using American Tombow Mono Multi Liquid Adhesive.


Once I had all these layers together I adhered them to a Couture Creations Card Base using the Scotch ATG.

Watch the You Tube Video Here


I hope you have enjoyed my post today, if you have any questions feel free to send me a message or contact me via facebook (all links can be found below).


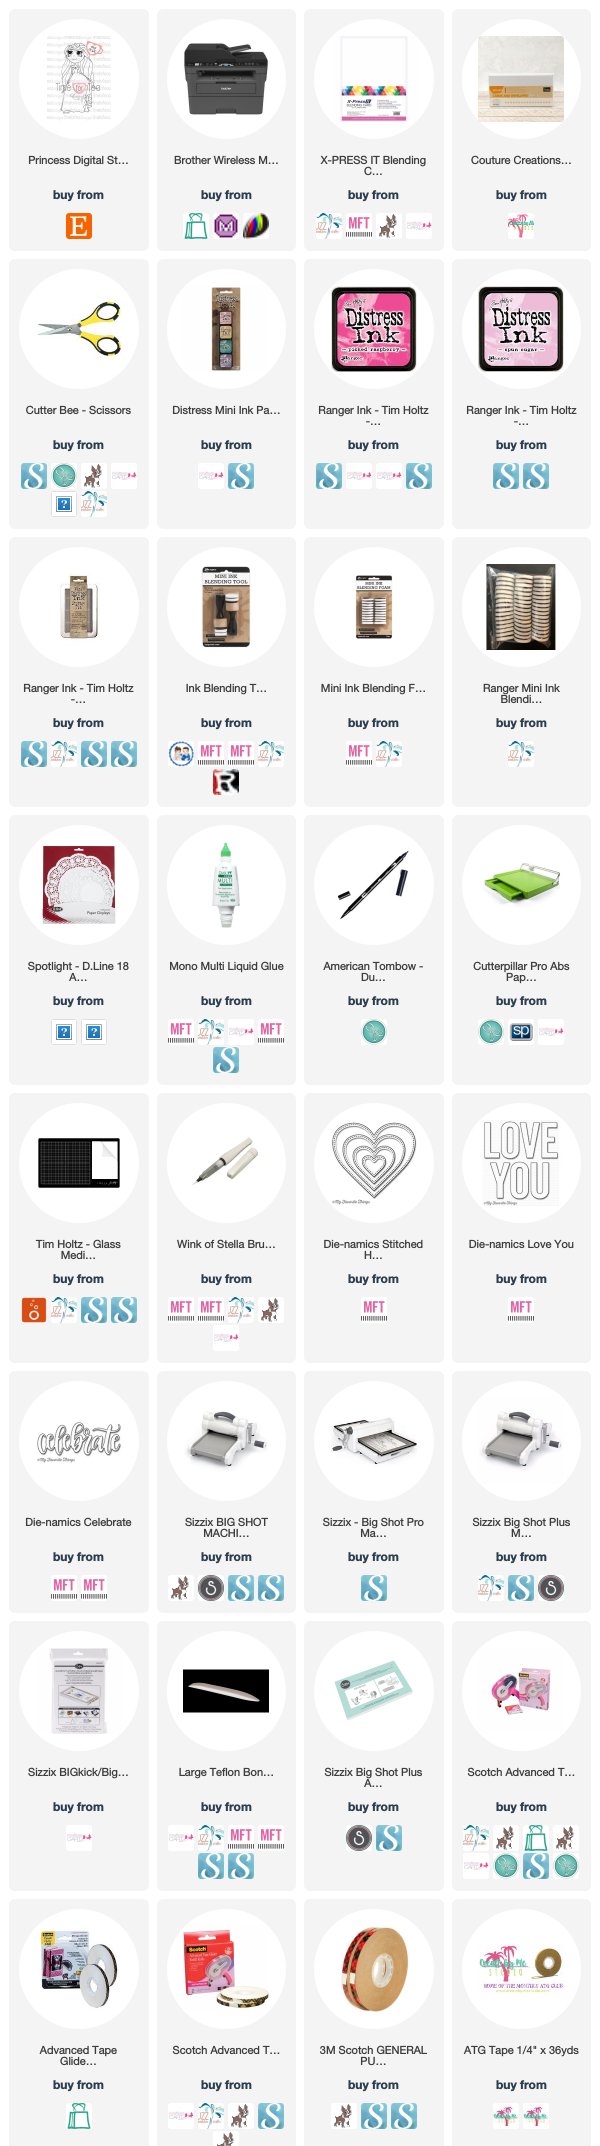
Products Used On My Card (Affiliate Links Used Where Possible)


Copic Markers Used

YG21, YG23, YG25
V20, V22, V25
E000, E00, E21, E11, E04, R20
B12, B14
B93, B95, B97, B99
E31, E33, E35, E37, E39
YR30, YR24, YR27
Y21, Y23, Y35

Thanks for stopping by, Deni

CAMERA SET UP - FOR YOU TUBE VIDEOS ONLY
Blue Yeti Microphone
Sony Handycam HDR CX4-05
Tripod – Manfrotto MKCompactaCN-BK

S O C I A L MEDIA 
B L O G : http://angelhandmadepapercraft.blogspot.com.au/
I N S T A G R A M : http://instagram.com/angelhandmadepapercraft
YOU TUBE: http://www.youtube.com/c/AngelHandmadePapercraft
F A C E B O O K: http://www.facebook.com/angelhandmadepapercraft
PINTEREST: https://www.pinterest.com.au/angelhandmadepapercraft

PERSONAL BLOG 
ANGEL HANDMADE PAPERCRAFT: http://angelhandmadepapercraft.blogspot.com.au/

I am an Ambassador for Copic Marker Australia and NZ


Wednesday, 23 January 2019

Kindred Stamp - Small Town Life Bookmark

Hi Everyone,
VDT Deni with you today, I would love to share with you another project I created using Little Town Life. I made a bookmark using Masking Techniques.
                                      

I started by running a bookmark die through my Sizzix Big Shot using some X-Press It Blending Cardstock.

I had a little bit of an idea of the scene I wanted to create so I started by kind of laying out my stamps over the top of the die.

I grabbed some post it notes, just your standard ones as I wasn't sure where I had put my full sticky ones (which is what I normally use). I used some acrylic blocks and Memento Tuxedo Black and stamped all my images out onto the post it notes, making sure I cleaned my stamps off as I went.. I seem to have a habit of bumping things or getting ink on thinks lately haha. 

I layed all my masks down on the second bookmark die I had cut out so I could work out exactly what was going where before I started stamping. I then stamped out everything.. remember you need to stamp out the "front" images before the things that will be in the background. So I began by stamping out my candle, the little girl, then the other character, masking each one off after I stamped.

Watch The Colouring and Process Video Here


Leaving all the masks in place I used a Mini Ink blending tool and some distress inks and blending some ink around them.
Using a sentiment that was left over from my last project, I flagged the ends using my scissors and adhered it using some Scotch ATG.

Once all my colouring and inking was done I adhered a second bookmark to the back to cover and of the ink that was showing through. 
I then used some cotton crochet twine to create a tassel which I tied to the top of my bookmark.

I hope you have enjoyed my post today, if you have any questions feel free to send me a message or contact me via facebook (all links can be found below).


Products Used On My Card (Affiliate Links Used Where Possible)


Copic Markers Used

E50, E51, E53, E55, R20
E33, E35, E37
E30
YR20, YR24
Y11, Y13, Y15
B21,B24, B28
R35, R37
C0, C2, C5, C8, C10, 0
YG07

Thanks for stopping by, Deni

CAMERA SET UP - FOR YOU TUBE VIDEOS ONLY
Blue Yeti Microphone
Sony Handycam HDR CX4-05
Tripod – Manfrotto MKCompactaCN-BK

S O C I A L MEDIA 
B L O G : http://angelhandmadepapercraft.blogspot.com.au/
I N S T A G R A M : http://instagram.com/angelhandmadepapercraft
YOU TUBE: http://www.youtube.com/c/AngelHandmadePapercraft
F A C E B O O K: http://www.facebook.com/angelhandmadepapercraft
PINTEREST: https://www.pinterest.com.au/angelhandmadepapercraft


I was a 2018 Ambassador for Copic Marker Australia and NZ


Tuesday, 22 January 2019

It's A Little Town - Kindred Stamps

Hey Everyone!

I am super excited to share with you my post this week for Kindred Stamps Video Team.
It has got to be one of my most favourite stamp sets yet.

This is Little Town Life, it is the sweetest most gorgeous stamp set. ** Products will be released soon and links will be updated.

                                     
I stamped the images out onto X-Press It Blending Cardstock using Memento Tuxedo Black and Lawn Fawn Acrylic Blocks. I then coloured the images up using Copic Markers and fussy cut them using EK Success Cutterbee Scissors.


I always love seeing the pile of all the markers I used in a project, makes me laugh actually.

I decided I wanted to create a Pop up card with the images. I grabbed my Lawn Fawn Pop up box die that I still hadn't used yet. Can I just say how much I actually love making Pop up cards hehe. This is my very first one, no trials or anything.

I used some old Magnolia Doohickey dies that i've had in my stash since forever, I used the Castle and the fence dies, I will have them all linked up below.

I ran the die box die through my Sizzix Big Shot first using some yellow Canson Cardstock, I ran the die through twice as you need to join two of them together. I used some ATG to adhere the two together creating the box. I then ran through the next piece (the one that goes inside the box to hold the images) through twice once again, I then added some ATG to the tabs and carefully added them to the inside of the box.


I ran the Magnolia dies through using some leftover American Crafts Cardstock, making sure the patterned side was to the front.

Next I ran the square and rectangle pieces through my Big Shot using some leftover X-Press It Blending card, I just wanted them to match up with the images. On the front piece I stamped the sentiment directly on, on the sides I used the sentiments I had stamped and fussy cut out already.


On the back rectangle I used some Ranger Distress Inks to blend a sky.

I then adhered a few images around and popped the others inside with the fence and the castle.


I really love this card and am so glad that I finally took the plunge and got myself a pop up box die.

I hope you have enjoyed my post today, if you have any questions feel free to send me a message or contact me via facebook (all links can be found below).

Watch the You Tube Video Here


  Products Used On My Card (Affiliate Links Used Where Possible)


Copic Markers Used

E50, E51, E53, E55, R20
E47, E49
E33, E35, E37
E30
YR20, YR24
Y11, Y13, Y15
Y28
V04, V06
B21, B24, B28
R35, R37, R89
C0, C2, C5, C6, C8, C10, 0
YG07

Thanks for stopping by, Deni

CAMERA SET UP - FOR YOU TUBE VIDEOS ONLY
Blue Yeti Microphone
Sony Handycam HDR CX4-05
Tripod – Manfrotto MKCompactaCN-BK

S O C I A L MEDIA 
B L O G : http://angelhandmadepapercraft.blogspot.com.au/
I N S T A G R A M : http://instagram.com/angelhandmadepapercraft
YOU TUBE: http://www.youtube.com/c/AngelHandmadePapercraft
F A C E B O O K: http://www.facebook.com/angelhandmadepapercraft
PINTEREST: https://www.pinterest.com.au/angelhandmadepapercraft

PERSONAL BLOG 
ANGEL HANDMADE PAPERCRAFT: http://angelhandmadepapercraft.blogspot.com.au/

I am an Ambassador for Copic Marker Australia and NZ


Sunday, 20 January 2019

Time For Tea Designs - Celebrate You Princess

Hi Everyone,

Last week I posted a card I had made for Time For Tea Designs using the "Princess"Digital Stamp, I loved it so much I printed another one and made another card using her.

Still going with the wedding theme I made a Bridal Shower card.


I printed the image onto X-Press It Blending Cardstock using my Brother Laser Printer and coloured it up using Copic Markers, I will have all these listed at the end of my blog post.

After I coloured the image up I used my EK Success Cutterbee scissors to fussy cut the image out, I did cut right on the edge of the image as I did not want the white outline, I then ran around the outside using a Tombow marker to cover any leftover white areas, It also finishes off the image.


I grabbed some patterned paper from The Craft Stall -Mini Stack which I purchased from Kmart and cut it to size on my Cutterpillar Pro.

My card base is a Couture Creations card base which I purchase in bulk, I use my bone folder to crease the centre as they come to me flat. I used some Scotch ATG to adhere the patterned paper. I added a doily from my stash using American Tombow Mono Multi Liquid Adhesive.

I ran some dies through my Sizzix Big Shot - all of these are from MFT Stamps. I have used Love You word die, Stitched Heart Stax and Celebrate word die. I placed them back into the negative space so that I could blend some ink onto them.

I grabbed Ranger Mini Distress Inks and Mini Ink Blending Tool and blended Picked Raspberry to the bottom of all the die cuts and then Spun Sugar to the top half blending the two together.


I layed out my image onto the patterned paper and started to work out how I wanted the die cuts to look then carefully adhered them all slightly tilted. I added some Wink Of Stella to the centre heart and I was done.

I decorated the inside of the card to match.

Watch the colouring and process video here


I hope you have enjoyed my post today, if you have any questions feel free to send me a message or contact me via facebook (all links can be found below).


Products Used On My Card (Affiliate Links Used Where Possible)


Copic Markers Used

E50, E51, E53, E55, R20
Y21, Y23, Y26
C2, C0, 0
YR21, YR24, YR27
B02

Thanks for stopping by, Deni

CAMERA SET UP - FOR YOU TUBE VIDEOS ONLY
Blue Yeti Microphone
Sony Handycam HDR CX4-05
Tripod – Manfrotto MKCompactaCN-BK

S O C I A L MEDIA 
B L O G : http://angelhandmadepapercraft.blogspot.com.au/
I N S T A G R A M : http://instagram.com/angelhandmadepapercraft
YOU TUBE: http://www.youtube.com/c/AngelHandmadePapercraft
F A C E B O O K: http://www.facebook.com/angelhandmadepapercraft
PINTEREST: https://www.pinterest.com.au/angelhandmadepapercraft

PERSONAL BLOG 
ANGEL HANDMADE PAPERCRAFT: http://angelhandmadepapercraft.blogspot.com.au/

I am an Ambassador for Copic Marker Australia and NZ


Saturday, 19 January 2019

Whimsy Stamps - Penguins Cute Chicks

Hey Everyone,

Today is Whimsy Stamps mid month Card for me, this is Penguins Cute Chicks, I don't have a video for you today but I have lots of photos as always.


I started by printing the images onto X-Press It Blending Cardstock using my Brother Laser Printer. Please note this image is also a Rubber Stamp so you have two options :-)


I coloured the image up using Copic Markers then fussy cut the image out using EK Success Cutterbee Scissors, I love these scissors as they are super sharp and pointy, they are my go to when i'm doing fussy cutting.
             
I grabbed a patterned paper pad from The Craft Stall - it's called a mini stack and I bought it from Kmart here in Australia, they have a few different designs but I especially love the pastels in this one.


I cut all the layers on my Cutterpillar Pro then adhered them all together using Scotch ATG. I then added a doily using American Tombow Mono Multi Liquid Adhesive.


I ran a stitched circle die from Lawn Fawn through my Sizzix Big Shot, I have also added other options incase you are unable to purchase this one.

Finally I ran a star die through my Big Shot, I couldn't find the one I used on line so again I have linked up some others.

I added the star and the image to my card using American Tombow Mono Multi Liquid Adhesive, I added some at you spica gold to the mumma penguins hat, added all the layers to a Couture Creations Card Base, I  then decorated the inside of my card using the same patterned papers.

I hope you have enjoyed my post today, if you have any questions feel free to send me a message or contact me via facebook (all links can be found below).


Products Used On My Card (Affiliate Links Used Where Possible)


Copic Markers Used

C0, C1,C3, 0, R20
YR15, YR07
C7, C8, C10
E50, E51
R81, R83, R85
V04, V06, V09
V20, V22, V25
YR20, YR21
Y000, Y00, Y11, Y21
BG32, BG23

Thanks for stopping by, Deni

CAMERA SET UP - FOR YOU TUBE VIDEOS ONLY
Blue Yeti Microphone
Sony Handycam HDR CX4-05
Tripod – Manfrotto MKCompactaCN-BK

S O C I A L MEDIA 
B L O G : http://angelhandmadepapercraft.blogspot.com.au/
I N S T A G R A M : http://instagram.com/angelhandmadepapercraft
YOU TUBE: http://www.youtube.com/c/AngelHandmadePapercraft
F A C E B O O K: http://www.facebook.com/angelhandmadepapercraft
PINTEREST: https://www.pinterest.com.au/angelhandmadepapercraft

PERSONAL BLOG 
ANGEL HANDMADE PAPERCRAFT: http://angelhandmadepapercraft.blogspot.com.au/

I am an Ambassador for Copic Marker Australia and NZ


Sunday, 13 January 2019

Time For Tea Designs - Princess

Hello Everyone,

Today I am sharing with you an older but gorgeous image from Time For Tea Designs, this is Princess she is so beautiful.

I printed her onto X-Press It Blending Cardstock using my Brother Laser Printer, then coloured her up using Copic Markers.


I cut some pink Canson cardstock for the bottom layer then some patterned papers from Bella! My Romance Paperz Collection (I used the Floral back and front) using my Cutterpillar Pro.


I grabbed a doily from my stash (you guys know I love these things lately) and layered it over the patterned papers. I still hadn't adhered anything yet whilst I was still playing around.

I fussy cut my image using EK Success Cutterbee Scissors then layed her onto the doily.. I needed a sentiment, I went through my stash and found this older stamp set from MFT Stamps called I love you More. It was perfect. I prepared some vellum with a Powder Tool then using Versamark Watermark Ink pad and a Lawn Fawn Acrylic Block I stamped it down. I then added some Ranger Super Fine White Embossing Powder and melted it back and front using my Heat Tool.


I cut the sentiment vellum down to create a strip that I could wrap around all my layers. I then started adhering everything using Scotch ATG. I layed the embossed strip down and carefully using my Bone Folder creased the strip on both sides to make it easier to fold around. I also decided to add some red Copic Marker to the little hearts - I did this very carefully so I didn't touch the embossing powder as this can damage your nib.

Lucky last I added all my layers to a Couture Creations Card Base.

I hope you have enjoyed my post today, if you have any questions feel free to send me a message or contact me via facebook (all links can be found below).


Products Used On My Card (Affiliate Links Used Where Possible)


Copic Markers Used

E000, E00, E21, E11, E04, R20
B01
YR21, YR24, YR27
R29
E74, E77, E79

Thanks for stopping by, Deni

CAMERA SET UP - FOR YOU TUBE VIDEOS ONLY
Blue Yeti Microphone
Sony Handycam HDR CX4-05
Tripod – Manfrotto MKCompactaCN-BK

S O C I A L MEDIA 
B L O G : http://angelhandmadepapercraft.blogspot.com.au/
I N S T A G R A M : http://instagram.com/angelhandmadepapercraft
YOU TUBE: http://www.youtube.com/c/AngelHandmadePapercraft
F A C E B O O K: http://www.facebook.com/angelhandmadepapercraft
PINTEREST: https://www.pinterest.com.au/angelhandmadepapercraft

PERSONAL BLOG 
ANGEL HANDMADE PAPERCRAFT: http://angelhandmadepapercraft.blogspot.com.au/

I am a 2018 Ambassador for Copic Marker Australia and NZ