Im running so behind at the moment, I mentioned in one of my recent videos that we had got a new puppy. Puppy is hard work! We love her to bits but man I don't know what's harder a new puppy or a new baby haha. I haven't been in the craft room in so long because a. Miss Belle and b. We are in lockdown, meaning for me I'm still going to work because I work in a Medical Centre and Home Schooling.
This shit is real you guys! :-( My Husband and I have 5 kids between us - me 2 and him 3.. home schooling is so hard when still trying to juggle all my own stuff that needs to get done, we are still doing shared custody so I'm also doing all the running around with them back and forth.
Anyway, playing catch up I was able to sit down tonight and put together this cute birthday card using Sweet Kitties Set from Whimsy Stamps.
I began by printing the image onto X-Press It Blending Cardstock using my Laser Printer, this makes the image completely Copic safe.
I coloured the image up using Copic Markers and added in extra details using a white Uni-Ball Gel Pen in Angelic, I have linked up a few different pens for you.
I trimmed the image down using a Lawn Fawn Stitched Square Die, finishing the image off with a nice border.
I cut down some matting layers using American Crafts and Kaisercraft Cardstocks, trying to keep with the grey/pink colour blend.
I adhered a doily down from my stash then the image over the top.
Using an MFT Stamps Puffy Clouds die (I also linked up some similar dies from other brands), I used some leftover white X-Press It running it through my Sizzix Big Shot. I adhered those to the right of my card using Helmar Acid Free Liquid Adhesive.
I hadn't adhered down my bottom matting layer yet so I used that to cut down some stars with my EK Success Star Confetti Punch, no wastage here :-)
I cut down a sentiment from Whimsy Stamps Everyday Sentiment Digital Sentiment Set, When I printed these originally I cut the sentiment set up so I was able to print multiple Happy Birthdays from this set as that is my most used sentiment from the set.
I used more matting layers and stars and decorated the inside of my card.
I love the way that my card turned out, it's exactly what I wanted it to look like.
I hope you have enjoyed my post today, if you have any questions feel free to send me a message or contact me via facebook (all links can be found below).
Watch the You Tube Video Here
Watch the You Tube Video Here
R81, R83, R85
V22, B000, R81
0 Colorless Blender
Thanks for stopping by, Deni
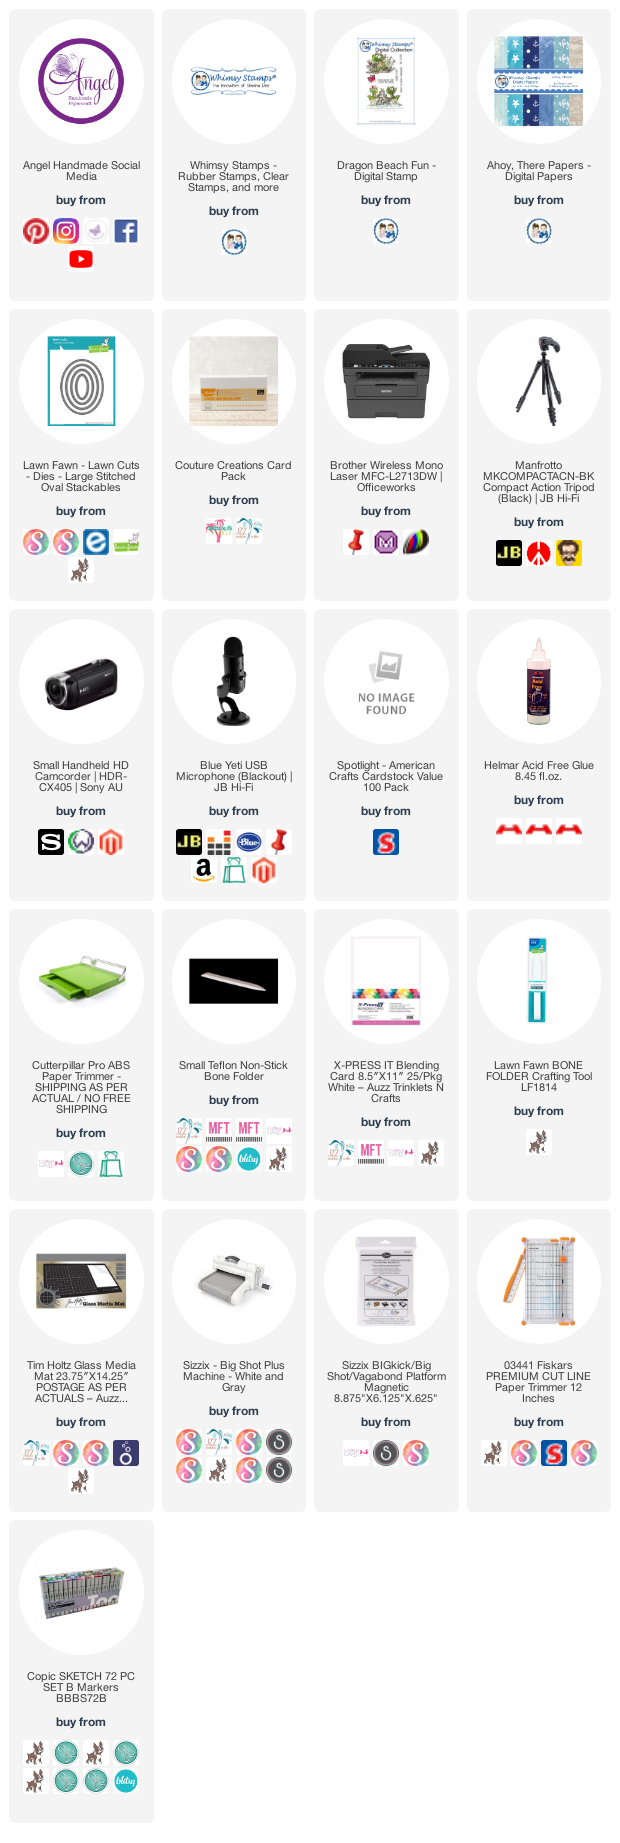
CAMERA SET UP - FOR YOU TUBE VIDEOS ONLY
Blue Yeti Microphone
Sony Handycam HDR CX4-05
Tripod – Manfrotto MKCompactaCN-BK
S O C I A L MEDIA
B L O G : https://ldli.co/e/3xky6x
I N S T A G R A M : https://ldli.co/e/5dn20x
YOU TUBE: https://ldli.co/e/ej5l90
F A C E B O O K: https://ldli.co/e/mjxn2r
PINTEREST: https://ldli.co/e/2l9zom
I was a 2018 Ambassador for Copic Marker Australia and NZ


