Hi Everyone,
I have started learning how to use my distress inks a little bit more, this week I have been working on light, so candles fire etc..
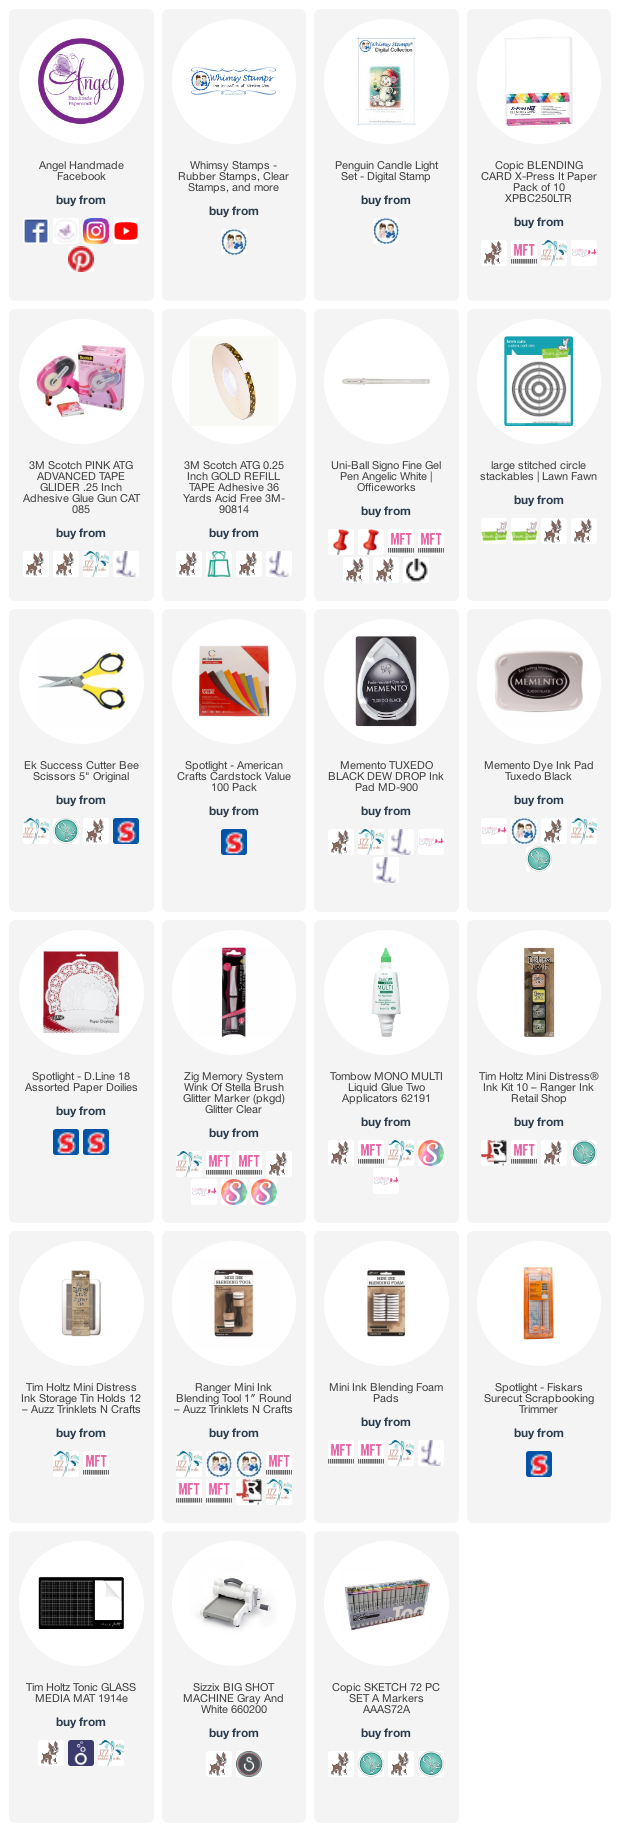
I have used Whimsy Stamps Penguin Candle Light by Crissy Armstrong. You can purchase the image using the image links below. I love all of Crissy's Penguins I don't know how she does it every month but she is amazing as a designer.
I printed onto X-Press It Blending Card using my Brother Laser Printer and coloured the image up using Copic Markers.
I grabbed a Ranger Mini Ink Blending Tool and some Squeezed Lemonade Distress Ink and carefully blended into a circlish shape around the candle including over the face a little. I then grabbed my Wink Of Stella Clear Glitter brush and coated all the shine just to make it that little bit shinier.
I ran the image through my Sizzix Big Shot using a Stitched Circle Die from Lawn Fawn, I love the faux stitching look.
Once I had my image prepped I started putting my card together. I grabbed a Twiddleybitz Pre Made Card Base, added some mat layers from American Crafts Cardstock. The patterned papers are from Kaisercraft Mistletoe 6x6 Paper Pad. I cut them all to size using Cutterpillar Pro trimmer.
I adhered the pieces to my card base using Scotch ATG, I then grabbed a doily from my stash and glued that down using American Tombow Mono Multi Liquid Adhesive. (I use liquid Adhesive on my doilies otherwise I had a tendency to tear them because they are so thin)
Using my tape runner again I popped the image onto the doily. I used some smaller offcuts of the patterned papers to create some banners, they were then adhered.
Finally the sentiment which was also from the same patterned paper pad, I cut it down leaving just the red edge.
I had some leftover MFT Stamps snowflakes from another project so I cut once in half and slid it in behind the doily.
Once I was finished I used all the same bits and pieces to decorate the inside of my card.
Check out the You Tube Video Here
I hope you have enjoyed my post today, if you have any questions feel free to send me a message or contact me via facebook (all links can be found below).
Products Used On My Card (Affiliate Links Used Where Possible)

Copic Markers Used
N2, N4, N6
W3, W5, R20, 0
Y04, YR07
YR21, YR07, YR27
C6, C8, C10, R20
E34, E35, E37
C2, C4, 0
B01, B02, B04, B06
Thanks for stopping by, Deni
CAMERA SET UP - FOR YOU TUBE VIDEOS ONLY
Blue Yeti Microphone
Sony Handycam HDR CX4-05
Tripod – Manfrotto MKCompactaCN-BK
S O C I A L MEDIA
B L O G : http://angelhandmadepapercraft.blogspot.com.au/
I N S T A G R A M : http://instagram.com/angelhandmadepapercraft
F A C E B O O K: http://www.facebook.com/angelhandmadepapercraft
PINTEREST: https://www.pinterest.com.au/angelhandmadepapercraft
I am a 2018 Ambassador for Copic Marker Australia and NZ


No comments:
Post a Comment
Thankyou for stopping by, your comments mean a lot to me and I look forward to reading them :-)
Deni