Wednesday, 1 September 2021

Whimsy Stamps September New Release

Hi Everyone!

Today I am sharing with you a card I created for the Whimsy Stamps September New Release.


I have used the Digital Version of Aussie Friends Set which you can purchase here, this stamp set is also available as a Rubber Stamp Set, which you can purchase here


You may remember his stamp set was originally released as a Fundraiser for the Australian Bush Fires about 2 years ago maybe, I am an Australian myself so was super proud to be part of the fundraiser. If you are in a position to help with Australian Fundraising Efforts for our Koala's you can do so using this link

I printed the Wombat Image onto X-Press It Blending Cardstock using my Brother Laser Printer. I also created a sentiment using the Pages App on my MacBook Air. 


Once I had the image printed I used my Copic Markers to colour the image up - I will have a full list of markers used underneath my Blog Post.


I printed Digital Papers from Rustic Wood & Brick Digital Papers - also from Whimsy Stamps Digital Collection onto Copy Paper, no fancy paper quality  as I knew I was going to be layering them up. 


I ran my image through my Sizzix Big Shot using a Stitched Circle die, I will link up a few different options. 


Once I cut the image out and trimmed down my sentiments I decided I really wanted to put the sentiment underneath the image but without covering too much of the image it wasn't going to work so I used my Penblade to fussy cut the bottom of the image and slide the sentiment underneath. I did apply a little Helmar Acid Free liquid adhesive so nothing would peel up. 


I trimmed down layers of American Crafts Cardstock in a Dark Brown, and some Francheville Kraft Cardstock. I added some gold ribbon underneath the sentiment and finishing adhering all the layers. I mainly used the Helmar Adhesive however needed ATG tape adhesive to adhere the ribbon to the sentiment. 


I used a Uni-Ball White Gel Pen to add some extra details to the image and finish him off. 


I used leftovers of the same Digital Papers to decorate the inside of the card. 


I love the way that the card turned out.


I also wanted to share some pics of the cards I had made previously with this set.


I hope you have enjoyed my post today, if you have any questions feel free to send me a message or contact me via facebook (all links can be found below).

Watch the You Tube Video Here


You can watch the videos of my previous cards in the following 2 videos :-)


Products Used On My Card (Affiliate Links Used Where Possible)


Copic Markers Used

E71, E74, E77, E79
R30
B34
0 Colorless Blender

Thanks for stopping by, Deni

CAMERA SET UP - FOR YOU TUBE VIDEOS ONLY
Blue Yeti Microphone
Sony Handycam HDR CX4-05
Tripod – Manfrotto MKCompactaCN-BK

S O C I A L MEDIA 
B L O G : https://ldli.co/e/3xky6x 
I N S T A G R A M : https://ldli.co/e/5dn20x
YOU TUBE: https://ldli.co/e/ej5l90 
F A C E B O O K: https://ldli.co/e/mjxn2r
PINTEREST: https://ldli.co/e/2l9zom


I was a 2018 Ambassador for Copic Marker Australia and NZ


Friday, 20 August 2021

Whimsy Stamps - Always On My Mind

His Everyone,

Hope you are all well, we are still in lock down here which sux big time, work and home for me. 


For my card today I will be using Always On My Mind from Whimsy Stamps Sassy Sheryl Collection, this is a Digital Stamp so I sized it up on my MacBook using Pages app then printed it onto X-Press It Blending Card using my Brother Laser Printer. 


I coloured the image up using Copic Markers and added extra details using a Uni-Ball white gel pen. 


Here's a close up so you can see all the extra details. 


I tried out some new skin tones on the little girl, just something a little bit darker than my normal blend, I had the image already trimmed down but I do end up cutting some more down later on to showcase the papers a little bit more. I will have a full list of all the Copic Markers at the end of this blog post. 


For my layers on my card I have used a mixture of Francheville Kraft Cardstock, American Crafts Cardstock and Kaisercraft Cardstock.


I then printed Digital Papers from Whimsy Stamps - Dino Friends Digital Papers, I printed these onto Copy Paper, nothing fancy as I knew that I was going to be layering everything up. 


I added a doily to separate the image from the patterned papers and also to pop my image off the card a little big more.


The sentiment is from Whimsy Stamps Everyday Banner Sentiments, I had previously printed these onto X-Press It Blending Card, I did this because I like the thickness. 


I used EK Success Star Confetti Punch to punch out stars from leftover patterned papers, then coated them in Glitter Glue.


I adhered all the layers to a Couture Creations Card Base using Helmar Acid Free Liquid Adhesive. 


I am really happy with the way the card turned out. 


I hope you have enjoyed my post today, if you have any questions feel free to send me a message or contact me via facebook (all links can be found below).

Watch the You Tube Video Here


Products Used On My Card (Affiliate Links Used Where Possible)


Copic Markers Used

E11, E31, E23, E37
E71, E74, E77, E79
C3, 0 Colorless Blender
B91, B95, B97
C1, W10, R29
R83, R85, R89
W0, W2, W4

Thanks for stopping by, Deni

CAMERA SET UP - FOR YOU TUBE VIDEOS ONLY
Blue Yeti Microphone
Sony Handycam HDR CX4-05
Tripod – Manfrotto MKCompactaCN-BK

S O C I A L MEDIA 
B L O G : https://ldli.co/e/3xky6x 
I N S T A G R A M : https://ldli.co/e/5dn20x
YOU TUBE: https://ldli.co/e/ej5l90 
F A C E B O O K: https://ldli.co/e/mjxn2r
PINTEREST: https://ldli.co/e/2l9zom


I was a 2018 Ambassador for Copic Marker Australia and NZ


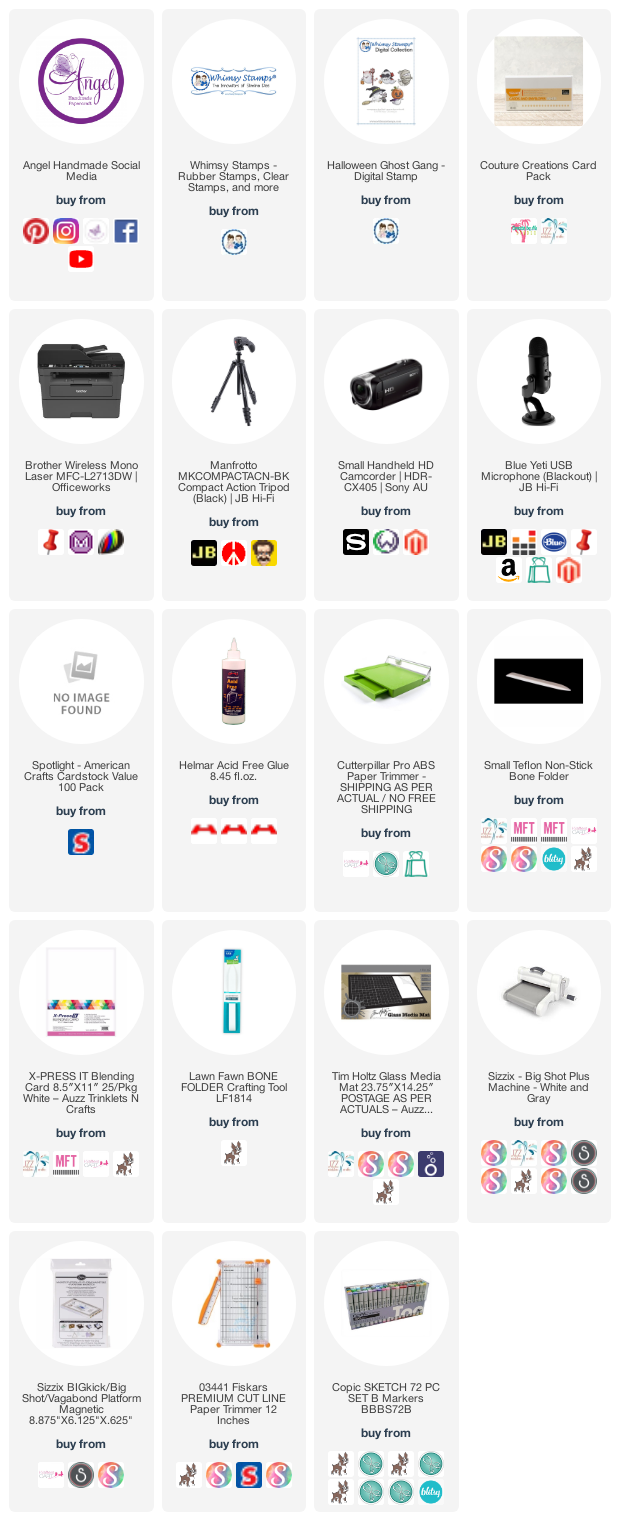
Whimsy Stamps - It's A little Ghostly Out Here COPIC COLOURING ONLY

Hi Everyone,


Today I have a quick blog post for you sharing my colouring of Halloween Ghost Gang from Whimsy Stamps Some Odd Girl Collection. The video below will show you all my steps of colouring. I will have another video up once I get them all onto cards.


I printed the images onto X-Press It Blending Card using my Brother Laser Printer - this makes them Copic Marker Friendly.

I coloured all the images using Copic Markers and added extra details to them using a Uni-Ball White Angelic Gel Pen. 


I hope you have enjoyed my post today, if you have any questions feel free to send me a message or contact me via facebook (all links can be found below).

Watch the You Tube Video Here


Products Used On My Card (Affiliate Links Used Where Possible)


Copic Markers Used

N5, N7. N9
N1, N3, N5
E07, E19, YR27, YR24
YR12, YR18, YR04
G94, G46, G29
FY1, FYG1, FV2
V04, V17, V09
R17, R39, R89
E74, E77, E79
RV000, R20, 0 Colorless Blender
W0, W2, W4

Thanks for stopping by, Deni

CAMERA SET UP - FOR YOU TUBE VIDEOS ONLY
Blue Yeti Microphone
Sony Handycam HDR CX4-05
Tripod – Manfrotto MKCompactaCN-BK

S O C I A L MEDIA 
B L O G : https://ldli.co/e/3xky6x 
I N S T A G R A M : https://ldli.co/e/5dn20x
YOU TUBE: https://ldli.co/e/ej5l90 
F A C E B O O K: https://ldli.co/e/mjxn2r
PINTEREST: https://ldli.co/e/2l9zom


I was a 2018 Ambassador for Copic Marker Australia and NZ


Tuesday, 10 August 2021

Whimsy Stamps Birthday Fun

Hi Everyone, 


Today I am sharing with you a card I created for Whimsy Stamps using Grant from the CC Designs Collection. Such an adorable image to colour up. 


I began by printing the image onto X-Press It Blending Cardstock and colouring it up using Copic Markers, I added extra details using a white Uni-Ball Gel pen. 


I ran the image through my Sizzix Big Shot using a Lawn Fawn Stitched Circle Die. (Before I die cut the image I layed the die over the image so I knew where it would be cutting and used a Mechanical Pencil to trace where it would cut and fussy cut the balloons carefully so that when I ran the die through they would not get cut off). After I cut the image I erased all pencil lines. 


Using a Couture Creations Card Base to begin my card, I then cut some layers of cardstock to match my image. I used Digital Papers from the Whimsy Stamps Dino Friends Collection, I just printed these onto Copy Paper. 


I printed Digital Sentiments from Whimsy Stamps Everyday Banner Sentiments and trimmed it down using my Ek Success Cutterbee Scissors. 


I used matching scrap bits of cardstock and an EK Success Star Confetti Punch to punch out some little stars.


I added Derivan Kindy Glitz to the balloons to finish the image off. 


All my layers were adhered using Helmar Acid Free liquid adhesive. 

I used leftovers of the cardstocks to decorate the inside of my card. 


I hope you have enjoyed my post today, if you have any questions feel free to send me a message or contact me via facebook (all links can be found below).

Watch the You Tube Video Here


Products Used On My Card (Affiliate Links Used Where Possible)


Copic Markers Used

Y08, Y35, Y38
YG95, YG97, YG99
W1, W4, W6
BV11, BV13, BV17
BG53, BG49, BG09
T5, T7, T10
E59, E79, E49
E53, E55, E59, R20
T1, T3, T4

Thanks for stopping by, Deni

CAMERA SET UP - FOR YOU TUBE VIDEOS ONLY
Blue Yeti Microphone
Sony Handycam HDR CX4-05
Tripod – Manfrotto MKCompactaCN-BK

S O C I A L MEDIA 
B L O G : https://ldli.co/e/3xky6x 
I N S T A G R A M : https://ldli.co/e/5dn20x
YOU TUBE: https://ldli.co/e/ej5l90 
F A C E B O O K: https://ldli.co/e/mjxn2r
PINTEREST: https://ldli.co/e/2l9zom


I was a 2018 Ambassador for Copic Marker Australia and NZ


Sunday, 1 August 2021

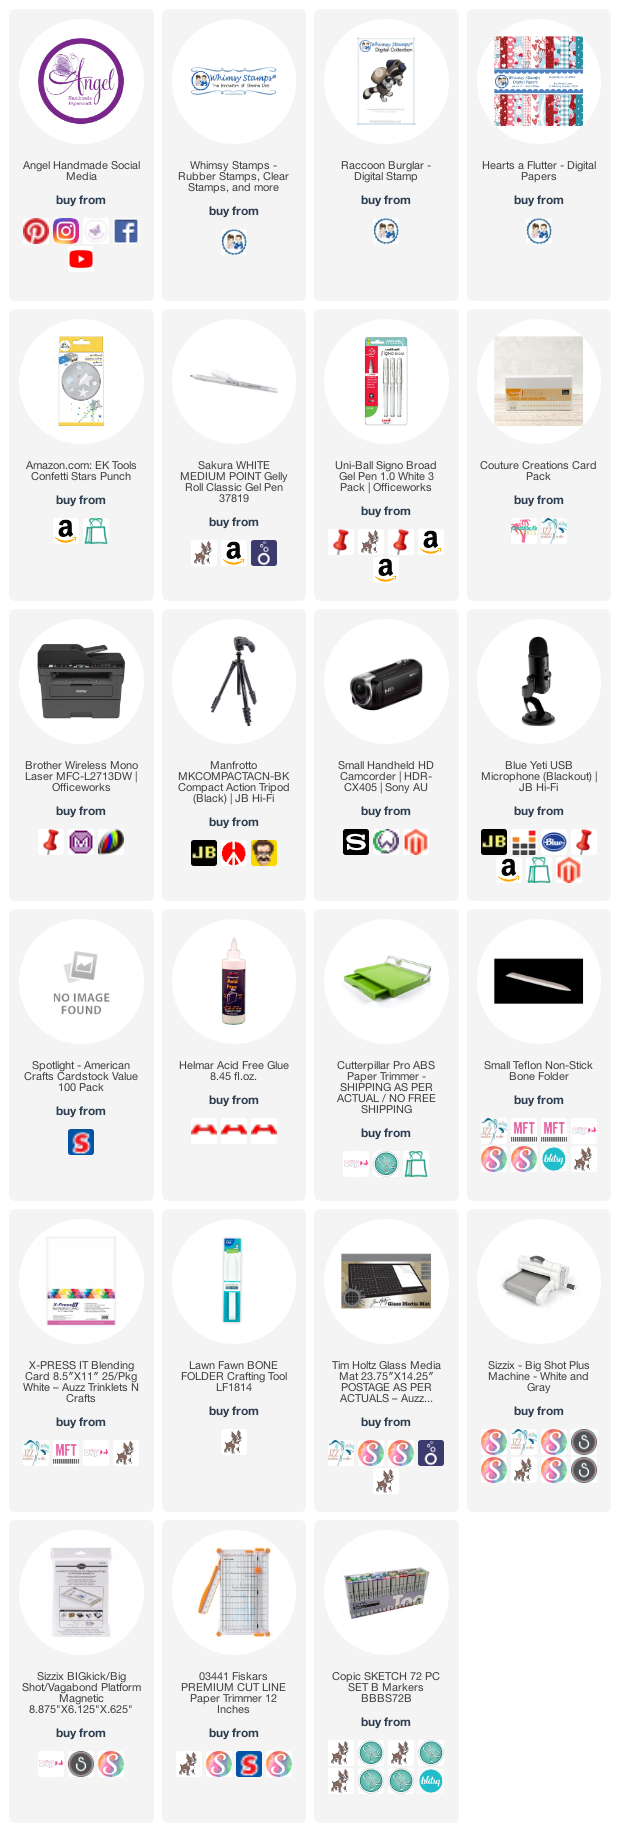
Whimsy Stamps SOG Raccoon Burglar

Hi Everyone, 


Today I am sharing with you a card I created using a new image from Whimsy Stamps Some Odd Girl Collection called Raccoon Burglar.


I didn't really have an idea when I was deciding what papers I was going to use on this card, what actually got me started was the sentiment. I created my own using the Pages App on my MacBook - It says "You stole my heart the day you were born, Happy Birthday. I thought it was a super cute card for a Mother to give her child :-)


I printed the image onto X-Press It Blending Cardstock, I then played around on my computer with some Digital Papers from Whimsy Stamps Hearts A Flutter Collection. I printed the digital papers onto Copy Paper as I new I was going to be layering them up. I also printed the image again overlapping one of the papers to give me the pattern on the raccoon's bag.


I coloured the image up using Copic Markers - all from the W Range, and added some details using a white gel pen. 


Using EK Success Cutterbee Scissors I fussy cut the image down leaving just a few mm of border. 


I did create one sentiment to start with but I screwed it up and had to print another one, so I changed the font which I was not loving anyway. 

I punch some stars using an EK Success Star Confetti Punch from one of the hearts a flutter digital papers I had already printed out. 


American Crafts Black Cardstock was used for the bottom matte layer and then I adhered everything to a Couture Creations Card Base using Helmar Acid Free liquid Adhesive. 


I hope you have enjoyed my post today, if you have any questions feel free to send me a message or contact me via facebook (all links can be found below).

Watch the You Tube Video Here


Products Used On My Card (Affiliate Links Used Where Possible)


Copic Markers Used

W1, W2, W3, W5, W7, W8, W9

Thanks for stopping by, Deni

CAMERA SET UP - FOR YOU TUBE VIDEOS ONLY
Blue Yeti Microphone
Sony Handycam HDR CX4-05
Tripod – Manfrotto MKCompactaCN-BK

S O C I A L MEDIA 
B L O G : https://ldli.co/e/3xky6x 
I N S T A G R A M : https://ldli.co/e/5dn20x
YOU TUBE: https://ldli.co/e/ej5l90 
F A C E B O O K: https://ldli.co/e/mjxn2r
PINTEREST: https://ldli.co/e/2l9zom


I was a 2018 Ambassador for Copic Marker Australia and NZ