Friday, 19 February 2021

DSB - Flower Vase

Good Morning Everyone,

Today I am sharing with you a card I created using a retired stamp from Digi Stamp Boutique, unfortunately this company has now closed up.


I coloured this image up a while ago and finally got it onto a card :-)

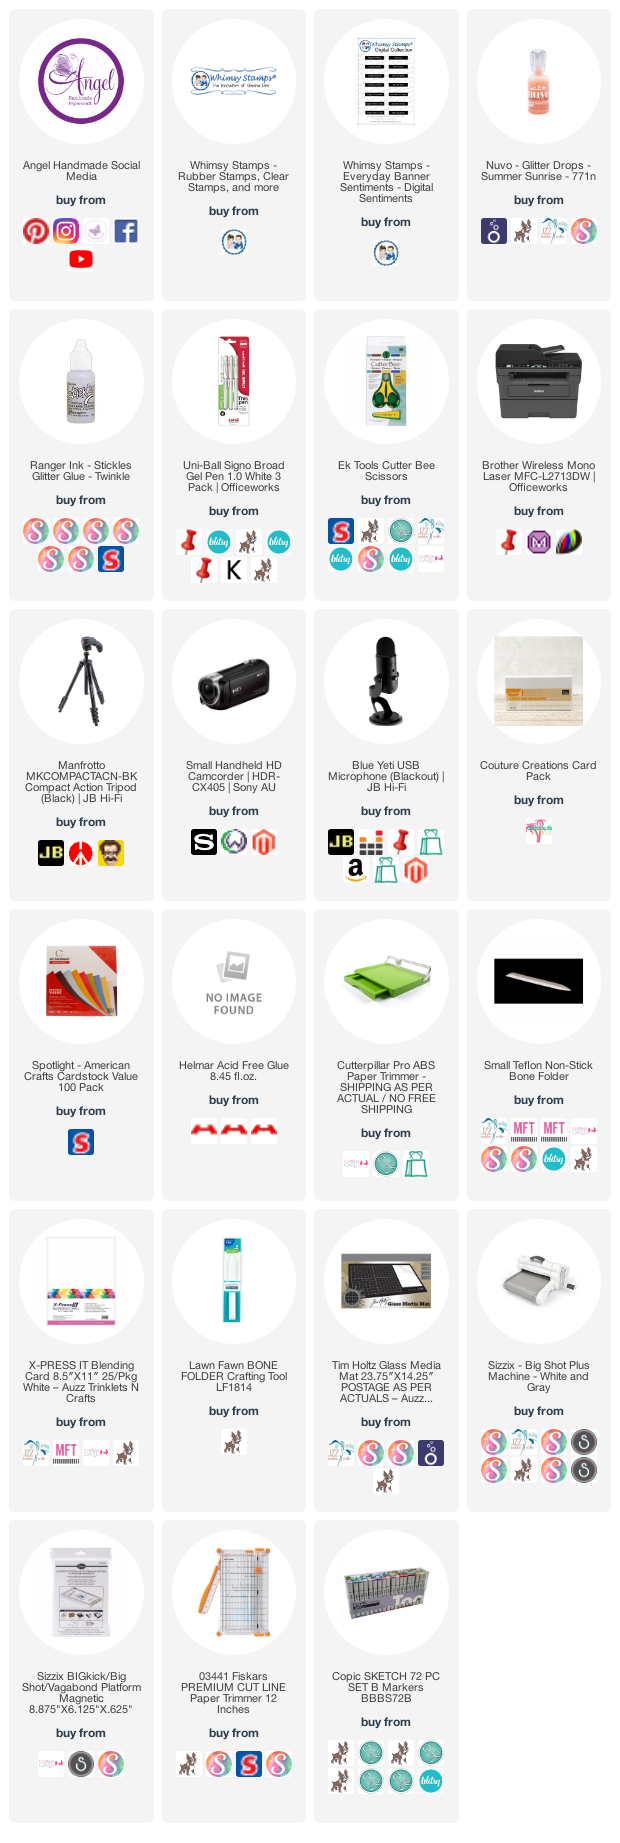
The Image had already been run through my Sizzix Big Shot using a Lawn Fawn Stitched Circle Die.


I used patterned papers from Pebbles Inc. Ever After Collection, this is a very old paper collection that I have recently been working my way through to get it finished up. 


I trimmed some pieces down using my Ek Success Cutterbee Scissors to create banners.


I added some Tonic Studios Nuvo Drops in Summer Sunrise to the bottom and top corners of the card. 


Then I printed a sentiment from Whimsy Stamps Everyday Banner Sentiments, I trimmed this down using my EK Success Cutterbee Scissors and adhered it to the bottom of the flower pot piece. 


I cut down a layer of pink cardstock, I am unsure of what brand it is from as it was from my scraps bin. I adhered all the layers to a Couture Creations Card Base Using Helmar Acid Free Liquid Adhesive.


I used some leftover pieces of the patterned paper to decorate the inside of the card, added some white gel pen details to the image, then finally went back and added some Derivan Kindyglitz in Crystallina to the flowers. 


I hope you have enjoyed my post today, if you have any questions feel free to send me a message or contact me via facebook (all links can be found below).

Watch the You Tube Video Here


Products Used On My Card (Affiliate Links Used Where Possible)


Thanks for stopping by, Deni

CAMERA SET UP - FOR YOU TUBE VIDEOS ONLY
Blue Yeti Microphone
Sony Handycam HDR CX4-05
Tripod – Manfrotto MKCompactaCN-BK

S O C I A L MEDIA 
B L O G : https://ldli.co/e/3xky6x 
I N S T A G R A M : https://ldli.co/e/5dn20x
YOU TUBE: https://ldli.co/e/ej5l90 
F A C E B O O K: https://ldli.co/e/mjxn2r
PINTEREST: https://ldli.co/e/2l9zom


I was a 2018 Ambassador for Copic Marker Australia and NZ


Thursday, 18 February 2021

How to: Fussy Cutting 101

Today I have a quick video for you sharing how I fussy cut, and some tips along the way. 

The images I am using are from La La Land Crafts, I do not work for them or design for them in any way shape or form.


I am a huge fan of Irina's Images and it is just what I chose to use for my video today. 


The Images I am using are not all available for purchase, I do apologise I didn't realise this until I was getting all the links together for my video link ups. 


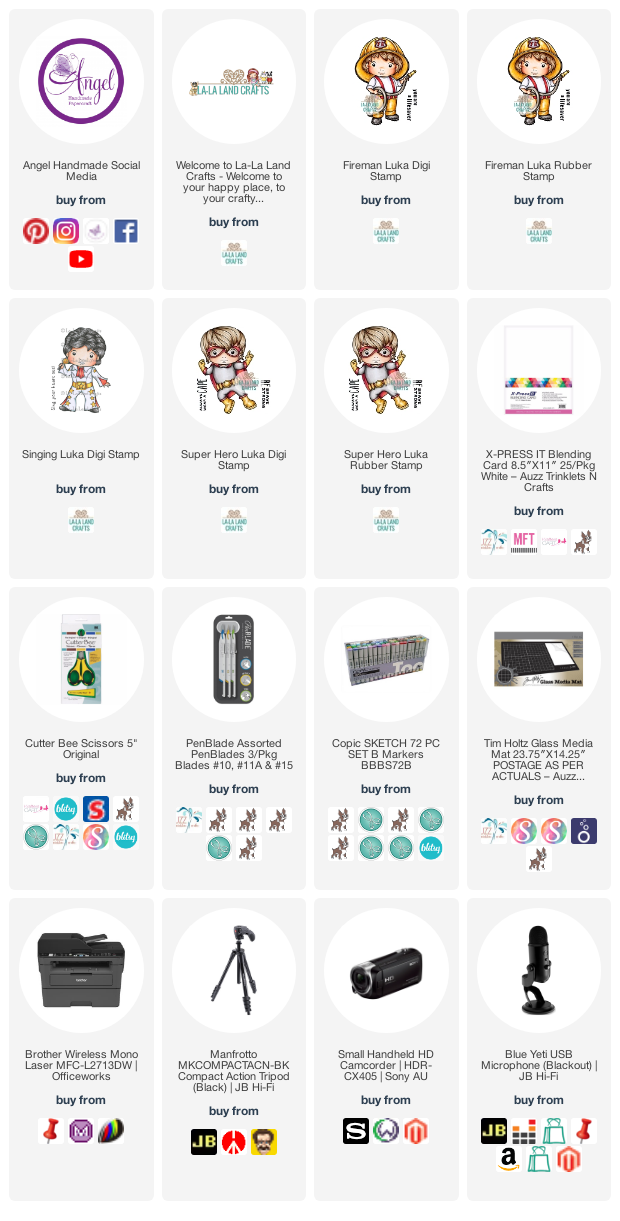
So, the images I have used that are available are:

Fireman Luka available in Rubber Stamp and Digital Stamp
Singing Luka available as Digital Stamp
Super Hero Luka Rubber Stamp and Digital Stamp

I don't own all of these in Rubber Stamp, I have used the Digital Versions for all, so I printed them onto X-Press It Blending Card Stock using my Brother Laser Printer.


I am using EK Success Cutterbee Scissors to do my fussy cutting, I suggest that you use some sort of scissors that are super sharp and pointy, this will give you a nice smooth cut and this is why I use the Cutter Bee Scissors. 


I hope you have enjoyed my post today, if you have any questions feel free to send me a message or contact me via facebook (all links can be found below).

Watch the You Tube Video Here


Products Used On My Card (Affiliate Links Used Where Possible)


Thanks for stopping by, Deni

CAMERA SET UP - FOR YOU TUBE VIDEOS ONLY
Blue Yeti Microphone
Sony Handycam HDR CX4-05
Tripod – Manfrotto MKCompactaCN-BK

S O C I A L MEDIA 
B L O G : https://ldli.co/e/3xky6x 
I N S T A G R A M : https://ldli.co/e/5dn20x
YOU TUBE: https://ldli.co/e/ej5l90 
F A C E B O O K: https://ldli.co/e/mjxn2r
PINTEREST: https://ldli.co/e/2l9zom


I was a 2018 Ambassador for Copic Marker Australia and NZ


Wednesday, 17 February 2021

The Paper Shelter - Casual Boy

Good Morning all :-)

Today I am putting together a card using Casual Boy from The Paper Shelter.


Such a great image for a teenage boy card, for many different occasions. 


I coloured the image up using Copic Markers, he was coloured up quite a while ago so I do apologise I do not have a Copic Marker list.


The papers are from Kmarts Anko Whimsical Mini Stack. I used my EK Success Cutterbee Scissors to create banners. I cut down some coloured layers using American Crafts Cardstocks and Kaisercraft Cardstock.


I ran the image through my Sizzix Big Shot using a MFT Stamps Stitched Squares die.


I adhered all the layers to a Couture Creations Card Base using Helmar Acid Free liquid adhesive. 


I hope you have enjoyed my post today, if you have any questions feel free to send me a message or contact me via facebook (all links can be found below).

Watch the You Tube Video Here


Products Used On My Card (Affiliate Links Used Where Possible)


Copic Markers Used

no list today, sorry

Thanks for stopping by, Deni

CAMERA SET UP - FOR YOU TUBE VIDEOS ONLY
Blue Yeti Microphone
Sony Handycam HDR CX4-05
Tripod – Manfrotto MKCompactaCN-BK

S O C I A L MEDIA 
B L O G : https://ldli.co/e/3xky6x 
I N S T A G R A M : https://ldli.co/e/5dn20x
YOU TUBE: https://ldli.co/e/ej5l90 
F A C E B O O K: https://ldli.co/e/mjxn2r
PINTEREST: https://ldli.co/e/2l9zom


I was a 2018 Ambassador for Copic Marker Australia and NZ


Whimsy Stamps - SOG Puppy Fun

Hi Everyone,

Today I am working with Whimsy Stamps and I have an image from the SOG Mini Pets Collection.


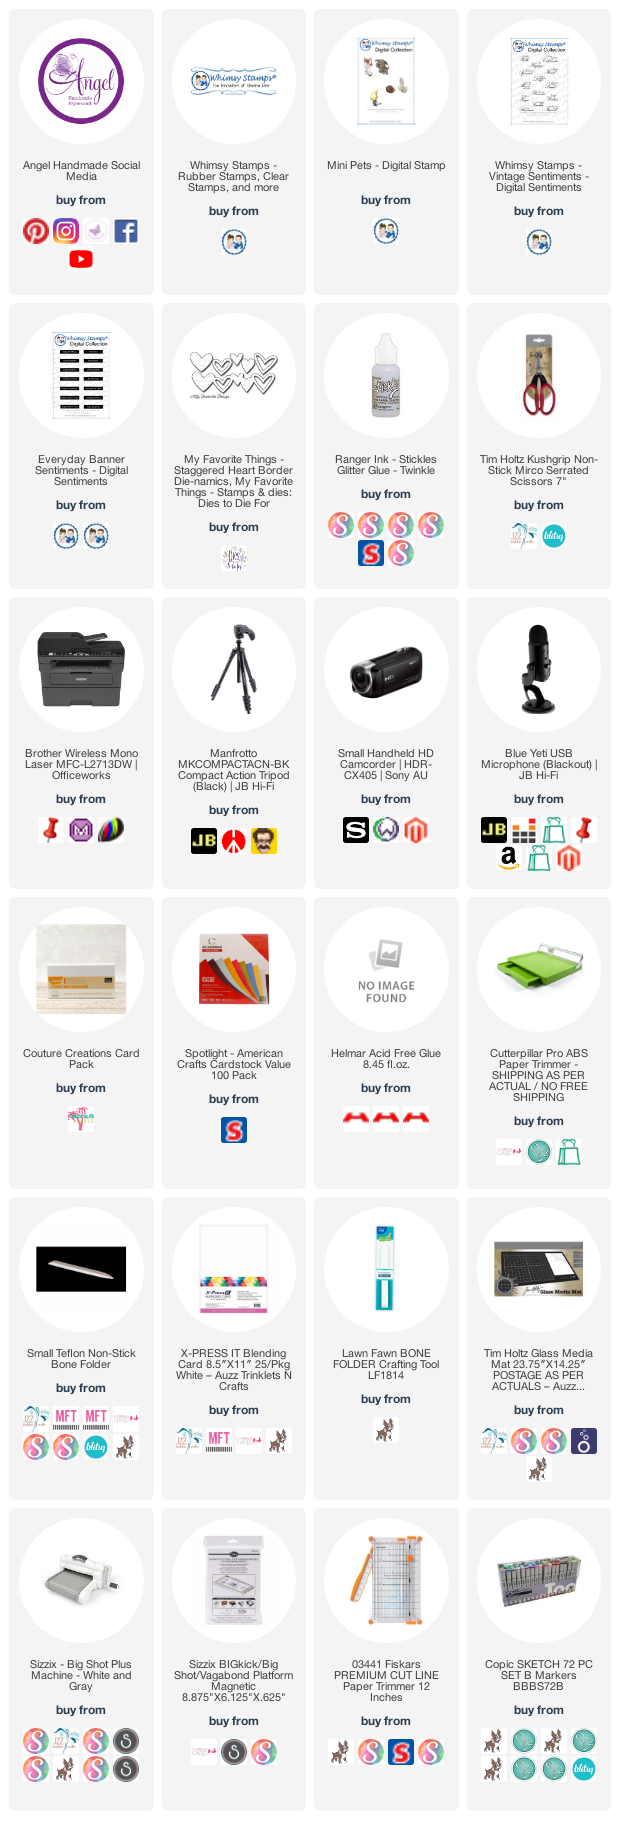
I printed the image onto X-Press It Blending Cardstock using my Brother Laser Printer. I also printed 2 different digital sentiment sets from Whimsy Stamps - Vintage Sentiments and Everyday Banner Sentiments


Using EK Success Cutterbee Scissors I fussy cut the image out - remember to focus on moving the paper rather than the scissors. 


I coloured the image using Copic Markers - I will have a full Copic Markers list below this post.

I cut down a piece of brown American Crafts cardstock to use as a matte, then cut down some layers from Pebbles Ever After Collection, this brown polka dot piece was perfect. I cut down another small piece of American Crafts brown cardstock and adhered it to the left side.


Using my Tim Holtz Guillotine (this is my go to when it comes to cutting small pieces as it has the finger grip to allow you to hold these small pieces). 


I cut some hearts from MFT Stamps Staggered Hearts dies using some American Crafts Cardstock.


I adhered everything to a Couture Creations Card Base using Helmar Acid Free Adhesive.


Finally I used the same patterned papers to decorate the inside of the card.


I hope you have enjoyed my post today, if you have any questions feel free to send me a message or contact me via facebook (all links can be found below).

Watch the You Tube Video Here


Products Used On My Card (Affiliate Links Used Where Possible)


Copic Markers Used

YR21, YR27
R35, R39
E71, E74, R77, E79
0 Colorless Blender

Thanks for stopping by, Deni

CAMERA SET UP - FOR YOU TUBE VIDEOS ONLY
Blue Yeti Microphone
Sony Handycam HDR CX4-05
Tripod – Manfrotto MKCompactaCN-BK

S O C I A L MEDIA 
B L O G : https://ldli.co/e/3xky6x 
I N S T A G R A M : https://ldli.co/e/5dn20x
YOU TUBE: https://ldli.co/e/ej5l90 
F A C E B O O K: https://ldli.co/e/mjxn2r
PINTEREST: https://ldli.co/e/2l9zom


I was a 2018 Ambassador for Copic Marker Australia and NZ


Tuesday, 16 February 2021

CC Designs - Biker Dude

HI Everyone,

I have had a busy few days pumping out lots of new cards to share with you - working my way through my tray of coloured images. I haven't done it for a while but I used to sit and colour for hours preparing images for cards, now I generally colour as I'm going. 

For my card today I am using CC Designs "My Big Wheels" this is such an adorable image :-)


As I said this is an image I coloured up quite a while ago before I started keeping lists of all my colourings, so I don't have a Copic Marker List for you today.

I ran the image through my Sizzix Big Shot using a Lawn Fawn Stitched Circle die, I then used some grey Copic Markers to ground the image onto the circle. 


I used a Digital Sentiment from Whimsy Stamps (which I had pre-printed from another time) I then ran it through my Sizzix Big Shot using a smaller Lawn Fawn Circle die. 


I trimmed down a piece of American Crafts Black Cardstock, then cut down some patterned paper from American Crafts Dear Lizzy Day Dreamer patterned paper pad. I trimmed and bannered up some smaller pieces of the paper using my EK Success Cutterbee Scissors. 


I adhered both of the papers to a Couture Creations Card Base.

Finally I added some Wink Of Stella, some Uni-ball white gel pen and last but not least some Nuvo Crystal Drops in Red Berry.


I used the same patterned papers to decorate the inside of my card.


I hope you have enjoyed my post today, if you have any questions feel free to send me a message or contact me via facebook (all links can be found below).

Watch the You Tube Video Here


Products Used On My Card (Affiliate Links Used Where Possible)


Copic Markers Used

No List today sorry

Thanks for stopping by, Deni

CAMERA SET UP - FOR YOU TUBE VIDEOS ONLY
Blue Yeti Microphone
Sony Handycam HDR CX4-05
Tripod – Manfrotto MKCompactaCN-BK

S O C I A L MEDIA 
B L O G : https://ldli.co/e/3xky6x 
I N S T A G R A M : https://ldli.co/e/5dn20x
YOU TUBE: https://ldli.co/e/ej5l90 
F A C E B O O K: https://ldli.co/e/mjxn2r
PINTEREST: https://ldli.co/e/2l9zom


I was a 2018 Ambassador for Copic Marker Australia and NZ


Saturday, 13 February 2021

Whimsy Stamps - RS Kitty and Butterfly

Hello Everyone :-)

My card today features Kitty and Butterfly from Whimsy Stamps RS Collection.


I have printed the image onto X-Press It Blending Cardstock using my Brother Laser Printer.


Sentiment is also from Whimsy Stamps, it is from the Vintage Sentiment Set, this is also a Digital Set so it was printed onto X-Press It Blending Card.. you know I like my whites to be all the same. 


I coloured the image using Copic Markers, I have a list of all the markers I used below and you can watch my Colouring and Process Video which is also linked up for you.


Using a Lawn Fawn Stitched Circle die I ran the image through my Sizzix Big Shot.


I used some plain pink cardstock from my stash (not sure if it's American Crafts Cardstock which is what I mainly have .. there was no label as this was only a part piece) and trimmed it down to create a mat layer for the base of my card. 

I adhered patterned papers from Pebbles Ever After Collection which I had trimmed down and made banners using my EK Success Cutterbee Scissors. 


Using a Uni-Ball white gel pen I added some details to the image and then coated with Derivan Kindy Glitz.. I have linked up a few similar Products.

I also used a piece of leftover green cardstock and MFT Stamps Grassy Fields to create just a small piece of grass off to the side. 


Finally I used the same patterned papers to decorate the inside of the card.


I hope you have enjoyed my post today, if you have any questions feel free to send me a message or contact me via facebook (all links can be found below).

Watch the You Tube Video Here


Products Used On My Card (Affiliate Links Used Where Possible)


Copic Markers Used

YR21, YR24, YR27
R56, R59
BG53, BG07
V12, V15, V17, R30

Thanks for stopping by, Deni

CAMERA SET UP - FOR YOU TUBE VIDEOS ONLY
Blue Yeti Microphone
Sony Handycam HDR CX4-05
Tripod – Manfrotto MKCompactaCN-BK

S O C I A L MEDIA 
B L O G : https://ldli.co/e/3xky6x 
I N S T A G R A M : https://ldli.co/e/5dn20x
YOU TUBE: https://ldli.co/e/ej5l90 
F A C E B O O K: https://ldli.co/e/mjxn2r
PINTEREST: https://ldli.co/e/2l9zom


I was a 2018 Ambassador for Copic Marker Australia and NZ