
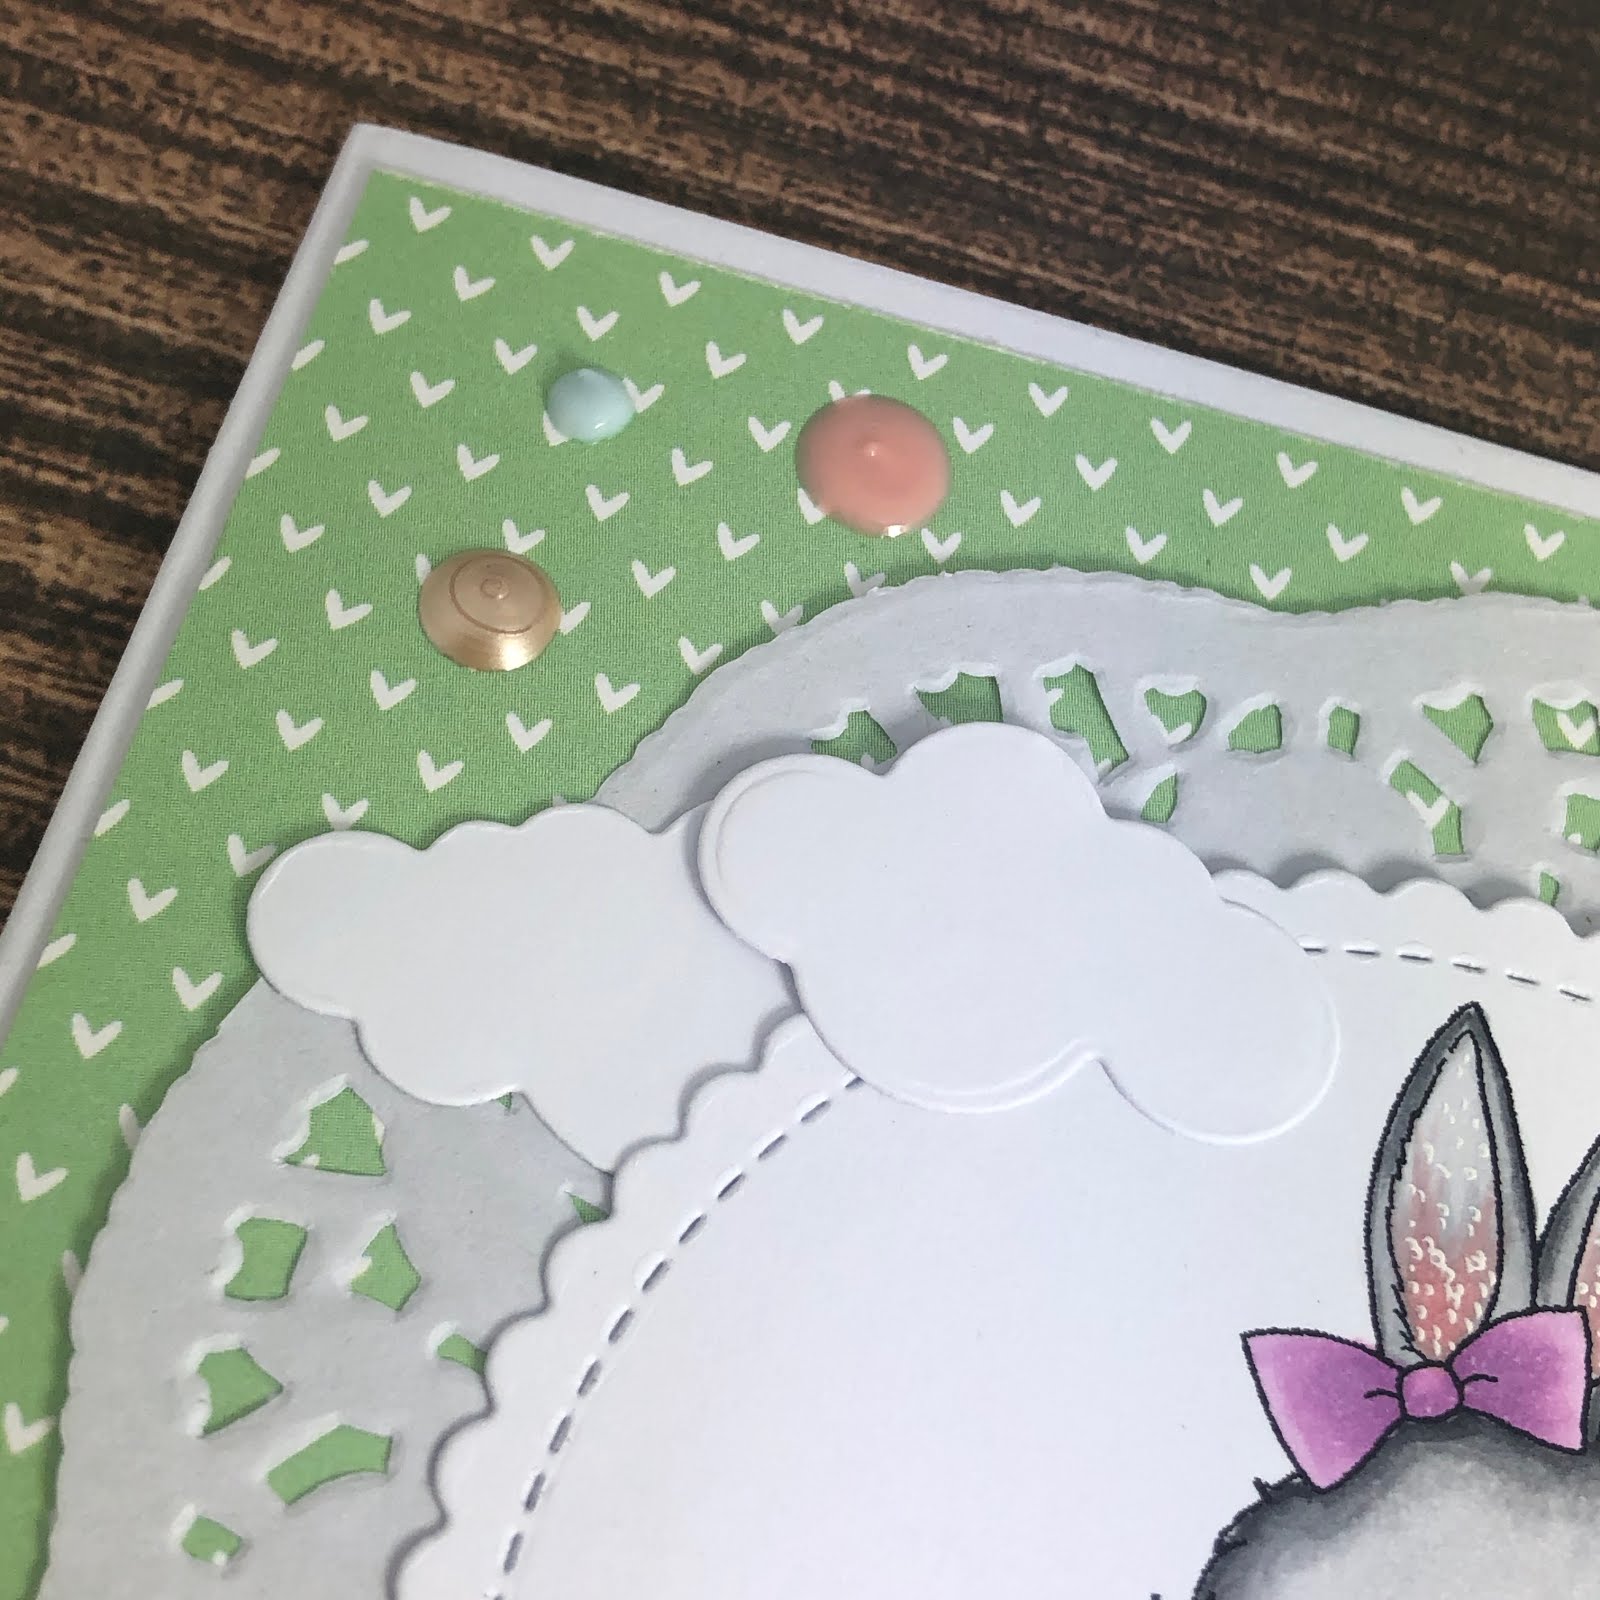
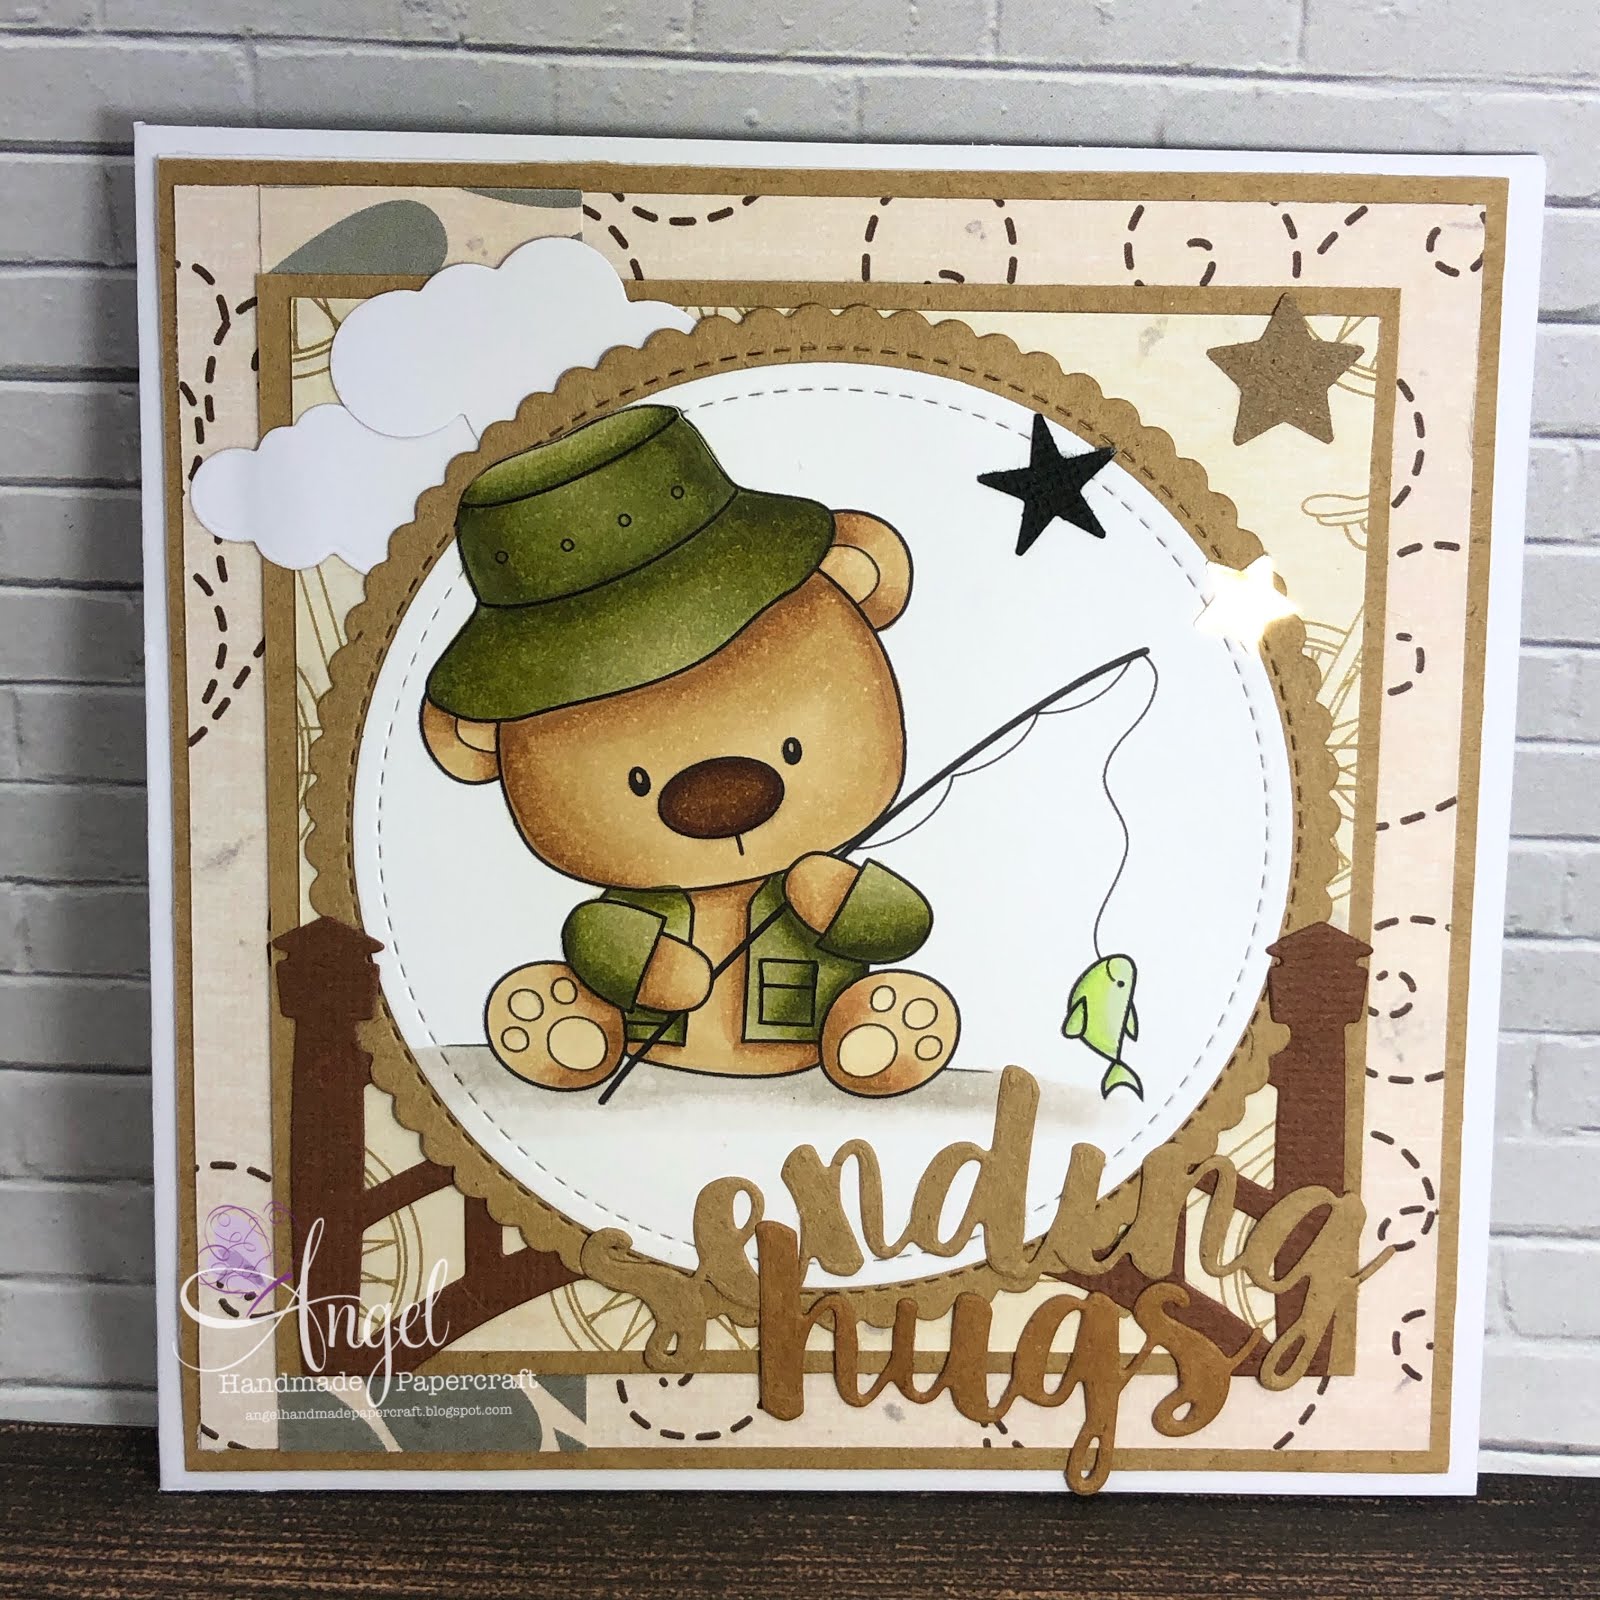
Today I am sharing with you a Digital Image from Digi Stamp Boutique called Cute Tennis Ted, unfortunately this company is no longer around so you will not be able to purchase this image. I had him coloured up in my tray of images and I have been trying to work my way through them all and get them onto cards :-)

I printed the image onto X-Press It Blending Cardstock using my Brother Laser Printer, I then ran the image through my Sizzix Big Shot using Lawn Fawn Stitched Circles. I coloured the image up using Copic Markers.
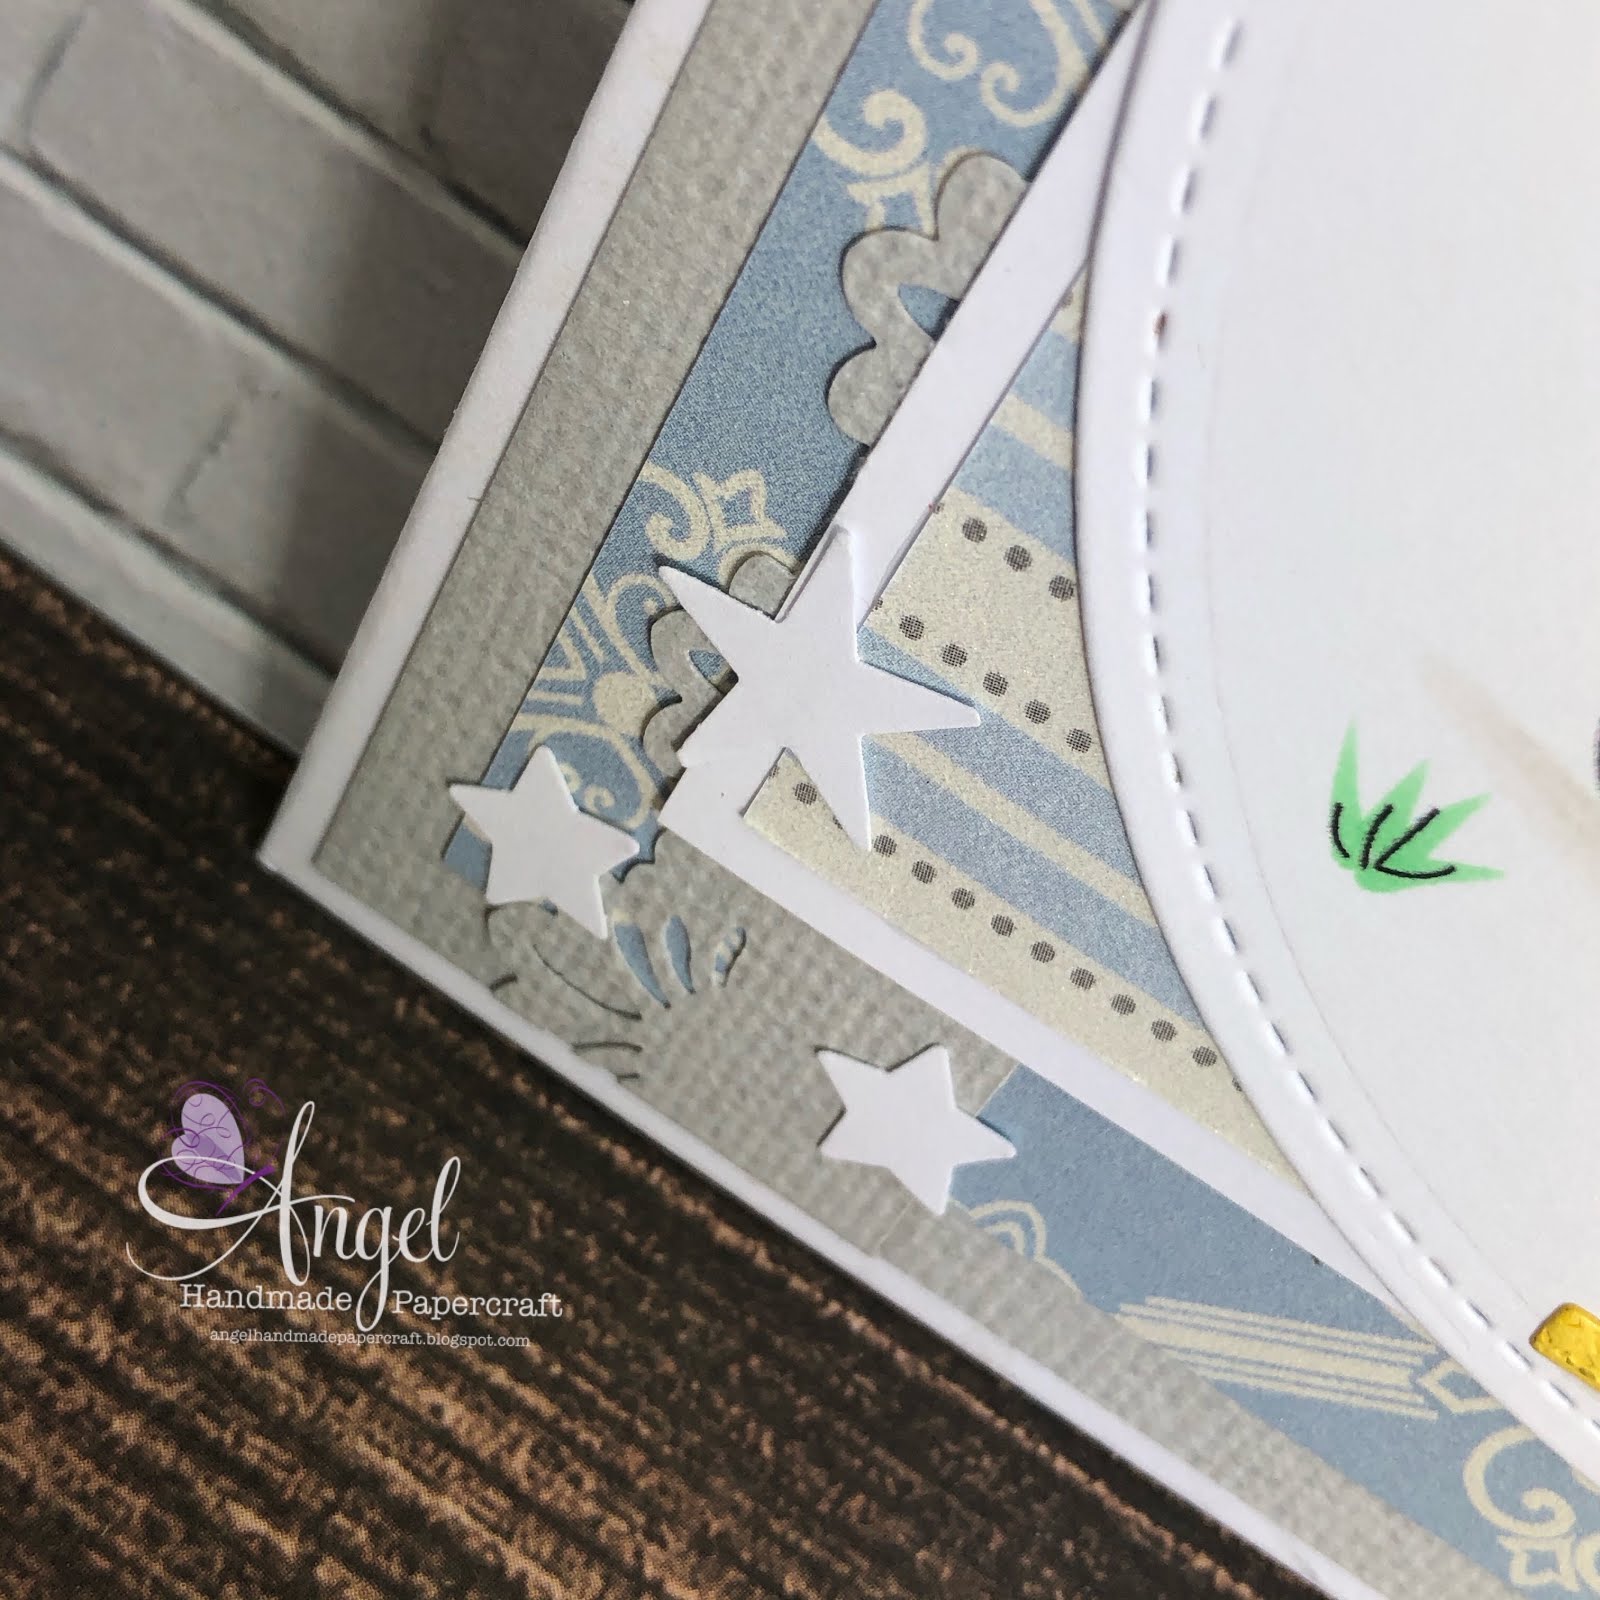
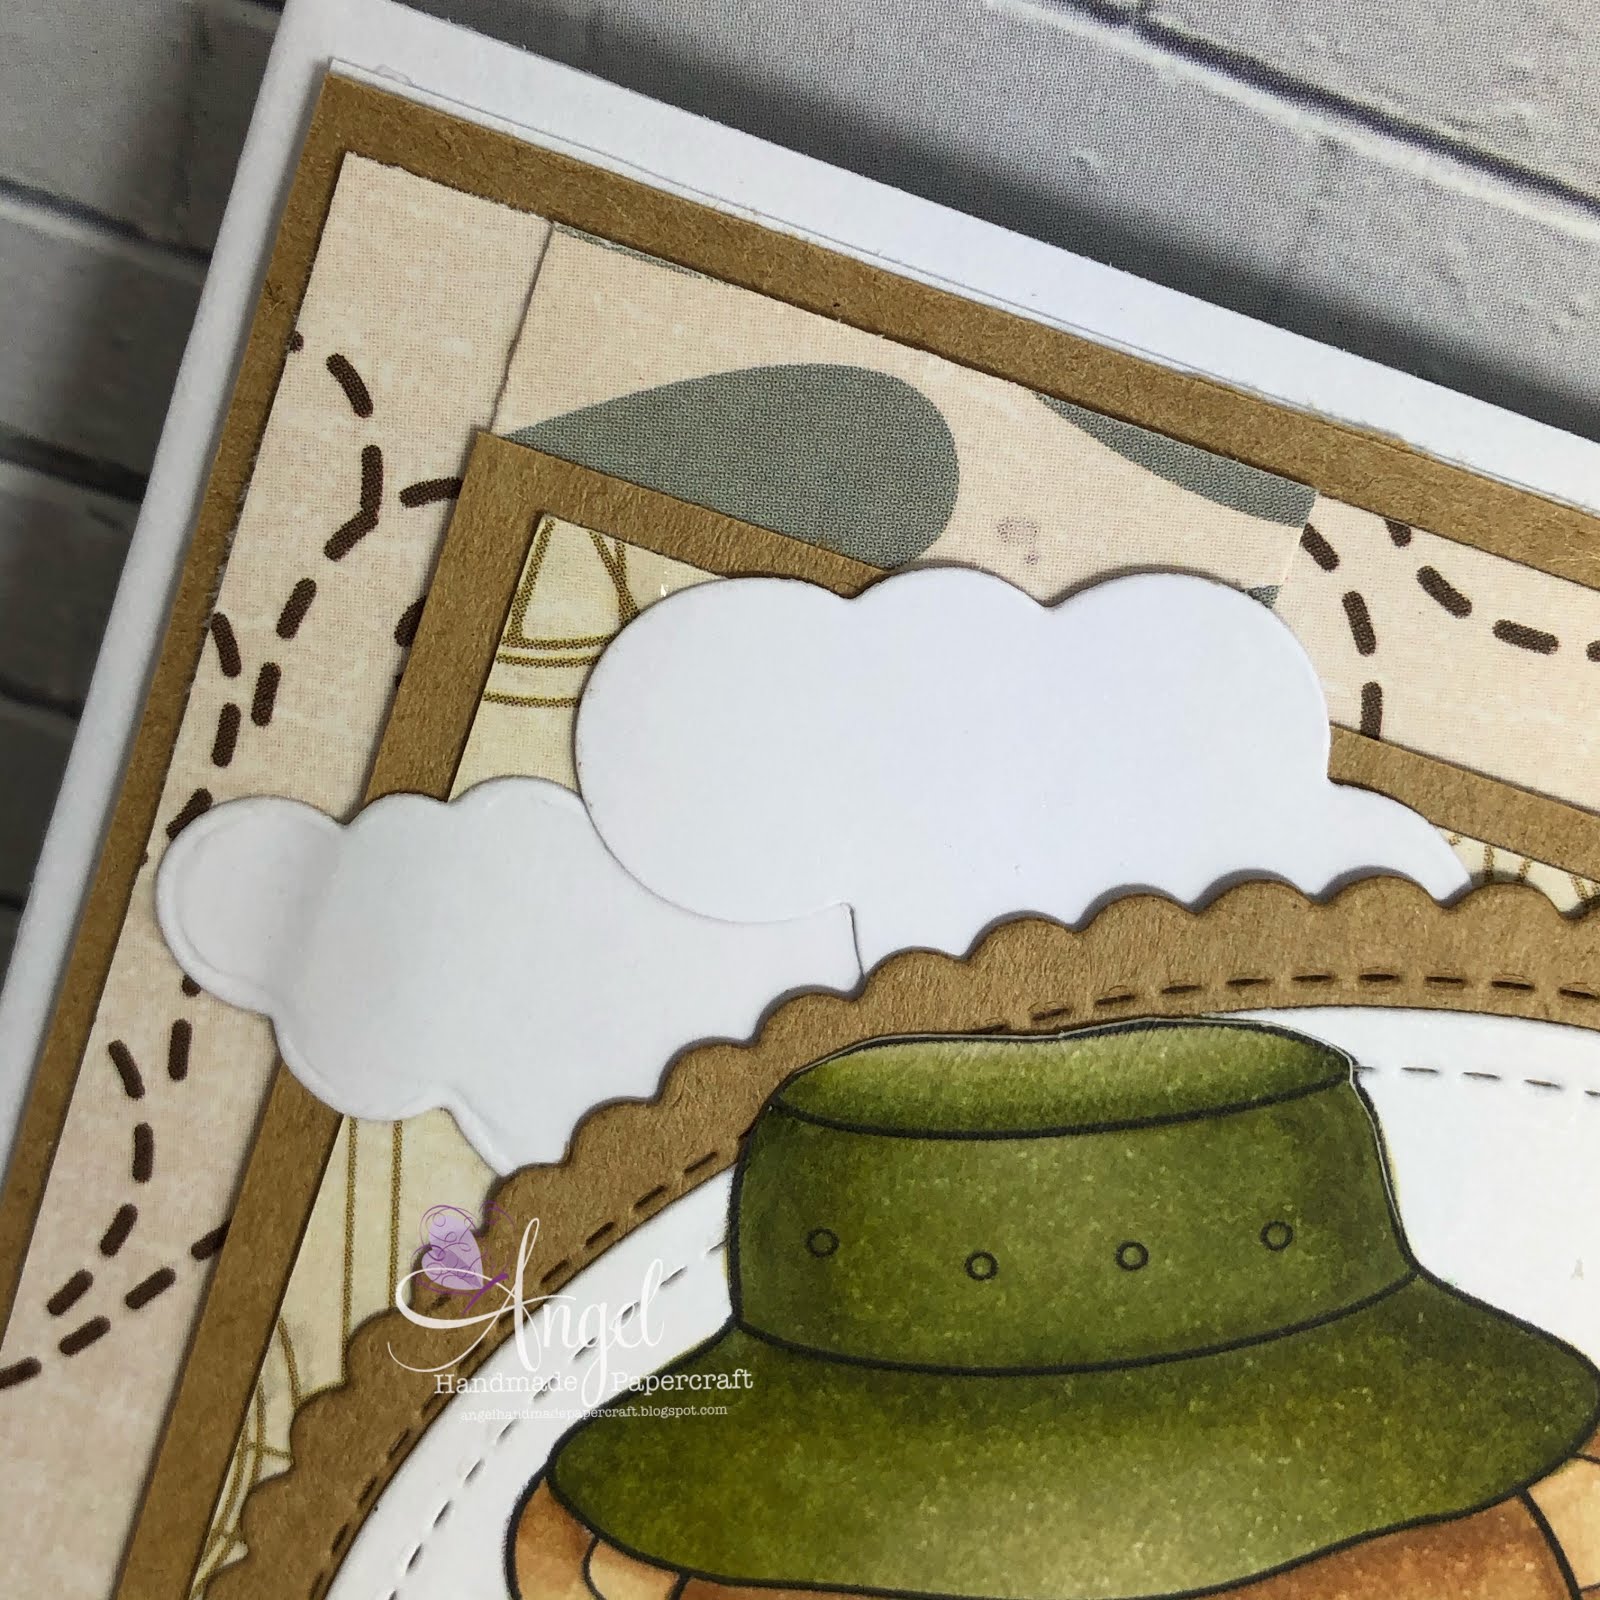
Using papers from Bella! My Romance collection, I trimmed down some layers and matted them onto American Crafts Cardstock.

I used an old Fiskars border punch to punch a strip using leftovers of the matting card stock and and adhered this down the left side of the patterned papers.

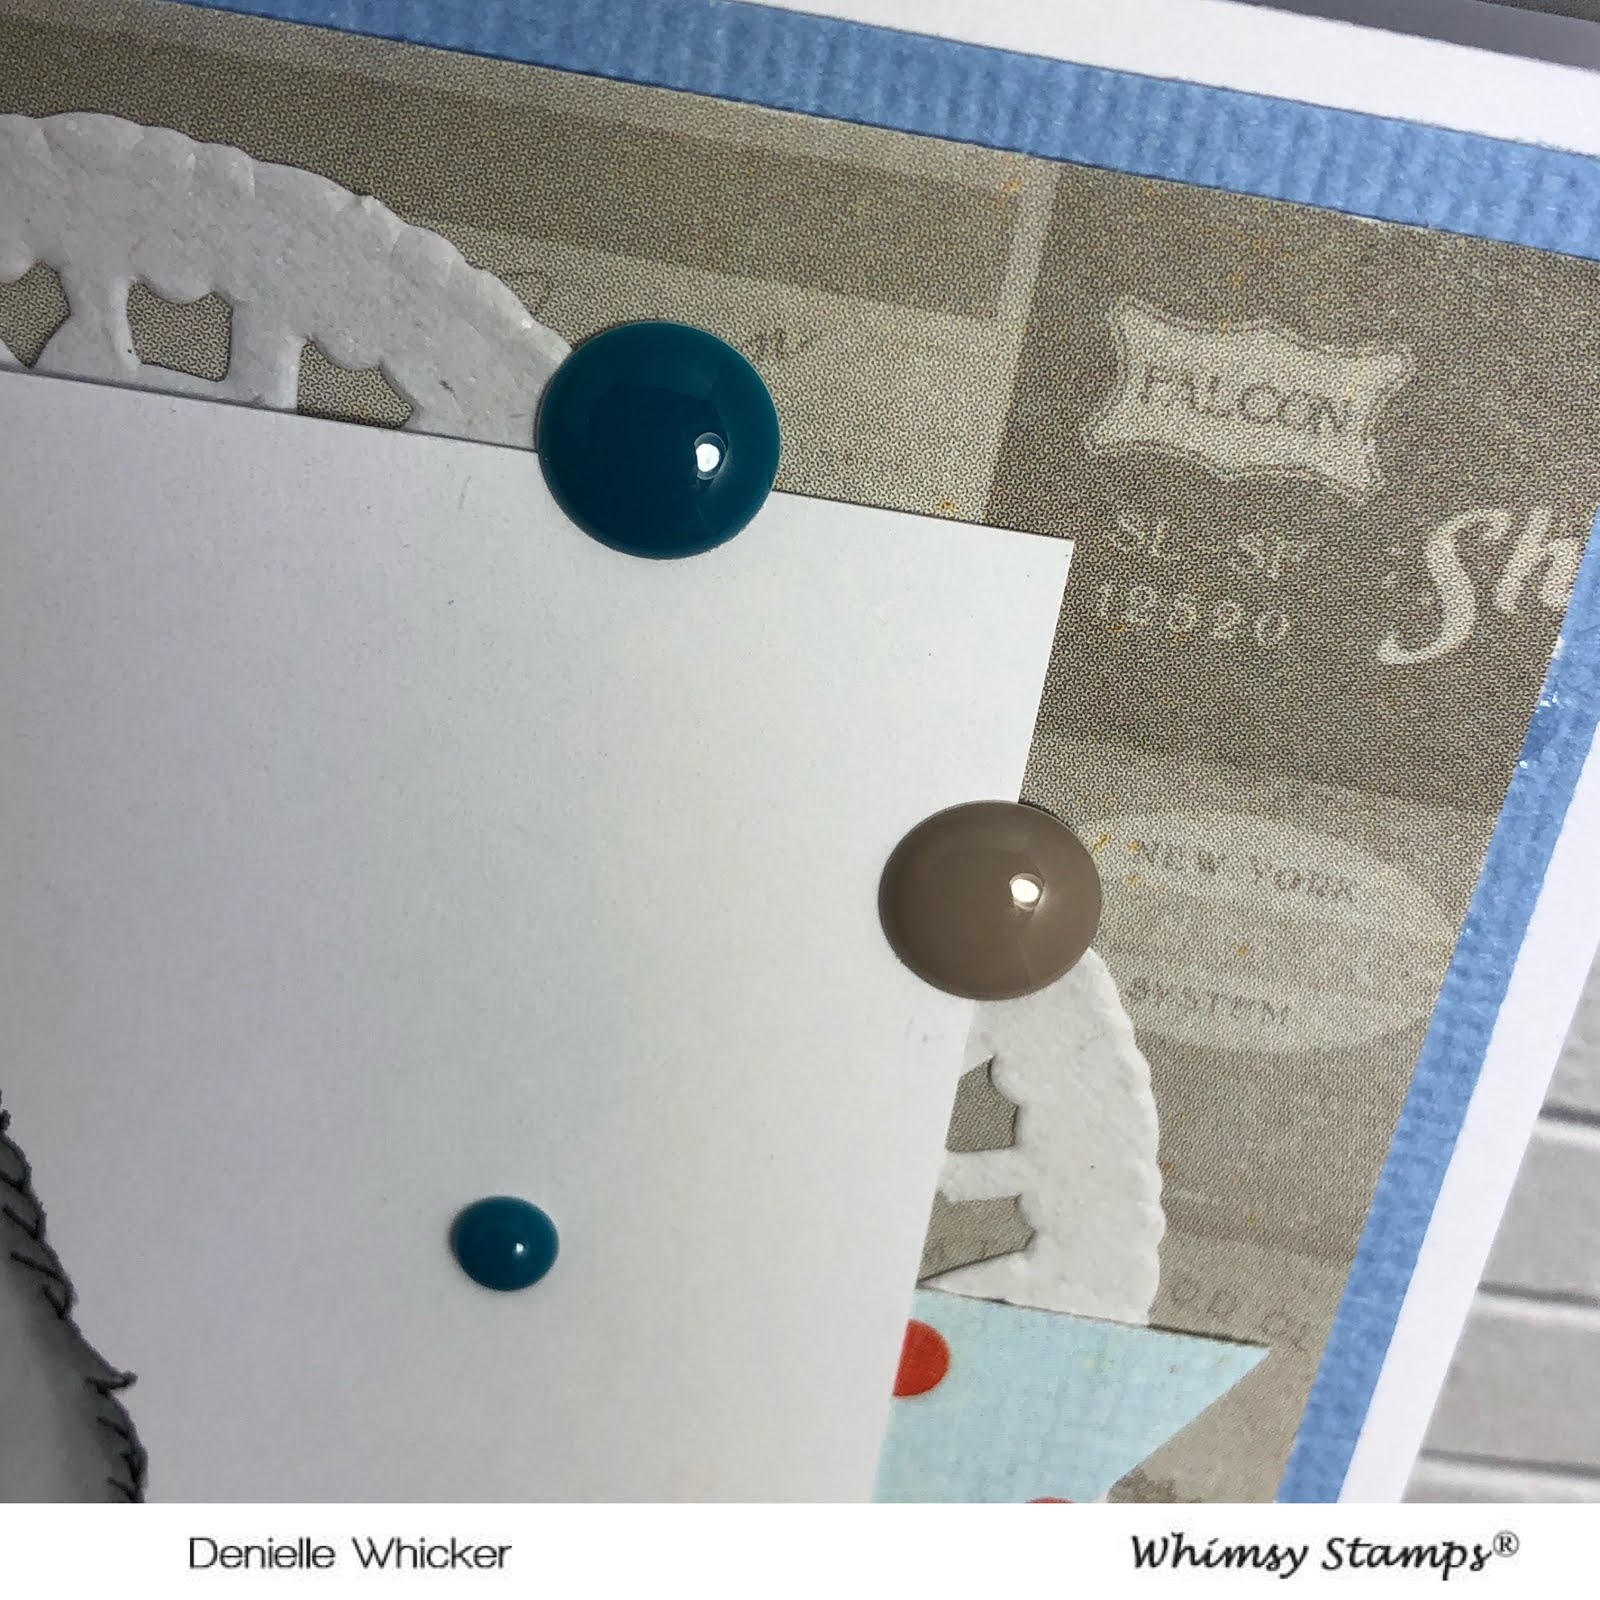
I added some EK Success Star Confetti to the corners of my card.

The Happy die cut I'm not sure where it is from off the top of my head as it was out of my little leftovers tray, the Birthday word is from Honey Bee Stamps Hooray stamp set, I stamped it out using Memento Tuxedo Black and a Lawn Fawn Acrylic Block.


I adhered all the layers to a Couture Creations Card Base using Helmar Acid Free.

I hope you have enjoyed my post today, if you have any questions feel free to send me a message or contact me via facebook (all links can be found below).
Watch the You Tube Video Here
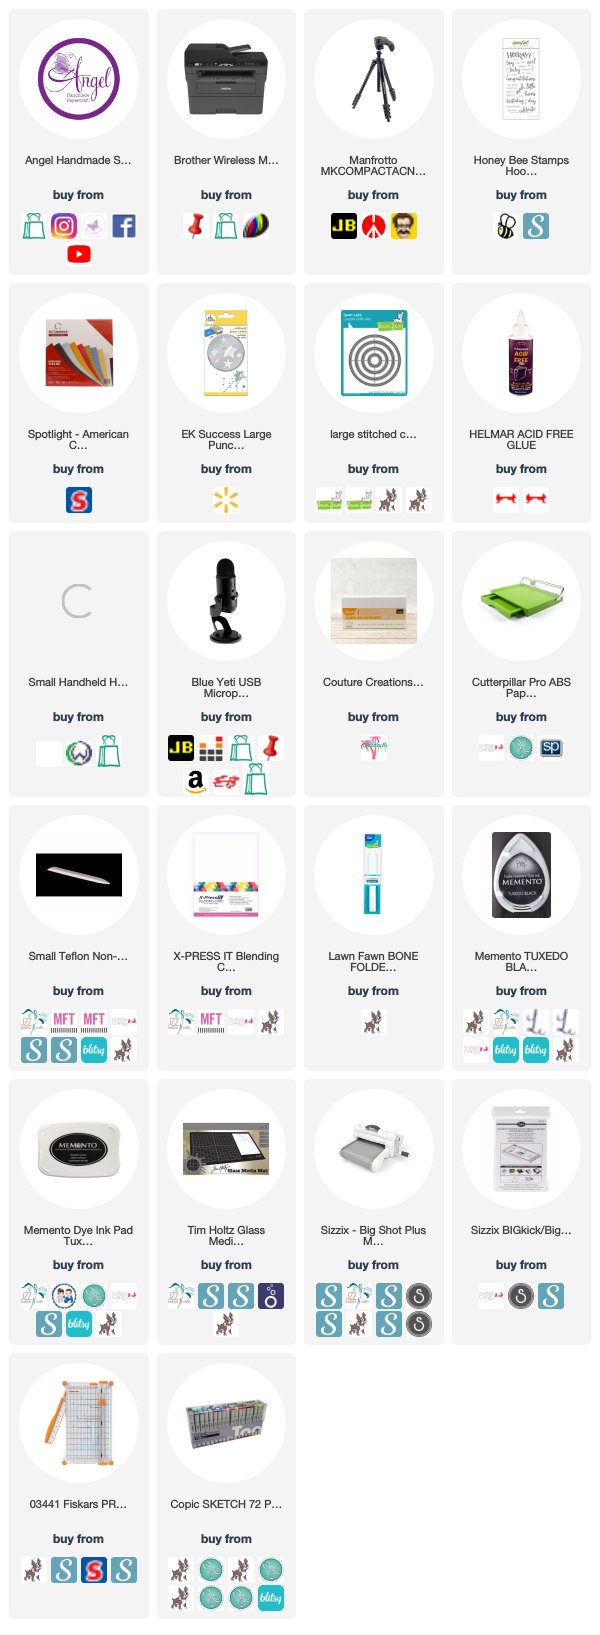
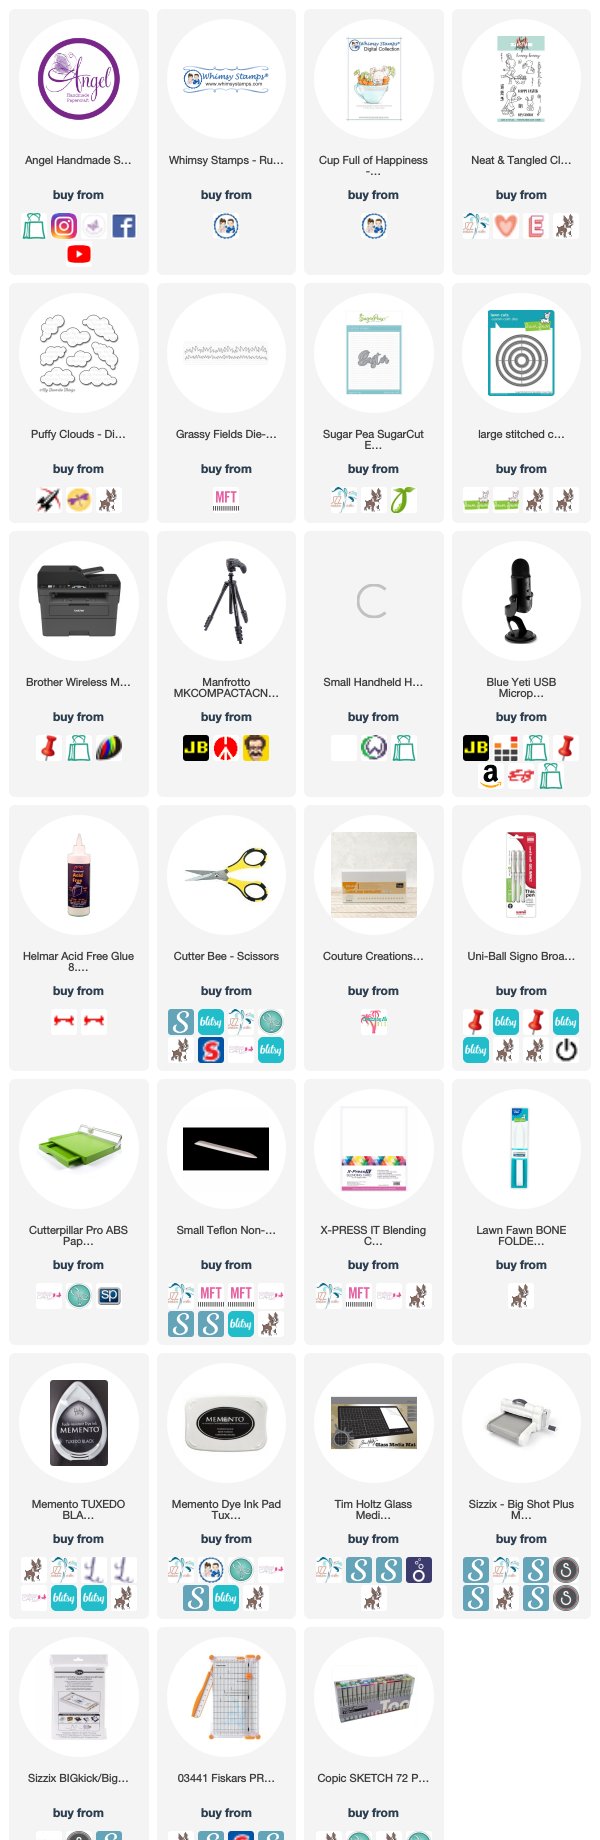
Products Used On My Card (Affiliate Links Used Where Possible)
Copic Markers Used
no list today sorry
Thanks for stopping by, Deni
CAMERA SET UP - FOR YOU TUBE VIDEOS ONLY
Blue Yeti Microphone
Sony Handycam HDR CX4-05
Tripod – Manfrotto MKCompactaCN-BK
S O C I A L MEDIA
B L O G : https://ldli.co/e/3xky6x
I N S T A G R A M : https://ldli.co/e/5dn20x
YOU TUBE: https://ldli.co/e/ej5l90
F A C E B O O K: https://ldli.co/e/mjxn2r
PINTEREST: https://ldli.co/e/2l9zom
I was a 2018 Ambassador for Copic Marker Australia and NZ


