With Valentines Day coming up I am starting my prep on cards.
For my card today I am using Special Delivery Pup from Whimsy Stamps, you may remember me using him a couple of cards ago, he is such a cutie I couldn't help but use him again.

I printed him onto X-Press it Blending Cardstock and I have coloured him up using Copic Markers, you will find all these listed at the end of my blog post with picture links to help you purchase.

I have used patterned papers from Crate Paper Love Notes Collection, I have trimmed these down using my Cutterpillar Pro and adhered them to a Couture Creations Card Base using Helmar Acid Free liquid Adhesive.

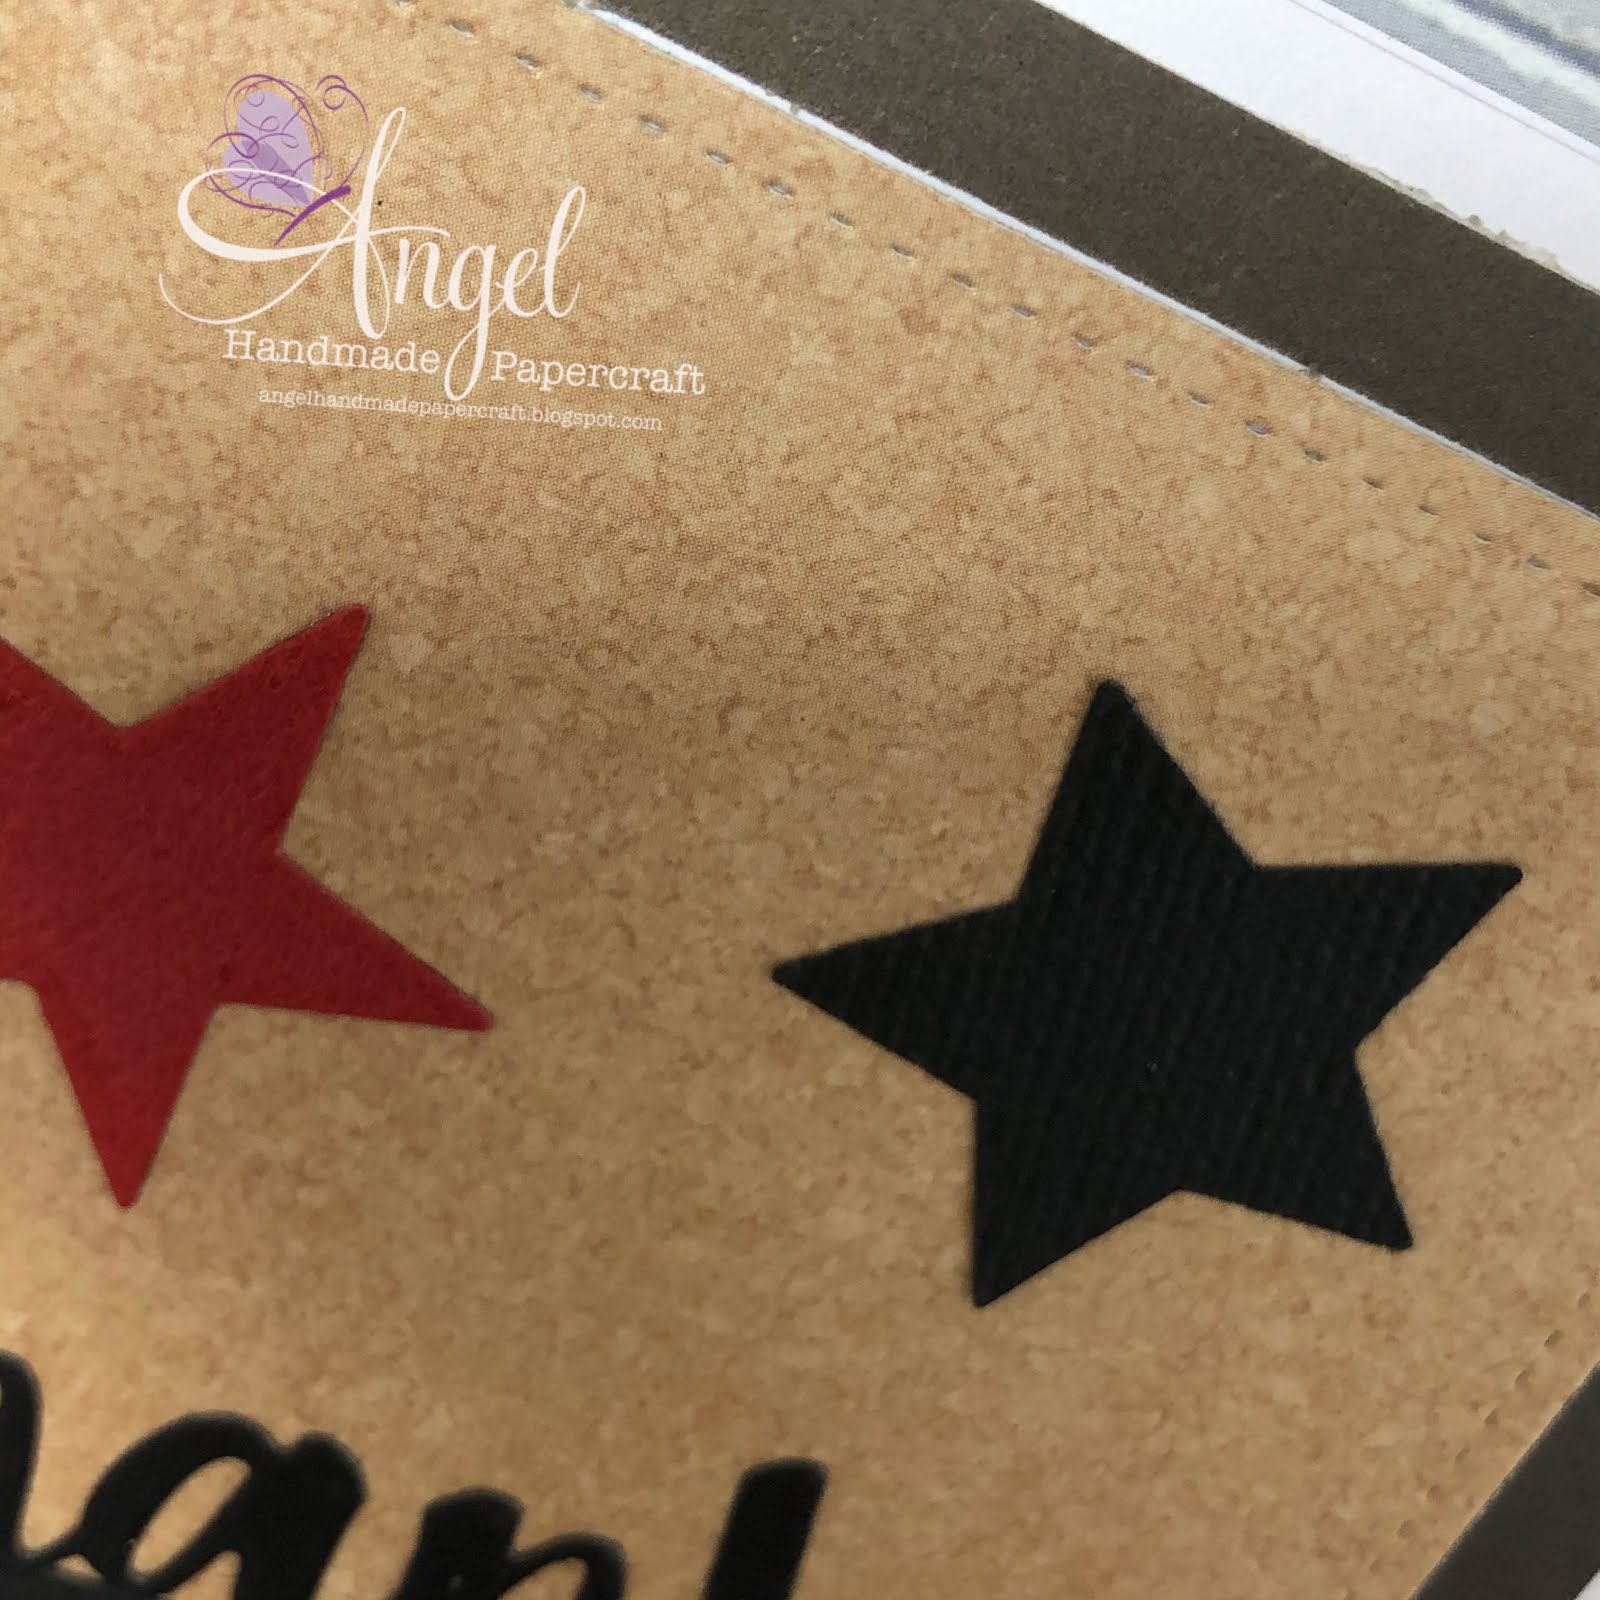
I coloured some leftover over X-Press It using the same Copic Markers I used on the image then punched some hearts out using Martha Stewart Heart Confetti Punch.

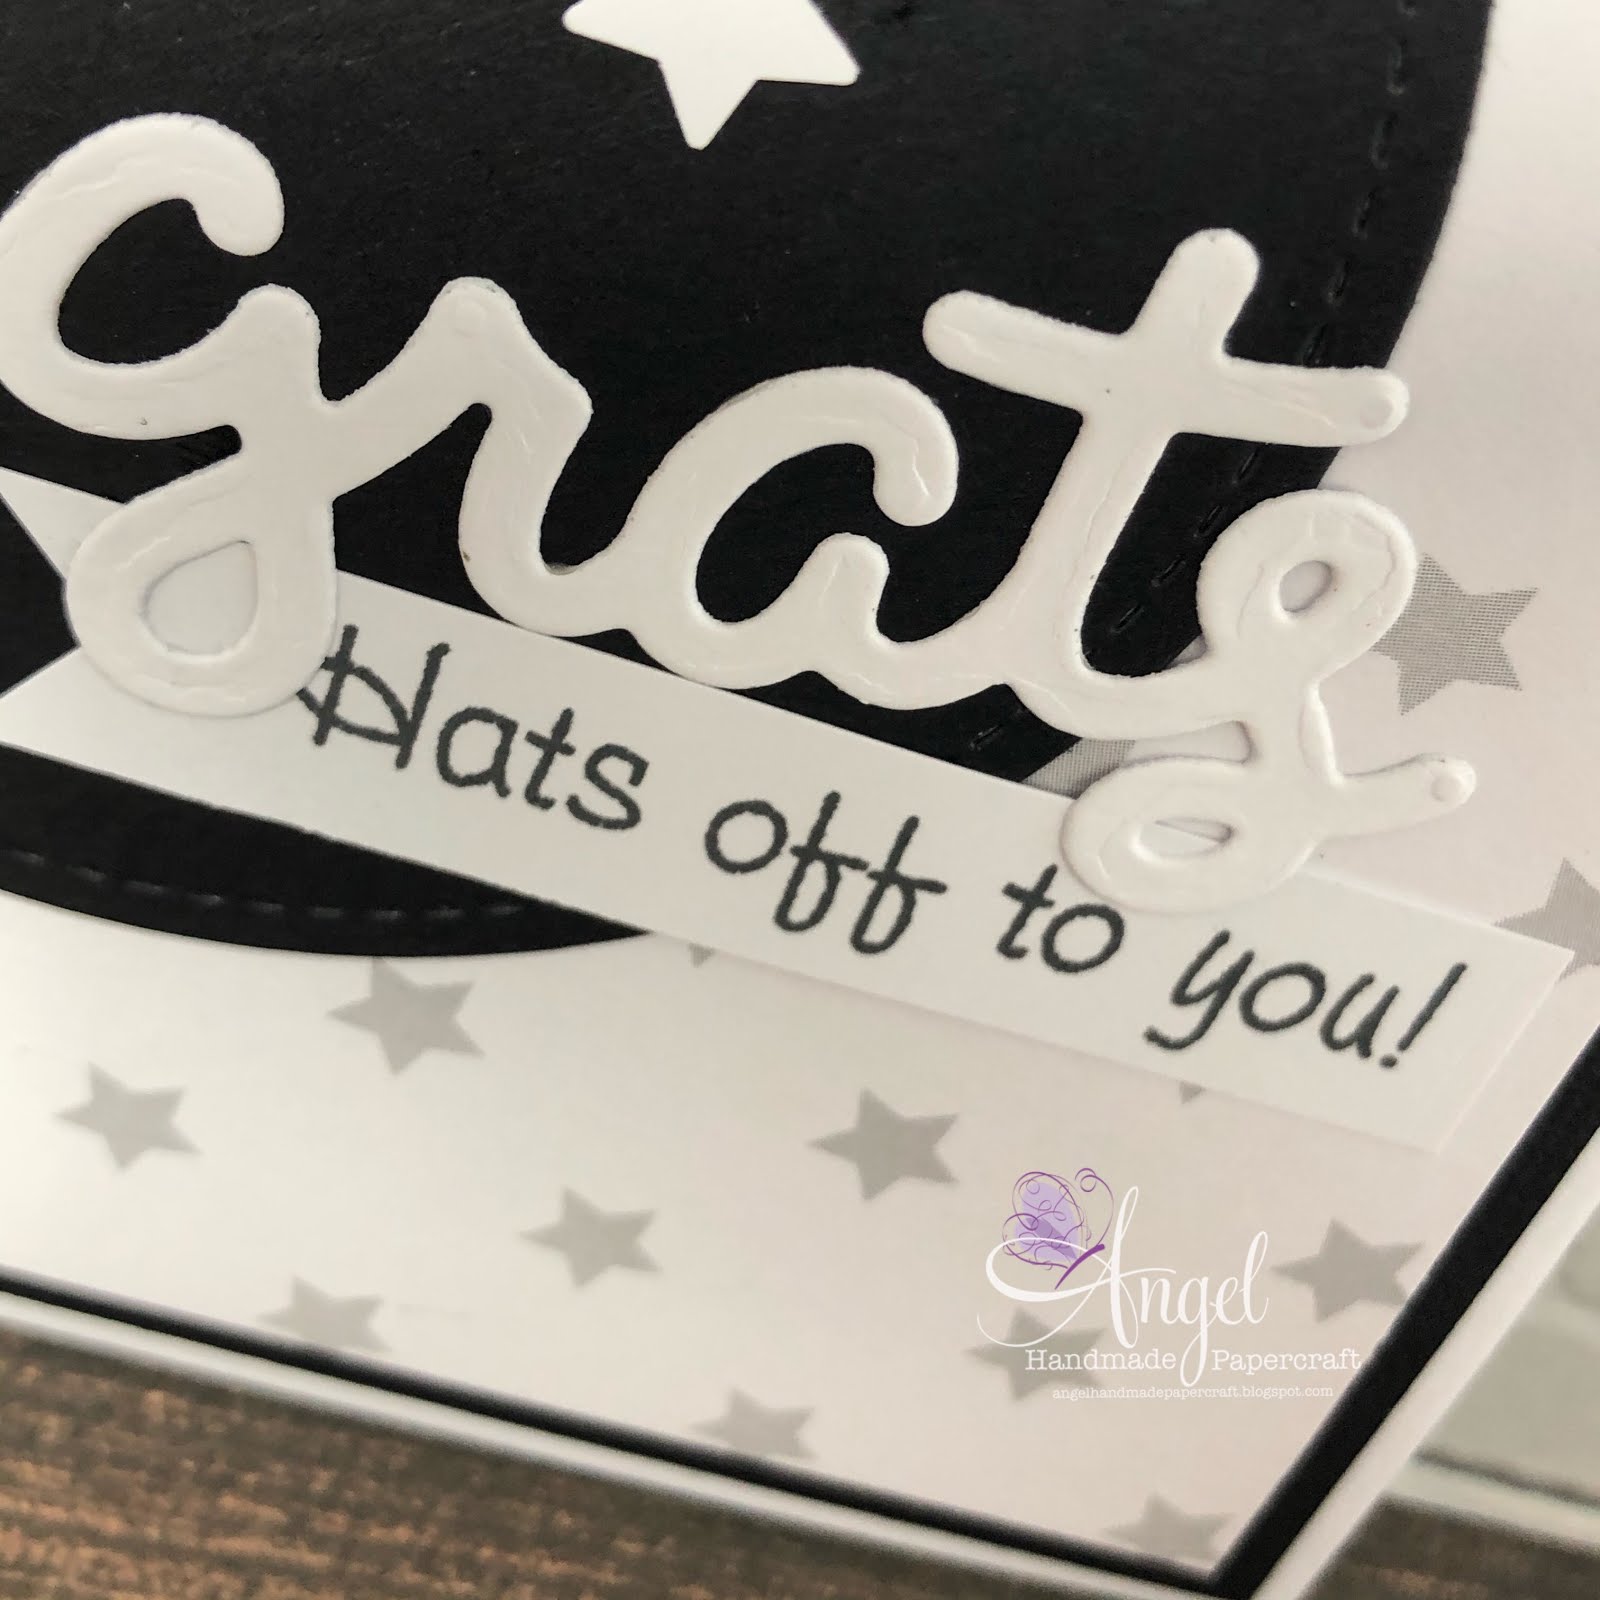
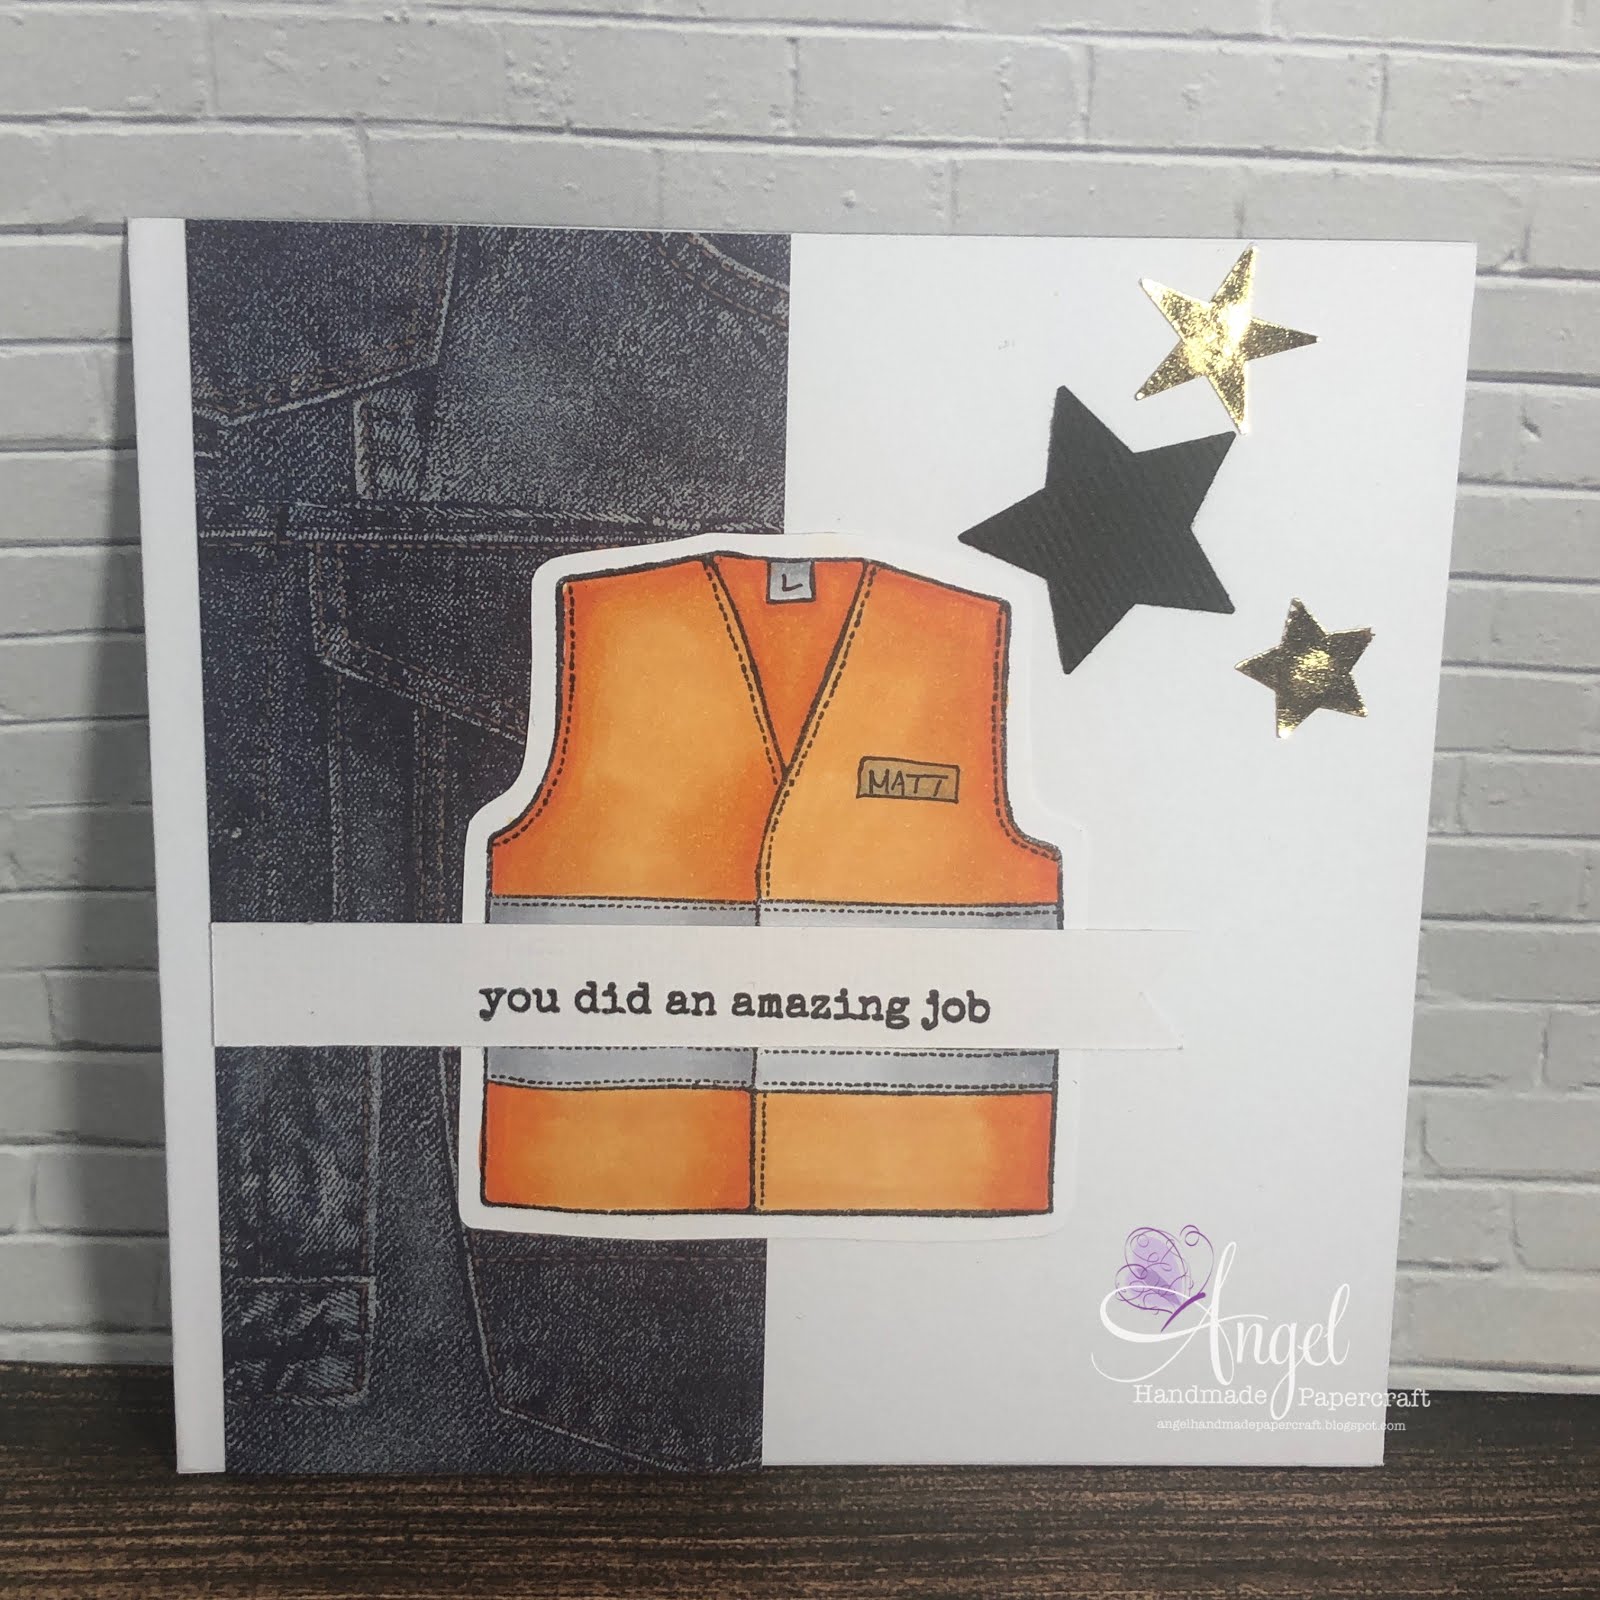
I fussy cut the Happy Valentine's Day sentiment out of the same patterned paper pad, super happy with the way my card turned out.. it could have used a doily though lol.. you guys know I love my doilies.

I used some more of the leftover papers to create a banner for the top corner of my card.

I hope you have enjoyed my post today, if you have any questions feel free to send me a message or contact me via facebook (all links can be found below).
Watch the You Tube Video Here
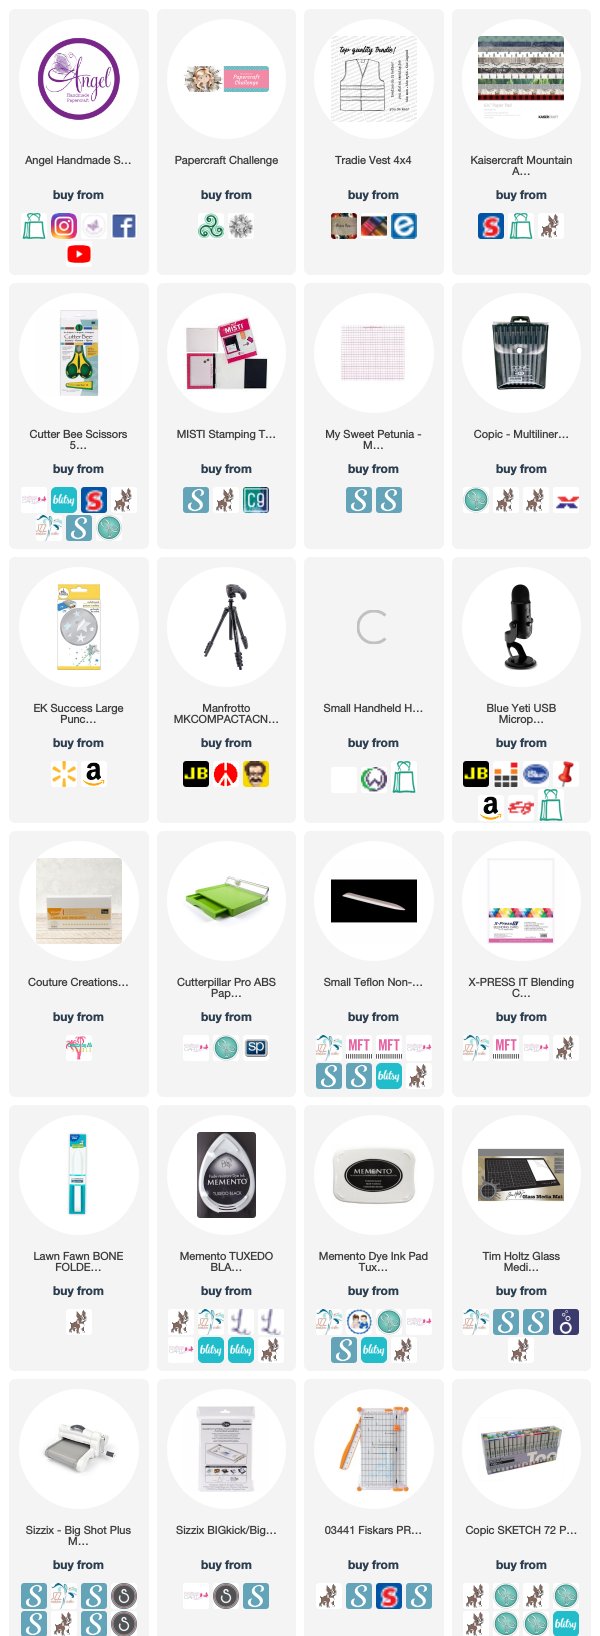
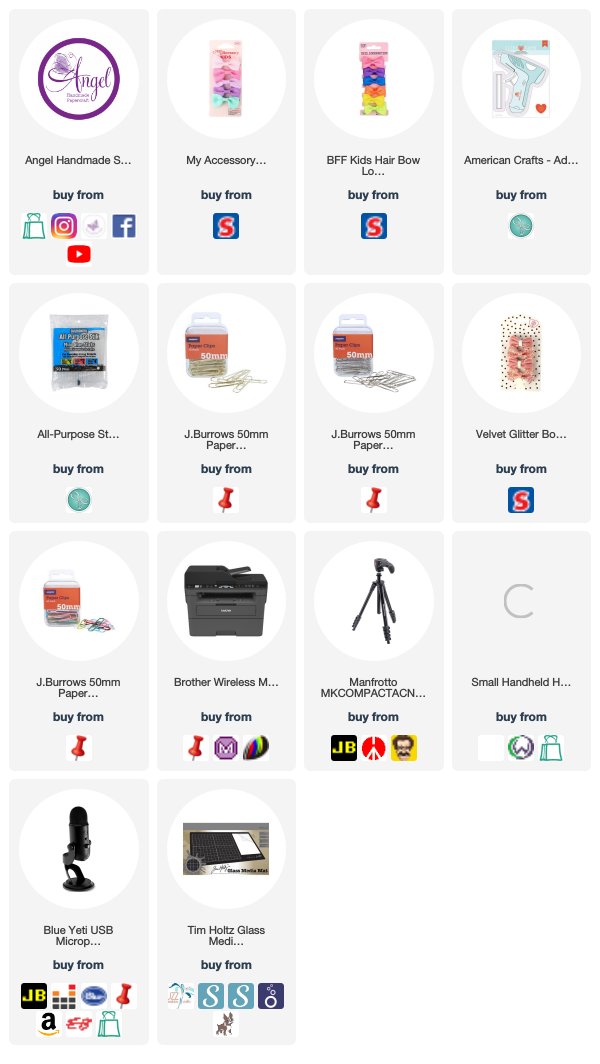
Products Used On My Card (Affiliate Links Used Where Possible)
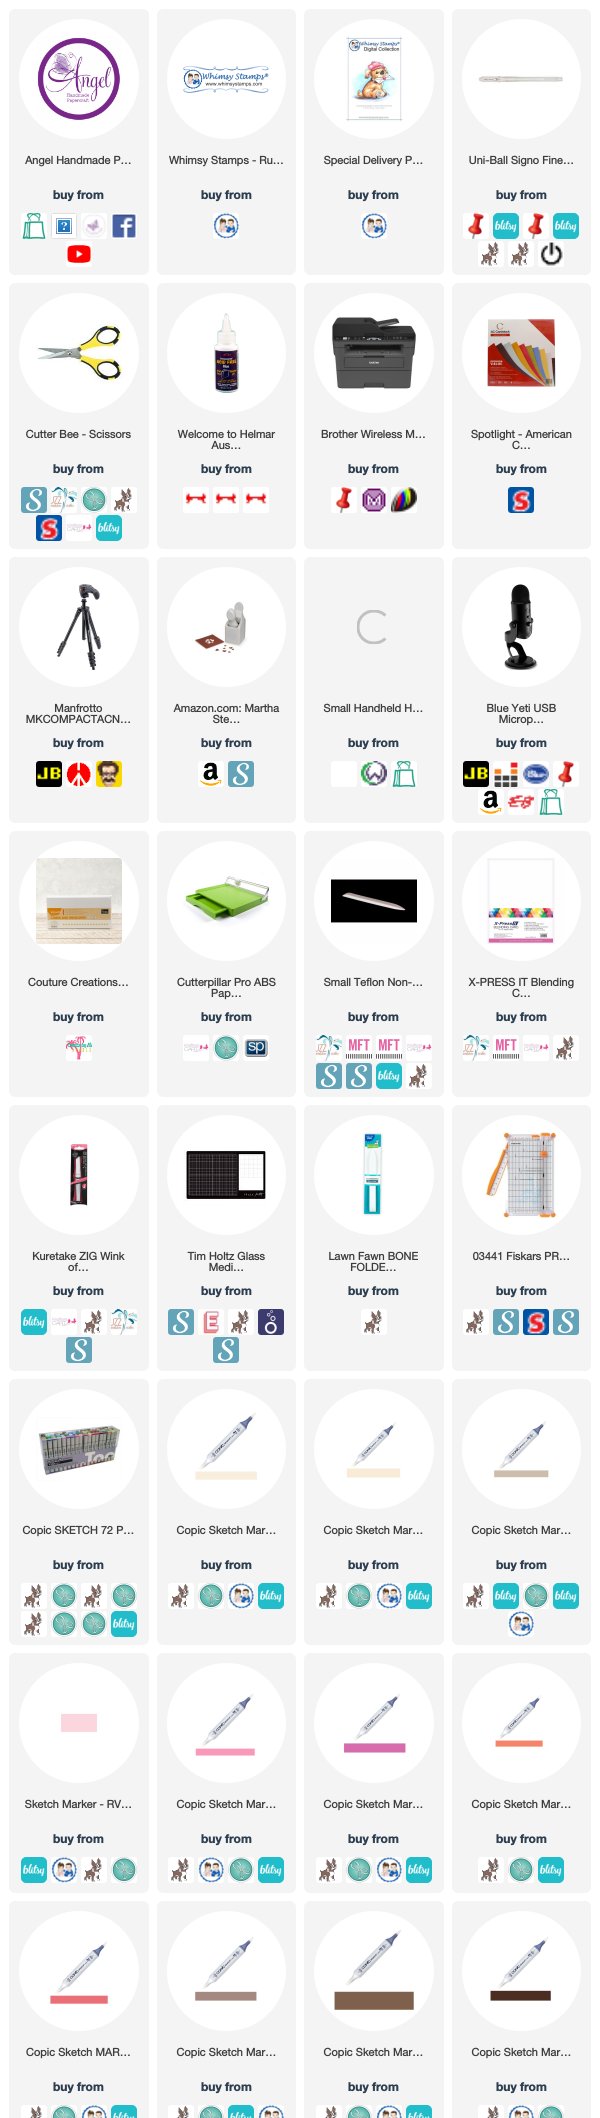
Copic Markers Used
E40, E42, E44
RV11, RV14, RV17
R17, R37
E74, E77, E79
Thanks for stopping by, Deni
CAMERA SET UP - FOR YOU TUBE VIDEOS ONLY
Blue Yeti Microphone
Sony Handycam HDR CX4-05
Tripod – Manfrotto MKCompactaCN-BK
S O C I A L MEDIA
B L O G : https://ldli.co/e/3xky6x
I N S T A G R A M : https://ldli.co/e/5dn20x
YOU TUBE: https://ldli.co/e/ej5l90
F A C E B O O K: https://ldli.co/e/mjxn2r
PINTEREST: https://ldli.co/e/2l9zom
I was a 2018 Ambassador for Copic Marker Australia and NZ