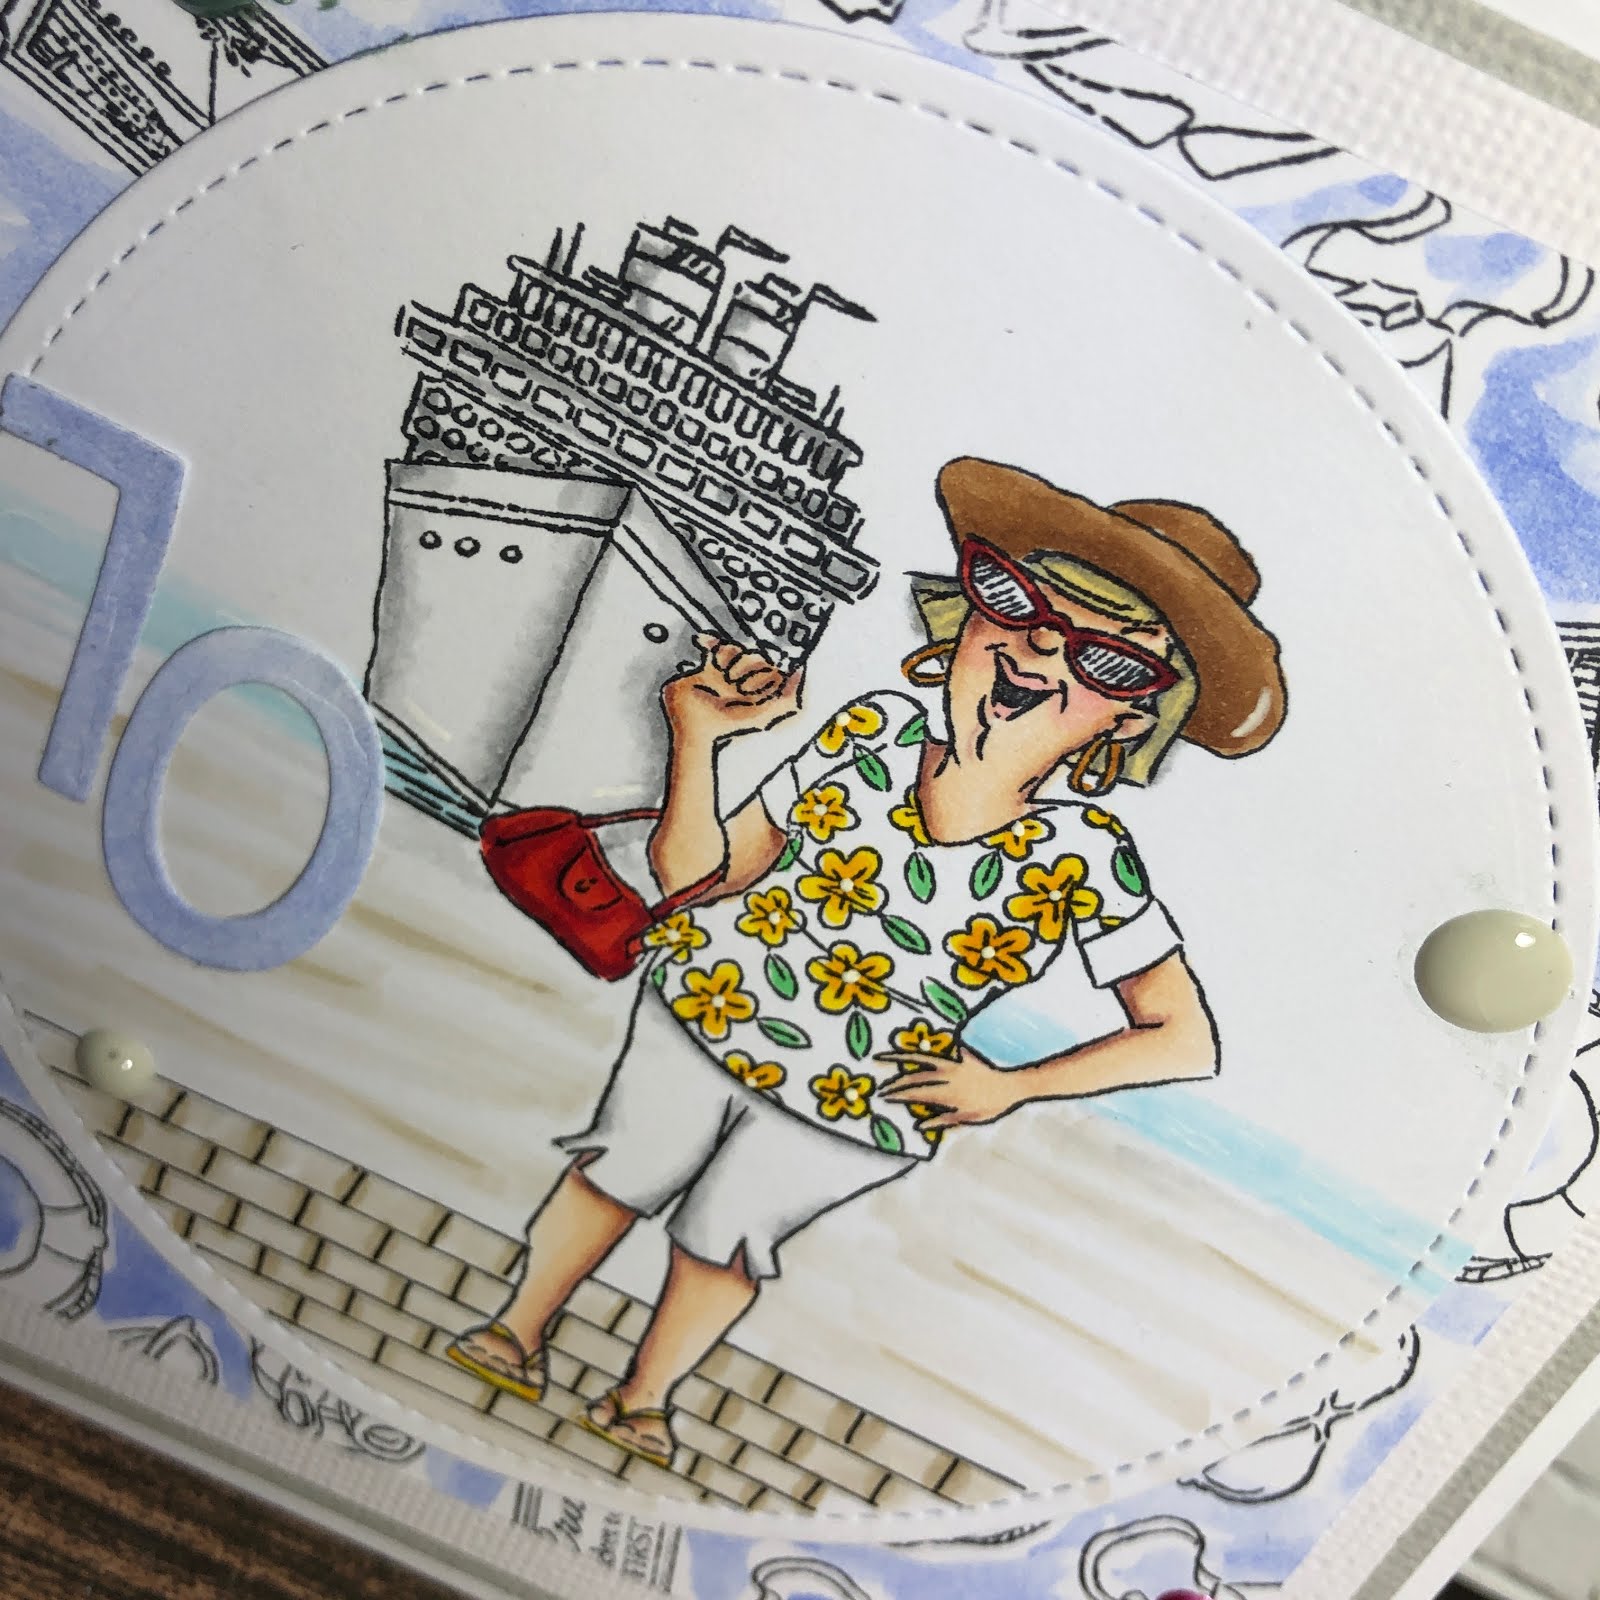
Today I am sharing with you the third card in the Avery Elle Happy Holidays series I have done.
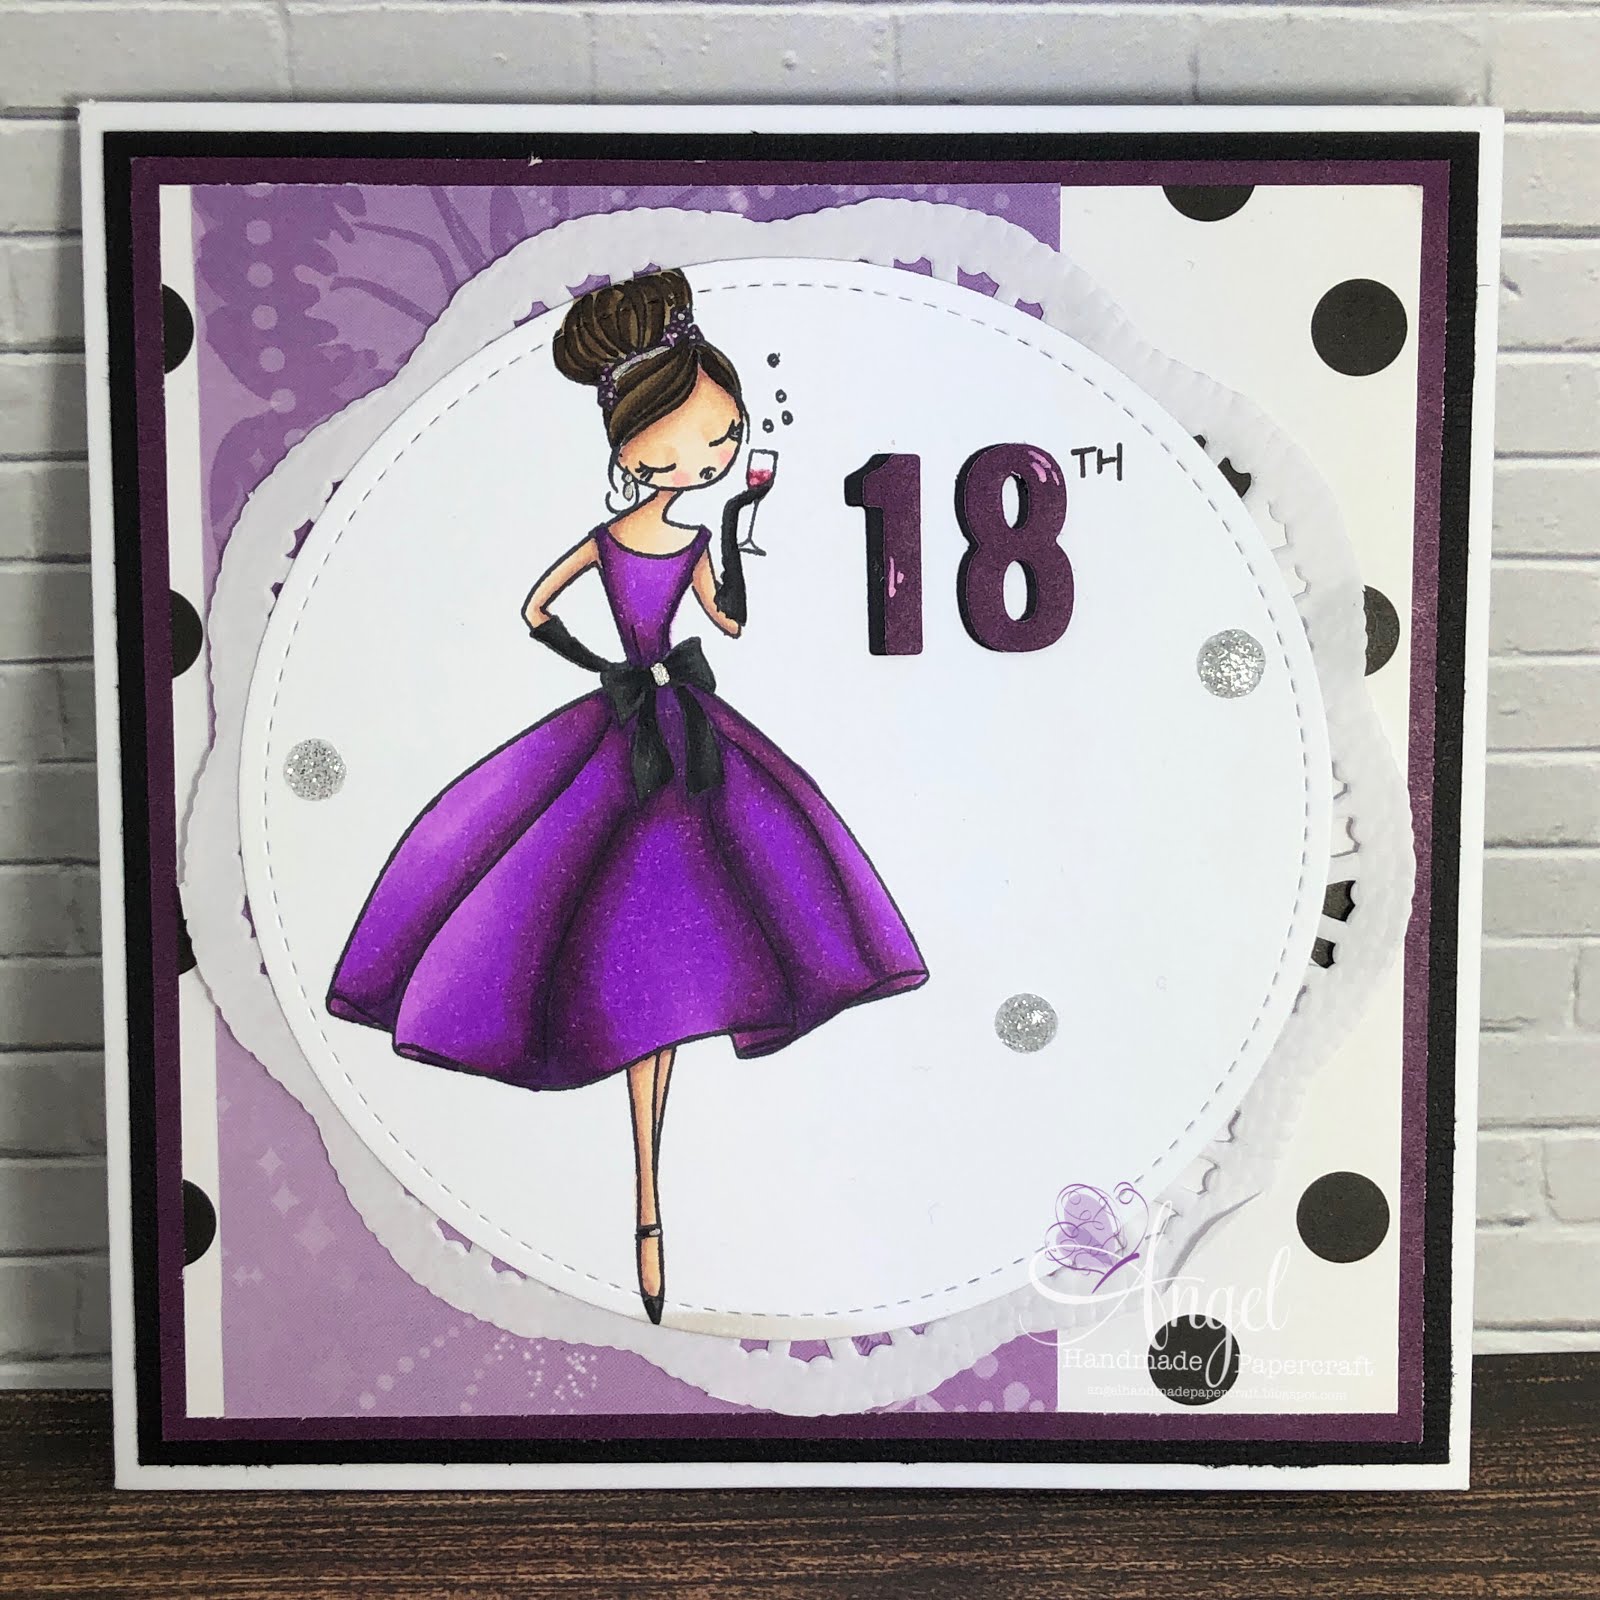
I stamped the image onto X-Press It Blending Cardstock using Memento Tuxedo Black and a Lawn Fawn Acrylic Block. I then proceeded to colour it up using Copic Markers.

I ran the image through my Sizzix Big Shot using Lawn Fawn Stitched Circles dies.

Patterned papers are from Kaisercraft Starry Night 6.5" Paper Pad, I cut down the layers using my Caterpillar Pro and adhered them using Helmar Acid Free liquid adhesive. I added some mat layers from American Crafts card stocks.

I also added a strip and a pop out from the same paper pad and also adhered them using the Acid Free adhesive.

I added some Tonic Studios Nuvo Crystal Drops in Mustard Gold, I really love the way it sets off the stars on the background paper.

Using leftovers from the patterned paper pad I decorated the inside of the card to match the front.

I hope you have enjoyed my post today, if you have any questions feel free to send me a message or contact me via facebook (all links can be found below).
Watch the You Tube Video Here
Products Used On My Card (Affiliate Links Used Where Possible)
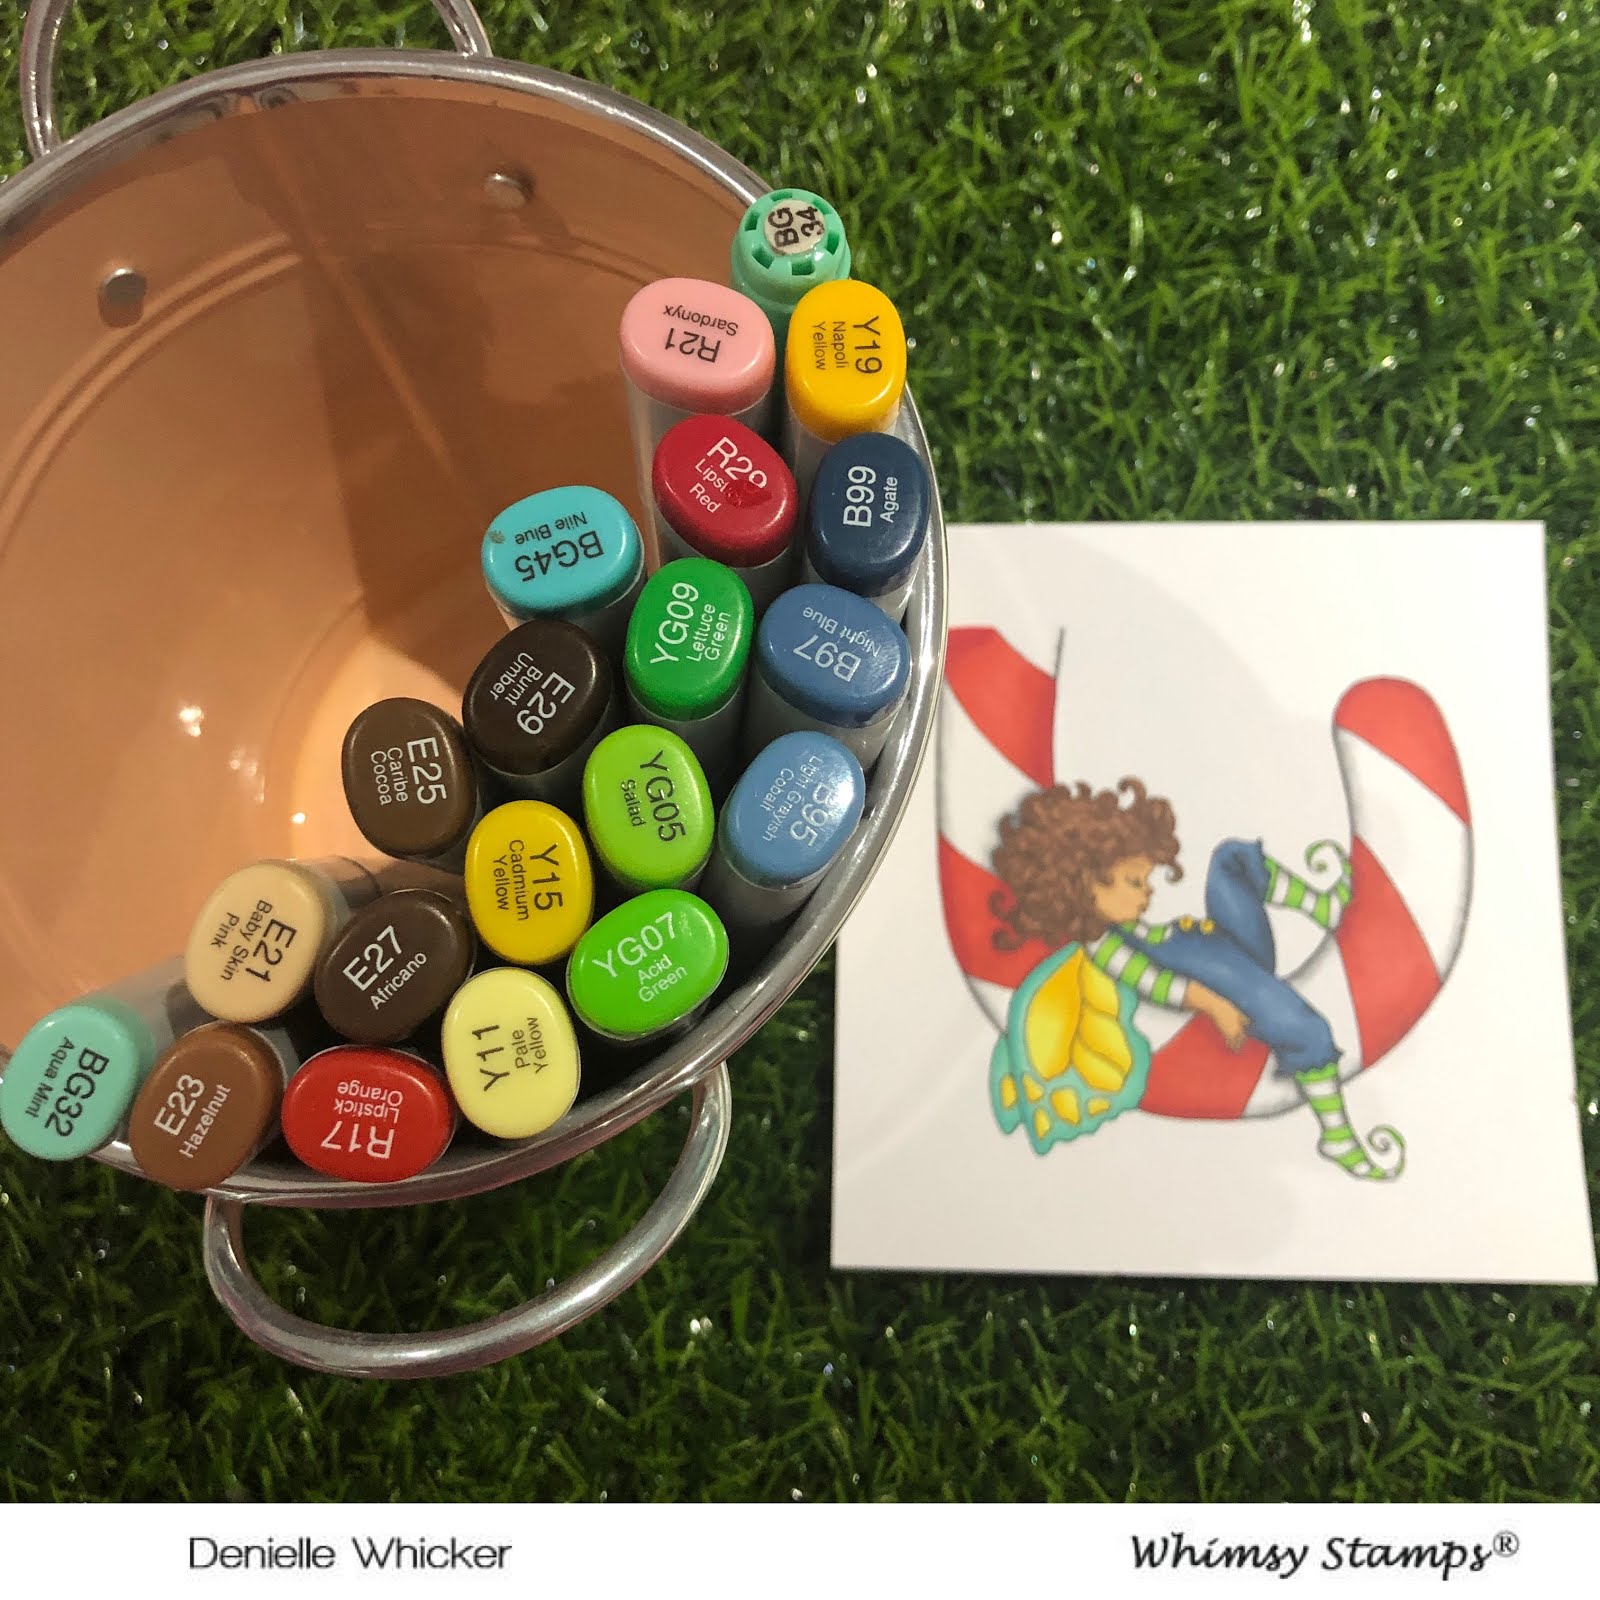
Copic Markers Used
E21, E23, E25, E27
W5, W1, 0 Colorless Blender
G03, G07
R17, R37, R39
Thanks for stopping by, Deni
CAMERA SET UP - FOR YOU TUBE VIDEOS ONLY
Blue Yeti Microphone
Sony Handycam HDR CX4-05
Tripod – Manfrotto MKCompactaCN-BK
S O C I A L MEDIA
B L O G : https://ldli.co/e/3xky6x
I N S T A G R A M : https://ldli.co/e/5dn20x
YOU TUBE: https://ldli.co/e/ej5l90
F A C E B O O K: https://ldli.co/e/mjxn2r
PINTEREST: https://ldli.co/e/2l9zom
I was a 2018 Ambassador for Copic Marker Australia and NZ