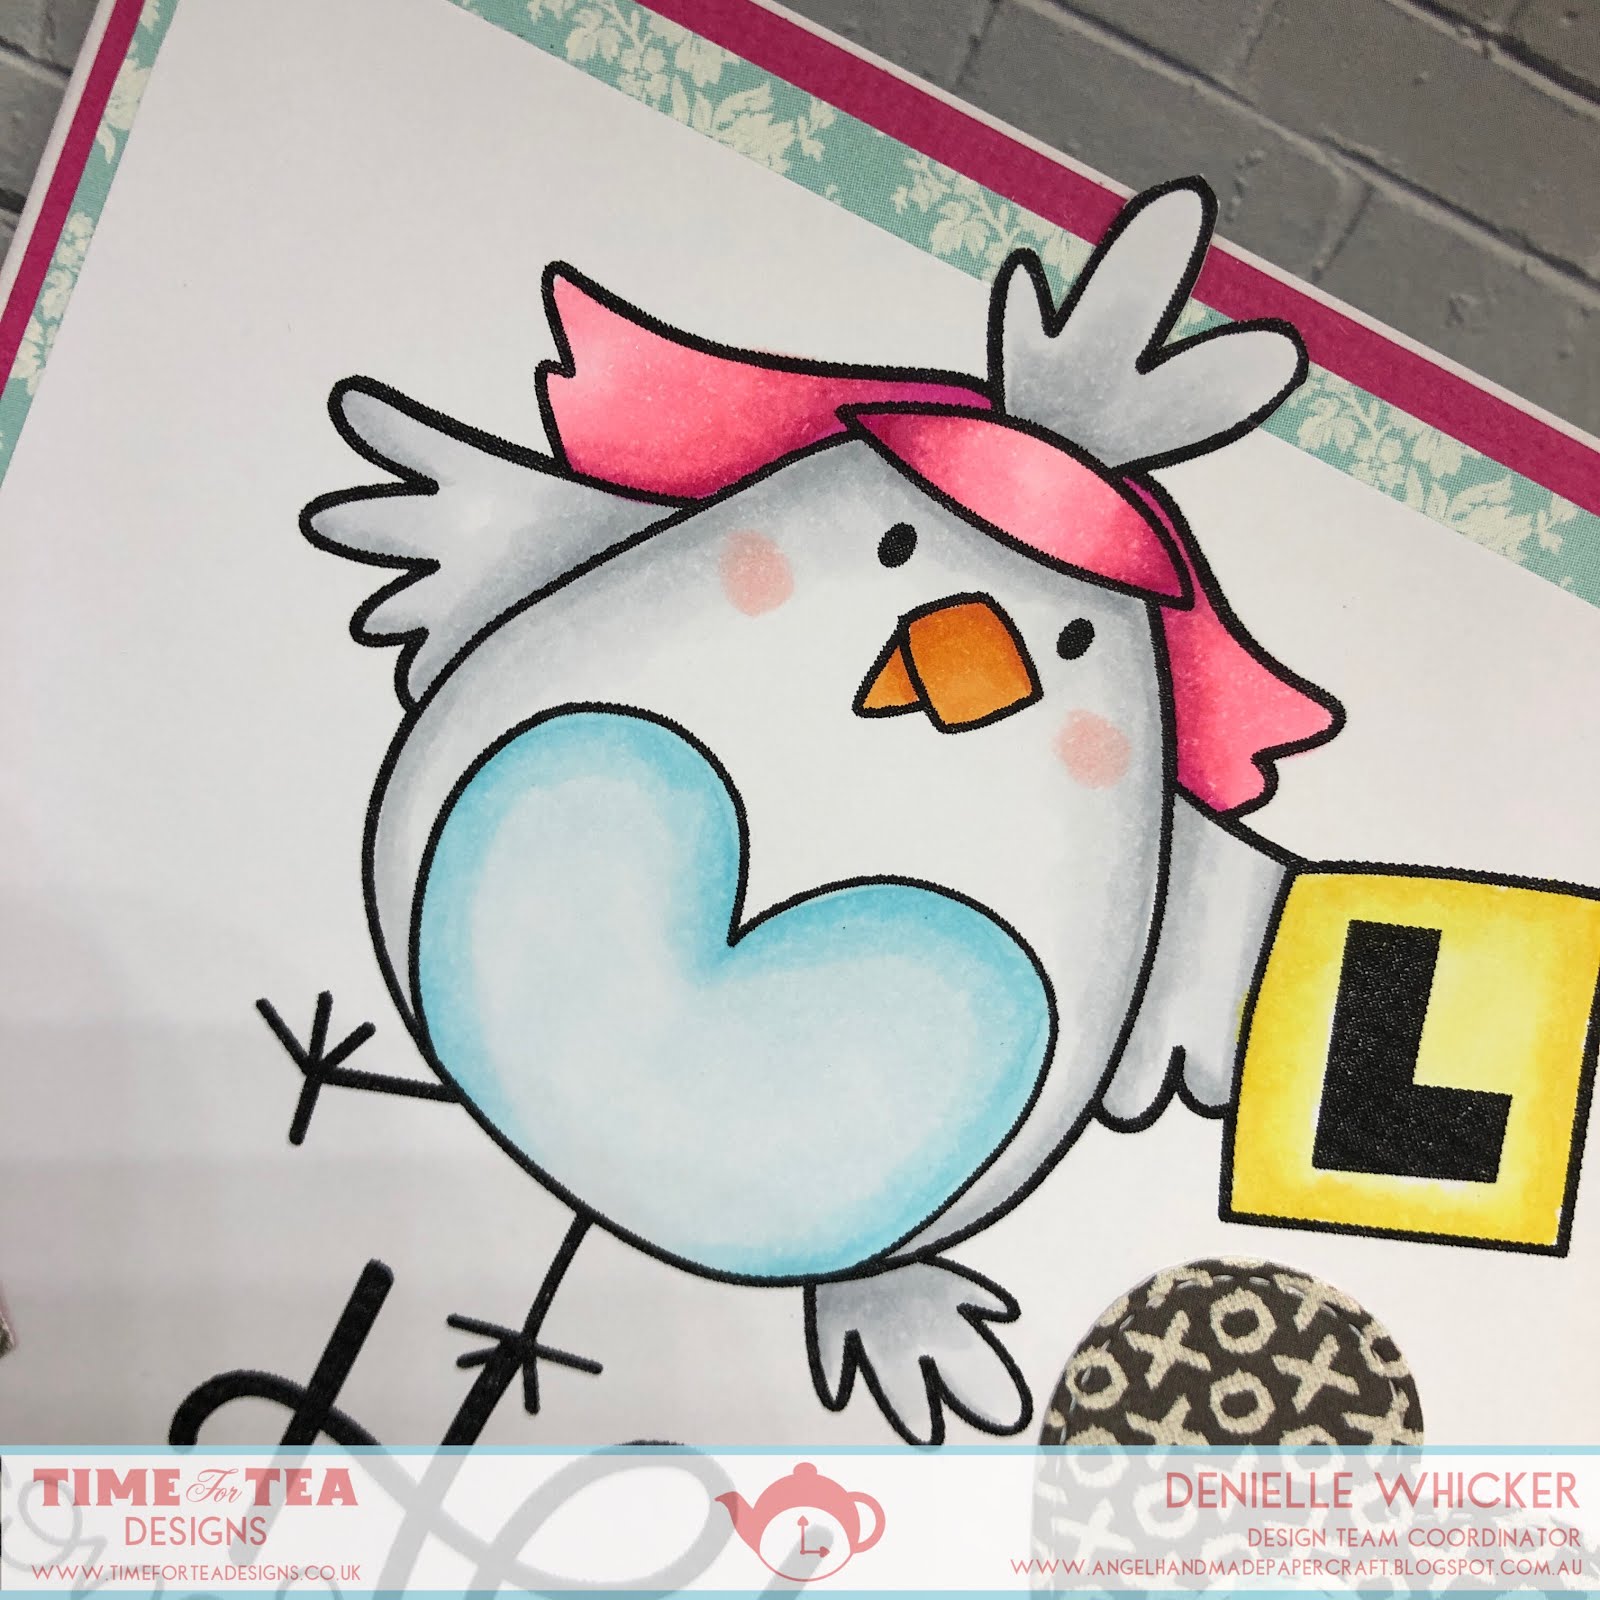
February already how crazy is this!
I am pumping out lots of card for Time For Tea this past week as we are preparing for the Time For Designs Etsy Store to close up ready for the new website. As soon as we have all the links we will have everything posted for you on the Facebook pages.
This is First Dance, one of my all time Wedding Images for cards, The sentiment is from the Hen Do Digital Stamp Set I have picture link ups below the Blog Post.
I printed the image onto X-Press It Blending Cardstock using my Brother Laser Printer. I then proceeded to colour the images up using Copic Markers.
I cut a few layers of different coloured cardstocks and used some patterned papers from Echo Park Head Over Heels 6x6 Paper Pad. The lace ribbon is from my stash. I adhered everything using Scotch ATG I ran the image through my Sizzix Big Shot using Lawn Fawn Stitched Circle Die. I then added some Scotch Mounting Tape to the back of my image and popped it onto the centre of my card.
I hope you have enjoyed my post today, if you have any questions feel free to send me a message or contact me via facebook (all links can be found below).
Watch The You Tube Video Here
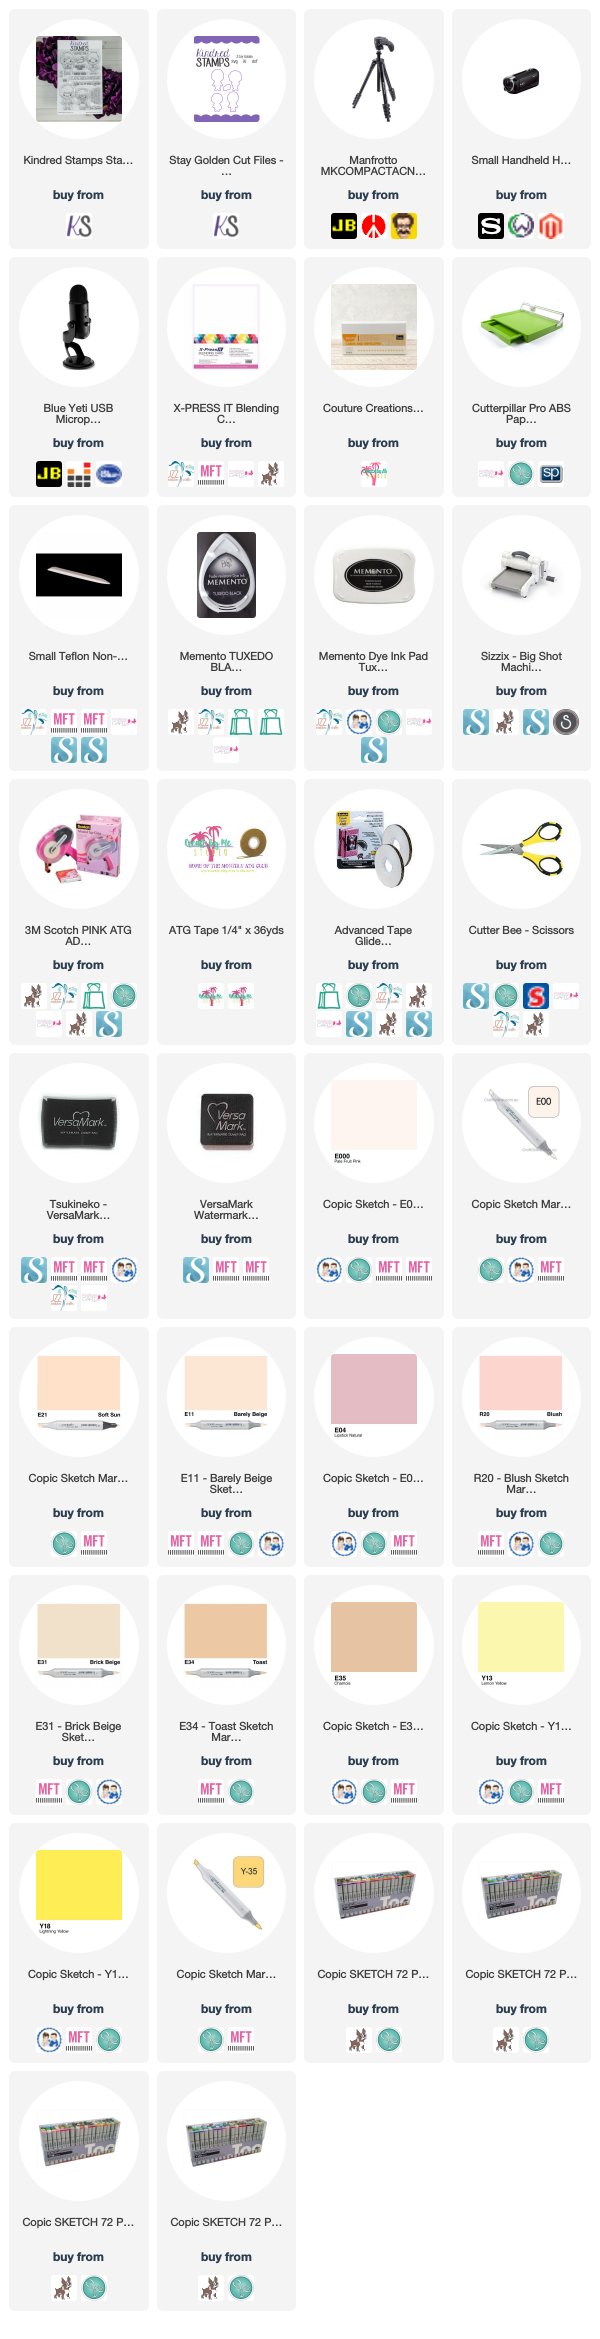
Products Used On My Card (Affiliate Links Used Where Possible)
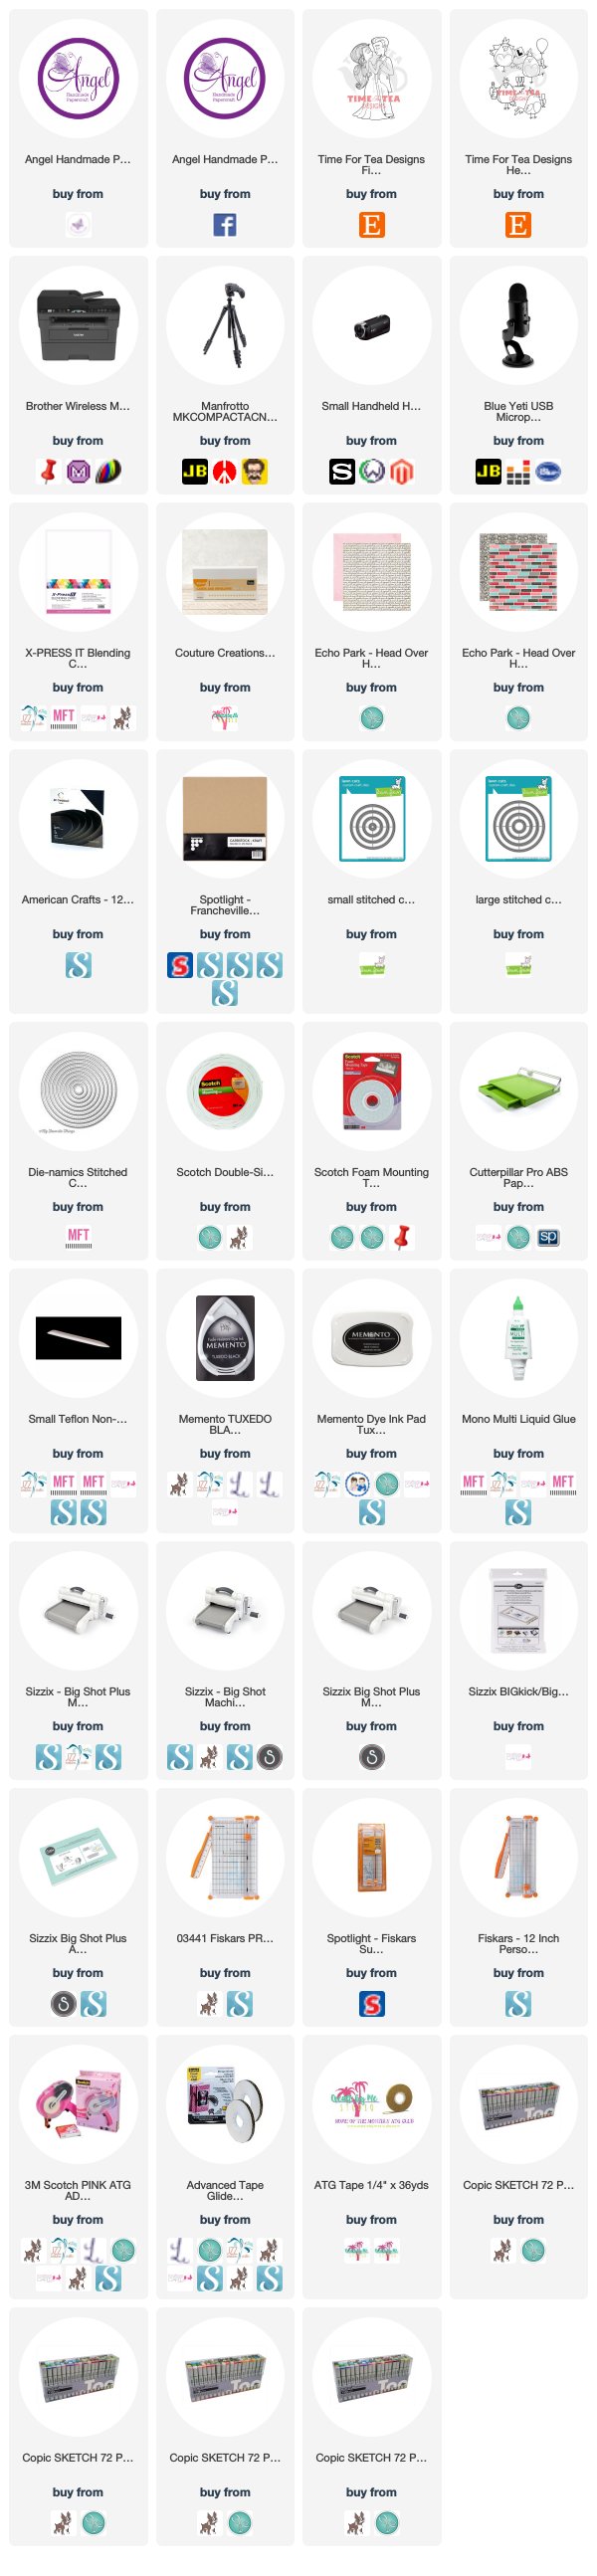
Copic Markers Used
E74, E77, E79
N0, N1, N3, 0
V04, V06, V09
E50, E51, E53, E55, R20
E000, E00, E21, E11, E04, R20
E35, E97, E07
C5, C6, C8
Thanks for stopping by, Deni
CAMERA SET UP - FOR YOU TUBE VIDEOS ONLY
Blue Yeti Microphone
Sony Handycam HDR CX4-05
Tripod – Manfrotto MKCompactaCN-BK
S O C I A L MEDIA
B L O G : http://angelhandmadepapercraft.blogspot.com.au/
I N S T A G R A M : http://instagram.com/angelhandmadepapercraft
YOU TUBE: http://www.youtube.com/c/AngelHandmadePapercraft
F A C E B O O K: http://www.facebook.com/angelhandmadepapercraft
PINTEREST: https://www.pinterest.com.au/angelhandmadepapercraft
I am a 2018 Ambassador for Copic Marker Australia and NZ
Sunday, 3 February 2019
Saturday, 2 February 2019
Sweet Cinnamon Butterfly - Whimsy Stamps
How sweet is this New Release image from Whimsy Stamps, this is Cinnamon Butterfly.
I have printed her onto X-Press It Blending Cardstock using my Brother Laser Printer, then coloured her up using Copic Markers, finally using my EK Success Cutterbee Scissors to fussy cut her out.
I used a Couture Creations Card base, and some blue cardstock from my stash - possibly American Crafts card stock. The patterned paper is from Pebbles Inc Party with Amy Locurto.
I added a doily and the word is from a page in the patterned paper and I just cut it down to fit where I needed it.
All my layers except the young lady and the doily were adhered with Scotch ATG, the others with American Tombow Mono Multi Liquid Adhesive.
I added some Wink Of Stella to the little butterfly on her head just to make it stand out that little bit more.
I hope you have enjoyed my post today, if you have any questions feel free to send me a message or contact me via facebook (all links can be found below).
Watch The You Tube Video Here
Products Used On My Card (Affiliate Links Used Where Possible)
Copic Markers Used
E50, E51, E53, E55, R20
B21, B23, B24, B28
Y04, Y08
YR21, YR24
E31, E35, E37
R81, R83, 0
C5, C6, C8
Thanks for stopping by, Deni
CAMERA SET UP - FOR YOU TUBE VIDEOS ONLY
Blue Yeti Microphone
Sony Handycam HDR CX4-05
Tripod – Manfrotto MKCompactaCN-BK
S O C I A L MEDIA
B L O G : http://angelhandmadepapercraft.blogspot.com.au/
I N S T A G R A M : http://instagram.com/angelhandmadepapercraft
YOU TUBE: http://www.youtube.com/c/AngelHandmadePapercraft
F A C E B O O K: http://www.facebook.com/angelhandmadepapercraft
PINTEREST: https://www.pinterest.com.au/angelhandmadepapercraft
PERSONAL BLOG
ANGEL HANDMADE PAPERCRAFT: http://angelhandmadepapercraft.blogspot.com.au/
I am an Ambassador for Copic Marker Australia and NZ
I have printed her onto X-Press It Blending Cardstock using my Brother Laser Printer, then coloured her up using Copic Markers, finally using my EK Success Cutterbee Scissors to fussy cut her out.
I used a Couture Creations Card base, and some blue cardstock from my stash - possibly American Crafts card stock. The patterned paper is from Pebbles Inc Party with Amy Locurto.
I added a doily and the word is from a page in the patterned paper and I just cut it down to fit where I needed it.
All my layers except the young lady and the doily were adhered with Scotch ATG, the others with American Tombow Mono Multi Liquid Adhesive.
I added some Wink Of Stella to the little butterfly on her head just to make it stand out that little bit more.
I hope you have enjoyed my post today, if you have any questions feel free to send me a message or contact me via facebook (all links can be found below).
Watch The You Tube Video Here
Products Used On My Card (Affiliate Links Used Where Possible)
Copic Markers Used
E50, E51, E53, E55, R20
B21, B23, B24, B28
Y04, Y08
YR21, YR24
E31, E35, E37
R81, R83, 0
C5, C6, C8
Thanks for stopping by, Deni
CAMERA SET UP - FOR YOU TUBE VIDEOS ONLY
Blue Yeti Microphone
Sony Handycam HDR CX4-05
Tripod – Manfrotto MKCompactaCN-BK
S O C I A L MEDIA
B L O G : http://angelhandmadepapercraft.blogspot.com.au/
I N S T A G R A M : http://instagram.com/angelhandmadepapercraft
YOU TUBE: http://www.youtube.com/c/AngelHandmadePapercraft
F A C E B O O K: http://www.facebook.com/angelhandmadepapercraft
PINTEREST: https://www.pinterest.com.au/angelhandmadepapercraft
PERSONAL BLOG
ANGEL HANDMADE PAPERCRAFT: http://angelhandmadepapercraft.blogspot.com.au/
I am an Ambassador for Copic Marker Australia and NZ
Thursday, 31 January 2019
Time For Tea Designs Love Hen Do
Hi Everyone,
Pumping out a few blog posts today as Time For Tea Designs is closing their Etsy Shop I wanted to make sure you all had a chance to grab any images you liked while you still get the chance.
I printed the image out using Brother Laser Printer onto X-Press It Blending Cardstock.
This image is from the Hen Do Digital stamp set, I will have picture links for you below, I fussy cut the image using EK Success Cutterbee Scissors and then ran around the outside using Tombow Marker.
I used a cut file on my Silhouette called Love Stack Heart, which I had cut out many years ago, I cut a few a while back and never used them. I thought it was perfect for the card.
I ran a butterfly die from La La Land Crafts called Two Butterflies through my Sizzix Big Shot using X-Press It Blending Cardstock.
The patterned papers are from Echo Park Head Over Heels Collection, I have linked up some 12x12 papers that I could find online. I used American Crafts Cardstock for the base layer. I used my Cutterpillar Pro to cut all the layers.
I hope you have enjoyed my post today, if you have any questions feel free to send me a message or contact me via facebook (all links can be found below).
Products Used On My Card (Affiliate Links Used Where Possible)
Copic Markers Used
E31, E33, E35, E37
C3, 0
RV23, RV25, RV09
Thanks for stopping by, Deni
CAMERA SET UP - FOR YOU TUBE VIDEOS ONLY
Blue Yeti Microphone
Sony Handycam HDR CX4-05
Tripod – Manfrotto MKCompactaCN-BK
S O C I A L MEDIA
B L O G : http://angelhandmadepapercraft.blogspot.com.au/
I N S T A G R A M : http://instagram.com/angelhandmadepapercraft
YOU TUBE: http://www.youtube.com/c/AngelHandmadePapercraft
F A C E B O O K: http://www.facebook.com/angelhandmadepapercraft
PINTEREST: https://www.pinterest.com.au/angelhandmadepapercraft
PERSONAL BLOG
ANGEL HANDMADE PAPERCRAFT: http://angelhandmadepapercraft.blogspot.com.au/
I was a 2018 Ambassador for Copic Marker Australia and NZ
Pumping out a few blog posts today as Time For Tea Designs is closing their Etsy Shop I wanted to make sure you all had a chance to grab any images you liked while you still get the chance.
I printed the image out using Brother Laser Printer onto X-Press It Blending Cardstock.
This image is from the Hen Do Digital stamp set, I will have picture links for you below, I fussy cut the image using EK Success Cutterbee Scissors and then ran around the outside using Tombow Marker.
I used a cut file on my Silhouette called Love Stack Heart, which I had cut out many years ago, I cut a few a while back and never used them. I thought it was perfect for the card.
I ran a butterfly die from La La Land Crafts called Two Butterflies through my Sizzix Big Shot using X-Press It Blending Cardstock.
The patterned papers are from Echo Park Head Over Heels Collection, I have linked up some 12x12 papers that I could find online. I used American Crafts Cardstock for the base layer. I used my Cutterpillar Pro to cut all the layers.
I hope you have enjoyed my post today, if you have any questions feel free to send me a message or contact me via facebook (all links can be found below).
Products Used On My Card (Affiliate Links Used Where Possible)
Copic Markers Used
E31, E33, E35, E37
C3, 0
RV23, RV25, RV09
Thanks for stopping by, Deni
CAMERA SET UP - FOR YOU TUBE VIDEOS ONLY
Blue Yeti Microphone
Sony Handycam HDR CX4-05
Tripod – Manfrotto MKCompactaCN-BK
S O C I A L MEDIA
B L O G : http://angelhandmadepapercraft.blogspot.com.au/
I N S T A G R A M : http://instagram.com/angelhandmadepapercraft
YOU TUBE: http://www.youtube.com/c/AngelHandmadePapercraft
F A C E B O O K: http://www.facebook.com/angelhandmadepapercraft
PINTEREST: https://www.pinterest.com.au/angelhandmadepapercraft
PERSONAL BLOG
ANGEL HANDMADE PAPERCRAFT: http://angelhandmadepapercraft.blogspot.com.au/
I was a 2018 Ambassador for Copic Marker Australia and NZ

Whimsy Stamps Crateful of Kittens
Hi Lovely Followers,
Today I have a bonus January Monthly Project for Whimsy Stamps. This is Crateful Of Kittens aren't they just the sweetest :-)
I printed the images out onto X-Press It Blending Cardstock using my Brother Laser Printer, then I coloured using Copic Markers.
Using my Sizzix Big Shot I ran the image through using a Lawn Fawn Stitched Square die.
I grabbed a Couture Creations card base and some American Crafts Cardstock, I cut a mat layer from the brown cardstock then adhered it to the card base.
Patterned papers are from Bo Bunny The Avenues Collection, I only needed one piece for the front and one piece for inside the card, I cut these to size using my Cutterpillar Pro. I grabbed an American Crafts doily from my stash, I don't normally use these ones because they are a little big but I need one a bit bigger so it would sit out from underneath the image.

I adhered all the layers together using Scotch ATG then added them to the card base, once I was done I decorated the inside of the card the same.
Watch the You Tube Video Here
I hope you have enjoyed my post today, if you have any questions feel free to send me a message or contact me via facebook (all links can be found below).
Products Used On My Card (Affiliate Links Used Where Possible)
Copic Markers Used
C00, C2, C4, 0, R20
YR21, YR12, YR23, YR24
E25
E40, E42, E43, E34
R20
E71, E74, E77, E79
G24, G43
BV01, BV11, BV17
R05, R35, R29
Y06, Y13, Y38
Thanks for stopping by, Deni
CAMERA SET UP - FOR YOU TUBE VIDEOS ONLY
Blue Yeti Microphone
Sony Handycam HDR CX4-05
Tripod – Manfrotto MKCompactaCN-BK
S O C I A L MEDIA
B L O G : http://angelhandmadepapercraft.blogspot.com.au/
I N S T A G R A M : http://instagram.com/angelhandmadepapercraft
YOU TUBE: http://www.youtube.com/c/AngelHandmadePapercraft
F A C E B O O K: http://www.facebook.com/angelhandmadepapercraft
PINTEREST: https://www.pinterest.com.au/angelhandmadepapercraft
PERSONAL BLOG
ANGEL HANDMADE PAPERCRAFT: http://angelhandmadepapercraft.blogspot.com.au/
I am a 2018 Ambassador for Copic Marker Australia and NZ
Today I have a bonus January Monthly Project for Whimsy Stamps. This is Crateful Of Kittens aren't they just the sweetest :-)
I printed the images out onto X-Press It Blending Cardstock using my Brother Laser Printer, then I coloured using Copic Markers.
I grabbed a Couture Creations card base and some American Crafts Cardstock, I cut a mat layer from the brown cardstock then adhered it to the card base.
Patterned papers are from Bo Bunny The Avenues Collection, I only needed one piece for the front and one piece for inside the card, I cut these to size using my Cutterpillar Pro. I grabbed an American Crafts doily from my stash, I don't normally use these ones because they are a little big but I need one a bit bigger so it would sit out from underneath the image.
I adhered all the layers together using Scotch ATG then added them to the card base, once I was done I decorated the inside of the card the same.
Watch the You Tube Video Here
I hope you have enjoyed my post today, if you have any questions feel free to send me a message or contact me via facebook (all links can be found below).
Products Used On My Card (Affiliate Links Used Where Possible)
Copic Markers Used
C00, C2, C4, 0, R20
YR21, YR12, YR23, YR24
E25
E40, E42, E43, E34
R20
E71, E74, E77, E79
G24, G43
BV01, BV11, BV17
R05, R35, R29
Y06, Y13, Y38
Thanks for stopping by, Deni
CAMERA SET UP - FOR YOU TUBE VIDEOS ONLY
Blue Yeti Microphone
Sony Handycam HDR CX4-05
Tripod – Manfrotto MKCompactaCN-BK
S O C I A L MEDIA
B L O G : http://angelhandmadepapercraft.blogspot.com.au/
I N S T A G R A M : http://instagram.com/angelhandmadepapercraft
YOU TUBE: http://www.youtube.com/c/AngelHandmadePapercraft
F A C E B O O K: http://www.facebook.com/angelhandmadepapercraft
PINTEREST: https://www.pinterest.com.au/angelhandmadepapercraft
PERSONAL BLOG
ANGEL HANDMADE PAPERCRAFT: http://angelhandmadepapercraft.blogspot.com.au/
I am a 2018 Ambassador for Copic Marker Australia and NZ
Time For Tea Designs - Hen Do
Hi Everyone,
Today I am here to share with you all a card for Time for Tea Designs. Currently they are moving from Etsy over to a new website, so this Digital Stamp set will be retired for good, so if you are thinking about purchasing please do so now or it will be too late.
This stamp set is perfect for Bridal Showers and Hen's Night cards aswell as many other occasions. As soon as I seen it I new I wanted to make a Hen's Night card, not something that is easily purchased at the shops.
The patterned papers I have used are from Echo Park Head Over Heels 6x6 Paper pad, I could not find the small paper pad for sale anymore but did link up some of the 12x12 sheets.
I printed the images onto X-Press It Blending cardstock using my Brother Laser Printer then coloured then up using Copic Markers.
The fence is from an old Magnolia Fence die that I have had since forever and I have used some Stitched Heart Dies From MFT Stamps.
I added some Wink Of Stella in the clear glitter brush to the image.
I hope you have enjoyed my post today, if you have any questions feel free to send me a message or contact me via facebook (all links can be found below).
Products Used On My Card (Affiliate Links Used Where Possible)
Watch The You Tube Video Here
Copic Markers Used
Y11, Y13, Y15
RV23, RV25, RV09
YR14, YR18
B000, B00, B01
C0, C2, C3, 0, R20
Thanks for stopping by, Deni
CAMERA SET UP - FOR YOU TUBE VIDEOS ONLY
Blue Yeti Microphone
Sony Handycam HDR CX4-05
Tripod – Manfrotto MKCompactaCN-BK
S O C I A L MEDIA
B L O G : http://angelhandmadepapercraft.blogspot.com.au/
I N S T A G R A M : http://instagram.com/angelhandmadepapercraft
YOU TUBE: http://www.youtube.com/c/AngelHandmadePapercraft
F A C E B O O K: http://www.facebook.com/angelhandmadepapercraft
PINTEREST: https://www.pinterest.com.au/angelhandmadepapercraft
PERSONAL BLOG
ANGEL HANDMADE PAPERCRAFT: http://angelhandmadepapercraft.blogspot.com.au/
I am an Ambassador for Copic Marker Australia and NZ
Today I am here to share with you all a card for Time for Tea Designs. Currently they are moving from Etsy over to a new website, so this Digital Stamp set will be retired for good, so if you are thinking about purchasing please do so now or it will be too late.
This stamp set is perfect for Bridal Showers and Hen's Night cards aswell as many other occasions. As soon as I seen it I new I wanted to make a Hen's Night card, not something that is easily purchased at the shops.
The patterned papers I have used are from Echo Park Head Over Heels 6x6 Paper pad, I could not find the small paper pad for sale anymore but did link up some of the 12x12 sheets.
I printed the images onto X-Press It Blending cardstock using my Brother Laser Printer then coloured then up using Copic Markers.
The fence is from an old Magnolia Fence die that I have had since forever and I have used some Stitched Heart Dies From MFT Stamps.
I added some Wink Of Stella in the clear glitter brush to the image.
I hope you have enjoyed my post today, if you have any questions feel free to send me a message or contact me via facebook (all links can be found below).
Products Used On My Card (Affiliate Links Used Where Possible)
Watch The You Tube Video Here
Copic Markers Used
Y11, Y13, Y15
RV23, RV25, RV09
YR14, YR18
B000, B00, B01
C0, C2, C3, 0, R20
Thanks for stopping by, Deni
CAMERA SET UP - FOR YOU TUBE VIDEOS ONLY
Blue Yeti Microphone
Sony Handycam HDR CX4-05
Tripod – Manfrotto MKCompactaCN-BK
S O C I A L MEDIA
B L O G : http://angelhandmadepapercraft.blogspot.com.au/
I N S T A G R A M : http://instagram.com/angelhandmadepapercraft
YOU TUBE: http://www.youtube.com/c/AngelHandmadePapercraft
F A C E B O O K: http://www.facebook.com/angelhandmadepapercraft
PINTEREST: https://www.pinterest.com.au/angelhandmadepapercraft
PERSONAL BLOG
ANGEL HANDMADE PAPERCRAFT: http://angelhandmadepapercraft.blogspot.com.au/
I am an Ambassador for Copic Marker Australia and NZ
Sunday, 27 January 2019
Time For Tea Designs - Geeky Love
Hi Everyone,
Today I am sharing with you a card for Time For Tea Designs that I have created using Geeky Glasses - you can find an affiliate link below.
I printed her onto X-Press It Blending Cardstock using my Brother Laser Printer, then coloured her up using Copic Markers. I fussy cut her using EK Success Cutterbee Scissors.
Patterned papers are from Head Over Heels 6x6 Paper Pad, I cut them down to size using Caterpillar Pro, I bannered one using EK Success Cutterbee Scissors.
I grabbed a Couture Creations card base and adhered a piece of the patterned paper, I then added a doily, some of the strips of patterned paper that I had cut down. I ran a small piece of patterned paper through my Sizzix Big Shot using Stitched Heart die from MFT Stamps, I also ran La La Land Crafts Filigree Stars through using some more leftover patterned paper. (I cut the dies apart using some wire snips).
I added some Kindyglitz Crystalina to the stars, this is no longer available to purchase so I have linked up some similar products.
I ran MFT Stamps Celebrate Die-Namics die through my Big Shot using some leftover X-Press It Blending Card. I adhered it using some American Tombow Mono Multi Liquid Adhesive.
Using MFT Stamps Always & Forever stamp set I stamped out the word LOVE using Memento Tuxedo Black and a Lawn Fawn Acrylic Block on some X-Press It Blending Card.
I added some Wink Of Stella to the heart on her dress and on her head band.
I hope you have enjoyed my post today, if you have any questions feel free to send me a message or contact me via facebook (all links can be found below).
Products Used On My Card (Affiliate Links Used Where Possible)
Copic Markers Used
E000, E00, E21, E11, E04, R20
Y11, Y13, Y15
E27
E37, E47, E49
C2, C00, 0
B21, B24, B28
Thanks for stopping by, Deni
CAMERA SET UP - FOR YOU TUBE VIDEOS ONLY
Blue Yeti Microphone
Sony Handycam HDR CX4-05
Tripod – Manfrotto MKCompactaCN-BK
S O C I A L MEDIA
B L O G : http://angelhandmadepapercraft.blogspot.com.au/
I N S T A G R A M : http://instagram.com/angelhandmadepapercraft
YOU TUBE: http://www.youtube.com/c/AngelHandmadePapercraft
F A C E B O O K: http://www.facebook.com/angelhandmadepapercraft
PINTEREST: https://www.pinterest.com.au/angelhandmadepapercraft
I was a 2018 Ambassador for Copic Marker Australia and NZ
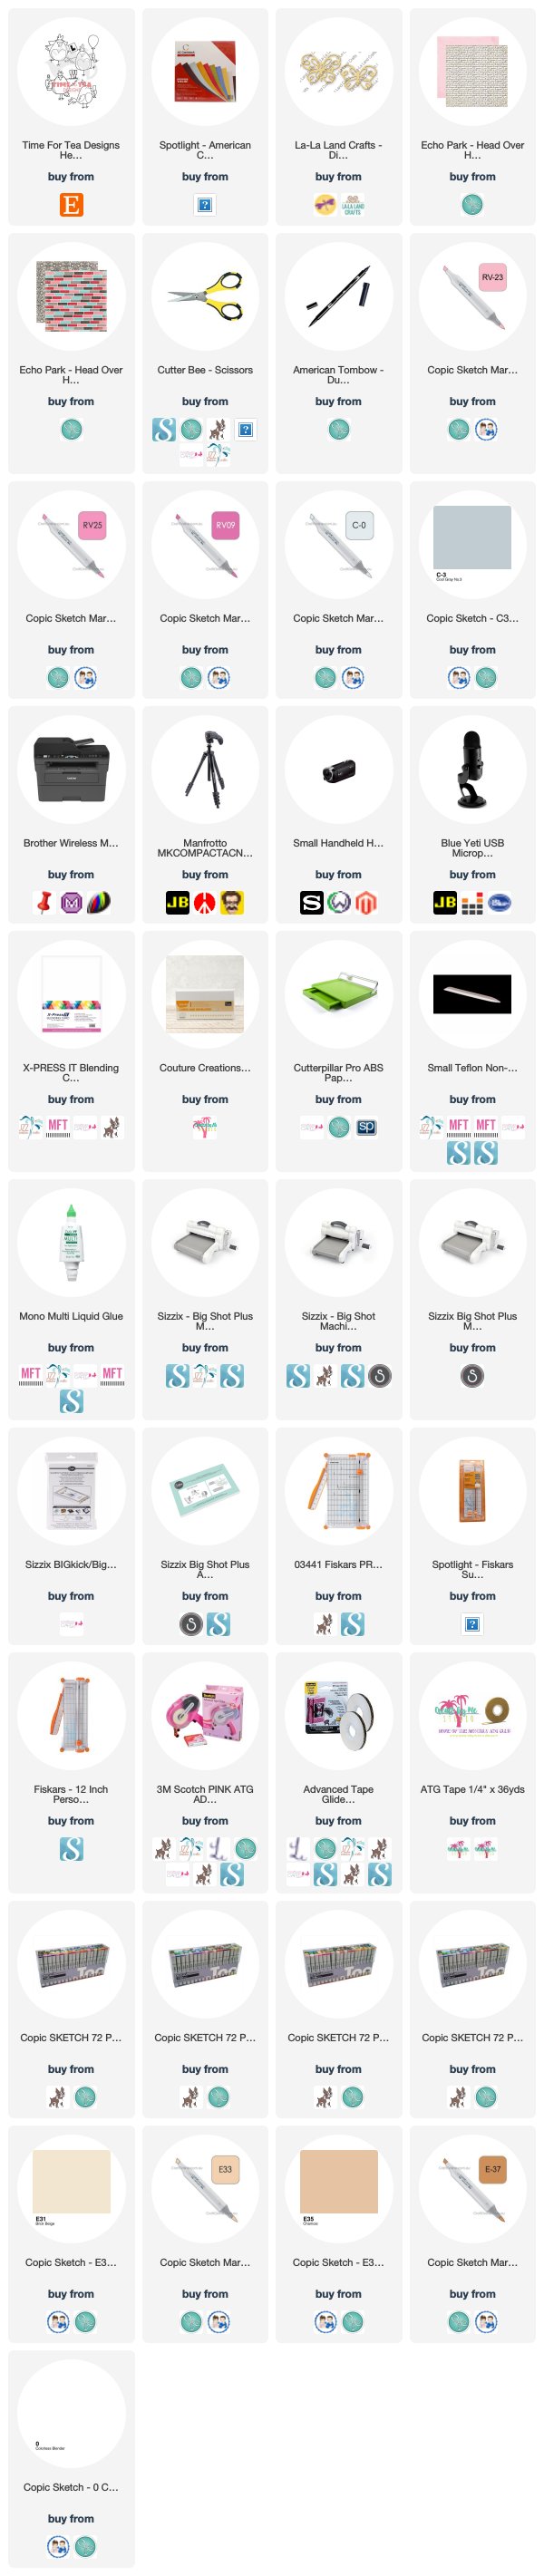
Today I am sharing with you a card for Time For Tea Designs that I have created using Geeky Glasses - you can find an affiliate link below.
I printed her onto X-Press It Blending Cardstock using my Brother Laser Printer, then coloured her up using Copic Markers. I fussy cut her using EK Success Cutterbee Scissors.
Patterned papers are from Head Over Heels 6x6 Paper Pad, I cut them down to size using Caterpillar Pro, I bannered one using EK Success Cutterbee Scissors.
I grabbed a Couture Creations card base and adhered a piece of the patterned paper, I then added a doily, some of the strips of patterned paper that I had cut down. I ran a small piece of patterned paper through my Sizzix Big Shot using Stitched Heart die from MFT Stamps, I also ran La La Land Crafts Filigree Stars through using some more leftover patterned paper. (I cut the dies apart using some wire snips).
I added some Kindyglitz Crystalina to the stars, this is no longer available to purchase so I have linked up some similar products.
I ran MFT Stamps Celebrate Die-Namics die through my Big Shot using some leftover X-Press It Blending Card. I adhered it using some American Tombow Mono Multi Liquid Adhesive.
Using MFT Stamps Always & Forever stamp set I stamped out the word LOVE using Memento Tuxedo Black and a Lawn Fawn Acrylic Block on some X-Press It Blending Card.
I added some Wink Of Stella to the heart on her dress and on her head band.
I hope you have enjoyed my post today, if you have any questions feel free to send me a message or contact me via facebook (all links can be found below).
Products Used On My Card (Affiliate Links Used Where Possible)
Copic Markers Used
E000, E00, E21, E11, E04, R20
Y11, Y13, Y15
E27
E37, E47, E49
C2, C00, 0
B21, B24, B28
Thanks for stopping by, Deni
CAMERA SET UP - FOR YOU TUBE VIDEOS ONLY
Blue Yeti Microphone
Sony Handycam HDR CX4-05
Tripod – Manfrotto MKCompactaCN-BK
S O C I A L MEDIA
B L O G : http://angelhandmadepapercraft.blogspot.com.au/
I N S T A G R A M : http://instagram.com/angelhandmadepapercraft
YOU TUBE: http://www.youtube.com/c/AngelHandmadePapercraft
F A C E B O O K: http://www.facebook.com/angelhandmadepapercraft
PINTEREST: https://www.pinterest.com.au/angelhandmadepapercraft
I was a 2018 Ambassador for Copic Marker Australia and NZ
Kindred Stamps - Stay Golden
Good Morning all,
Today I am sharing a project with you for Kindred Stamps, this is one of the young ladies from the Stay Golden stamp set, I really love the brightness in the papers on my card.
I stamped my images out onto X-Press It Blending Card using Memento Tuxedo Black and a Lawn Fawn Acrylic Block.
I coloured all the images up using Copic Markers which you will find listed at the bottom of the blog post, I then fussy cut the image using EK Success Cutterbee Scissors.

Patterned papers used are from American Crafts #Summer 6x6 Paper Pad and the aqua cardstock used is also from American Crafts. I added a little doily from my stash.
The Sentiment was stamped using Versamark Watermark ink, added Ranger Ink Super Fine white embossing powder and melted using heat gun.

Everything was adhered using Scotch ATG.
Watch The You Tube Video here
I hope you have enjoyed my post today, if you have any questions feel free to send me a message or contact me via facebook (all links can be found below).
Products Used On My Card (Affiliate Links Used Where Possible)
Copic Markers Used
E000, E00, E21, E11, E04, R20
E31, E34, E35
Y13, Y18, Y35
Thanks for stopping by, Deni
CAMERA SET UP - FOR YOU TUBE VIDEOS ONLY
Blue Yeti Microphone
Sony Handycam HDR CX4-05
Tripod – Manfrotto MKCompactaCN-BK
S O C I A L MEDIA
B L O G : http://angelhandmadepapercraft.blogspot.com.au/
I N S T A G R A M : http://instagram.com/angelhandmadepapercraft
YOU TUBE: http://www.youtube.com/c/AngelHandmadePapercraft
F A C E B O O K: http://www.facebook.com/angelhandmadepapercraft
PINTEREST: https://www.pinterest.com.au/angelhandmadepapercraft
PERSONAL BLOG
ANGEL HANDMADE PAPERCRAFT: http://angelhandmadepapercraft.blogspot.com.au/
I am an Ambassador for Copic Marker Australia and NZ
Today I am sharing a project with you for Kindred Stamps, this is one of the young ladies from the Stay Golden stamp set, I really love the brightness in the papers on my card.
I coloured all the images up using Copic Markers which you will find listed at the bottom of the blog post, I then fussy cut the image using EK Success Cutterbee Scissors.
Patterned papers used are from American Crafts #Summer 6x6 Paper Pad and the aqua cardstock used is also from American Crafts. I added a little doily from my stash.
The Sentiment was stamped using Versamark Watermark ink, added Ranger Ink Super Fine white embossing powder and melted using heat gun.
Everything was adhered using Scotch ATG.
Watch The You Tube Video here
I hope you have enjoyed my post today, if you have any questions feel free to send me a message or contact me via facebook (all links can be found below).
Products Used On My Card (Affiliate Links Used Where Possible)
Copic Markers Used
E000, E00, E21, E11, E04, R20
E31, E34, E35
Y13, Y18, Y35
Thanks for stopping by, Deni
CAMERA SET UP - FOR YOU TUBE VIDEOS ONLY
Blue Yeti Microphone
Sony Handycam HDR CX4-05
Tripod – Manfrotto MKCompactaCN-BK
S O C I A L MEDIA
B L O G : http://angelhandmadepapercraft.blogspot.com.au/
I N S T A G R A M : http://instagram.com/angelhandmadepapercraft
YOU TUBE: http://www.youtube.com/c/AngelHandmadePapercraft
F A C E B O O K: http://www.facebook.com/angelhandmadepapercraft
PINTEREST: https://www.pinterest.com.au/angelhandmadepapercraft
PERSONAL BLOG
ANGEL HANDMADE PAPERCRAFT: http://angelhandmadepapercraft.blogspot.com.au/
I am an Ambassador for Copic Marker Australia and NZ
Subscribe to:
Posts (Atom)