As 2018 starts to wind down we start preparing for 2019. Heartcraft Paper has released this gorgeous Penguin New Year image, he is so adorable :-)
I printed him onto X-press It Blending Cardstock using my Brother Laser Printer then coloured him up using Copic Markers.
For Card Number 1
I fussy cut the image using EK Success Cutterbee Scissors, make sure you rotate the image as you go rather than the scissors this will give you a smoother cut around the image.

Using some Mondi Color Copy white cardstock I ran a Lawn Fawn Stitched Circle die through my Sizzix Big Shot and cut a circle back drop for my Penguin.
I cut two mats down using some American Crafts Cardstocks, I used some patterned papers from The Craft Stall Mini Stack for my layers, I cut them down to size using my Cutterpillar Pro.
I attached the mat layers and the patterned papers using Scotch ATG, I then adhered the image to my circle that I cut earlier using American Tombow Mono Multi liquid adhesive. The sentiment I just used my Scotch ATG to adhere.
I added some Wink Of Stella Clear to his hat band and also to his bow tie, he looks so adorable ad suave.
Here is the colouring of the image :-)
Once I had everything complete I finally adhered it to a Couture Creations Card Base using Scotch ATG.
Products Used On My Card (Affiliate Links Used Where Possible)
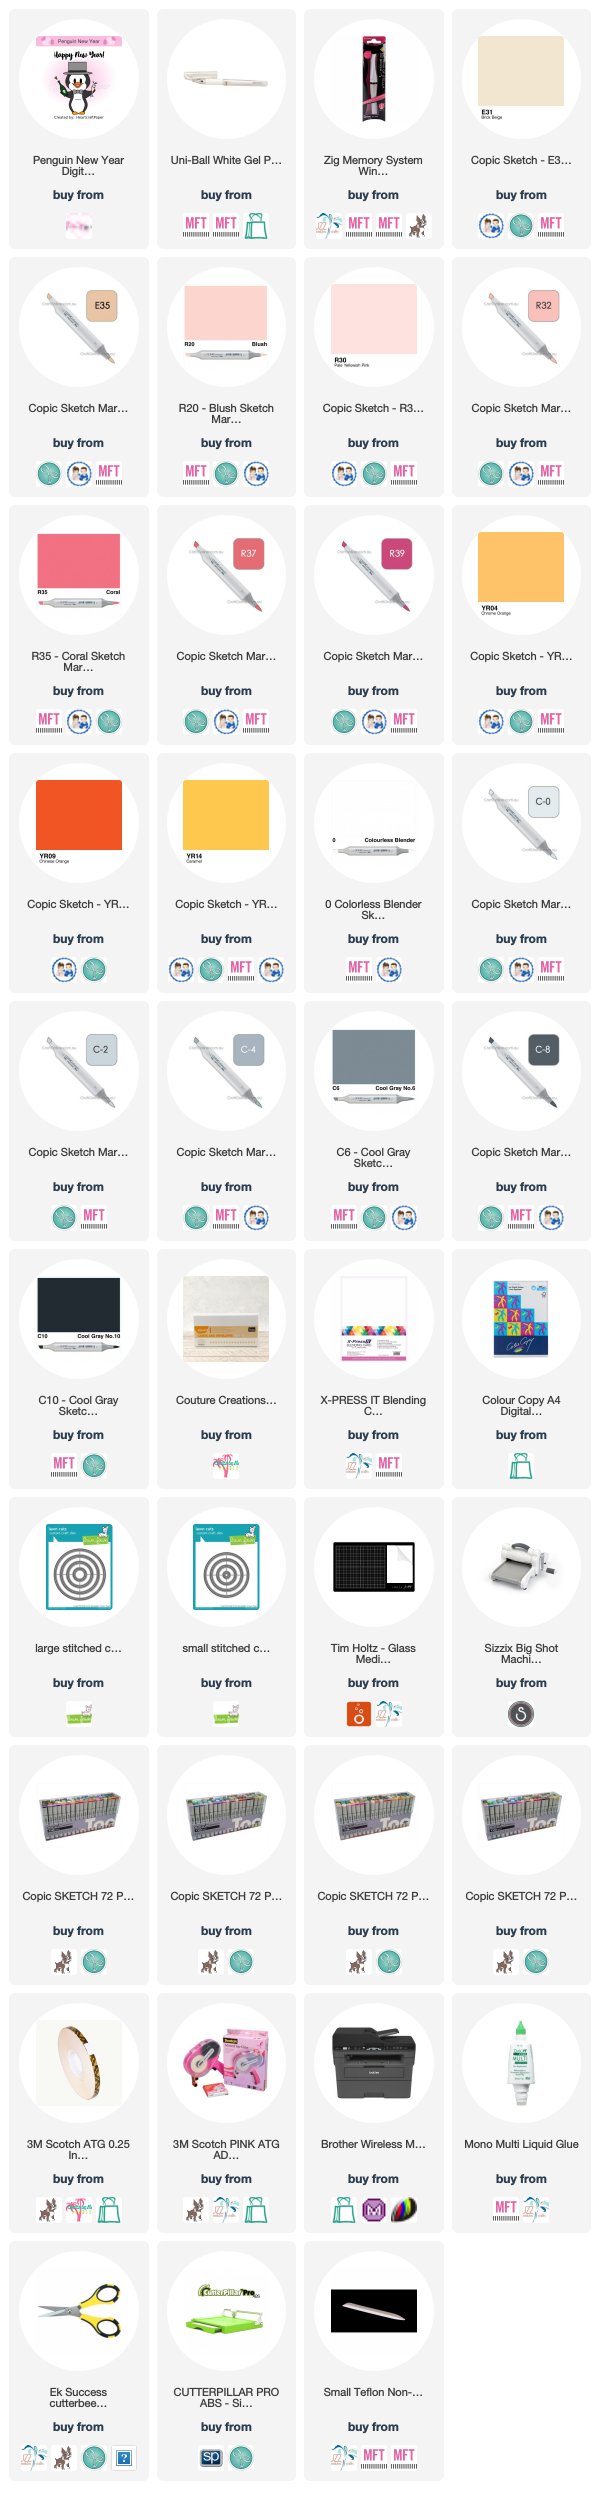
Copic Markers Used
R35, R37, R39
R30, R32
C0, C2, 0
C4, C6, C8, C10
E31, E35
YR14, YR04, YR09
I have a bonus extra for you today which is very unusual for me hahah. I really love this image and I didn't want to hang onto my second card for another before sharing it, and seriously no doubt there will be an awesome December release from Heartcraft Paper :-)
I started by colouring up my image, I had already printed it when I printed the first card, I usually try to fill a page of images when I do my printing so I don't waste too much blending card.

I cut the image to size using my Cutterpillar Pro, I then cut a mat using some American Crafts cardstock.
Putting what I had already done to the side I started working from the bottom of my card upwards, I cut a mat layer using Francheville Kraft Cardstock, then a layer from Mondi Color Copy. Next I grabbed some patterned papers from a Doodlebug 6x6 Paper Pad called day to day, it is an older paper pad however you can purchase it direct from Doodlebug.
I ran the lightbulbs through my Sizzix Big Shot using a Lawn Fawn Stitched Circle die and adhered it to the cameras piece using Scotch ATG.
Using my Fiskars Surecut Trimmer I carefully cut a mat layer for the sentiment using the same Kraft Cardstock I used earlier in my project, then adhered the image and the sentiment down.
My card felt like it needed more so I grabbed the Stars Stax from MFT Stamps, these are no longer available however you can purchase the stitched version which I have linked below. I added those to the left side using my liquid adhesive. Once I was happy I then added everything to a Couture Creations card base.
I also decorated the insides of both of my cards however I didn't take any photos, I just grab some extra bits of the patterned paper and decorate away.
I hope you have enjoyed my post today, if you have any questions feel free to send me a message or contact me via facebook (all links can be found below).
Products Used On My Card (Affiliate Links Used Where Possible)
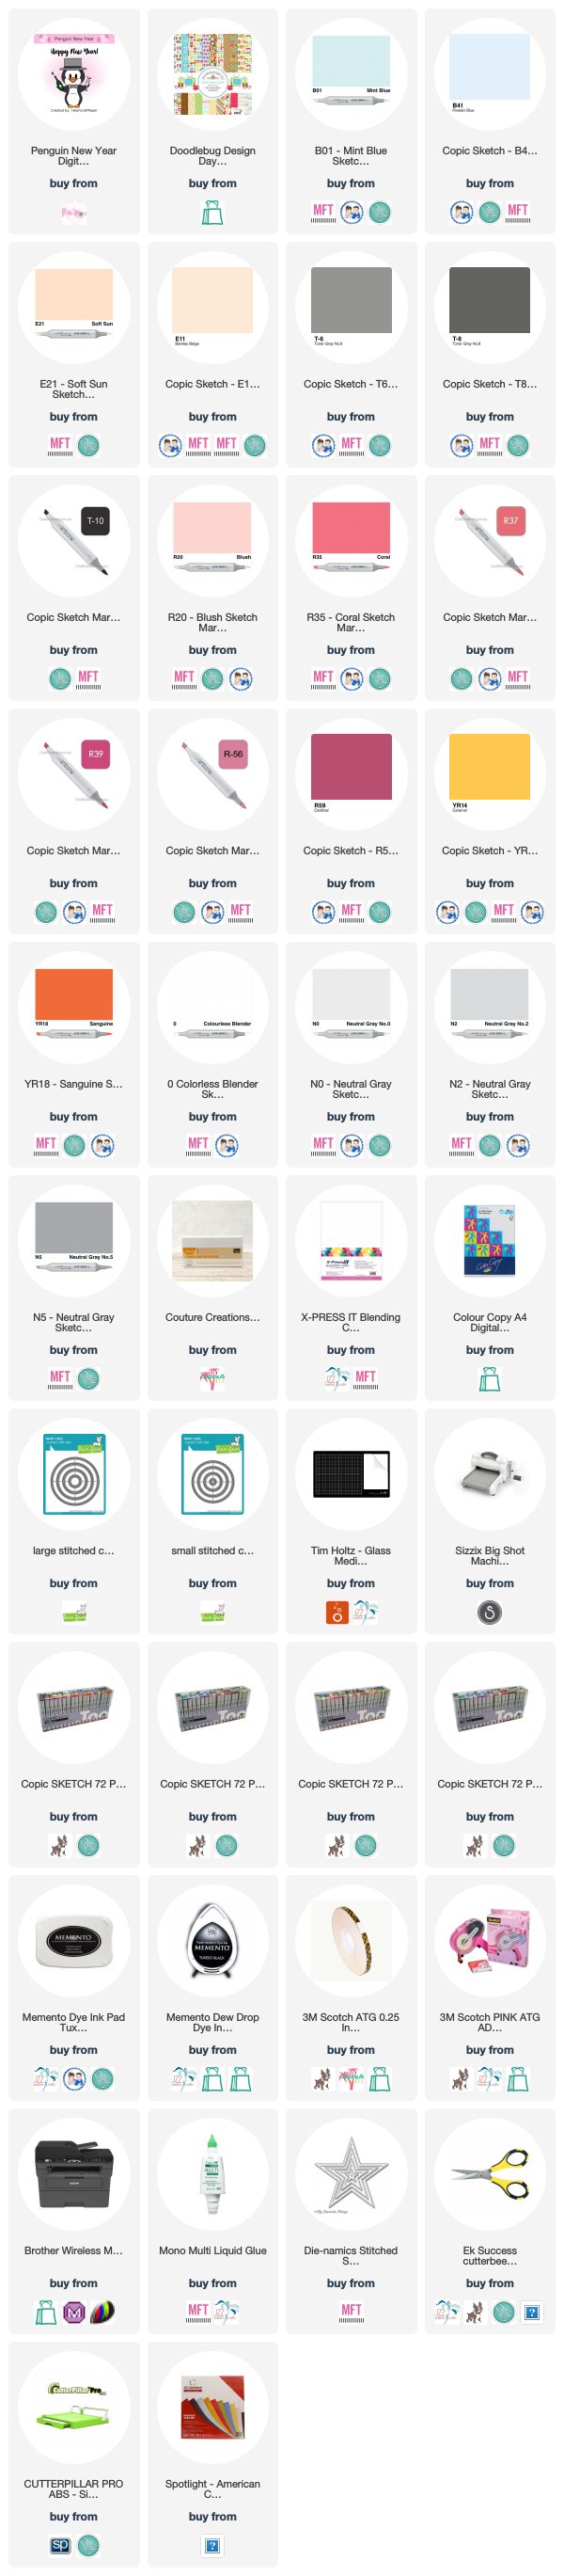
Copic Markers Used
N2, N0, 0, R20
YR14, YR18
R35, R37, R39
T6, T8, T10
N5, N2, N0
E21, E11, B01, B41
R56, R59
Thanks for stopping by, Deni
CAMERA SET UP - FOR YOU TUBE VIDEOS ONLY
Blue Yeti Microphone
Sony Handycam HDR CX4-05
Tripod – Manfrotto MKCompactaCN-BK
S O C I A L MEDIA
B L O G : http://angelhandmadepapercraft.blogspot.com.au/
I N S T A G R A M : http://instagram.com/angelhandmadepapercraft
YOU TUBE: http://www.youtube.com/c/AngelHandmadePapercraft
F A C E B O O K: http://www.facebook.com/angelhandmadepapercraft
PINTEREST: https://www.pinterest.com.au/angelhandmadepapercraft
PERSONAL BLOG
ANGEL HANDMADE PAPERCRAFT: http://angelhandmadepapercraft.blogspot.com.au/
I am an Ambassador for Copic Marker Australia and NZ